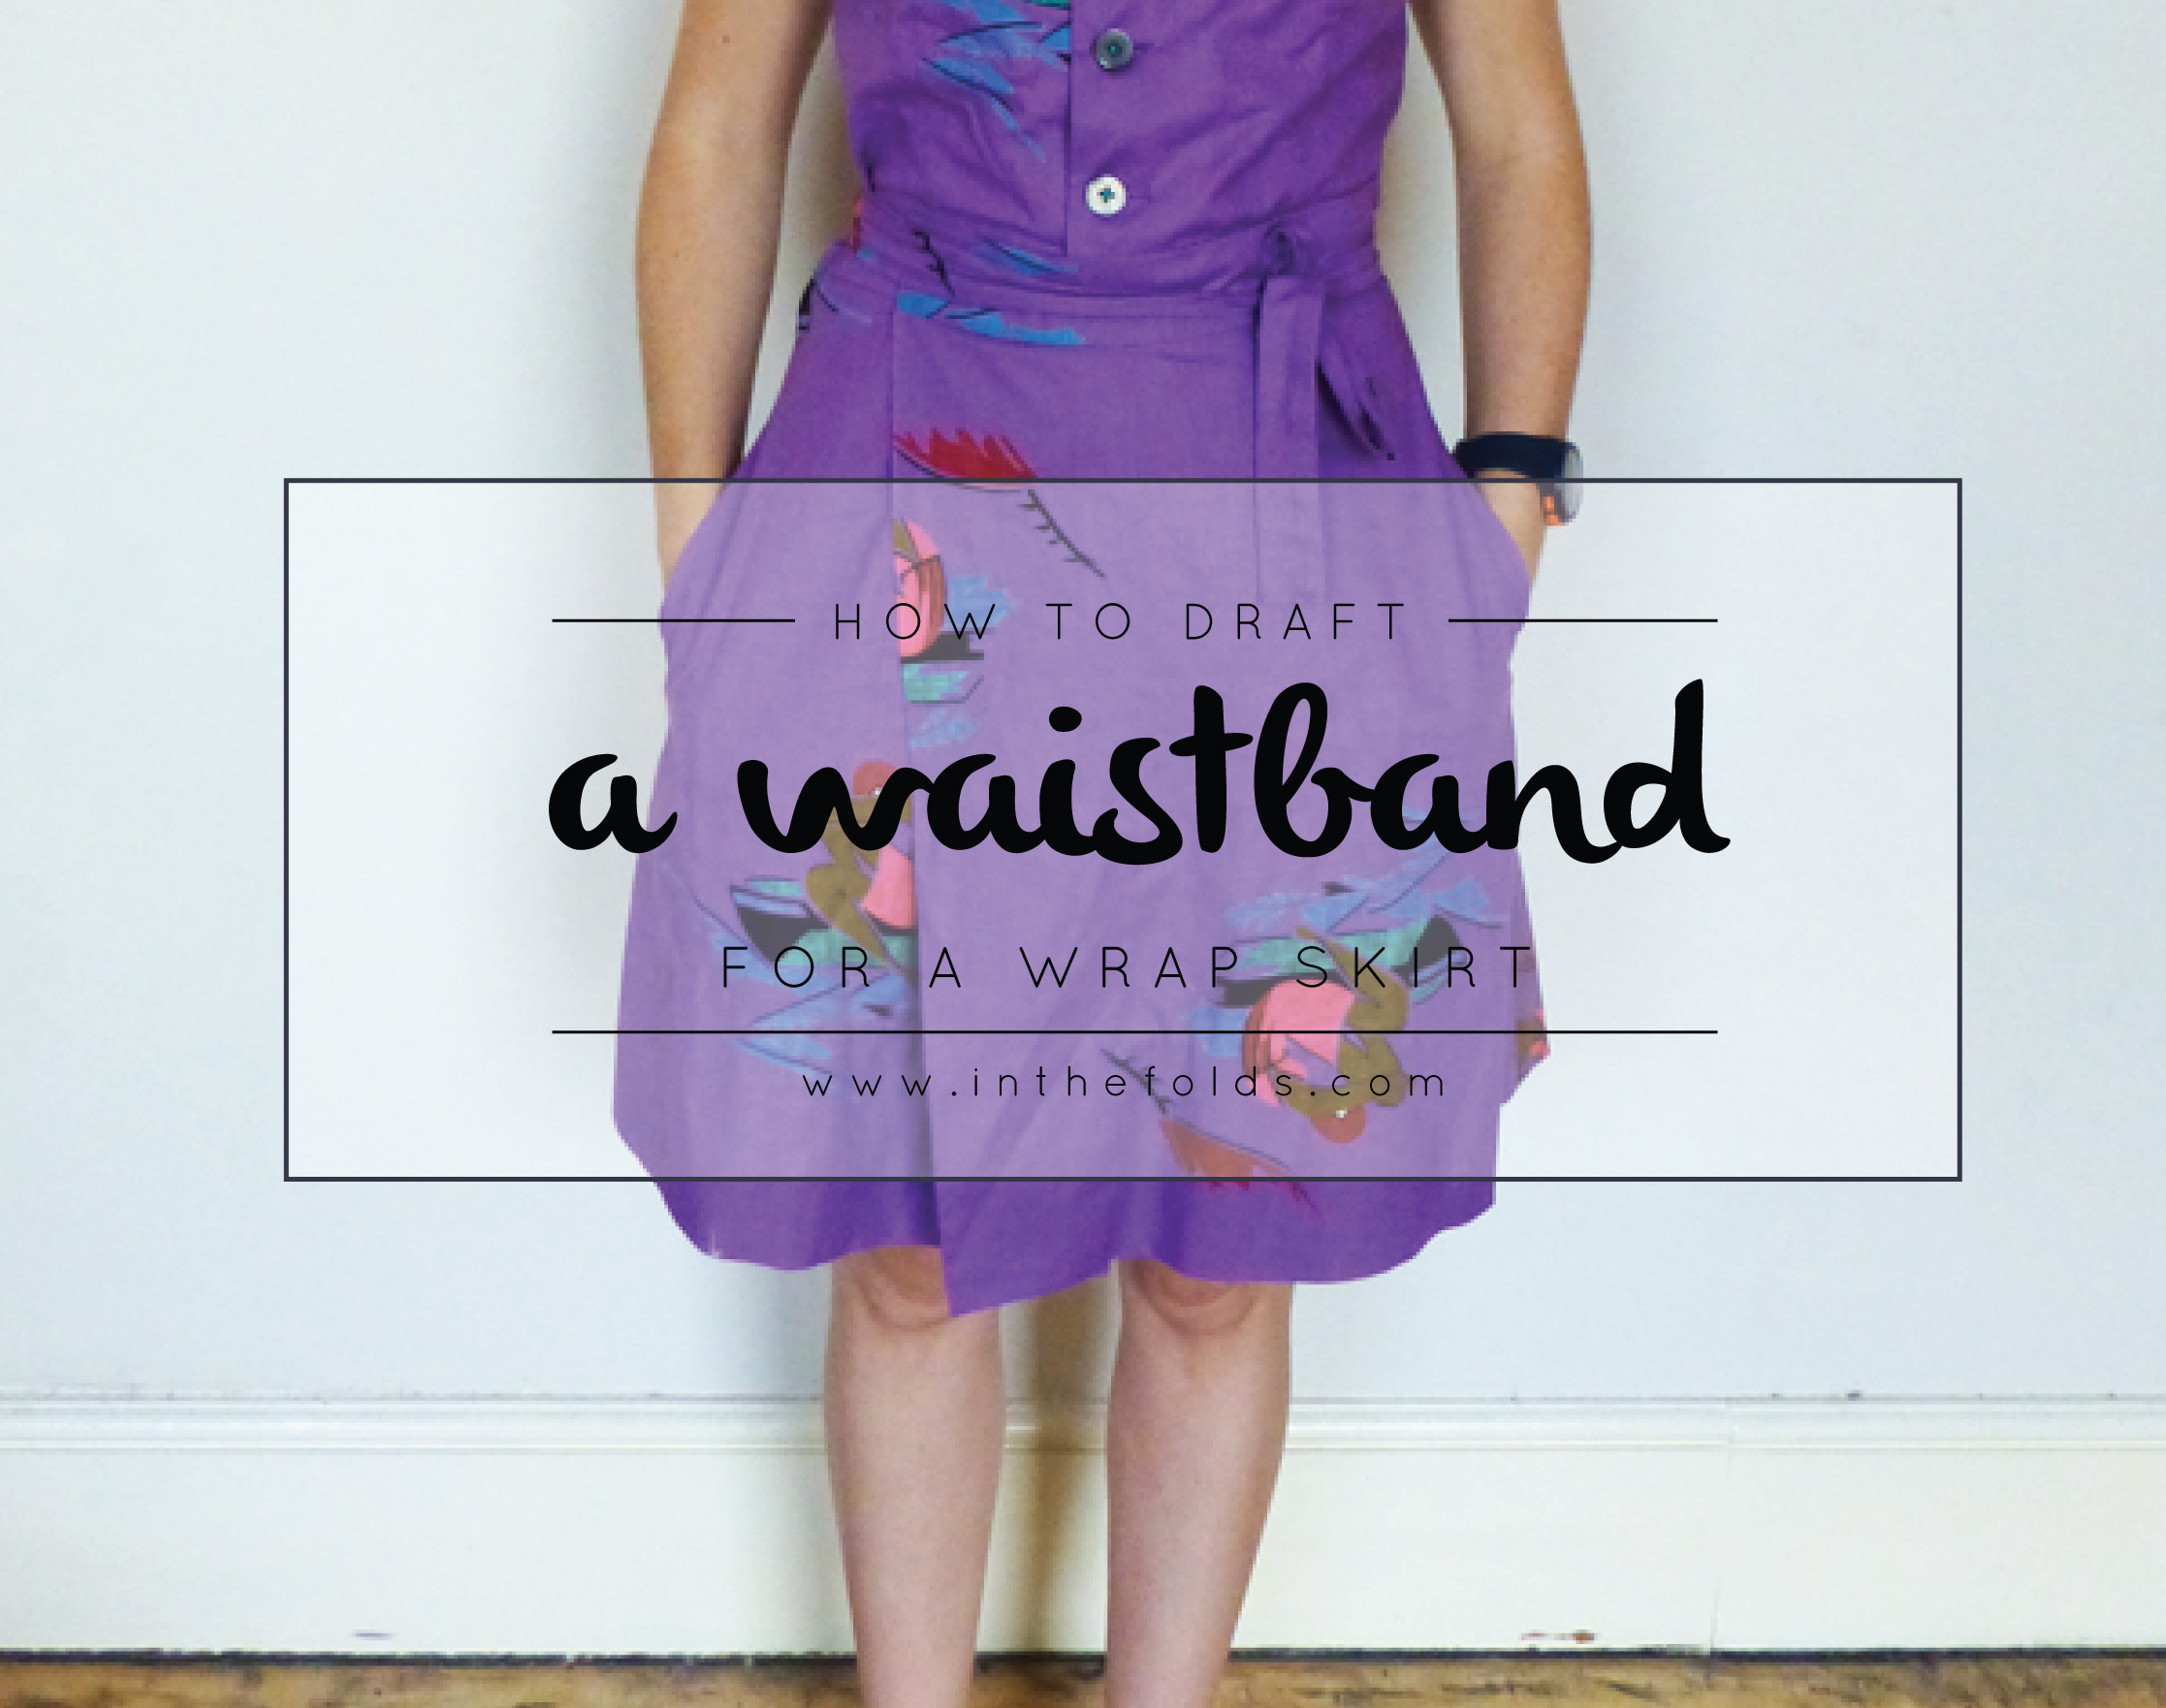
As you may have seen, last week I showed you how to draft a wrap skirt. The post started to get a little long, so I decided that I would leave the waistband for a seperate tutorial - that I am writing today!

The waistband required for a wrap skirt, is one of the most basic to make of all. It is rectangular in shape (with no shaping or darts) and is secured by a waist tie. Depending how long the ties are, you can either secure it with a bow at the front or back of the skirt.
Measure the waistline
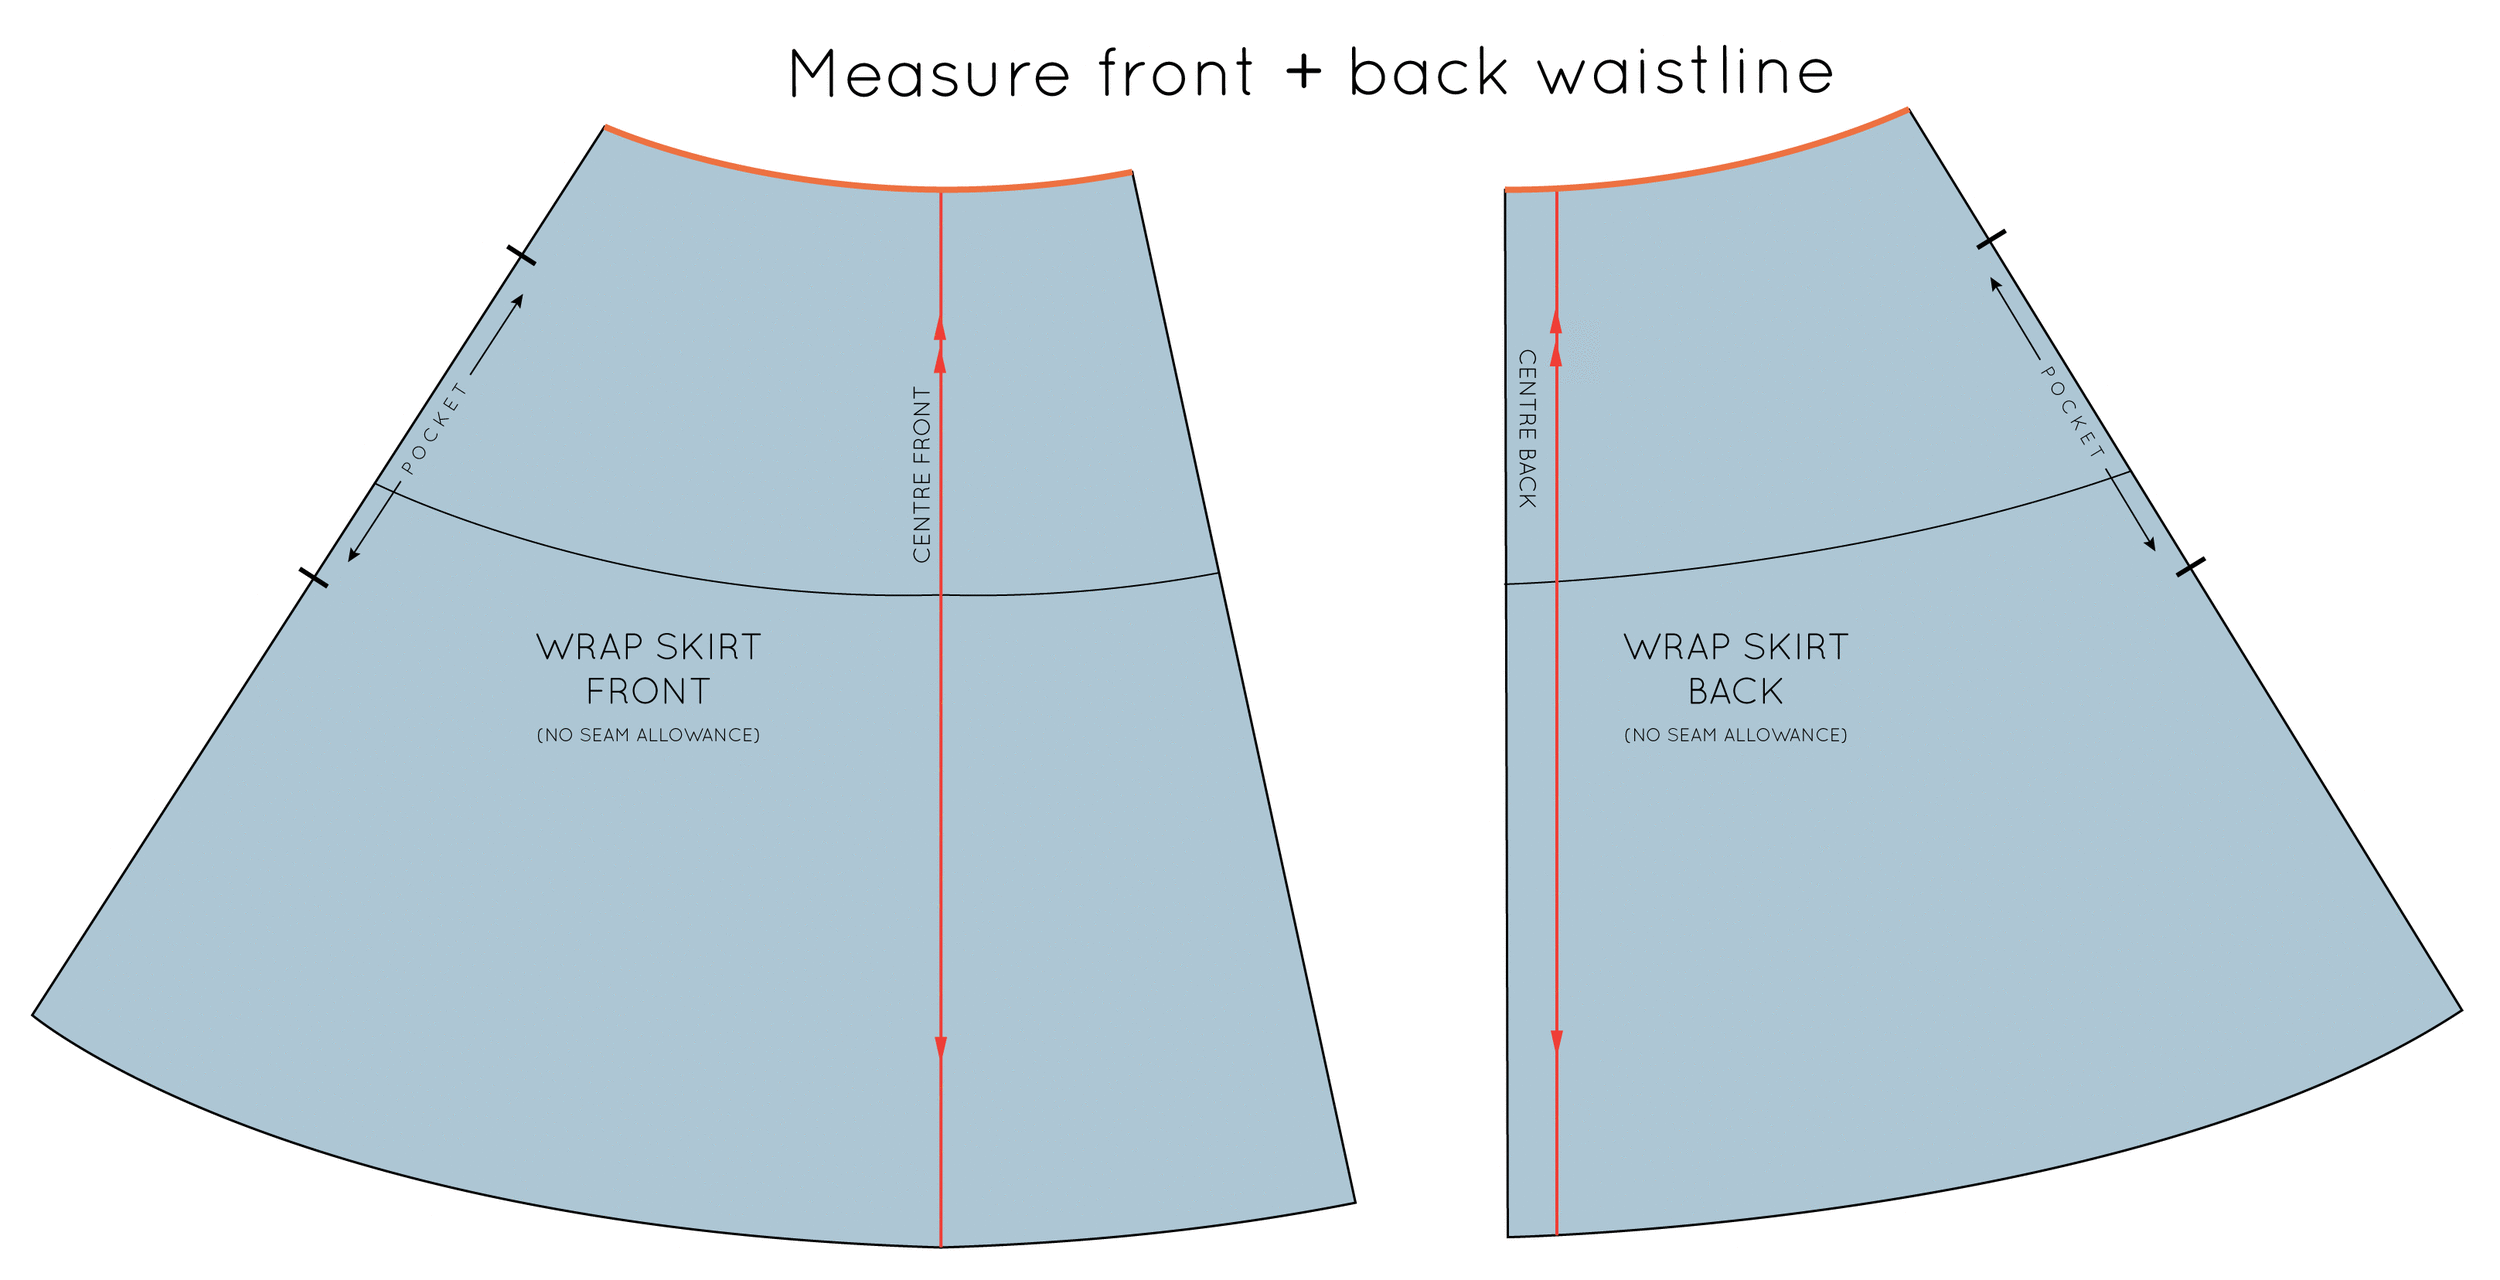
To work out the measurements for your waistband, first, measure the front and back waistline seams of your skirt.
If your pattern has seam allowance, be sure to measure the stitch line and not the edge of the pattern, for an accurate measurement.
You may notice that my pattern pieces have notches for an in-seam pocket. If you would like to know how to add a pocket to your pattern, head over to this tutorial (it's super easy and there is even a printable pocket pattern piece included at the end of the tutorial, if you don't feel like drafting your own!)
Construct the waistband

Take the total waist measurement and divide by two (we will be making half a pattern and marking it "Place on fold" - to create a full pattern piece).

Decide on the width of your waistband.
This is up to you, although be careful, do not make it too small, as it needs to be wide enough to place a button hole that the waist tie can loop through.
As a guide, my waistband was 4.5cm wide.

Complete the shape of the waistband by forming a rectangle, and label the centre back on your pattern piece.
Mark notches
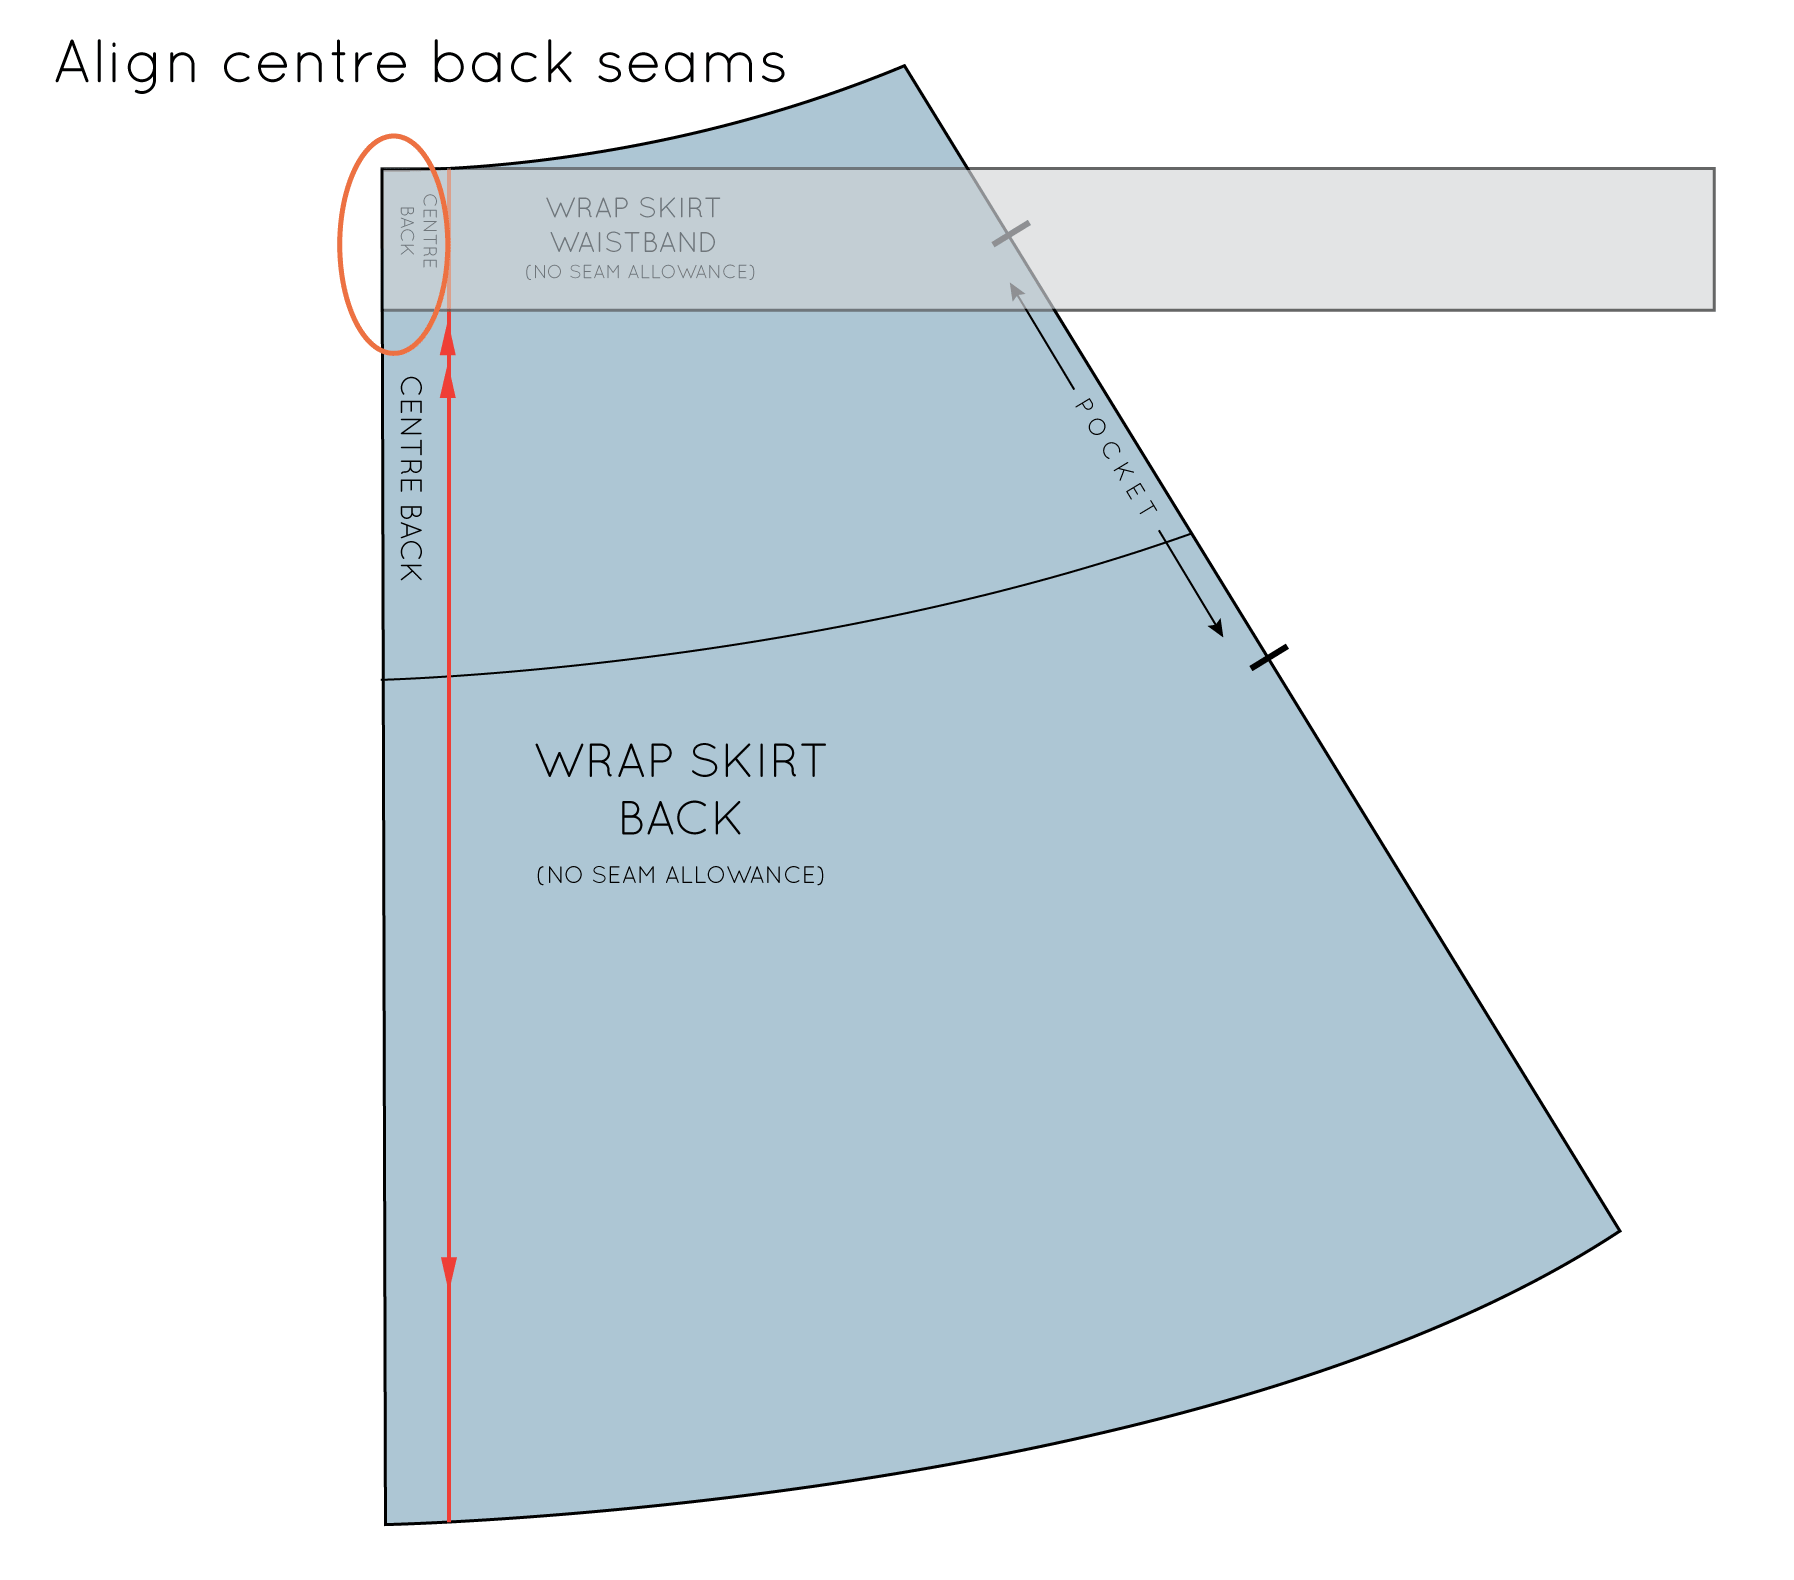
Before you can complete the pattern, you need to add notches, to make it easier to sew the two pieces together.
To do this, line up the centre back of the waistband with the centre back of the skirt, as if you were sewing the two pieces together.
Pivot

With a stiletto or pin, pivot the waistband pattern along the waist of the skirt - as if you were sewing the pieces together - until you reach the side seam. If you need more guidance with this technique, check out the tutorial on pivoting, that I posted earlier this week.
Mark side seam

When at the side seam, transfer the seam location onto the waistband with a notch.
Move to the front pattern piece
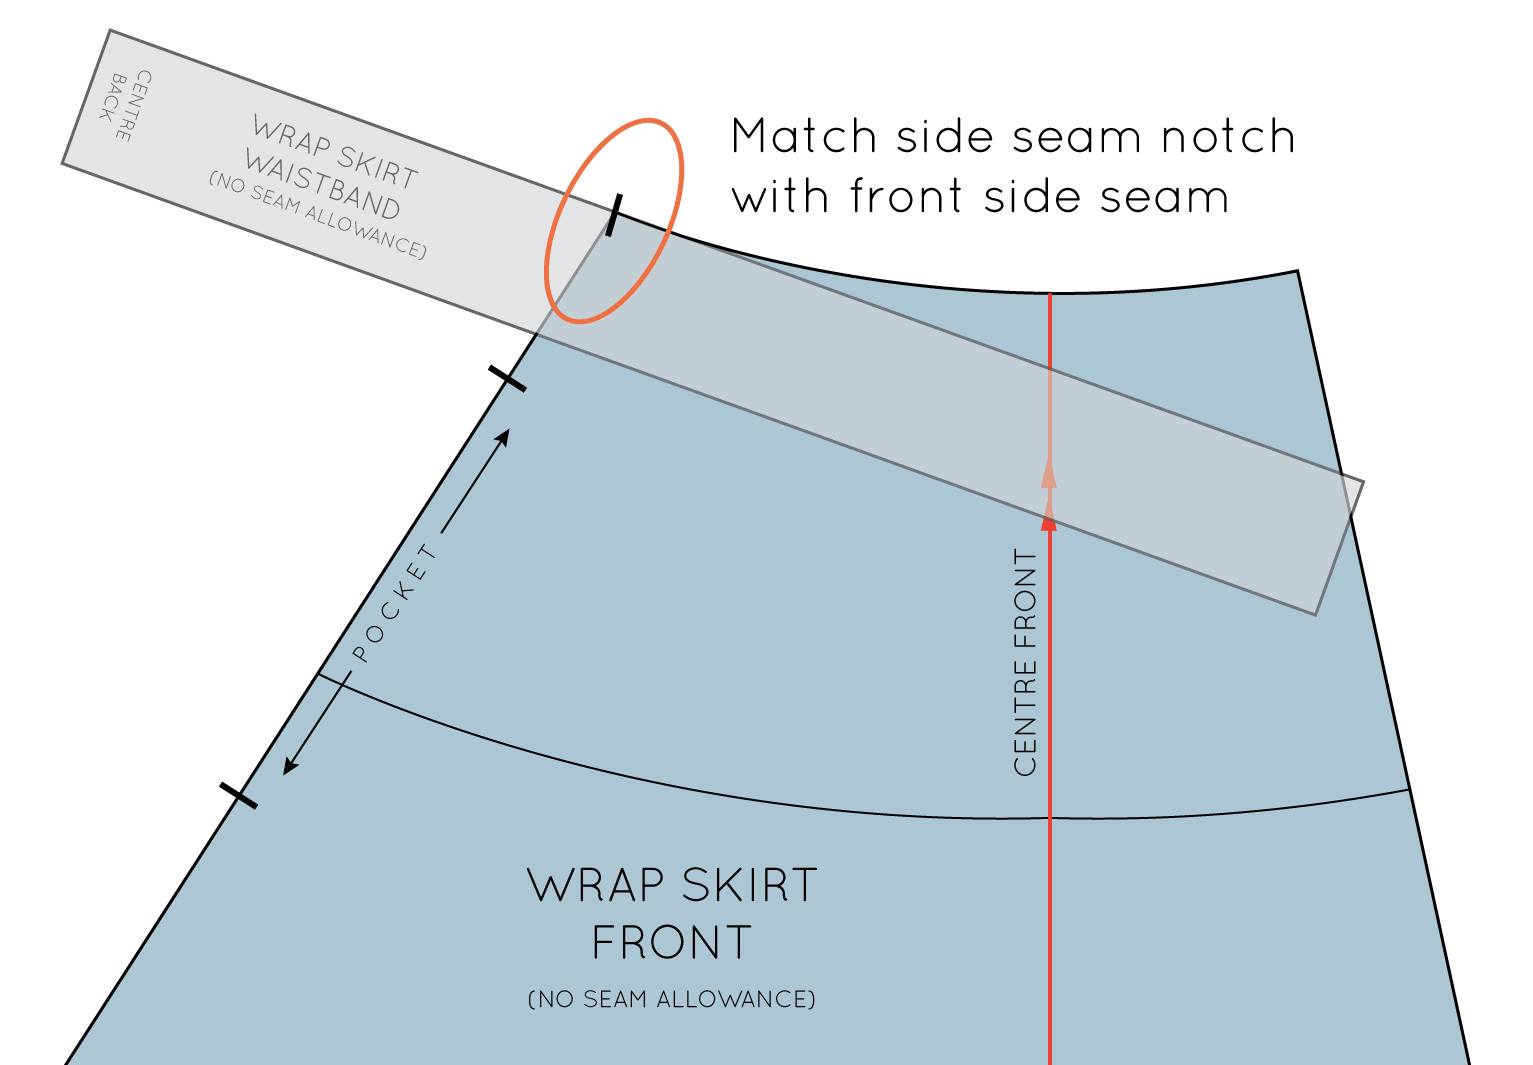
Remove the waistband from the back pattern piece and move it onto the front.
Line up the side seam notch on the waistband with the side seam of the skirt, so that you can continue pivoting the waistband on the front waistband.
Mark the centre front

Pivot the waistband along the skirt until you reach the centre front.
Transfer the centre front point onto the waistband with a notch.

Continue pivoting until the end, to confirm that the waistband and the skirt are the same length.

Extend the notches, cutting through the waistband pattern piece. You now have the centre back, centre front and side seam marked on your waistband pattern.
Add pattern markings

You now need to add pattern markings / cutting instructions to the pattern. The centre back will need to be placed on fold, and a pair of these will need to be cut. Add notches at the centre front and side seam (and the centre back seam, when cutting).
Make the waist tie
Work out how long you would like your wait tie to be.
A good place to start, I think, is your waist measurement plus 30cm.

Work out the width you would like your tie to be. Remember, it will need to be slightly thinner than your waistband, so that it can fit through the buttonhole when the skirt is "wrapped."

Take the figure you have worked out for the length of your tie, and divide this measurement by two (as we will only need to make half the pattern piece). Draw a rectangle this long, and the width you have decided on. To complete the pattern, draw a horizontal line, through the centre of the pattern, and mark as a "fold line."
Add cutting instructions (cut 1 pair - on fold) and seam allowance.
Mark the buttonhole

You will also need to mark the location of the button hole. The buttonhole is how the waist tie wraps around the skirt and only needs to be marked on the left hand side of the pattern.
And you're done! I really hope you have enjoyed this tutorial.
What do you think? Pretty easy, right? Would love to know if you are drafting yourself a wrap skirt!


