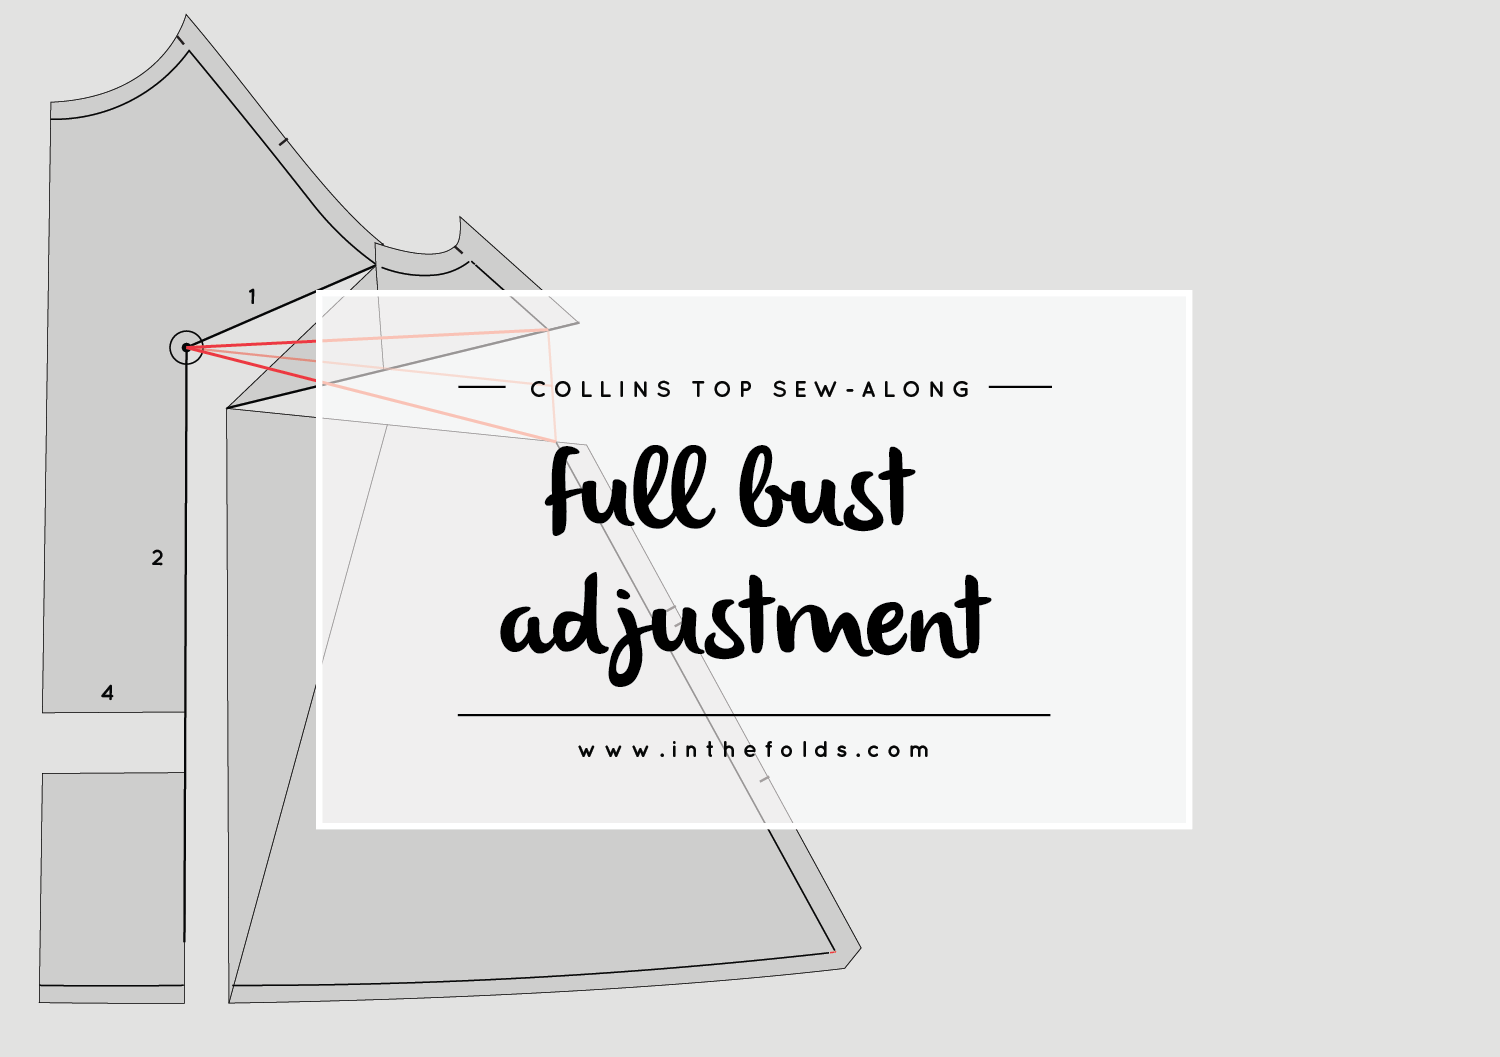
I have a feeling this post in the Collins Top sew-along might be of interest to quite a few of you! When I was designing the Collins Top, I really wanted a top that worked with high waisted trousers and skirts. I wear a lot of high waisted garments, and I know a lot of you do too. But if you don't, you may consider lengthening the Collins Top, to avoid flashing too much skin when you lift your arms (it's happened to all of us, right?) The pattern is drafted for height of 170cm (5'7"), with the front hem finishing close to the high hip (approximately in the position where mid-rise jeans would sit) - the back hem is lower (due to the hi-low hem design).
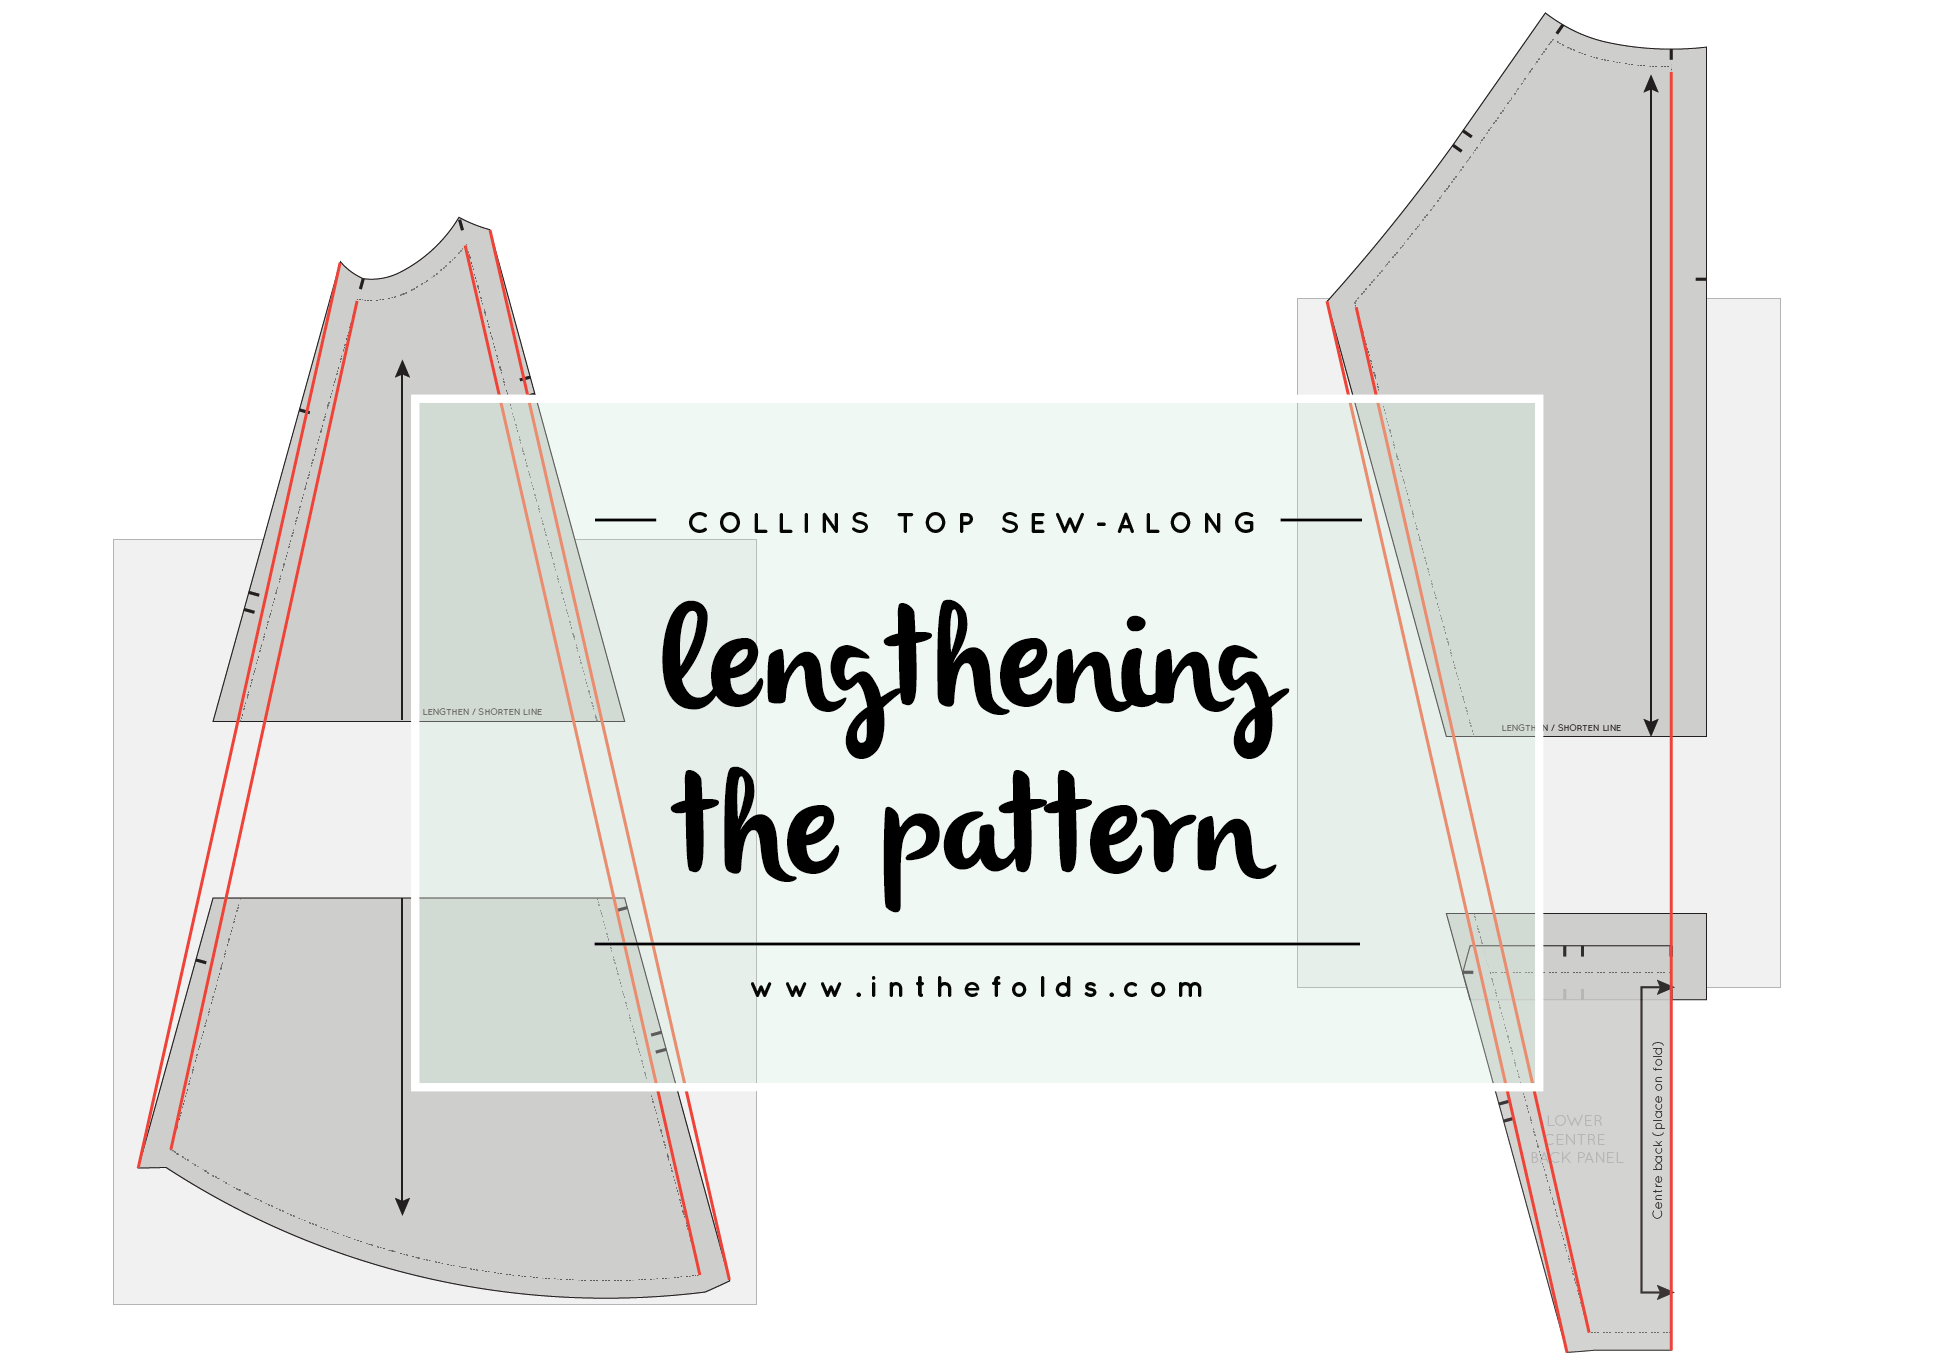
Lengthening a pattern is a really simple adjustment to make, but due to the panel lines of the Collins Top, it does make the process slightly (just slightly, I promise!) trickier.
There are times when you can just add some length to the hem of a pattern (when the side seams of a garment are quite straight, for example, a pencil skirt), but in the case of the Collins Top (and other patterns like it), you will be wanting to add the length to the inside of the pattern piece, so that you can keep the shape intact. If you were to just add length to the hem of this pattern, you would end up with quite a lot of volume in the hem, which is probably not ideal in a pattern that is already a trapezium shape. Due to the shape of the panels, I understand that this can seem a little daunting. But I promise, it really isn't!
Getting started

We'll start by making the adjustment to the front panels and then once that's done we'll move onto the back. To start, take the CENTRE FRONT PANEL piece and the SIDE FRONT PANEL piece. You can use the actual pattern pieces, or trace a copy if you would prefer to keep the original pieces intact.
Lengthen the pattern piece

You will notice that there is a 'Lengthen and shorten' line on each pattern piece. Take the pieces you are adding length to and cut through each of these lines - separating each piece into two.

Take a blank piece of pattern paper (the amount you need will depend on how much length you are adding to your pattern) and mark a grainline on the left-hand side of the paper.

Now mark two horizontal lines, close to the bottom of the paper. You need to space the lines apart by the length you would like to add to the pattern. For example, if you would like to add 10cm (4in) to the pattern, space the lines 10cm (4in) apart, making sure they are parallel to each other, and perpendicular to the grainline.
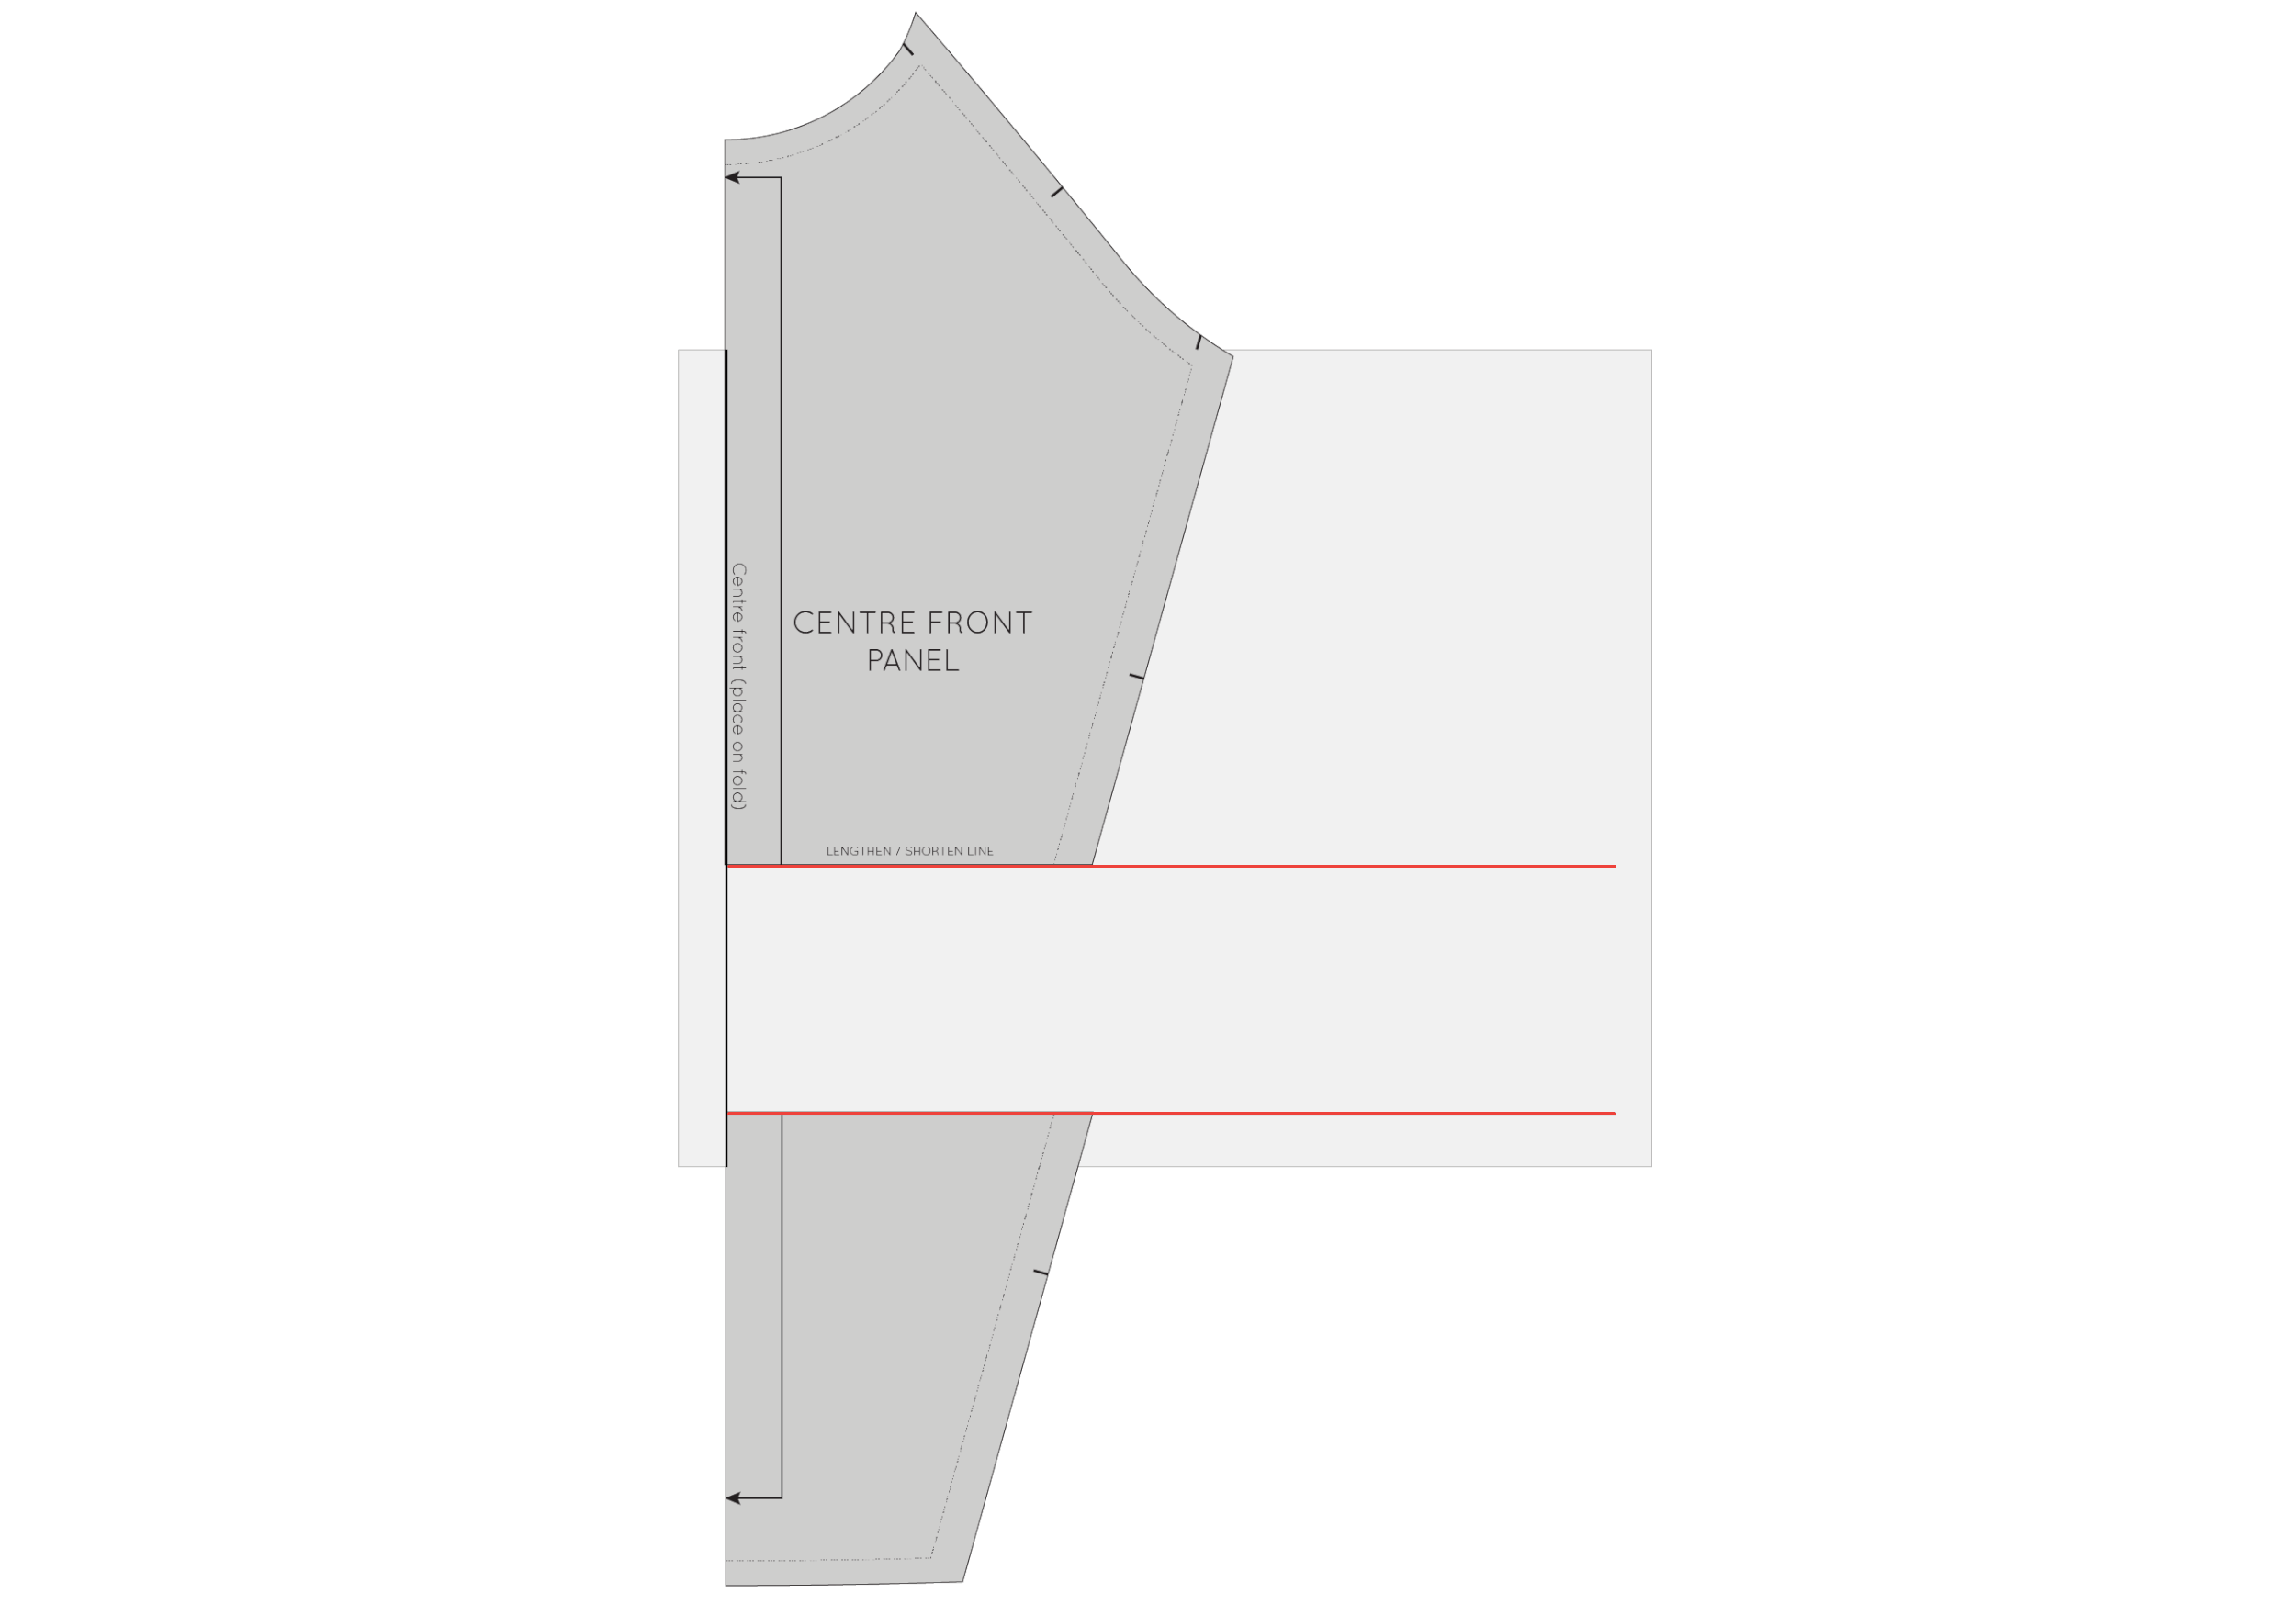
Now, starting with the CENTRE FRONT PANEL pieces, line up the bottom section of the piece with the lower line, and the top section of the pattern with the upper line. Make sure the grainline (in this case the centre front) lines up with the grainline you marked on the pattern paper. Tape or glue pieces in place.
Re-draw the seams

We now need to re-draw the panel lines to fill the gap that was created by adding length to the pattern. To do this, take a ruler and draw a straight line from the stitch line (marked by a grey line on each pattern piece) at the top of the pattern piece, to the stitch line at the hem.
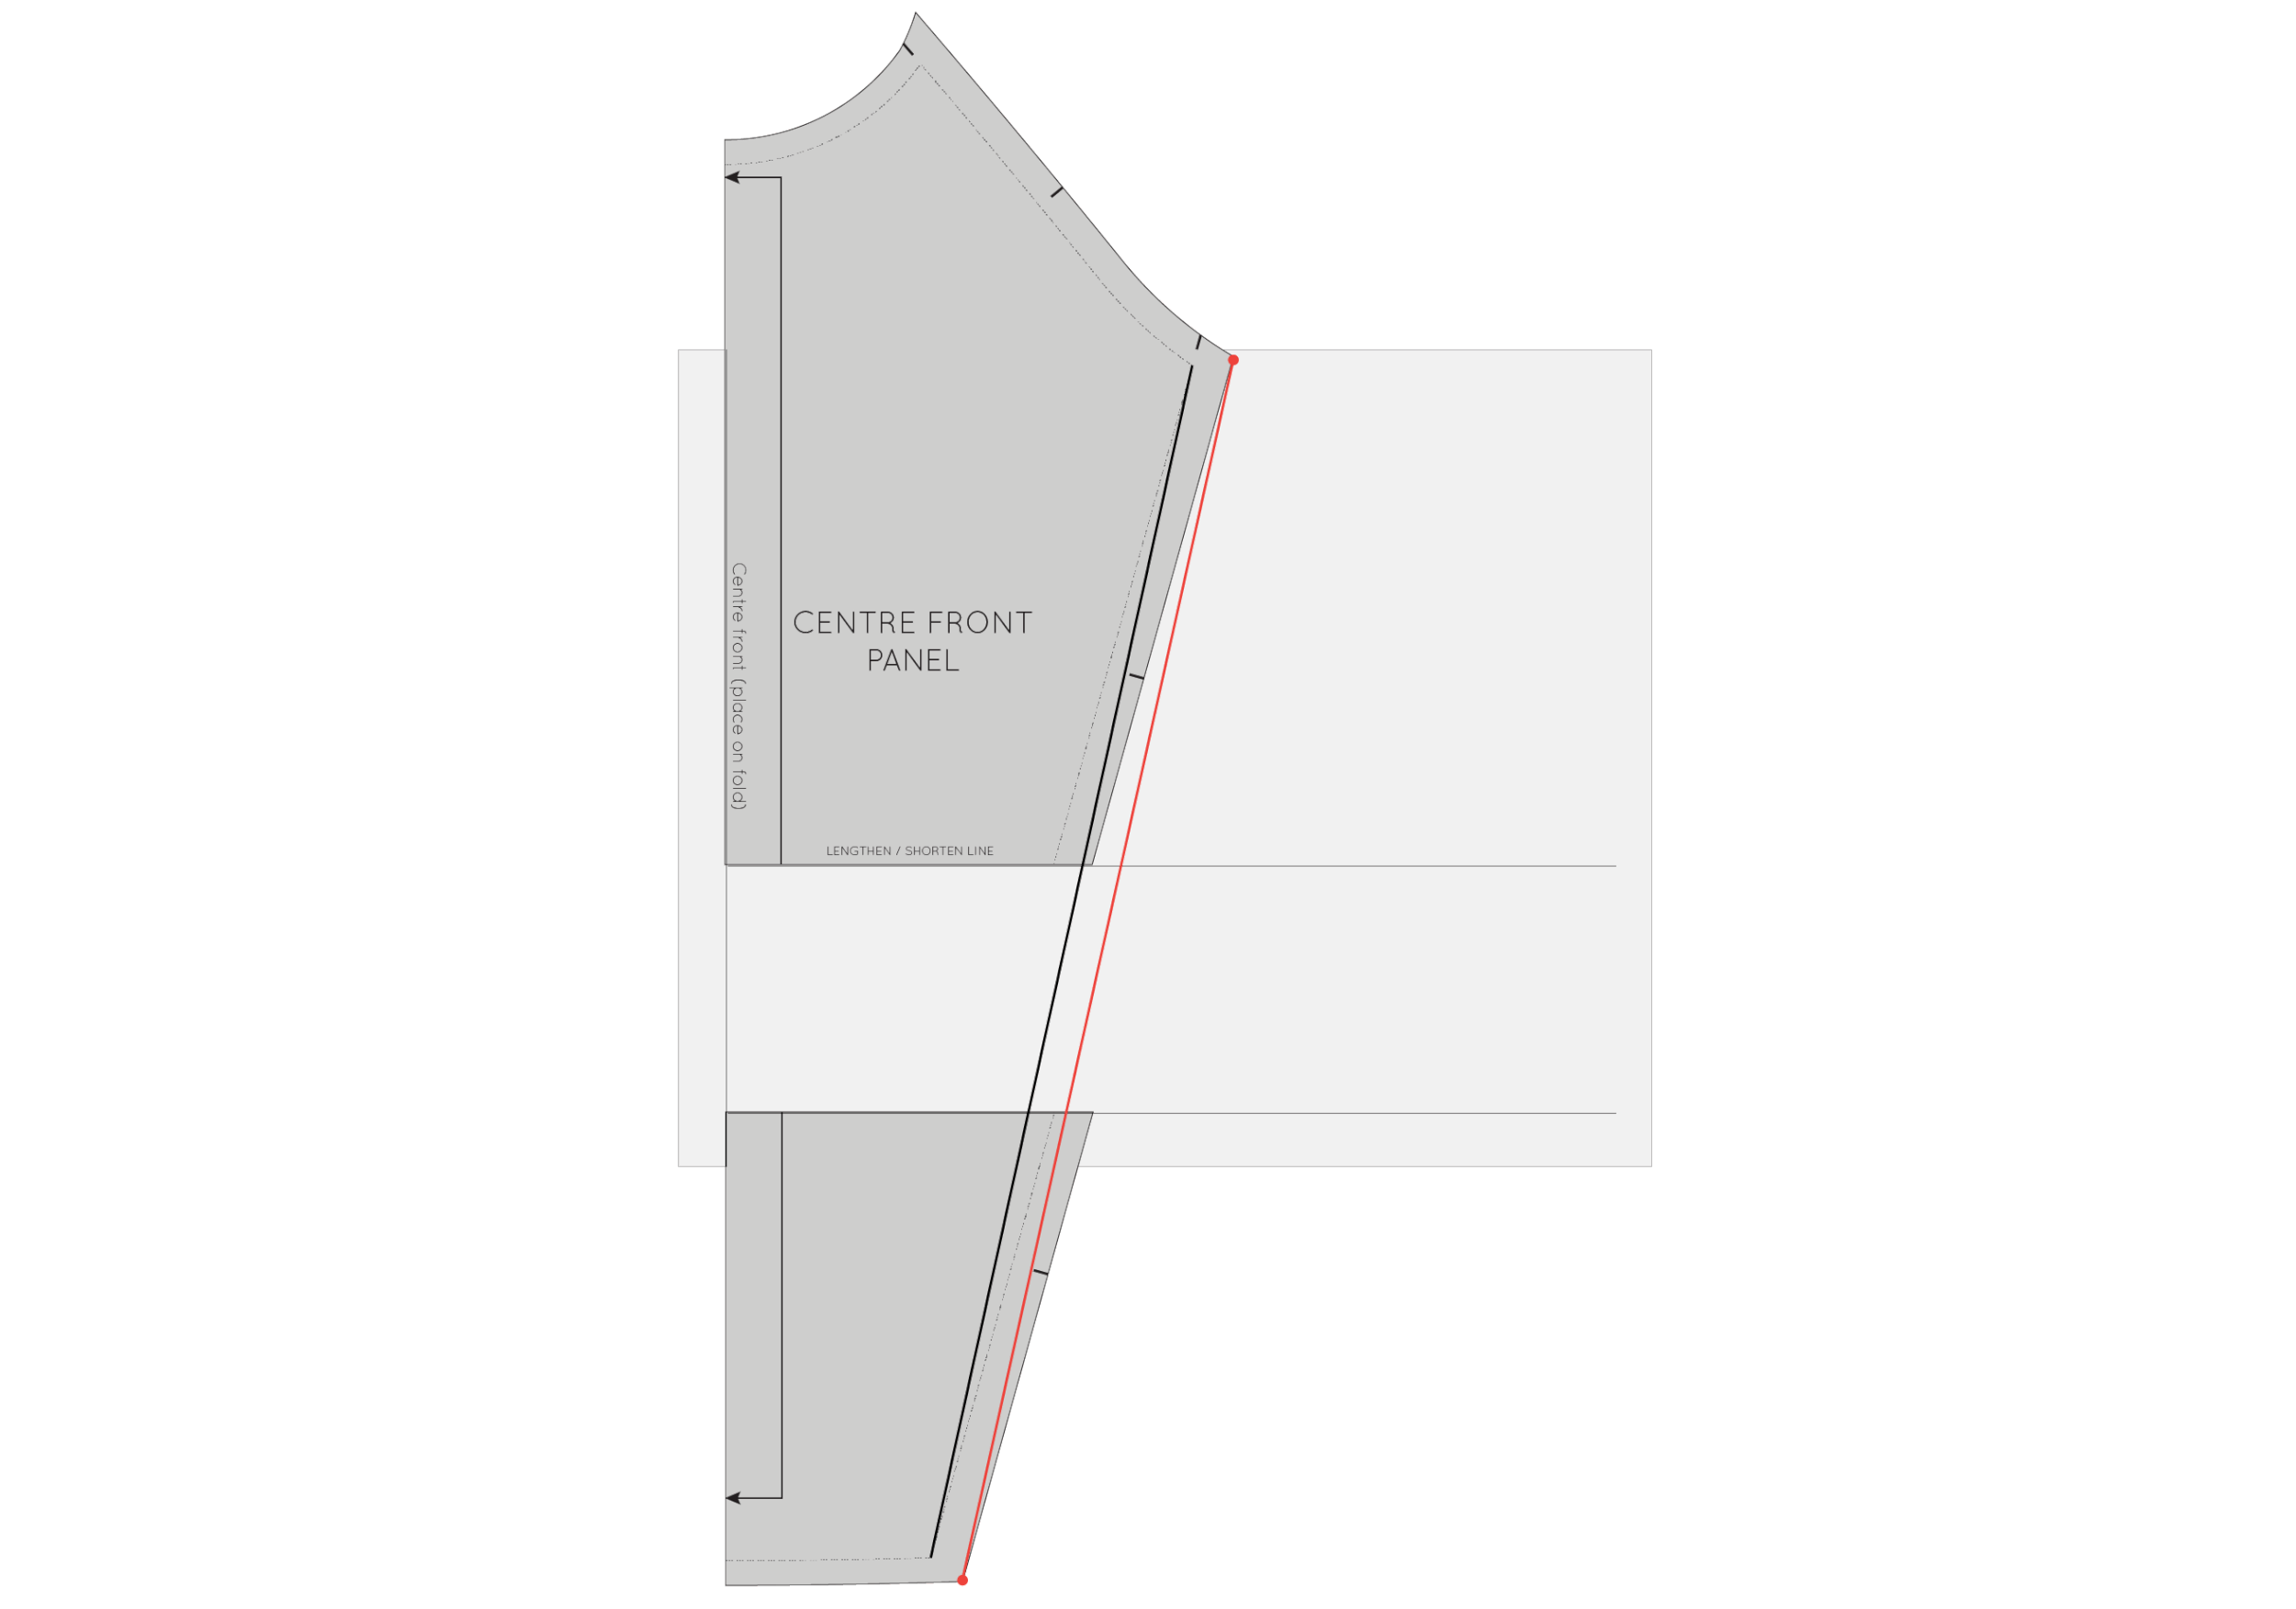
Do the same thing for the cutting line (draw a straight line from the top of the cutting line at the top of the pattern to the cutting line at the hem).
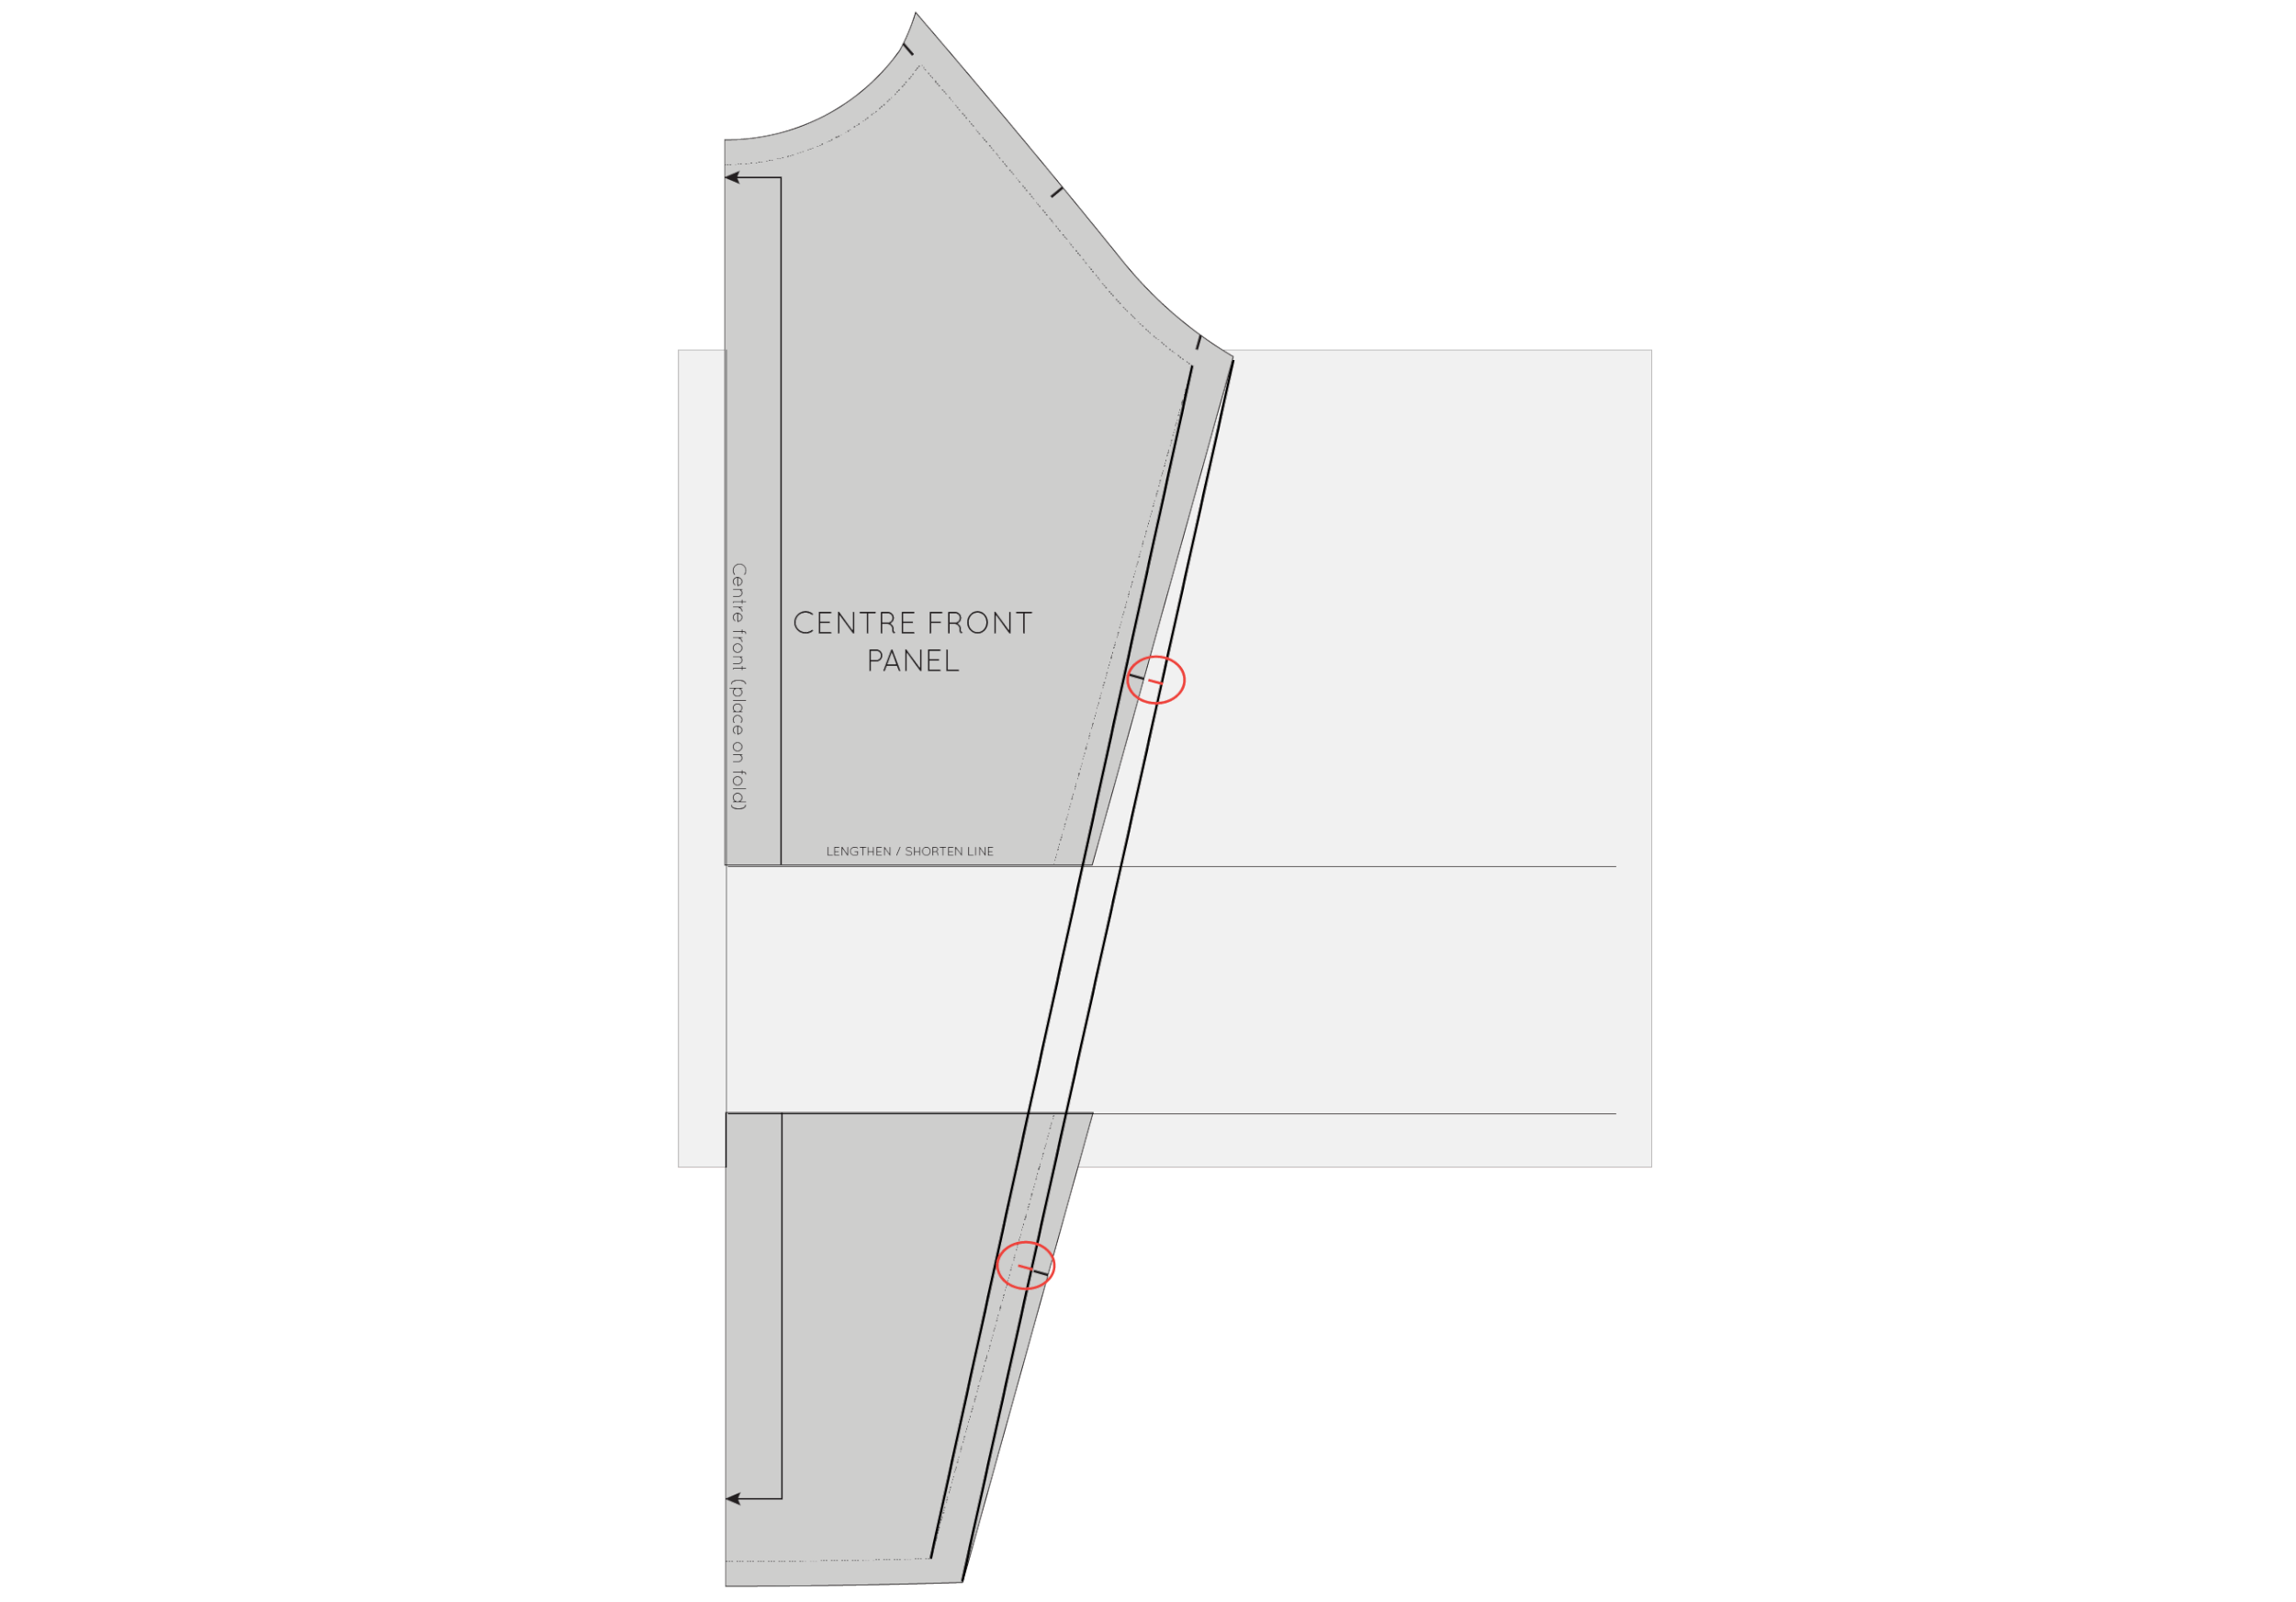
You will notice that with your new seam, the notches have become slightly displaced. Extend the original notches until they meet the new seam line.

At this point you can either cut off the excess paper on the pattern piece, or trace the new lines to create a completely new pattern piece.
Repeat for side panel

Repeat the process for the side panel. In this case, you will need to draw the grainline in the centre of the pattern paper. Make sure you add the same length to each piece. For example, if you added 10cm (4in) to the CENTRE FRONT PANEL, you will need to add 10cm (4in) to the SIDE PANEL.

Re-draw the panels in the same way you did on the front piece.
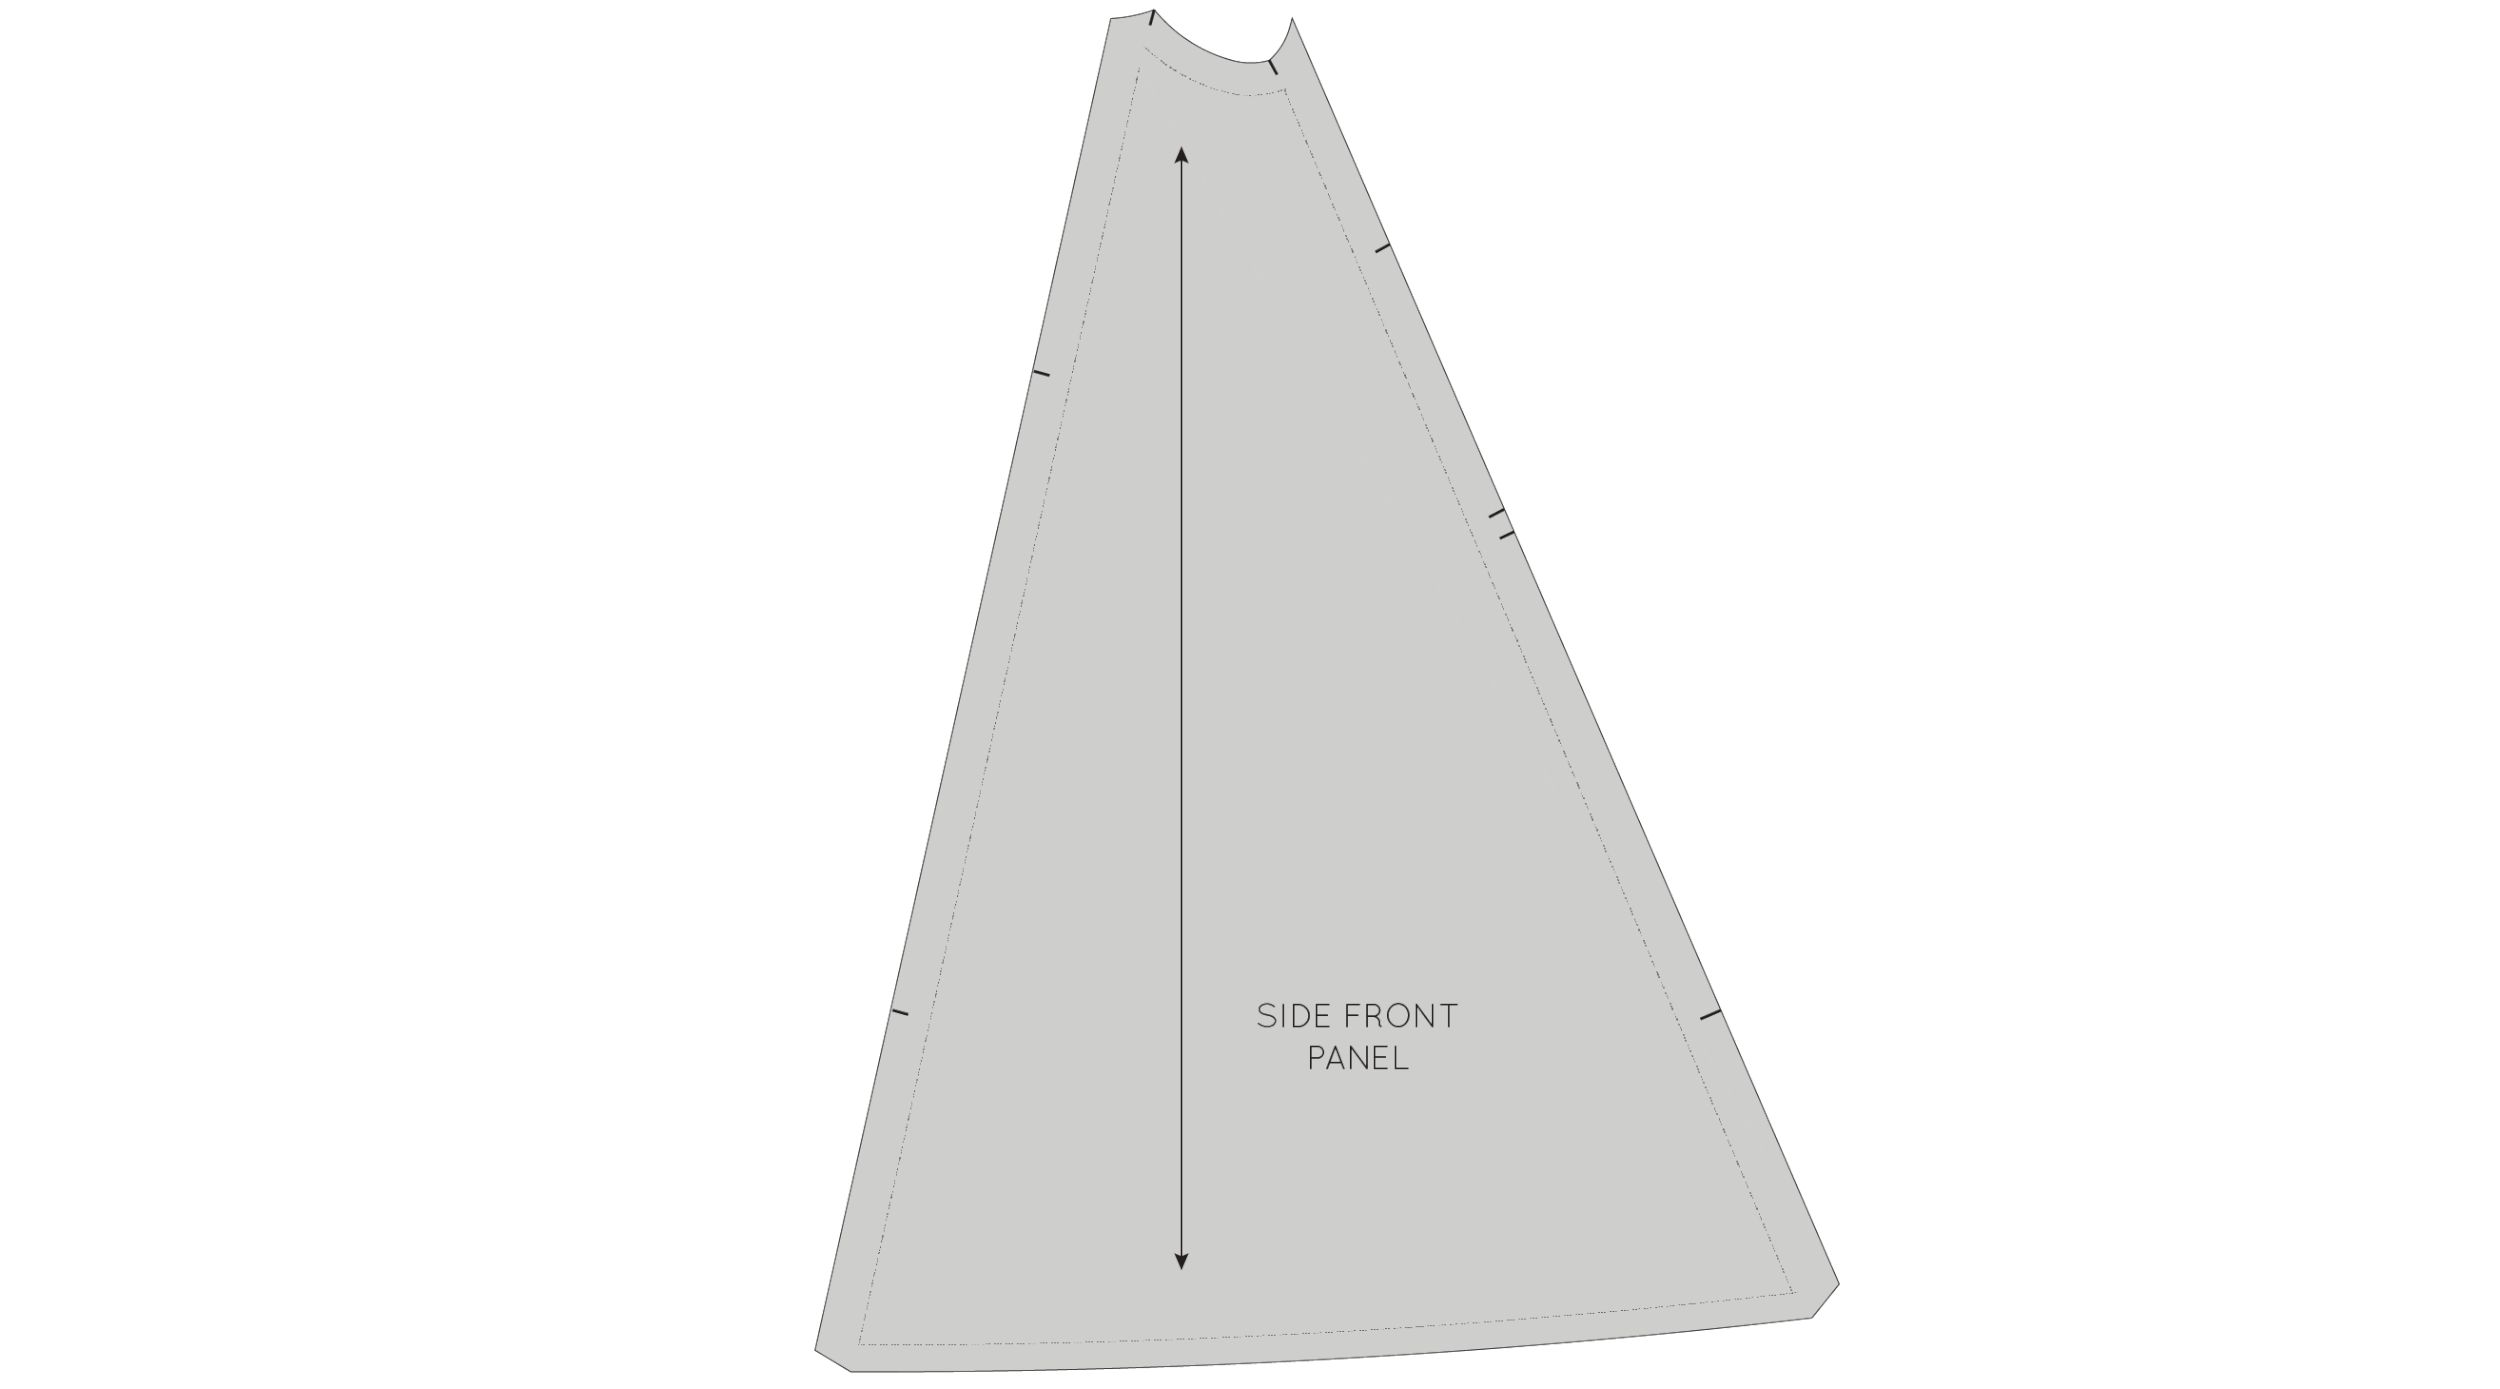
Move the notches so they are in line with the new seam lines. Cut out the piece or trace onto a separate piece of pattern paper.
Check pattern pieces
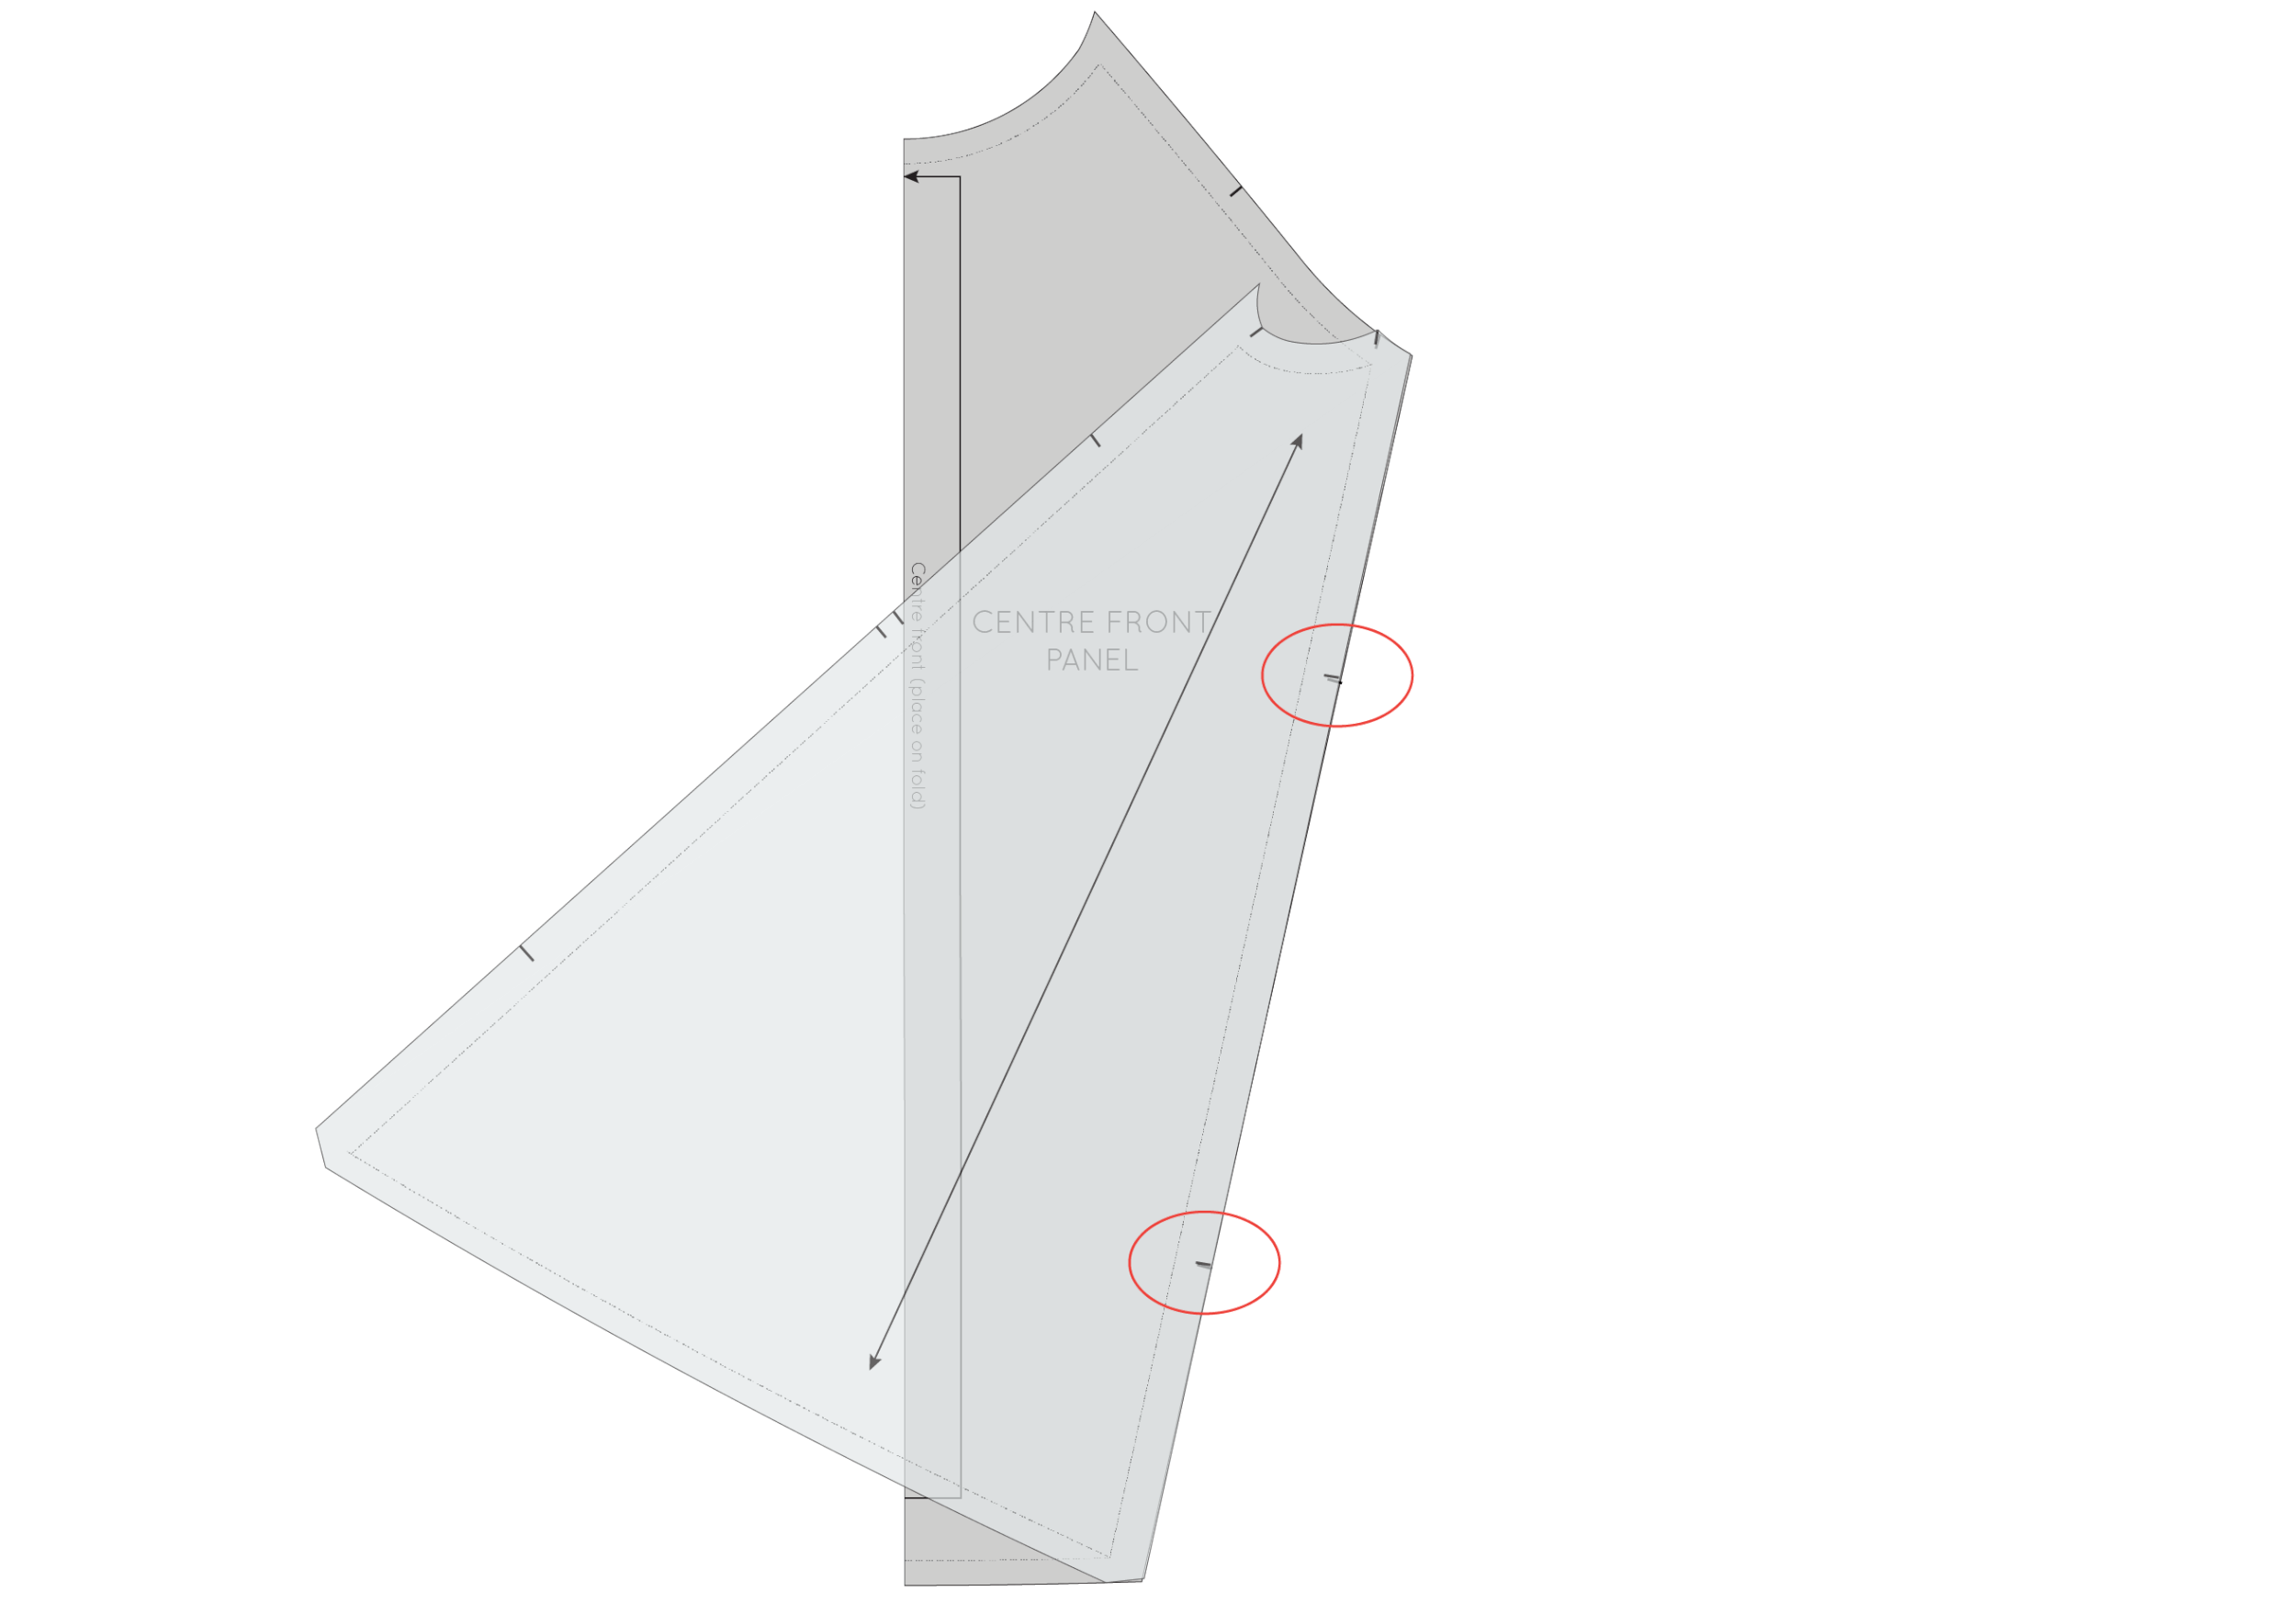
Before going any further, check that the pattern pieces fit together properly and that the notches line up correctly. To do this, place one piece on top of the other, aligning the stitch lines as if you were sewing the pieces together (you will need to flip the SIDE FRONT PANEL so that it's right side down).
For more detail about how to go about checking that your patterns fit together nicely, you can check out this tutorial.
Add length to the back panels

To add length to the back pieces, you will first need to tape the LOWER CENTRE BACK PANEL to the UPPER CENTRE BACK PANEL. This way you can make the adjustment and then re-cut the LOWER CENTRE BACK PANEL piece, so that everything remains in proportion (you don't want to add all the length to the UPPER CENTRE BACK PANEL as it would really change the design of the top). To do this, align the stitch lines of each piece, one on top of the other, and tape place.

Cut through the 'Lengthen / Shorten lines' on each piece, in the same way you did for the front pieces. Add length to each piece (the same amount you added to the front) and then re-draw each seam line.
Re-draft back panel pieces

Measure the stitch line on the panel line. On the original pattern (before the adjustment), the panel line cuts the seam about three-fifths down the seam line, which means we need to find three-fifths of this new panel line. To do this, measure the line and then multiply it by 0.6 (three-fifths as a decimal).

Measuring down from the top of the panel seam, mark a point three-fifths down from the top (the measurment you found in the prvious step).

Mark a horizontal line (perpendicular to the centre back) through the point marked in the previous step.
This will be your new panel line.

Before splitting the piece into two separate pieces, mark a double notch on the seam line. This means that when you separate them, you will have a marking for how they go back together.

Cut through the new seam line - separating the pattern back into two pieces.
Add seam allowance

Add 1.5cm (5/8in) seam allowance to each side of the cut line - moving the notches to meet the edge of the pattern. For more detail on adding seam allowance to a pattern, check out this tutorial.
You will notice that on the LOWER CENTRE BACK PANEL piece, the seam allowance doesn't follow the same angle as the panel line. This is so that when this seam is stitched and the seam pressed down towards the lower panel, the seam allowance will sit flush with the seam and not stick out. For more notes on this and a detailed explanation of how to use this technique yourself, you can take a look at this tutorial.
Check back pattern pieces

Again, you will be wanting to check that the pieces fit nicely together and that the notches are in the right place. You may have realised that the middle notch on the SIDE BACK PANEL will no longer be in the correct position as we have added length to the LOWER BACK PANEL piece.

A : Place the SIDE PANEL on to the BACK PANELS, lining up the stitch lines, one on top of the other. First, check that they are the same length. If they are not, have a look at this tutorial on checking and truing sewing patterns, for how to adjust the seam.
B : Check that the notches are in line (and if they are not, move one set of notches so they are in the same position). Mark a new notch at the point where the horizontal seam in the back panels meets the BACK SIDE PANEL.
And the last thing you will want to do, is also check that the front and back side panels match correctly (do this in the same way you checked the pattern pieces above).
Lengthening the sleeves

If you would like to add length to the sleeves of the Collins Top, you can do it in exactly the same way as we did for the body pieces. Here you can see an example of this.
I hope this helps and you are feeling less daunted about adding length to the Collins Top!