When planning projects for the year for Curated, we like to ask our community what types of projects they want to see and what skills they want to learn. This year one of our Foldies responded with:
"I would be interested in a pattern for a tote bag or work tote (like an LL Bean Boat and Tote or the Core tote, with interior pockets) and some small pouches for makeup or cords or corralling other small items. There are a lot of those patterns in the world already but I wonder what they would look like with the ITF vibe and style. Like if the Hove were a tote bag, what would it look like? Or if the Collins were a small zippered pouch?"
This idea inspired me instantly!
Due to the ethos behind our patterns (designs that last the test of time by avoiding seasonal trends) I often find myself dreaming of revisiting past patterns and transforming them into new garments or expanding the pattern. So much time, love and care go into each of our designs, that it sometimes feels like a waste that certain elements can only be used once (or twice if the pattern has a variation).
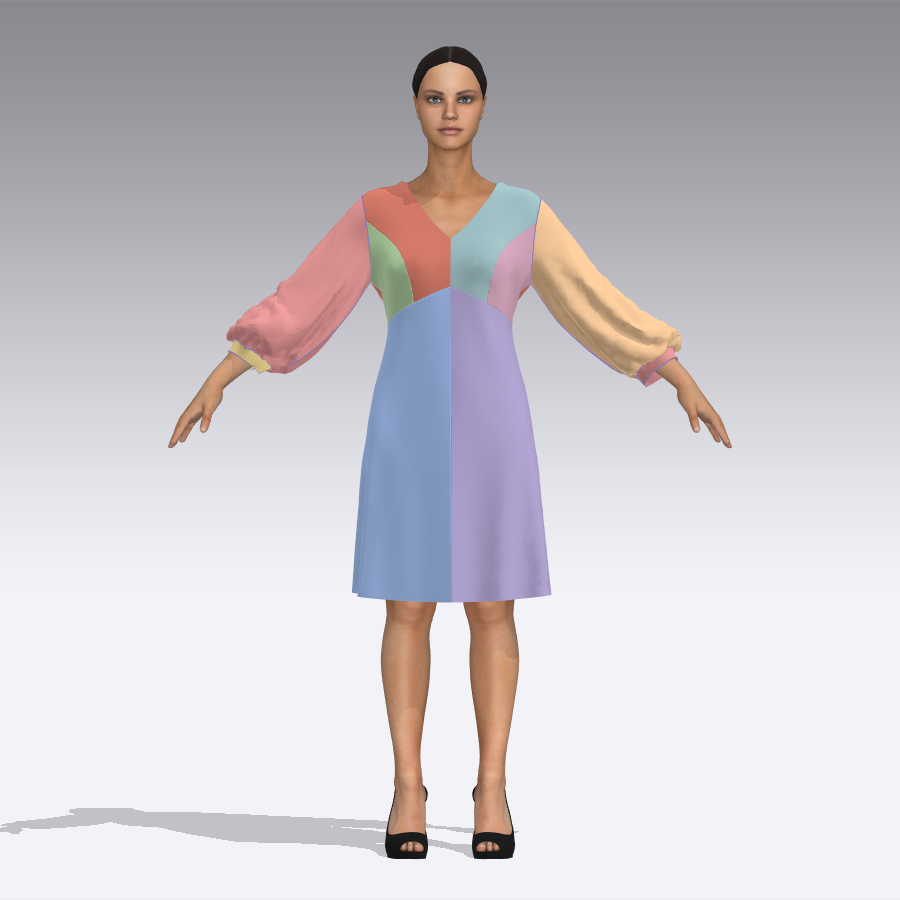
When I was learning to use CLO3D (read this post if you’d like to know more about the digital garment design process) I used the opportunity to import some of my older patterns to see what I could create if I revisited some of the elements that I love and push them a little further. This is how I ended up creating the Acton with sleeves (above).

During this time I also played with the Collins top pattern, first mashing it with the Neale jumpsuit and then playing with the idea of a Collins dress. I won’t give too much away because the Collins dress experiments were actually so successful that I decided to create a pattern that will be one of our projects next year! But never had I thought about bags inspired by our patterns, and suddenly it was all I could think about.
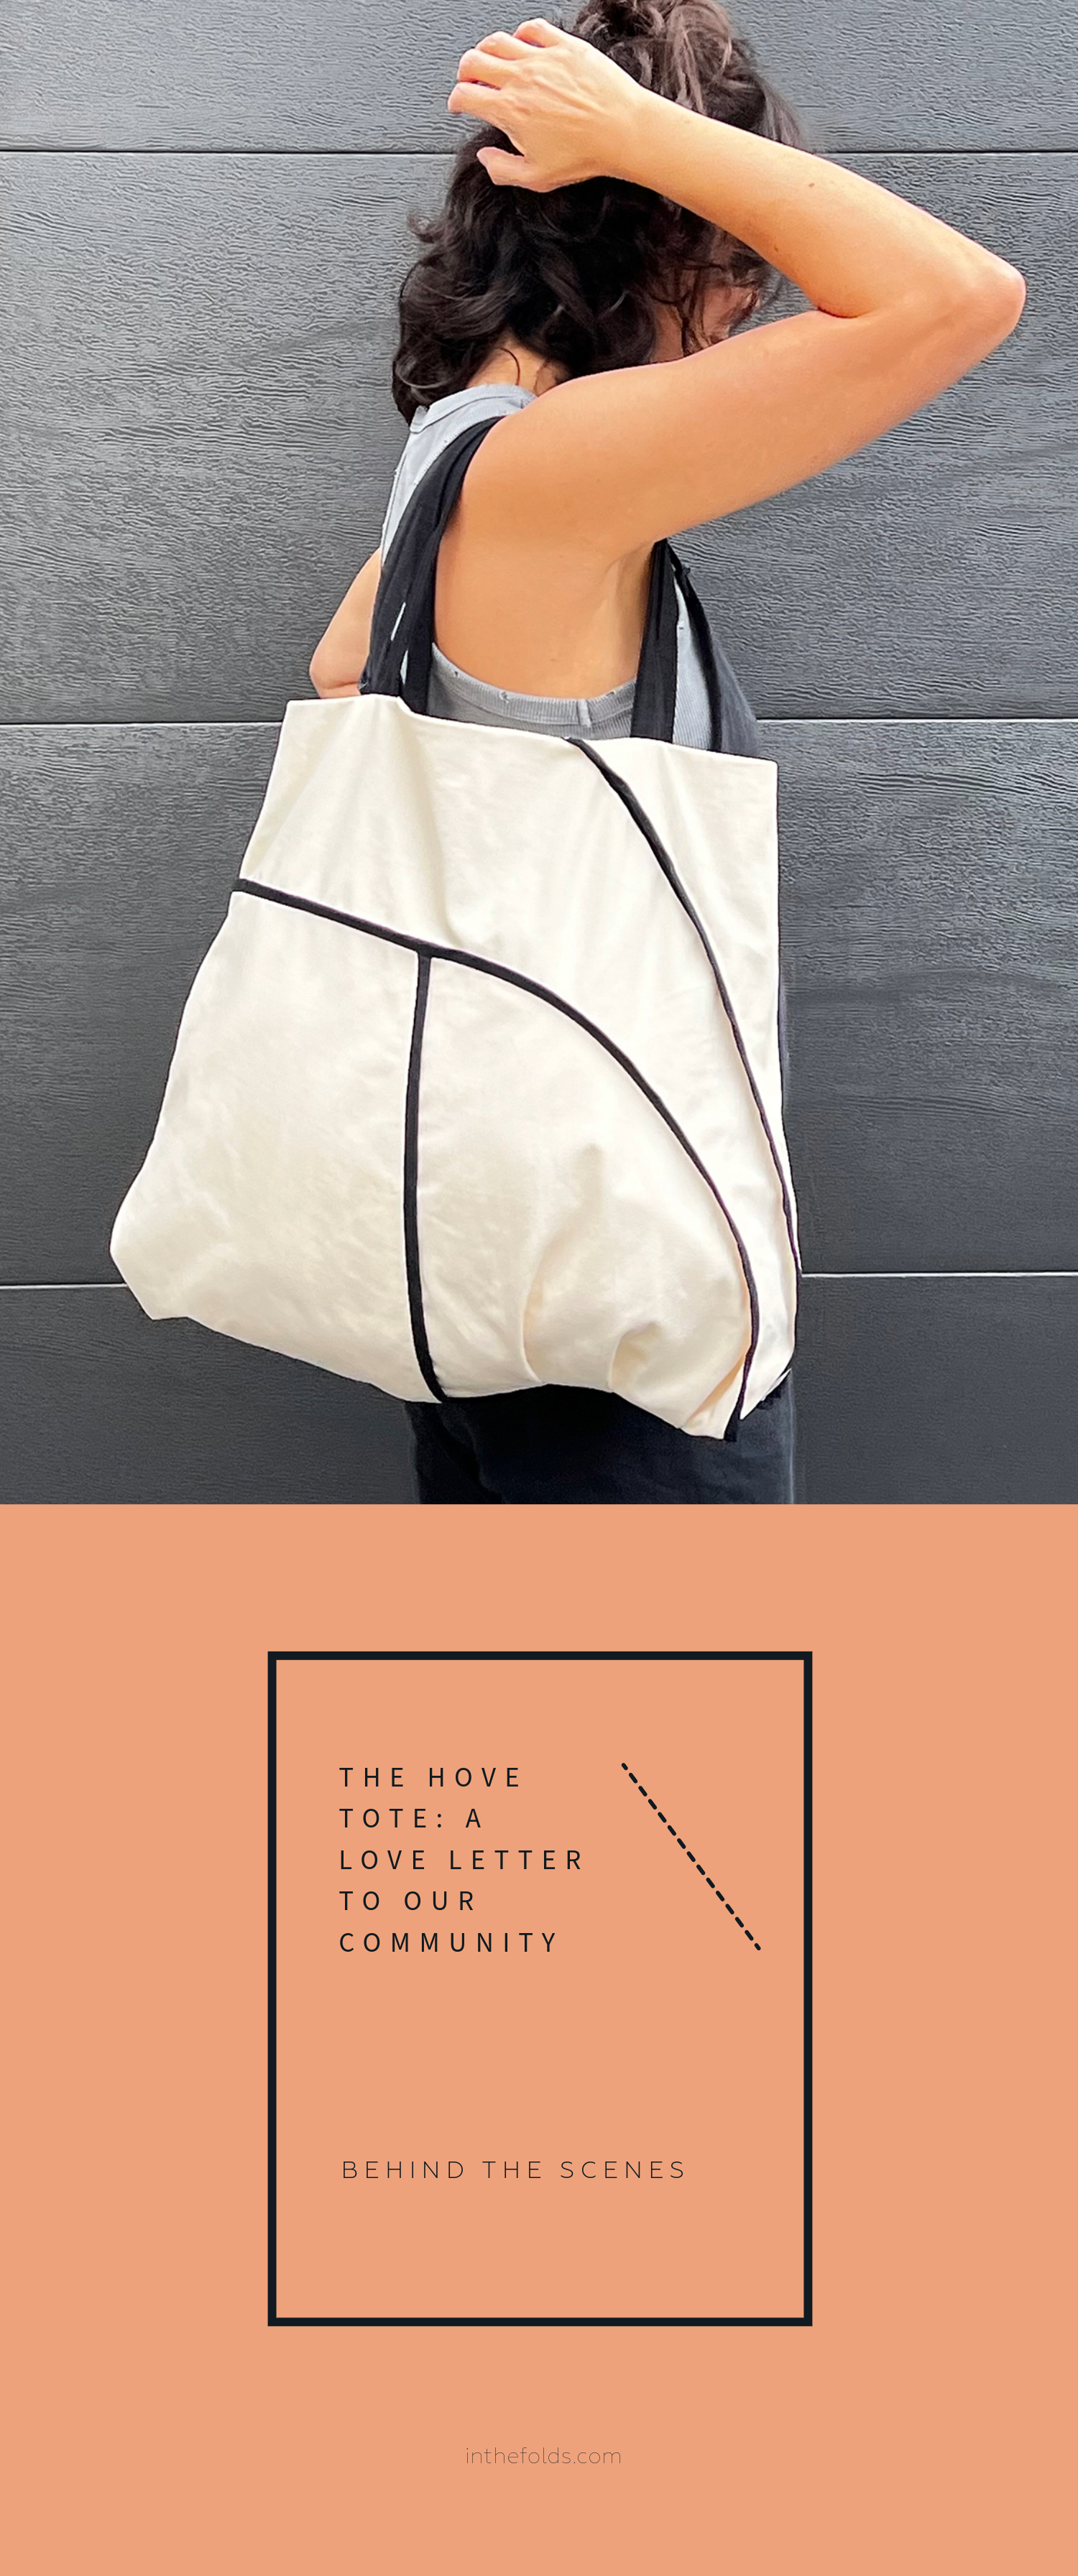
Getting started designing the hove tote
We like our December project to be about gift giving. Whether it’s for yourself or someone else, our aim is to create a project that doesn’t rely too heavily on good fit so that it can be easily made and easily gifted. A bag fits this brief perfectly!
I first thought I would jump straight on the computer and use the finished Hove jacket pattern to draft something in Illustrator or Clo3D, but after a few attempts it was not getting my creative juices flowing. I decided to go back to my favourite way of creating interesting shapes - through drape.

I took my Hove jacket and used a hair elastic to tie up one section so I could create a rough bag shape and voila! I suddenly saw it taking shape. At the time I didn’t know this would become the bag design, so the photos I shot were more for my own reference (rather than sharing on the internet!), rather than explaining the design process, but I think it’s important to show the reality of what the design process is really like.
As I was playing like this I realised I wanted to draft a bag that wasn’t a conventional shape. I wanted it to have pleats and volume and panel lines with seam finishes on the outside. I instantly felt excited when I thought about how our Curated community would respond to the design.
When I started the Curated by ITF subscription, I felt the need to add some simpler pieces (in design, not necessarily in construction) to our collection. Up to that point all our patterns had a lot of design lines going on, which I love and is exactly what the ITF design aesthetic is. It’s my personal design aesthetic and it’s how I’ve designed since long before I started In the Folds. But, I felt we needed some more basic pieces that worked well with what was already in our collection. A dress to go with the Flynn and Hove, a shirt to go with the Darlow pants etc. Pieces that also allowed our members to focus on building their skills.
But I know our community loves to come back and sew one of ‘signature’ pieces - a pattern that is just something a little bit different. It has interesting panel lines and an interesting construction process - something that you would like at and instantly know it was one of our patterns! I hadn’t created a pattern like this since I had my daughter last December, and the process of going back to this way of designing felt liberating and like a chance to get back to myself. It also felt like a chance to reconnect with our community through design.
This feeling continued throughout the creation of this pattern. Each time I made a decision or ironed out a problem, I would think “That’s for you, Foldies!” (Foldies is affectionate name for our community members.) I started to think about the process of making this pattern as a love letter to our Foldies. With each interesting technique or section of the pattern, I thought about our community excitedly sewing that section too, and the confidence and skills they would gain through the process.
How the hove tote pattern was made
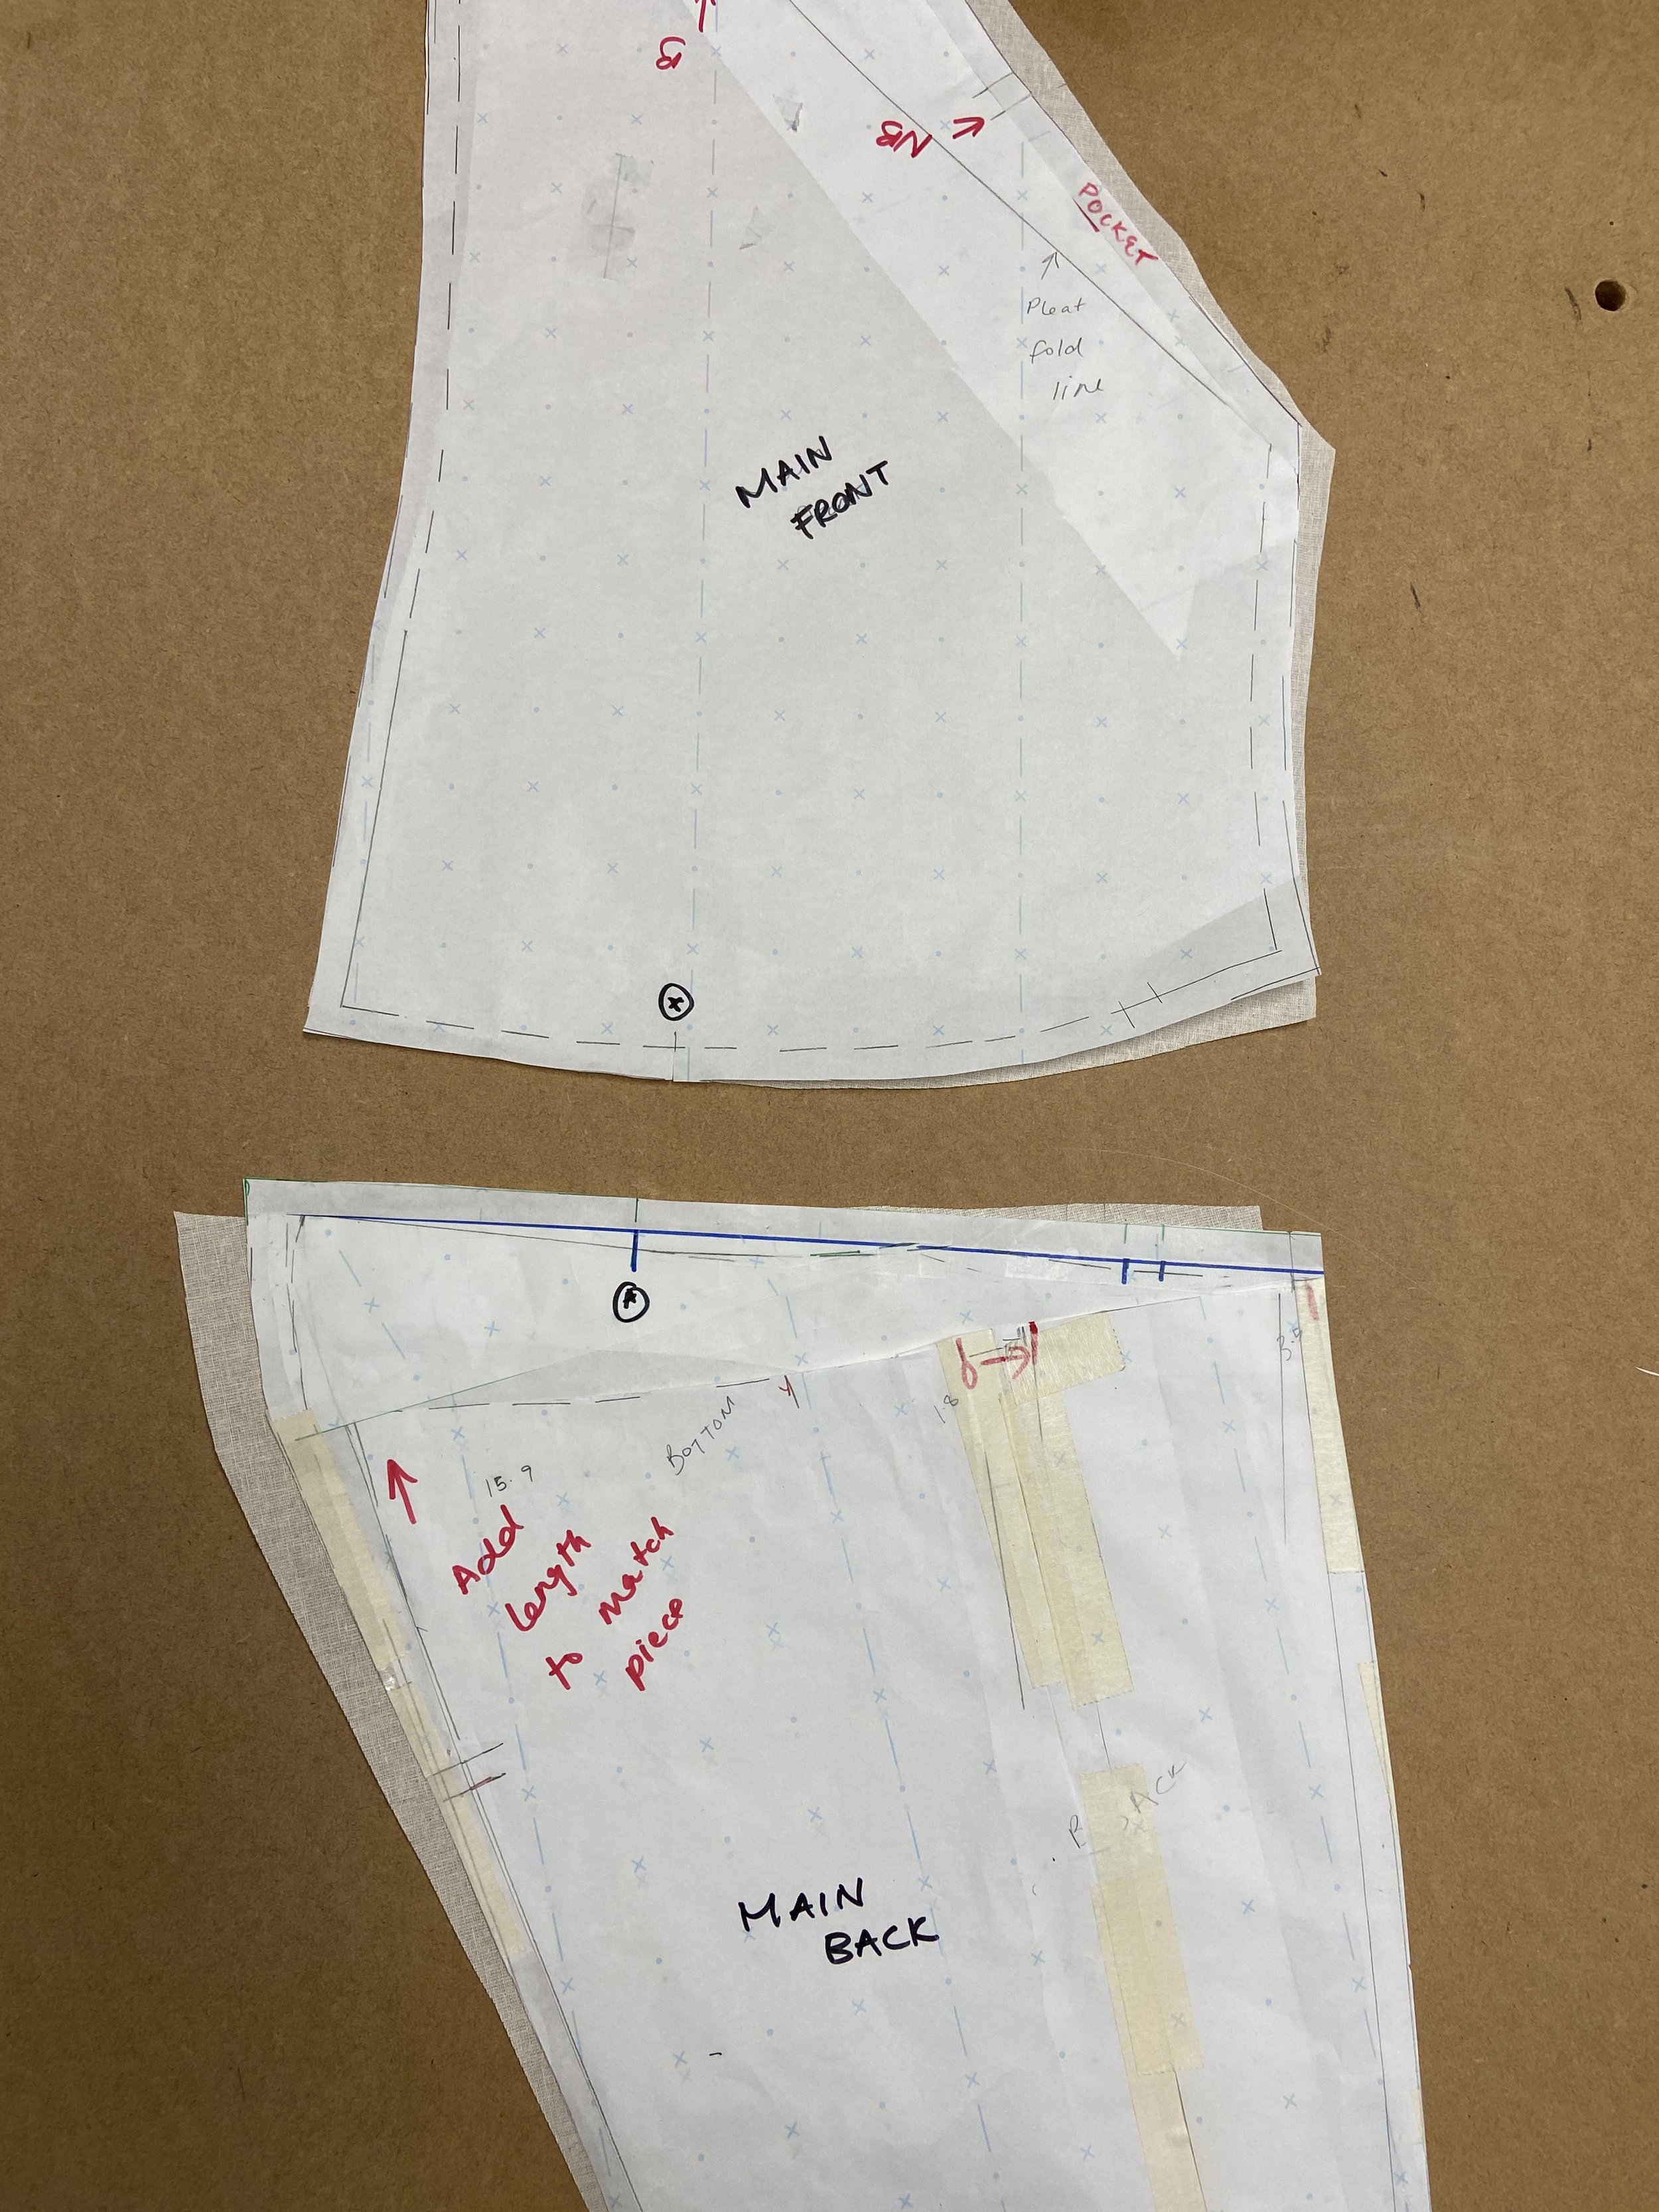
To make the pattern I took my draped Hove and traced it as well as I could onto pattern paper using a tracing wheel. I wasn’t worried about it being perfect because what I had at this point wasn’t anything like a bag. What I needed was to translate the essence of the drape into a bag design, rather than copy it exactly. I traced the shapes onto paper and then set out to work out what pieces would join to become panels.
When I work in this way I try to figure out as much as I can, without overwhelming myself. So I create as much of the pattern as I can, but if something doesn’t quite work yet, that’s okay. I’ll stop at that point and make a toile so I can figure it out through making. This way of designing means that I am not trying to resolve all issues at once and can just tackle one problem at a time.


Sewing a toile to figure something out is my favourite problem solving technique. It takes time - as the pattern needs to be cut out and then sewed, but it very quickly shows me where the problems are and what I need to do to solve them. It also means I can try different ways of putting something together and over time see what techniques will be the best for our community.
It was through this approach that I decided to develop my own type of seam finish. I had planned to sew the seams as regular bias bound seams, with the seams on the outside, but after sewing one of my samples I realised that it can be tricky to get a nice consistent distance between the bias binding and the seam, especially when working on curves. This isn’t such a big deal if your seams are on the inside, but when on the outside it stands out.
Although we like to encourage our community to not obsess over perfection, I’m the first to admit that it’s easier said than done. We all want to wear (or carry, in this case) a garment we can be proud of, and this normally means something that doesn’t look homemade. I also realised, after experimenting with an alternate seam finish, that by putting the row of stitching inside the bound seam, the bag looked less like it was inside out and more like the seams are supposed to be like this.
When I work in this way - using pattern making and toiling to test ideas and solve problems, I like it to be a completely hands on process. I try not to stop to solve problems. I just take note of them and continue on until I can’t go any further without another toile. To keep track of the changes I need to make, I write directly on the toile or pattern pieces so I won’t forget, or I take photos or videos to remind myself of what issues need to be resolved (if they are things I can’t write on a pattern piece).
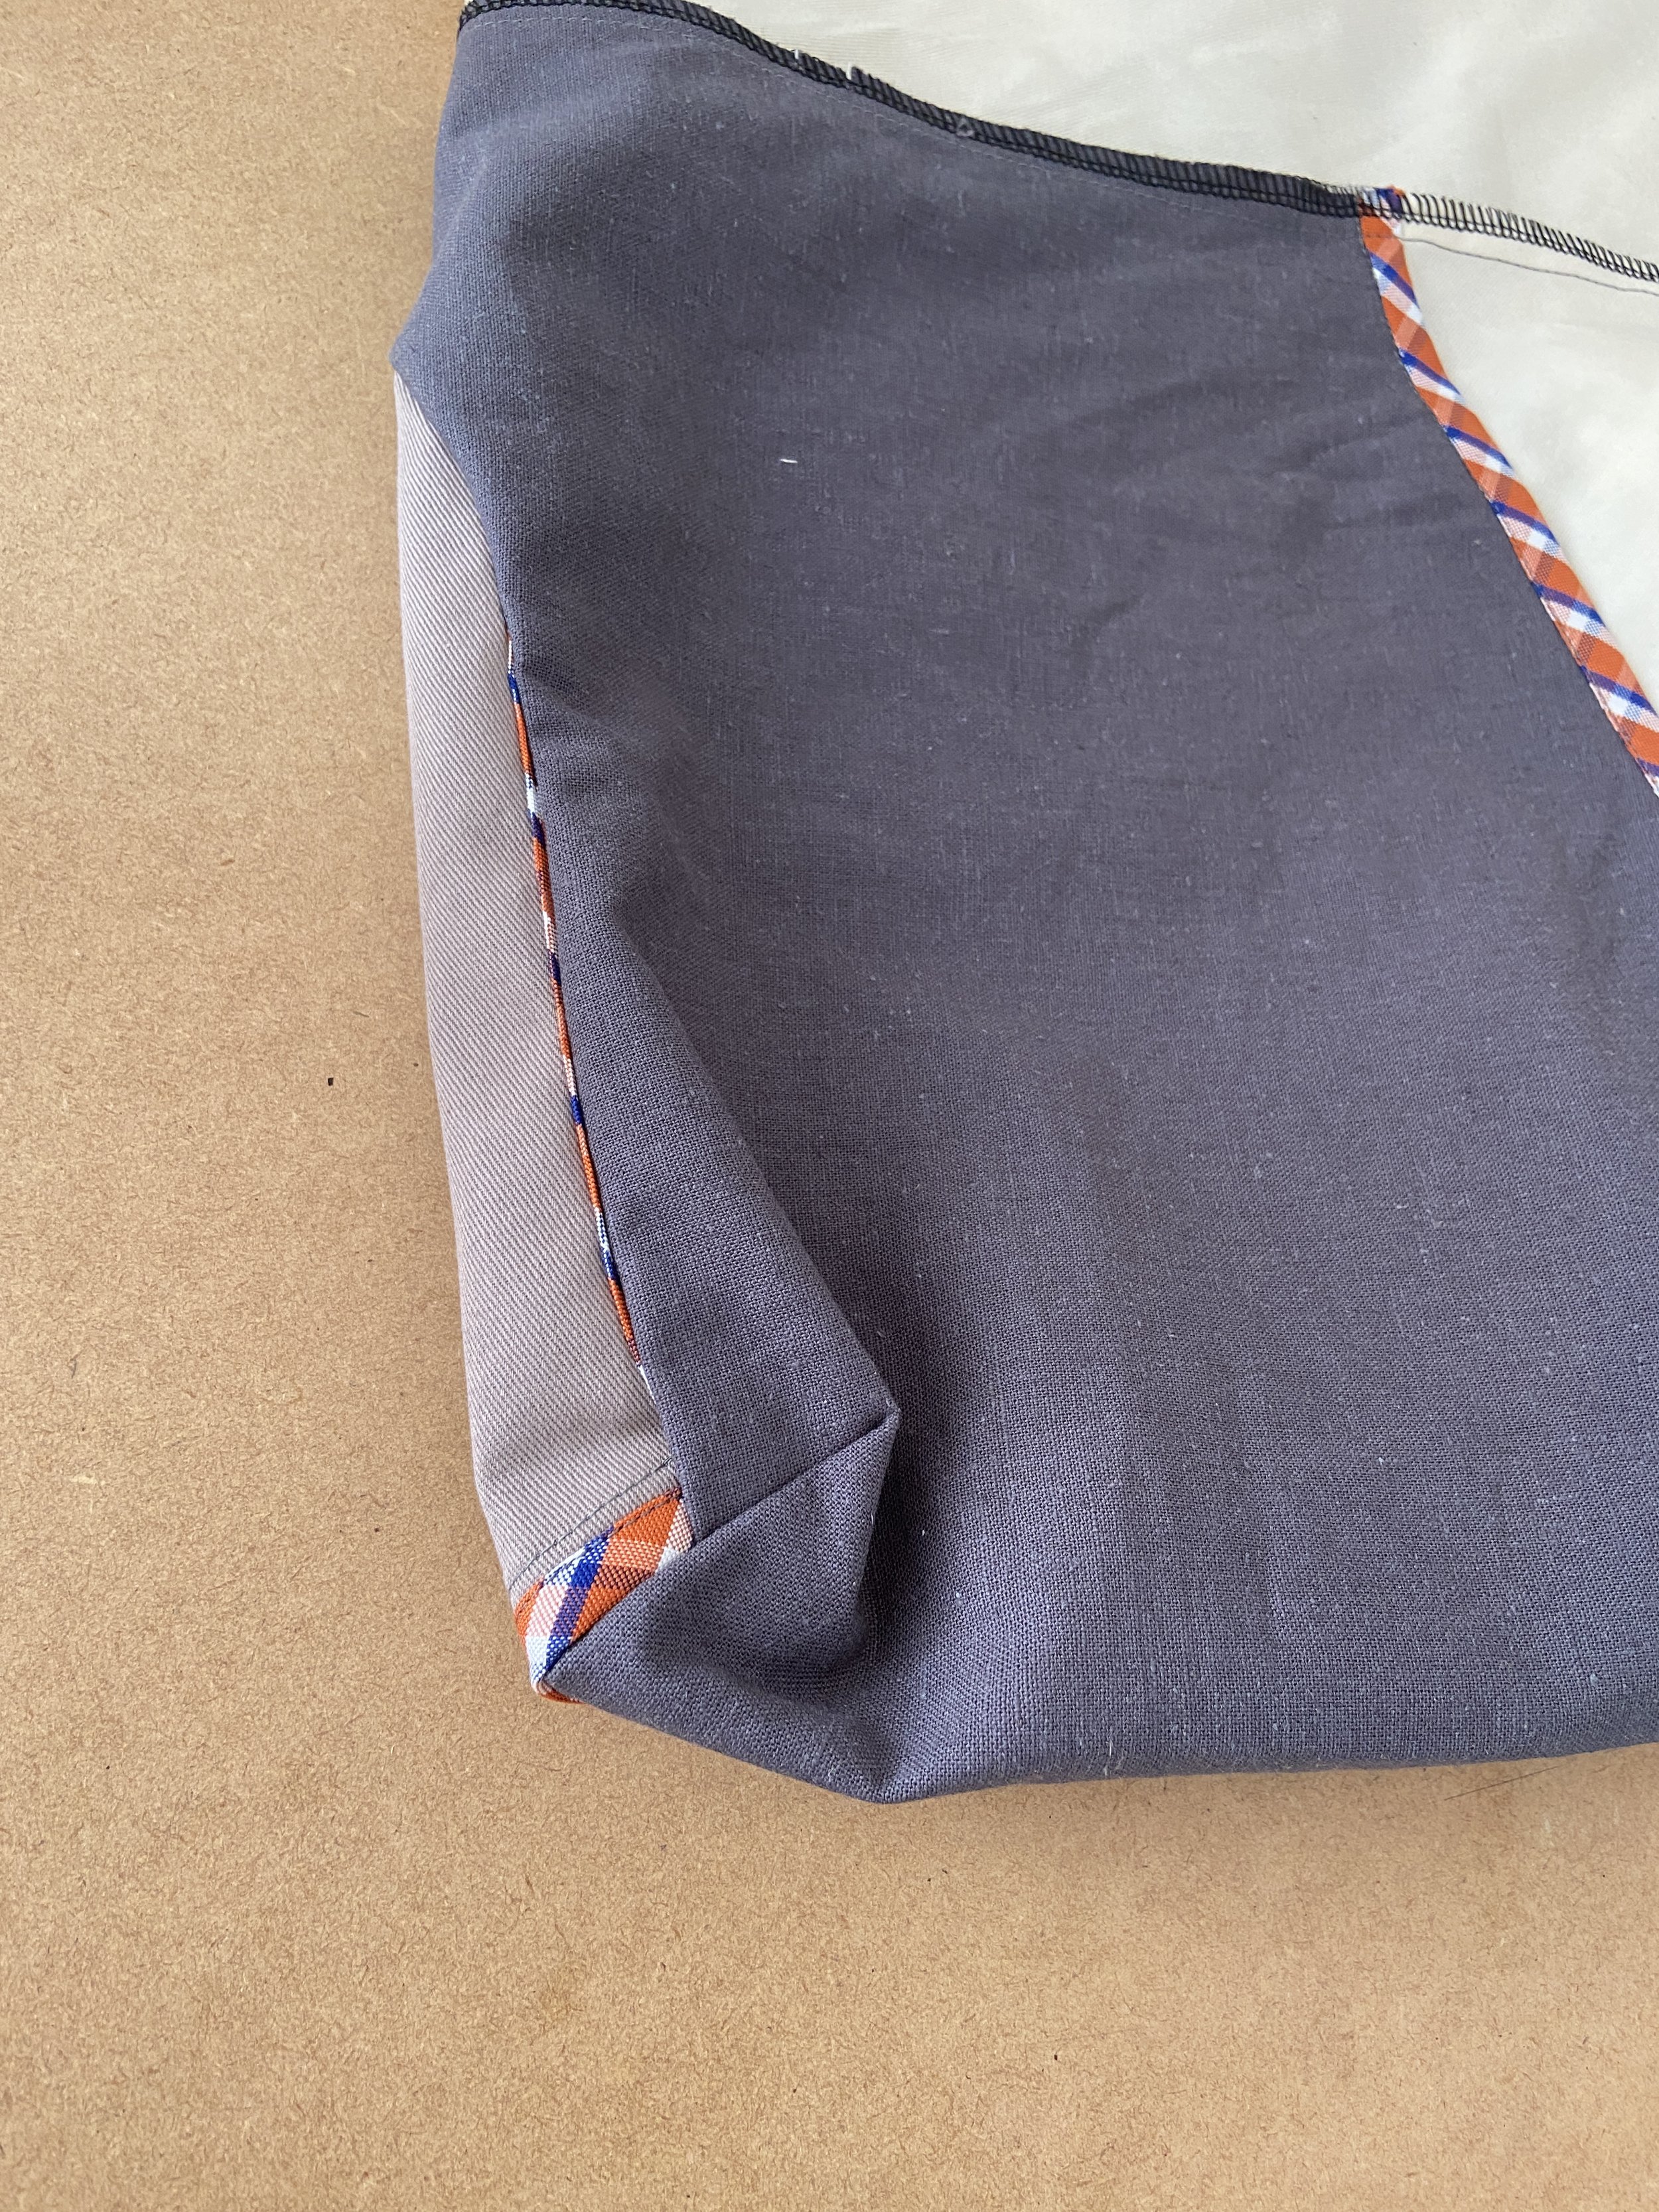
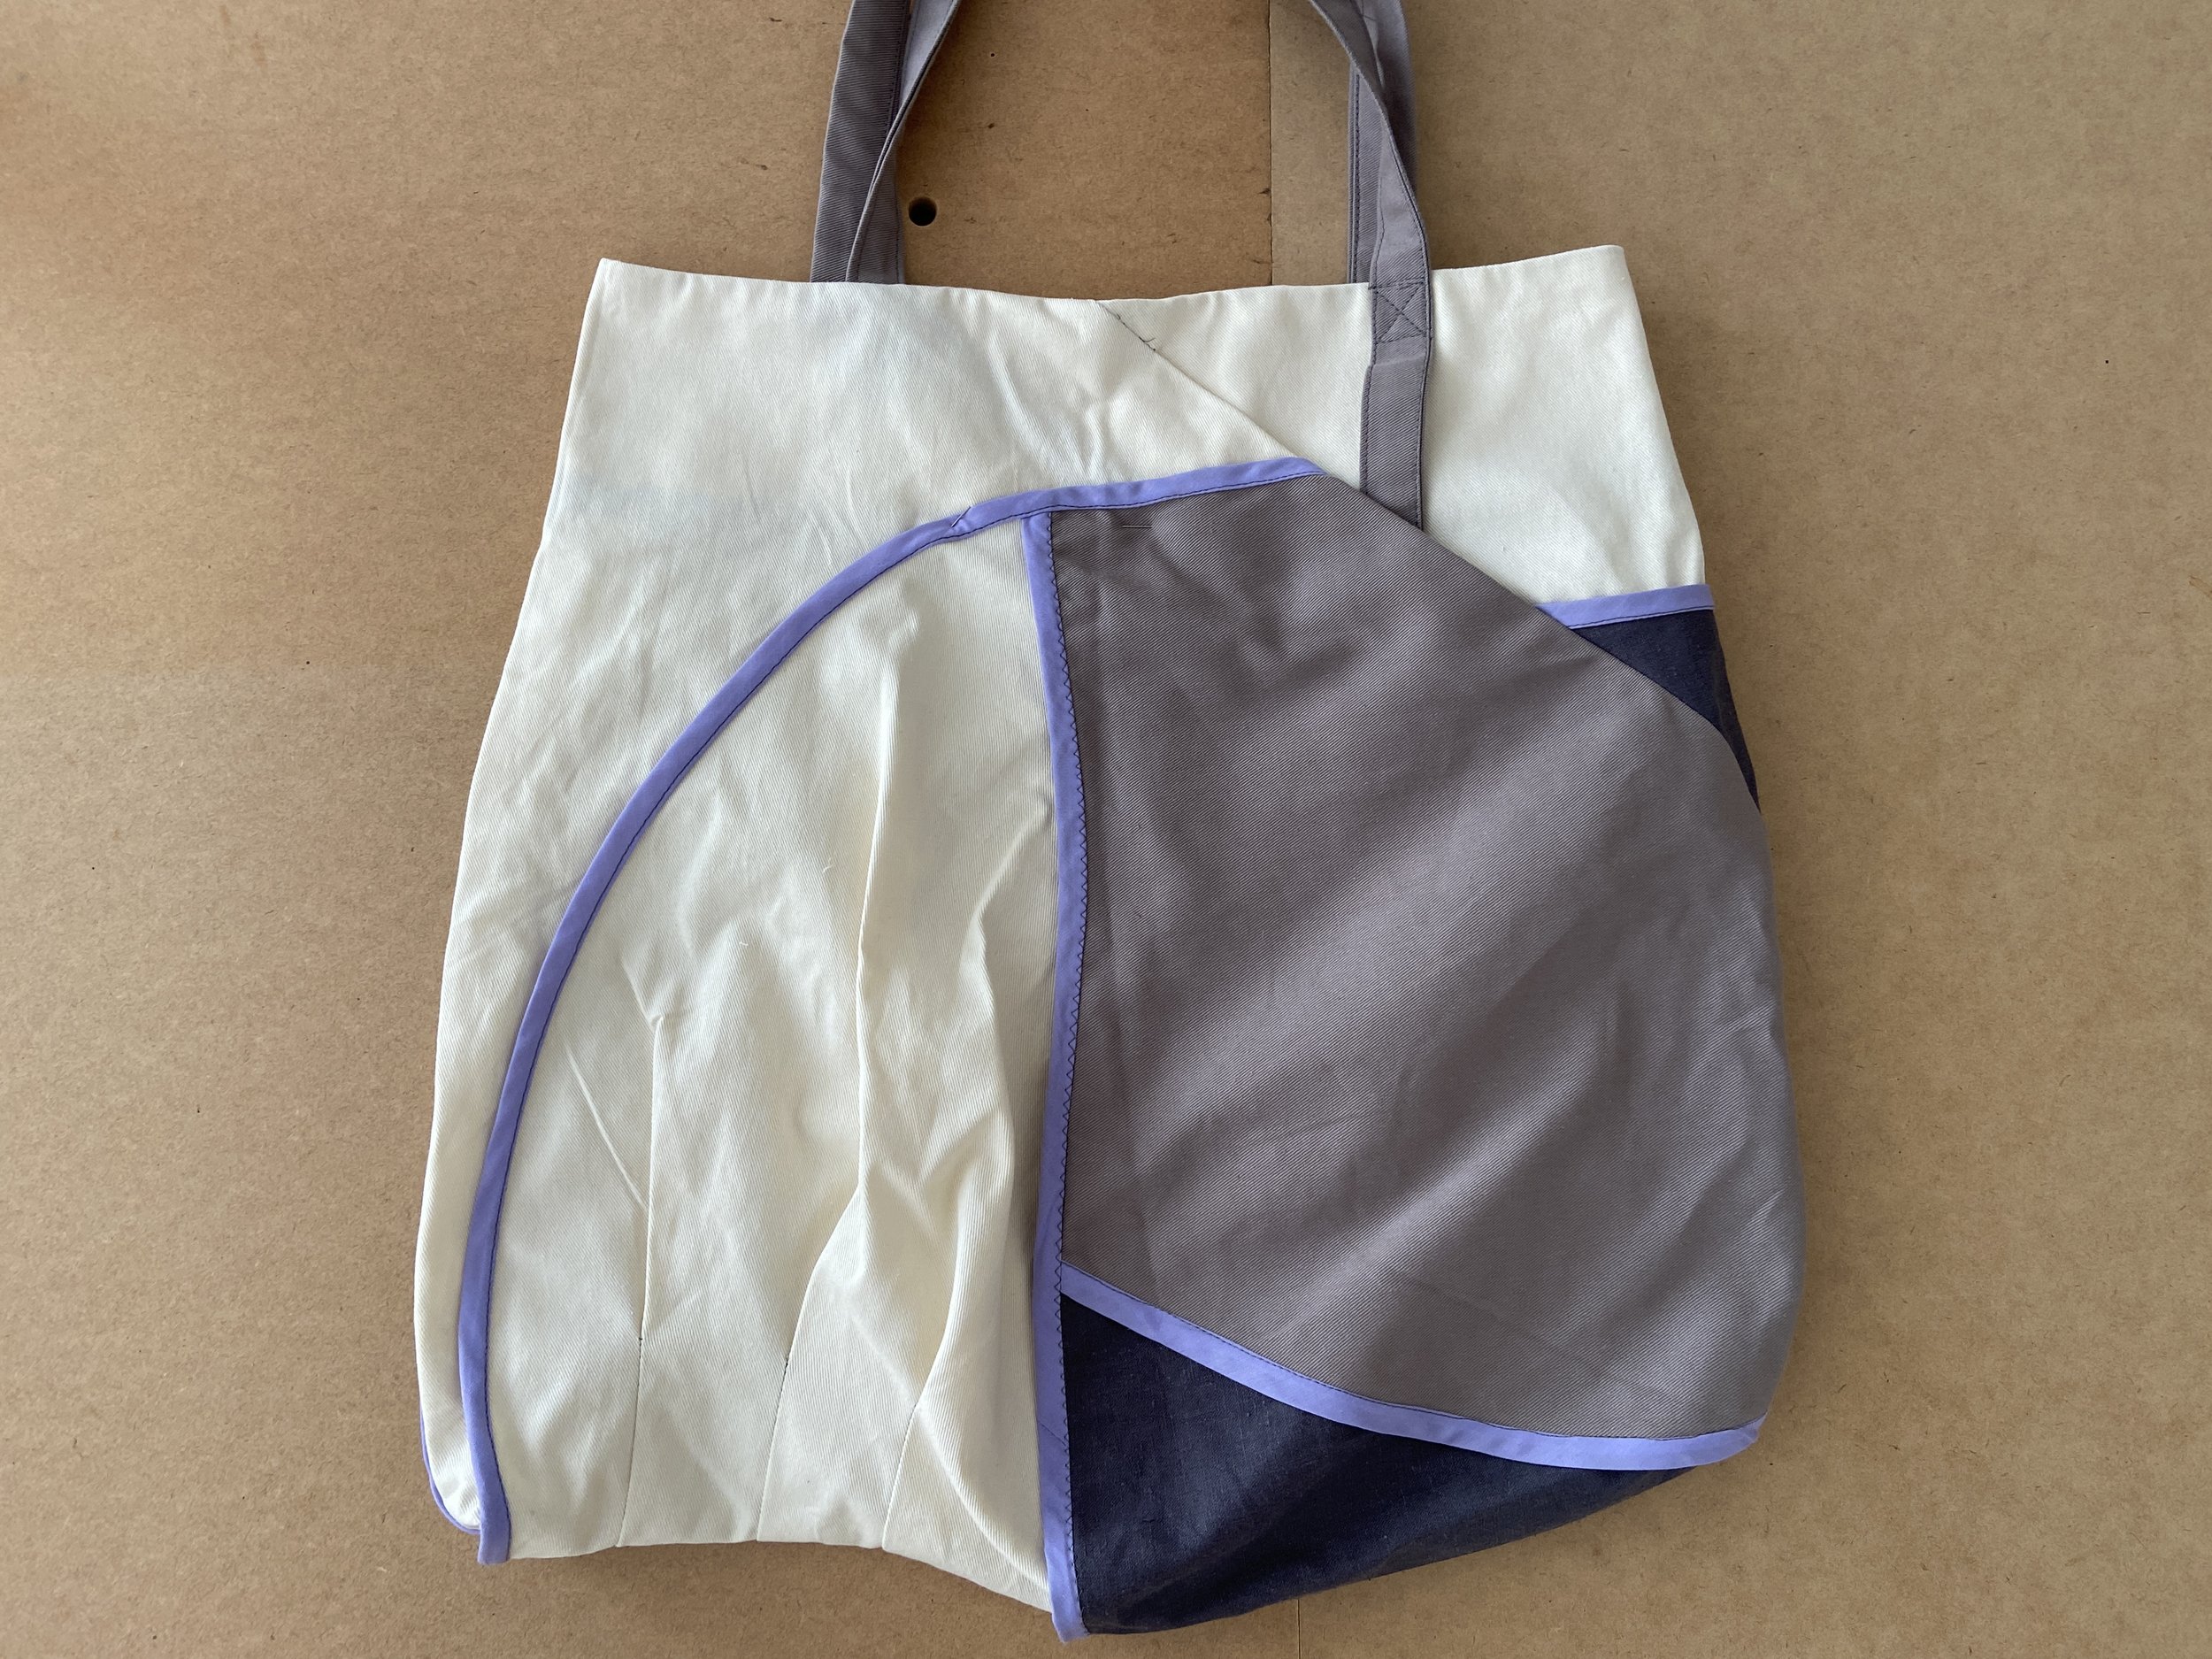
For any pattern issues that I notice as I go, I write on the pattern pieces. This means that when it’s time to make the alterations to the pattern for the next toile, I can do them all at once as the notes are all there on the pieces. An example of this is where I realised that the binding could poke through the seams on the inside if you aren’t careful (image above). Making a sample with the correct seam finish was crucial to noticing this as I would never have considered it otherwise. I continue working in this way until all the issues are resolved and the pattern feels complete.
When I finished making the paper pattern and then digitised it, it felt like I’d answered the brief. I could see parts of the pattern that reminded me of the Hove jacket - that long sweeping curve and the pleats, for example. The seam finishes (although this time on the outside) was a nod to the Hove - even the facing that finishes the top edge reminds me of the hem facing on the sleeves. It also has that sense of playfulness in its construction which our customers have come to expect from our patterns. Even the most seasoned makers will get a surprise or two when working with one of our patterns, and that is the thing that I love about designing in this way. It means that you can make a piece like this over and over (Hello, Hove totes for everyone this holiday season!) and never get bored of the process.
Was this what you expected for a fashion designer’s process? I’d love to know - leave a comment below!
season’s greetings and happy new year!
With the end of the year rapidly approaching, we’re wrapping up our weekly emails until mid January so our team can have a much-needed break. We wish you all a wonderful holiday season and hope you are able to take some time for rest and relaxation, and of course, a generous helping of sewing!
Happy sewing,
Emily
Join Curated by ITF - find your new community!
If you're looking to be supported, motivated and inspired through your sewing journey our Curated by ITF subscription might be just what you're looking for.
As well as a monthly sewing project, you’ll gain access to our private member platform where you can receive feedback and advice from the ITF team and other experienced makers, participate in sew-alongs and make sewing besties all over the world!