skill-building

MAKER SPOTLIGHT: JO'S APPRECIATION FOR THE CURATED COMMUNITY & STAYSTITCHING


The Curated by ITF private community is a wonderful place where members get to share their love of sewing, inspire and motivate each other, and help others when they’ve hit a roadblock in their sewing journey. We are so impressed by the knowledge that our members hold, but also by their camaraderie and willingness to share their wisdom and love for sewing.

But, unless you’re a member of Curated it’s not something you can really appreciate. Sure, we can tell you how wonderful it is, but unless you experience it you’ll never really know! So this week, we’re giving you a peek into our online community through the eyes of a long-standing and valued member of Curated by ITF - allow us to introduce you to Jo!


get to know Jo

Lifelong maker, passionate about sewing and gadgets… especially sewing gadgets... and tinkering with vintage sewing machines… and collecting fabric.
— Jo

Hi there!

I am #SewOver50 and have been sewing my whole life. When I was a teenager, I was lucky enough to take several units of a certificate course at TAFE, which set me up with the skills and confidence to tackle any sewing project. I love how the internet makes sewing a social activity and at the same time opens up access to indie patterns like In the Folds, gorgeous fabrics and supplies, along with many new skills, previously never available to home sewists.

As a Sydney local, I originally joined Curated by ITF to support Emily, but I stayed for the lovely community and the reference library of techniques and patterns I am building! The ITF community feels very friendly and easy to engage with. Members are encouraged to share their process as well as their finished makes, ask for help or just start a conversation. So many supportive like-minds!


Join Curated by ITF - find your new community!

If you're looking to be supported, motivated and inspired through your sewing journey our Curated by ITF subscription might be just what you're looking for.

As well as a monthly sewing project, you’ll gain access to our private member platform where you can receive feedback and advice from the ITF team and other experienced makers, participate in sew-alongs and make sewing besties all over the world!


Jo recently shared a post in the community entitled ‘An ode to staystitching’ and we thought it needed to be shared more broadly, so read on to hear some of Jo’s hard-won sewing wisdom!

an ode to staystitching

(Written by Jo M, originally shared in the Curated by ITF private community.)

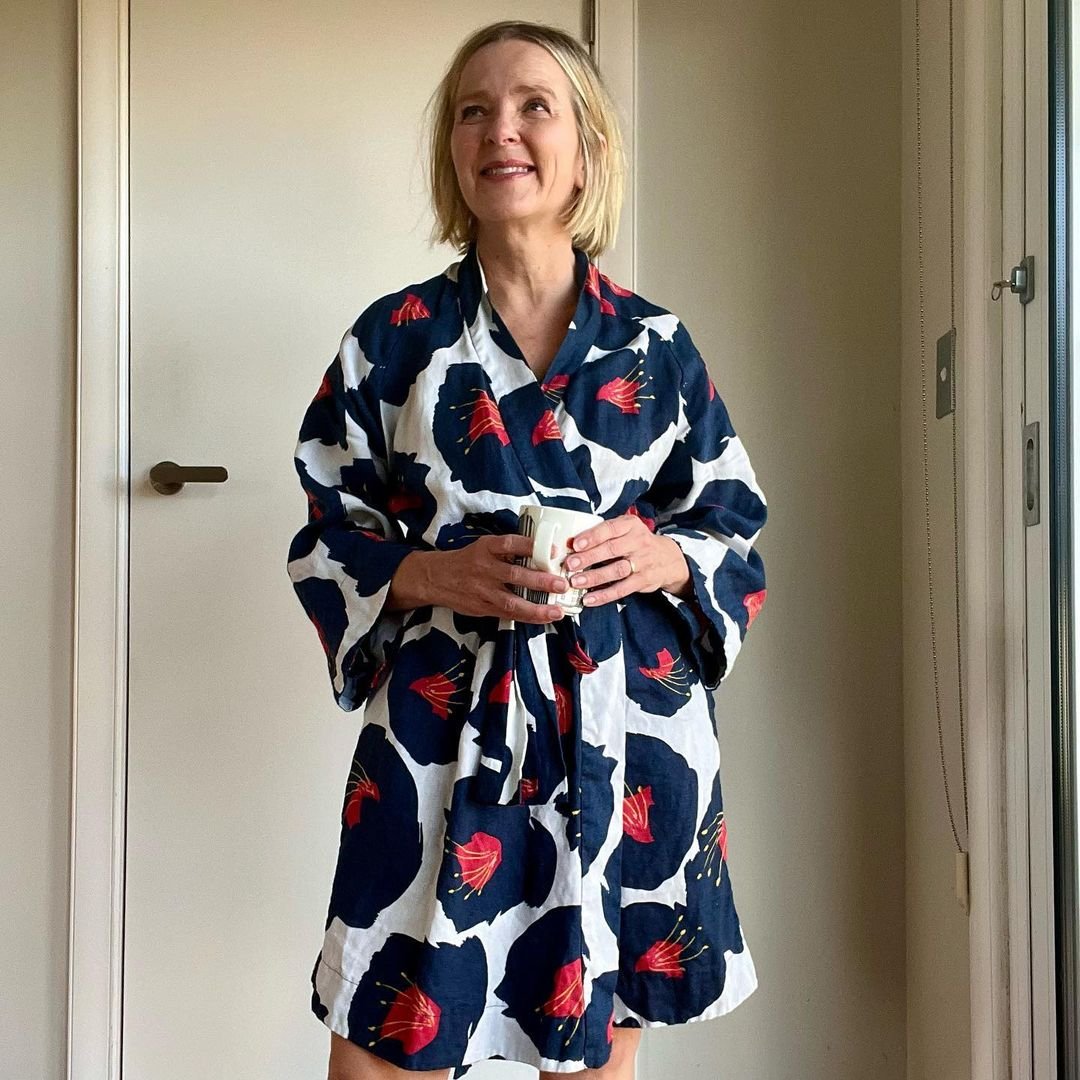
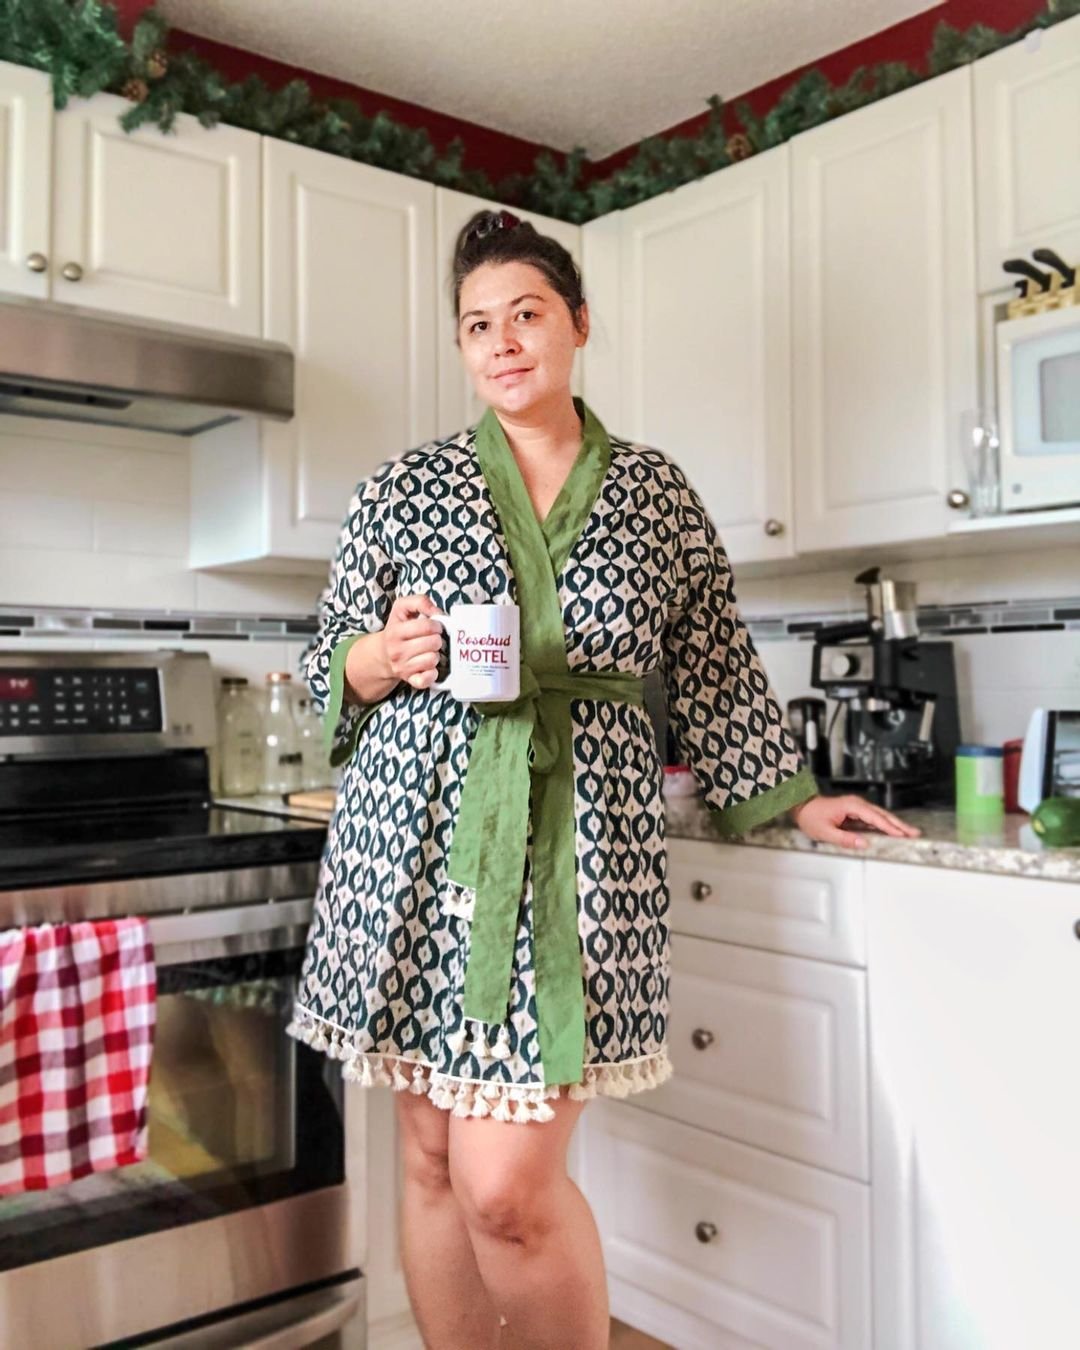
I am about to (finally!) embark on my first Whitlow Robe, as a gift for a special friend, and am reading everyone's wonderful posts from 12 months ago. (Editor’s note: Jo is referring to the content shared in the community when the Whitlow robe pattern was first released back in November 2021.)

So much inspiration and information!

A few mentions were made about the front neckline section of the Whitlow stretching out a bit with handling. I notice that staystitching is instructed in the pattern first up (which I LOVE!!), but I want to suggest a slight tweak in technique might help - the clue is in "directional sewing" - more below…

I was fortunate to have some training early in my sewing "career" back when the Readers Digest Complete Guide to Sewing was our text book. Staystitching can make a huge difference to our finished product and how it wears, so I thought I could share a little technique round-up (referring to the book) here in case it helps others.

If you see this book in a second-hand store, run and buy it. Mine is a 1984 edition. I have read that some later editions might be less comprehensive. I could write an ode to this book too... it is the BEST. (Editor’s note: Jo did, in fact, write an ode to this book, also shared in our private online community!)

Staystitching is generally a permanent addition to the garment that supports the garment structure during construction but also during wear. 

Generally we use staystitching (sometimes along with other methods like interfacing, tape etc) to stabilise shaped seams for woven garments. Sometimes I also use it for knits if the particular seam needs to be stabilised (ie the seam is required to not stretch during wear or construction, such as when installing a placket, a staystitched edge can provide stability and better accuracy).

Another place it helps me is, for example, when doing a baby rolled hem, that first pass of stitching gives you a stable line for a clean first fold!

My staystitching tips

  • It is best to staystitch shaped seamlines as soon as you remove the paper pattern from the cut fabric and before any other construction. This is one of the reasons I feel a bit unsure about using a projector for cutting out, as I like to leave my paper attached to pieces for as long as possible for identification and to avoid distortion. 

  • Generally, use your standard stitch length (2.5mm most often for medium weight fabrics) and try to place the staystitch line in the seam allowance about 1 to 2mm inside the final stitchline.

  • Before/during staystitching be as careful as possible to avoid over-handling your fabric piece, ensure you don't allow the fabric to "hang" as it feeds into the machine. I kind-of ‘pool’ the fabric in front of the presser foot and allow the foot to pull the fabric through with only gentle guidance.

Staystitching should be done directionally. That is, Readers Digest says we should generally stitch from the widest to the narrowest part of the garment as this supports the fabric grain rather than distorting the grain. They are quite helpful and detailed about why (see image).

So, for an angled front like on the Whitlow robe, I will staystitch from the bottom (widest part) to the top of the angled front neckline (this is my suggested little tweak to the instructions).

Staystitching for round necklines should be done from the shoulder to the centre front (and similarly for the centre back) - that means you need to stop stitching at the centre, flip the piece and stitch the opposite side to meet in the centre, not stitching it all in one go which might be prone to distorting the shape as you sew up towards the opposite shoulder.

Conversely, staystitching for V necklines should start at the bottom of the V, up to the shoulder.

Facings should also be staystitched the same way as the particular garment section - so for a neckline facing, I stitch shoulder to centre. The only difference is that I apply the interfacing before staystitching as this helps anchor the interfacing to the fabric and I can trim the interfacing back to the staystitch line easily if desired. 

Hope this detailed (nerdy!?) technique is a helpful reference for my fellow Foldies! Interested to hear your thoughts and experiences.


I hope this has given you some insight into what you can expect to find when you join our Curated by ITF subscription, If we’ve peaked your interest you can find out more about this month’s project here. We’d love to see you in there!

Happy sewing!

Emily


WHAT YOU’VE BEEN MAKING…

LEARNING NEW SKILLS AS A PATTERN DESIGNER


I’d love to hear more about how you learned a new way to sew a pocket; kind of like, how does the expert learn or get inspired to try a new technique?
— Curated by ITF community member

This week someone from our community asked this question and with this month’s Curated by ITF focus on learning new techniques with our Sewing Coats Skills Kit and Ormond apron pattern, I thought it would be a great one to discuss in the Behind the Scenes post.

It probably won’t surprise you to learn that even professionally trained garment designers don’t know the best way to sew EVERYTHING. Of course, a lot is covered in our degree and the experience we gain in industry, but like any profession, unless you’re using those skills and techniques daily, you either forget them and have to re-learn them when you need them, or you realise that you actually need to figure out a better way.

When it comes to designing a new project or pattern, I often don’t know what sewing techniques will be included until I get started. As I do my research and sketch out ideas (manually or using Clo3d), the design starts to dictate what needs to be included, and then I can add in what I want. This is where I consider what techniques might be new to our Curated community members (and possibly even to the home sewing space in general). I like to think about what would be interesting for them to learn and what can broaden their understanding of garment construction and finishing.

When I started working on the Ormond coat pattern (next month’s Curated by ITF project!), I knew I wanted it to feature classic coat details like welt pockets and a centre back vent. I also knew I wanted it to be unlined. For me, there is nothing more special than how amazing an unlined coat, finished with bias binding, looks. You can see all the details and all the work that has gone into it and it’s something special that most of the time only the wearer sees. It’s like a little secret that makes you feel so proud of yourself every time you see it.

These design constraints began to direct my pattern development. Because the coat was going to be unlined, I knew this was going to make the features I wanted to include a little trickier to do. For example, welt pockets on a lined coat are often not even finished around the pocket edge. (If you’re a sewing nerd, you might have realised this if your hand has popped through a pocket bag on a lined coat!) And that’s totally fine, because no one can see it. On an unlined coat, however, it’s a totally different story. The welt pockets WILL be seen, and they really need to be as neat on the inside as they are on the outside. Durability is also a concern. Garment linings protect the inner workings of a coat, which means the exposed elements of unlined garments need more protection.

EMILY’S RESEARCH AND DESIGN PROCESS FOR THE ORMOND COAT PATTERN WELT POCKET

I started doing some research on what techniques are already available online and what features I do and don’t like about them. I liked the look of this pocket, but didn’t like that it had top stitching to hold the welt in place. I think it can end up looking messy and is also quite tricky to sew. 

Next, I came across this welt pocket, which also looks great. But then I saw that the ends of the welt pocket were hand sewn. I have nothing against hand sewing, but when I see a feature in a pattern that is hand sewn, I like to interrogate whether it’s actually required. Sewing a garment completely on a machine is usually going to lead to a more professional looking finish, so I like to figure out solutions that involve machine sewing. Interestingly, as I continued researching I began to see that a lot of the welt pocket tutorials out there use hand sewing to enclose the ends of the welt. I was beginning to see it as a challenge to come up with a better solution.


Join Curated by ITF - find your new community!

If you're looking to be supported, motivated and inspired through your sewing journey our Curated by ITF subscription might be just what you're looking for.

As well as a monthly sewing project, you’ll gain access to our private member platform where you can receive feedback and advice from the ITF team and other experienced makers, participate in sew-alongs and make sewing besties all over the world!


I decided to go back to basics and look in my sewing reference books - Reader’s Digest Complete Guide to Sewing and How to Start Sewing by Assembil books. (Yep, even professional pattern designers use reference books!) I still couldn’t find what I needed. They showed how to sew welt pockets, but not with a French seam, so I continued my search on Google. 

When I came across this blog post, I realised it was possible. Sometimes all I need is to see that something is possible and it spurs me on to give it a try. In this case, I was still struggling to get my head around how to go about it, so kept going down the Google rabbit hole. I came across this post which broke down the steps. Now, I know the technique comes from a pattern, but I’m rarely concerned that the result I end up with will belong to someone else. What I have learned over time is that no matter what, once I start sewing and experimenting with a new technique, it always deviates away from the original inspiration. I really like pushing a technique as far as I can and achieving the neatest finish possible, so even just having a starting point or some hints along the way is normally enough.

I had basic pattern pieces drafted, but knew they were likely to change throughout the process. I cut the pieces from calico and got to work. I’ve looked for some photos of the original pocket process and realised they have all been deleted. Although this is slightly frustrating because I can’t show you the progression, it’s an important part of my process. I photograph the steps as I go, but if I realise a technique is not going to work as I hoped, I delete the photos. This means I don’t get confused between processes and I know which ones are correct and most up-to-date when I’m referring back to the photos to create the instructions and tutorials. 

One of my goals with all my patterns is that anyone should be able to understand it, regardless of how long they’ve been sewing for. While someone may not have the technical skills just yet, I don’t want the wording or the process to scare them off. Often this means sewing an element many times until I believe I’ve found the clearest, simplest and neatest way possible to sew it. I think I sewed about six welt pockets before I came up with a technique I was happy with!

EMILY’S RESEARCH AND DESIGN PROCESS FOR THE ORMOND COAT PATTERN VENT

When it came to working out how to sew the vent, I decided to sew a sample the traditional way to see how it would look. I found a video on Youtube and followed along, but when I got to the end I was unhappy with how it looked. It was messy and would get messier with bulkier fabrics. I started thinking about what would happen if I added a shield to give the vent more structure and also tidy up the look of it on the inside.

Back to Google I went and came across this video. The finish of this coat is exceptional and I thought I’d find a solution straight away. But after watching the video I realised many of the steps involved cutting into the fabric and deviating away from the pattern. Although this works for an expert sewist, for our patterns I like to give as much information as possible on the pattern and leave as little as possible to chance. That way our patterns are accessible to both advanced home sewists and those who are wanting to level up their skills.

Emily's design process for the Ormond coat vent.

I decided to go back to the drawing board and sew a vent in the most basic way. By sewing it like this, I had a sample I could work on and continue to develop. I worked out what area needed to be enclosed and set to work drafting a shield. It took another few goes to finalise the pattern and technique, but again, by then I was happy to know I’d found an approach that gave a professional finish and left nothing up to guess work or chance.

As you can see, improving your sewing skill set is something that all sewists can be doing, regardless of experience. With each garment, sewing techniques can be applied in different ways and to varying degrees, which is why we continue to develop Skills Kits and Hack Kits for new projects as part of our Curated by ITF subscription. The more skills you learn, the more confident you become with knowing what you’re trying to achieve, what options are available to you and where to look to find more information. I love this about sewing and pattern making - you’re never done learning!

I hope this has given you insight into my own learning and skill development process! And if you have any other questions, please leave them in the comments. I’d love to answer them.

Happy skill-building!

Emily


WHAT YOU’VE BEEN MAKING…