You may have seen (or even already made) the Peplum Top that I released a couple of months ago in collaboration with Peppermint Magazine.

When it was first released, a number of people asked whether sleeves could be added, and I thought it would be a great tutorial to do, as I'm sure for a lot of you there are sleeveless patterns you would love to add sleeves to. This tutorial will walk you through adding sleeves to this particular pattern, but could be used for almost any sleeveless pattern.
Why can't you just add a sleeve to a sleeveless pattern?

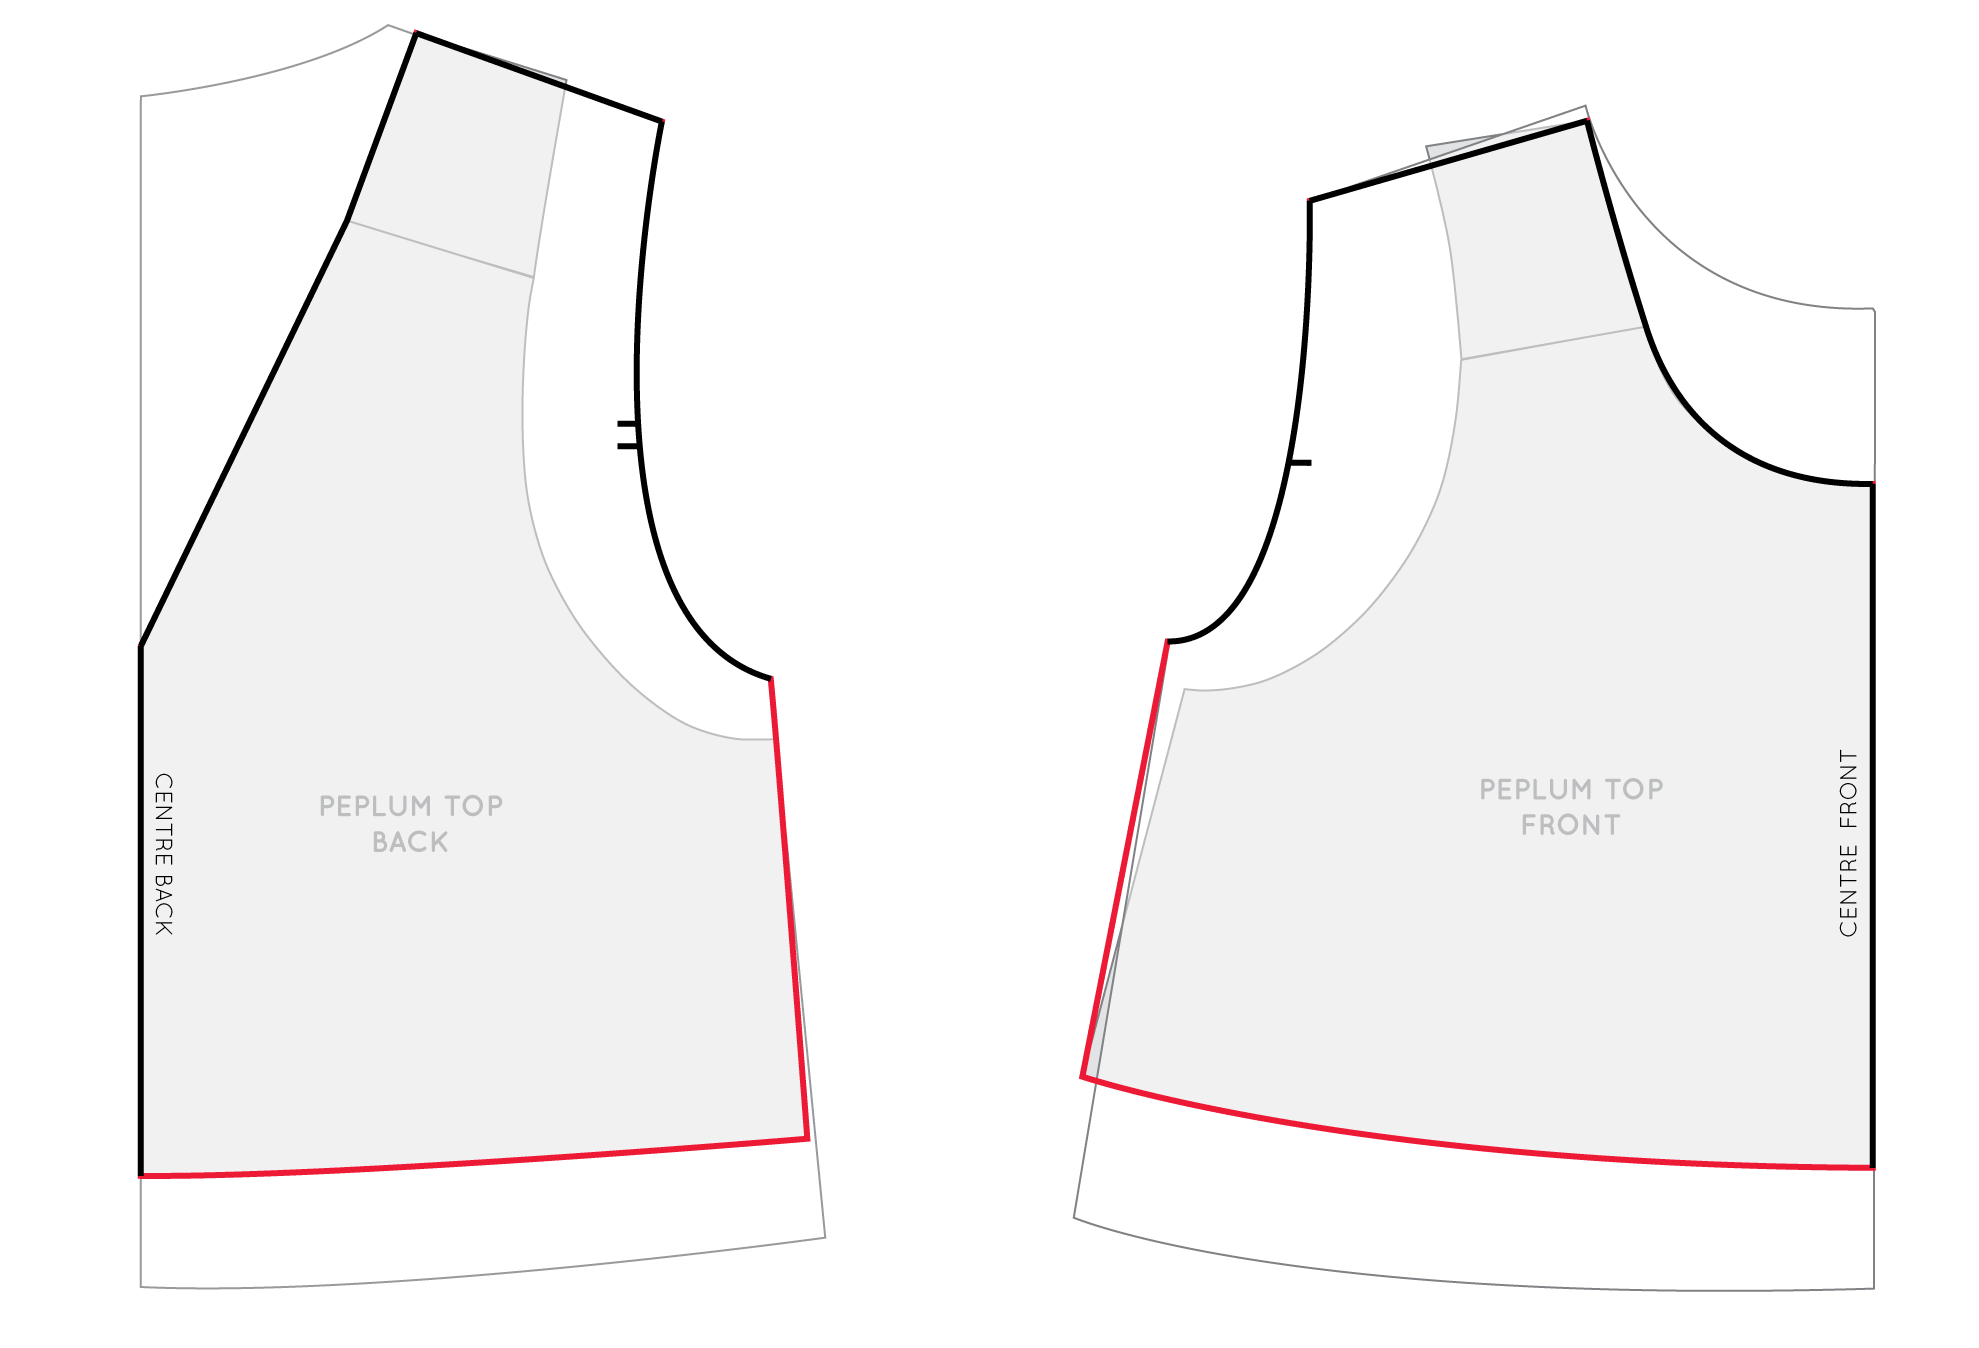
It's not a difficult process, but unfortunately it's not as simple as just adding a sleeve to the sleeveless top and hoping for the best. Above I've drawn two very basic tops - one with sleeves and one without. You can see that the armhole on each pattern is not the same.

When you place one pattern on top of the other, you can clearly see this difference (which is highlighted in red on the illustration on the right). If you were to put a sleeve on the sleeveless top, without making any changes to the armhole, the sleeve would have to reach across the difference (the red area), which would leave you with an awkward looking garment and an ill-fitting sleeve.
To rectify this, you will first need to change the armhole on your front and back pattern pieces, and then you will be able to fit the sleeve.
For this tutorial you will need a sleeveless top pattern as well as another top (or dress) pattern that has sleeves that you like the fit / style of.
Trace a copy of the pattern
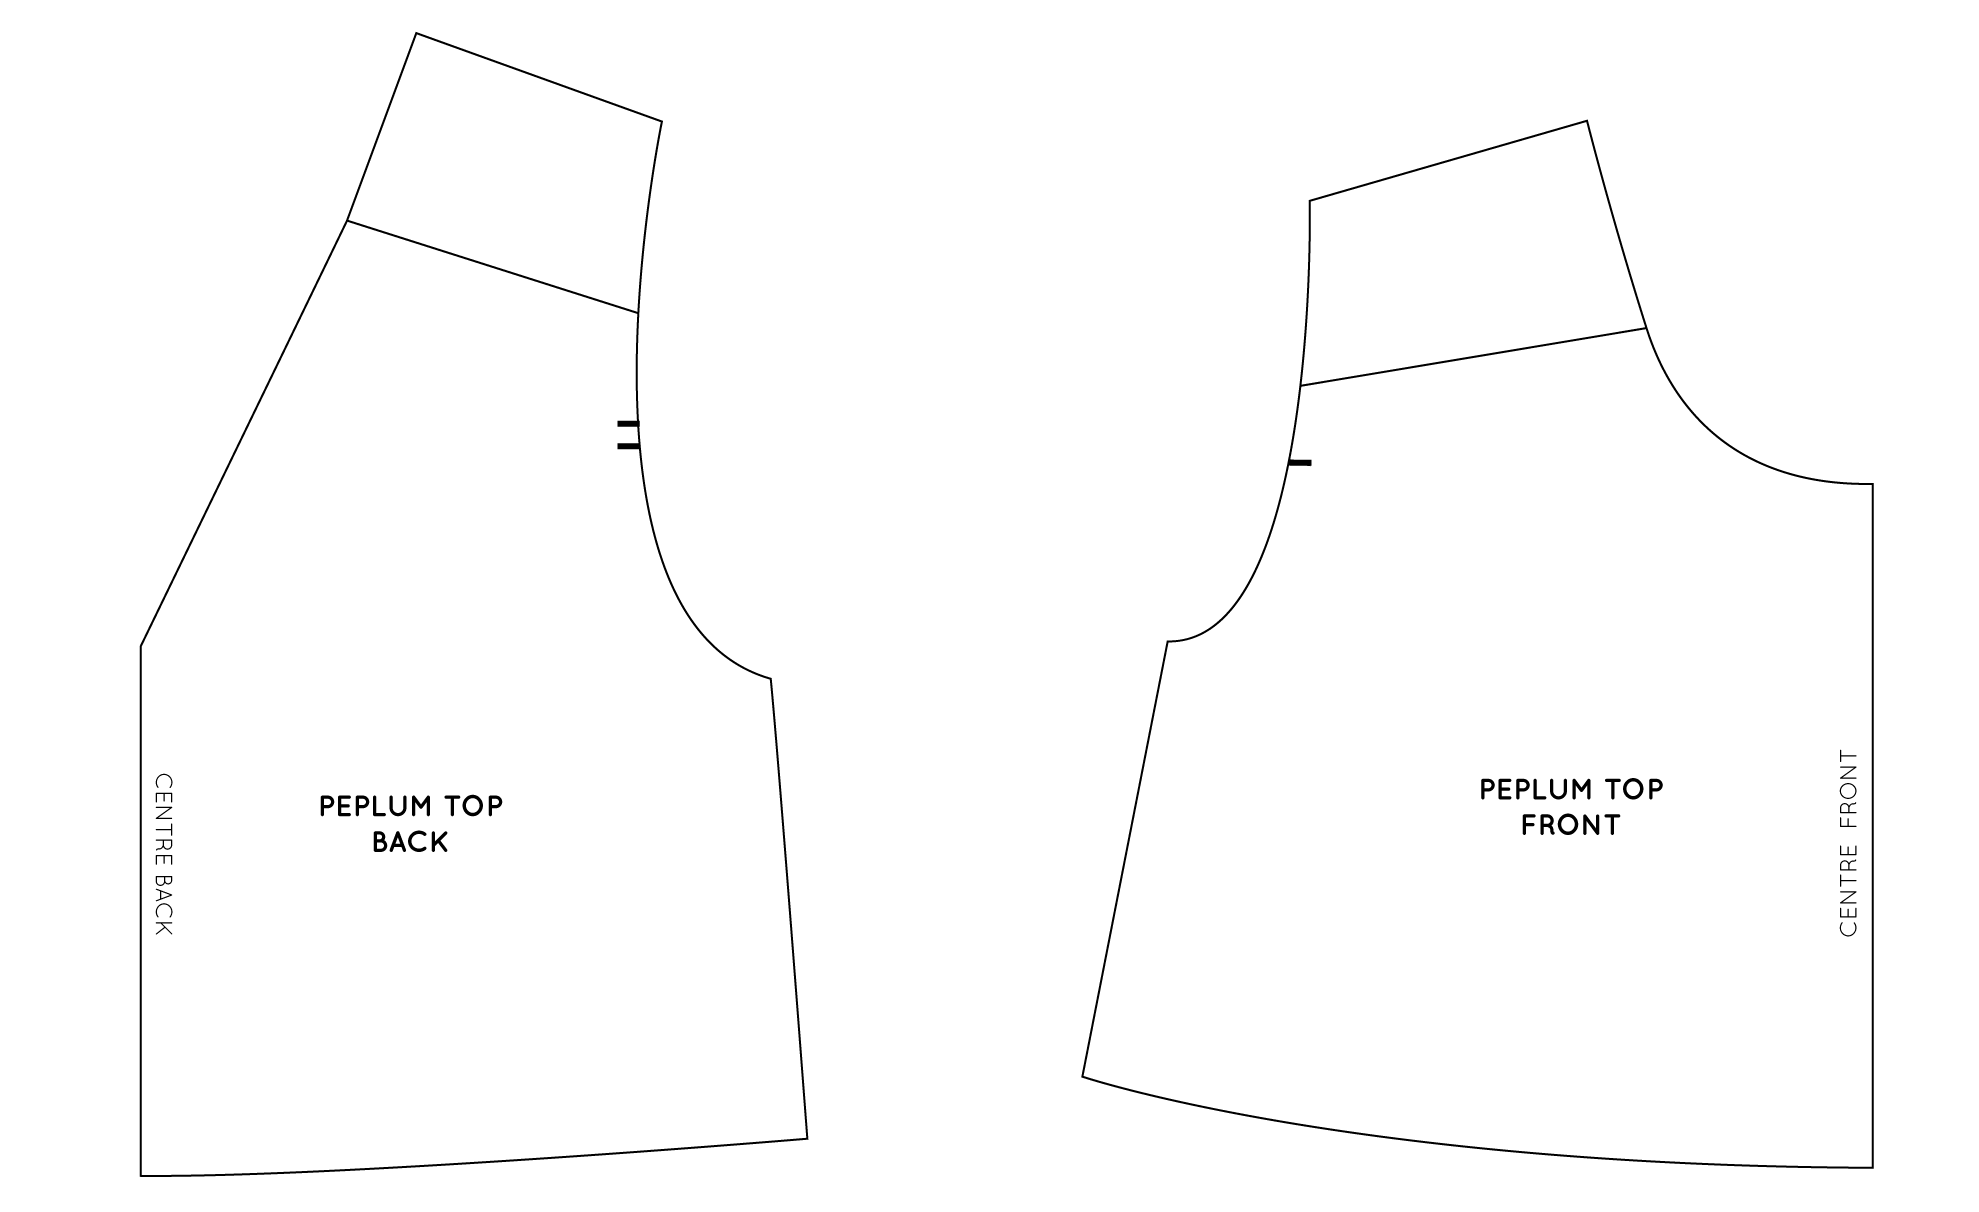
Trace a copy of your sleeveless top pattern without seam allowance (it is much easier to make alterations to a pattern without seam allowance). Mark any design features and notches.

The Peplum Top pattern has a seperate shoulder panel. To make this alteration easier, you will need to reattach the shoulder panel to the front and back pieces (I will show you how to get it back later on in the tutorial). To do this, draw a line (or fold a line) through the middle of the shoulder piece and cut the piece in half. Label each piece so you don't get them mixed up - as they are very similar in shape.

Attach the shoulder panel pieces to the front and back of the top, so that you have to complete pieces - the front and the back.
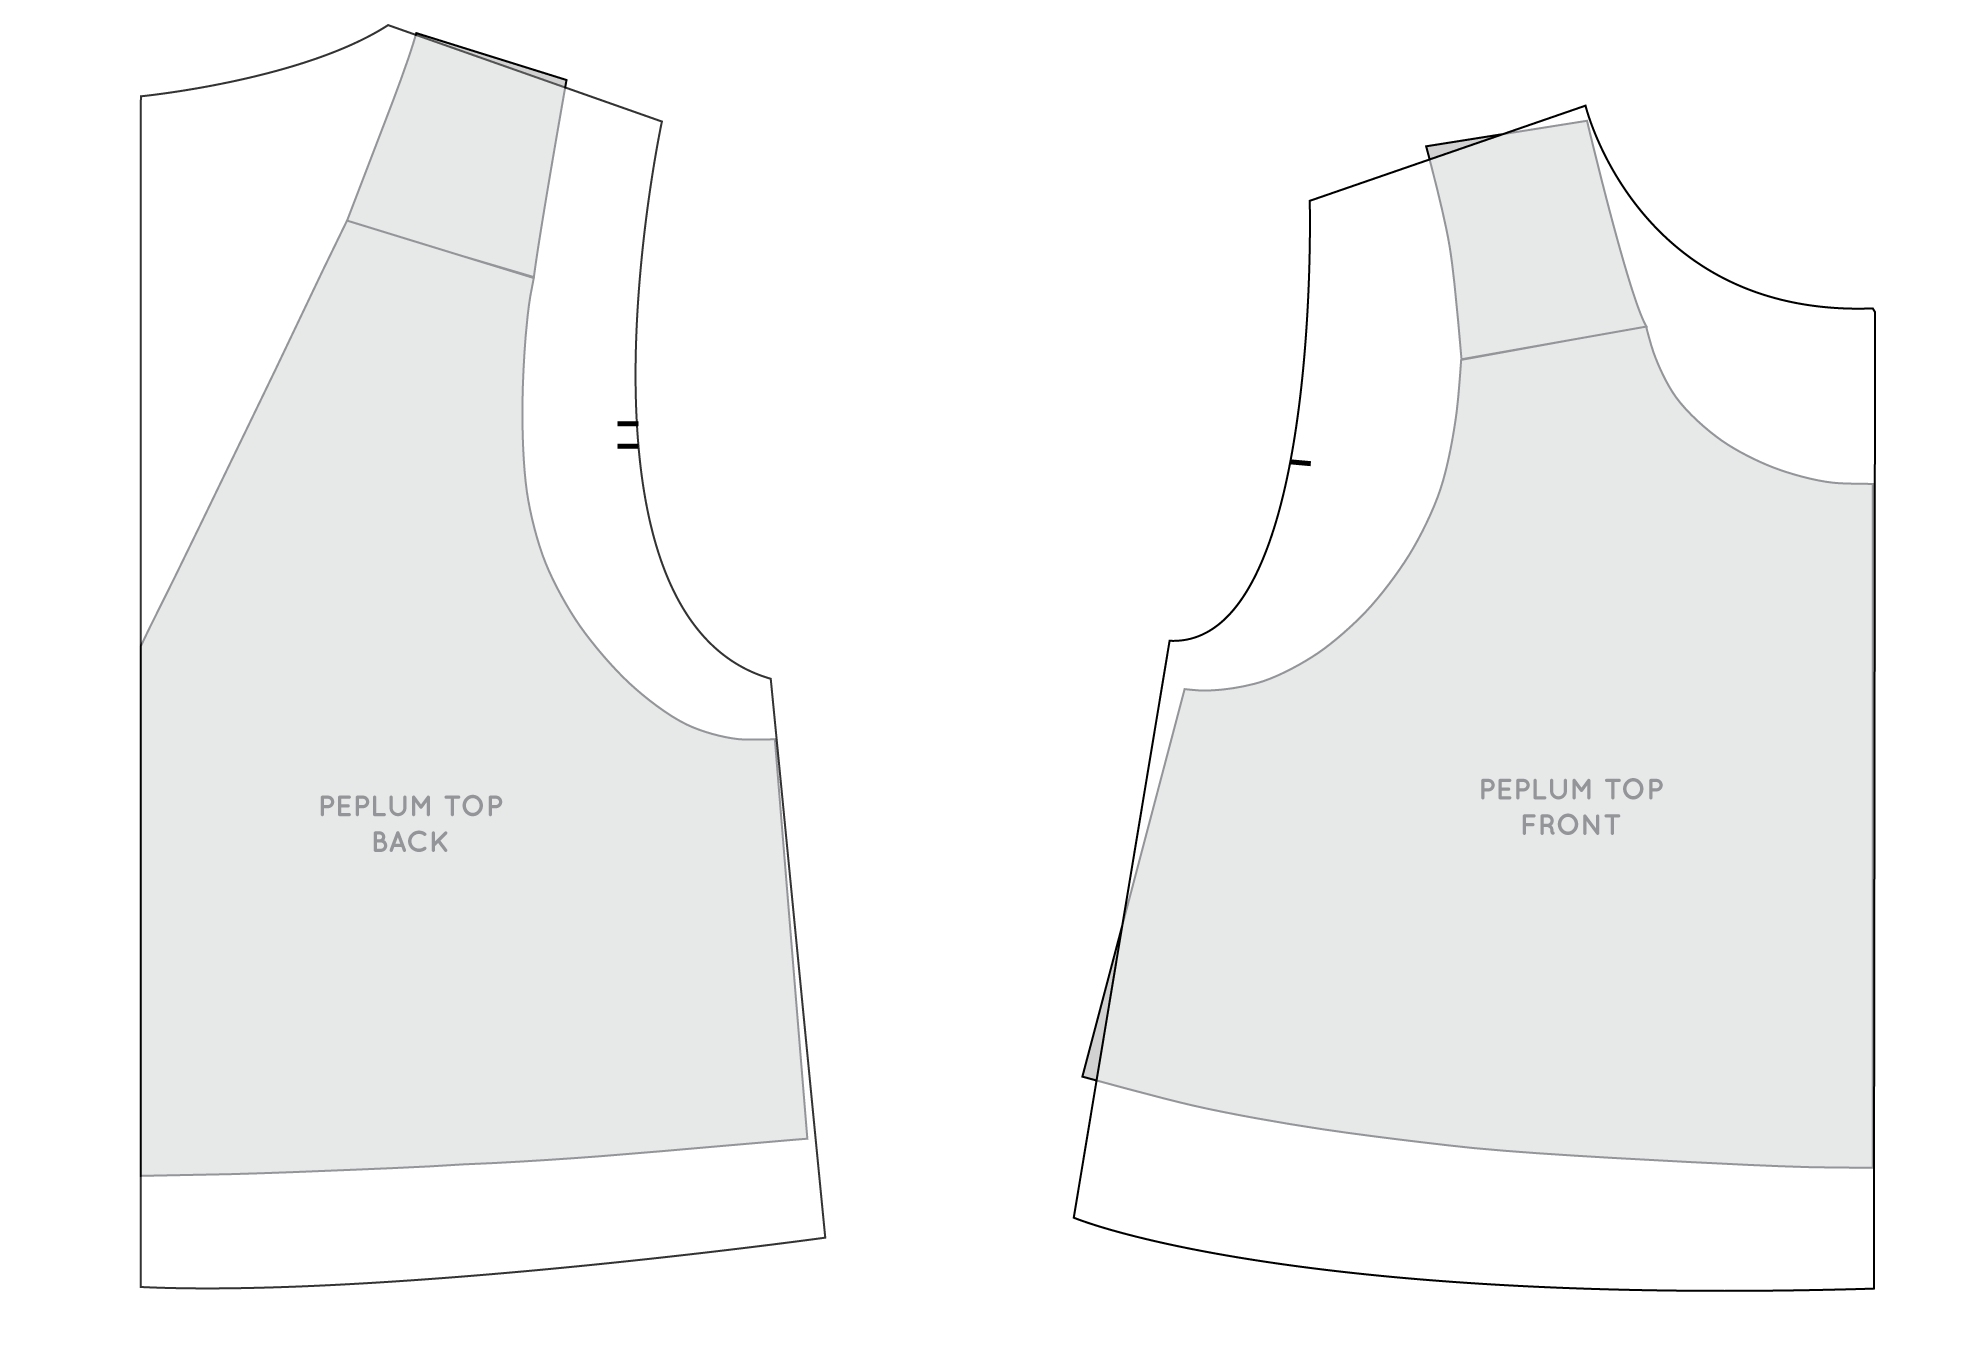
Take the front and back pieces from your other pattern (the one with sleeves) and place on top of the sleeveless pattern pieces, lining up the centre front / centre back, shoulder seams and side seams (as close as you can). This is when transparent paper helps!
Use weights to hold pieces in place.
Trace the pattern
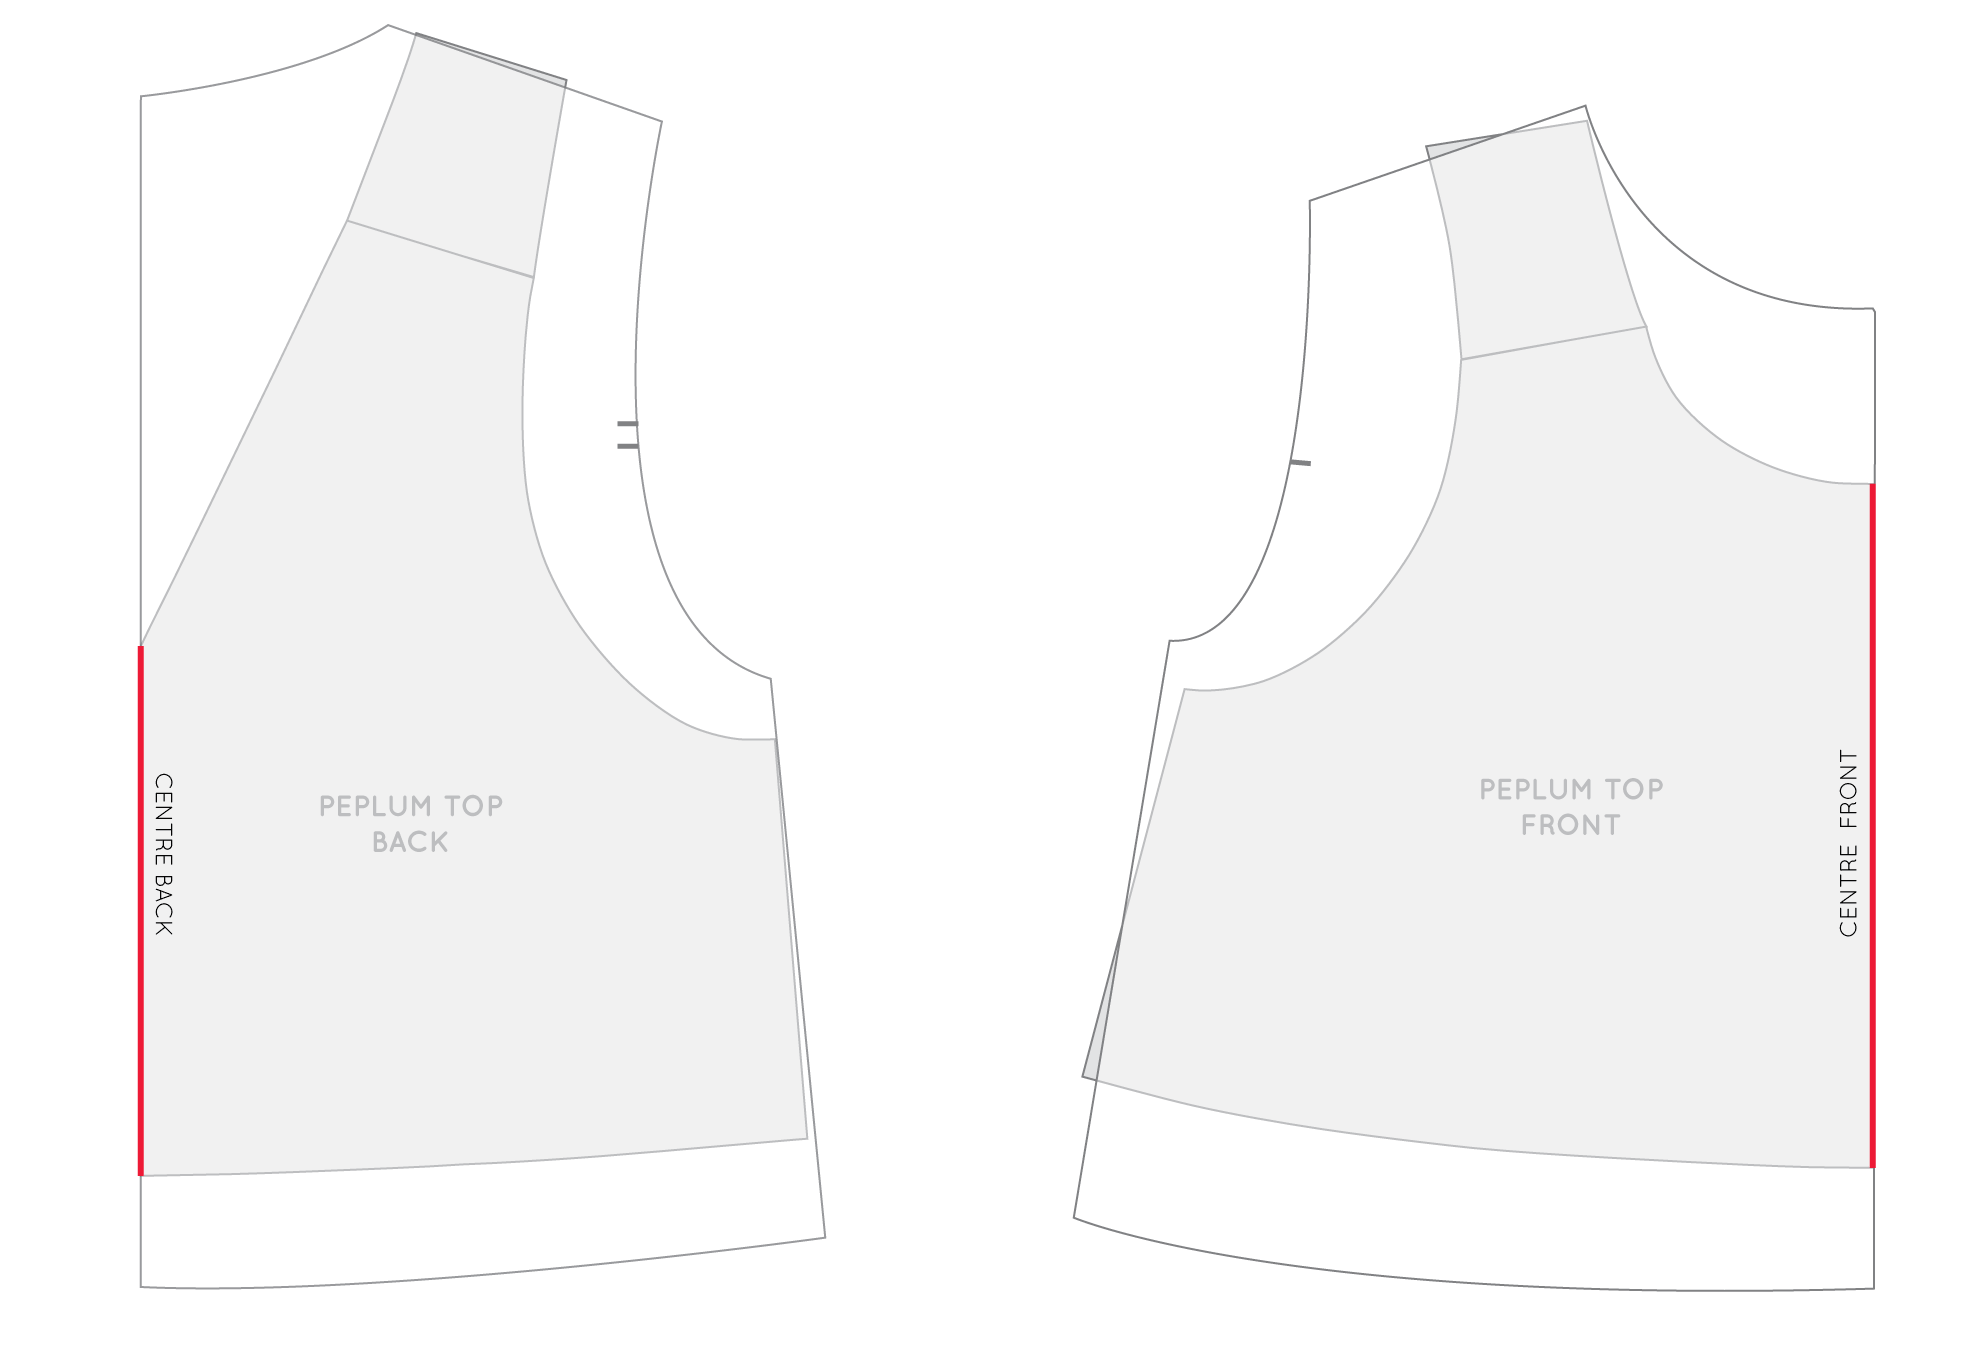
With a fresh piece of pattern paper, trace the lines from each pattern piece needed for the new pattern. Begin by marking the centre front and centre back - taking the lines from the original (sleeveless top) pattern.

Next, trace the front and back neckline - using the lines from the original pattern.

Re-draw the shoulder seam - starting at the neckline end of the seam on the original pattern (sleeveless top) and joining with the end of the shoulder seam from the second pattern (top with sleeves). This will ensure that the neckline binding still fits the neck of the top, whilst the sleeve will fit in the armhole.

Trace the armhole curve from the pattern with sleeves - being sure to also transfer the sleeve notches.
Transfer the side seam - starting at the new armhole and joining to the side seam of the sleeveless pattern at the hemline. Trace the original hemline.

Before removing the pattern, transfer the shoulder panel lines onto the new pattern.
You now have the pattern with armholes ready for sleeves!
Re-create the shoulder panels

You will need to re-cut the panel lines to re-create the shoulder panel pieces. Before cutting through the lines, add notches to the panel lines on both the front and back (you can transfer notches from the original pattern if you like).
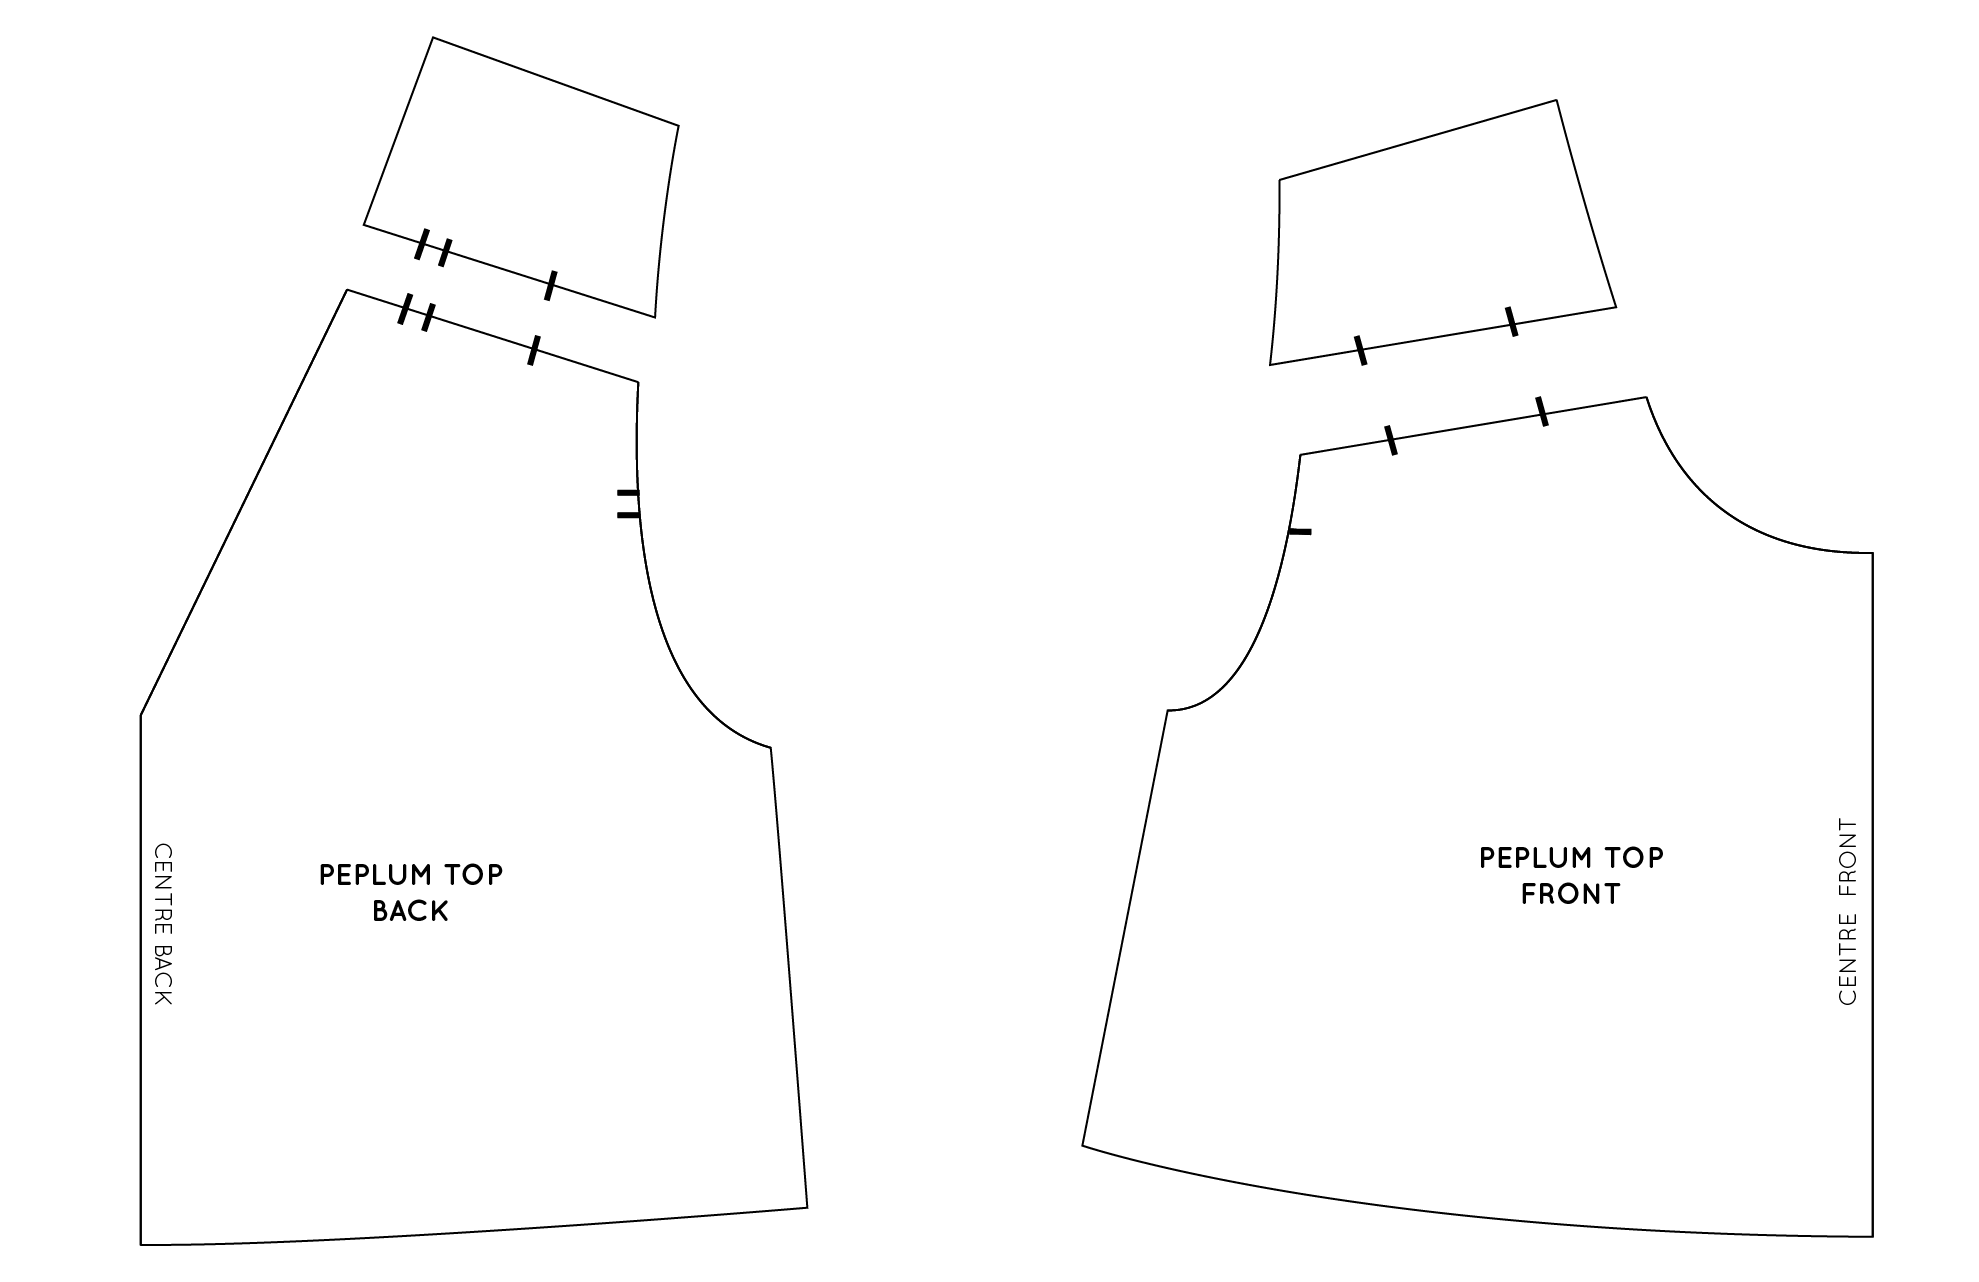
Seperate the shoulder panels from the main front and back pieces.

Re-attach the front and back shoulder panel pieces at the centre line, before tracing a new copy of the piece onto a seperate piece of pattern paper. Use a smooth curve down either side to remove any sharp points.
Complete the pattern by adding seam allowance to each piece. You will be able to use the original pattern to transfer the seam allowance to the hem, side seams and neckline. You will need to add seam allowance on your own to the armhole, shoulder panel and sleeve - this tutorial will help with that!