sewing

USING SAMPLERS IN YOUR SEWING PRACTICE

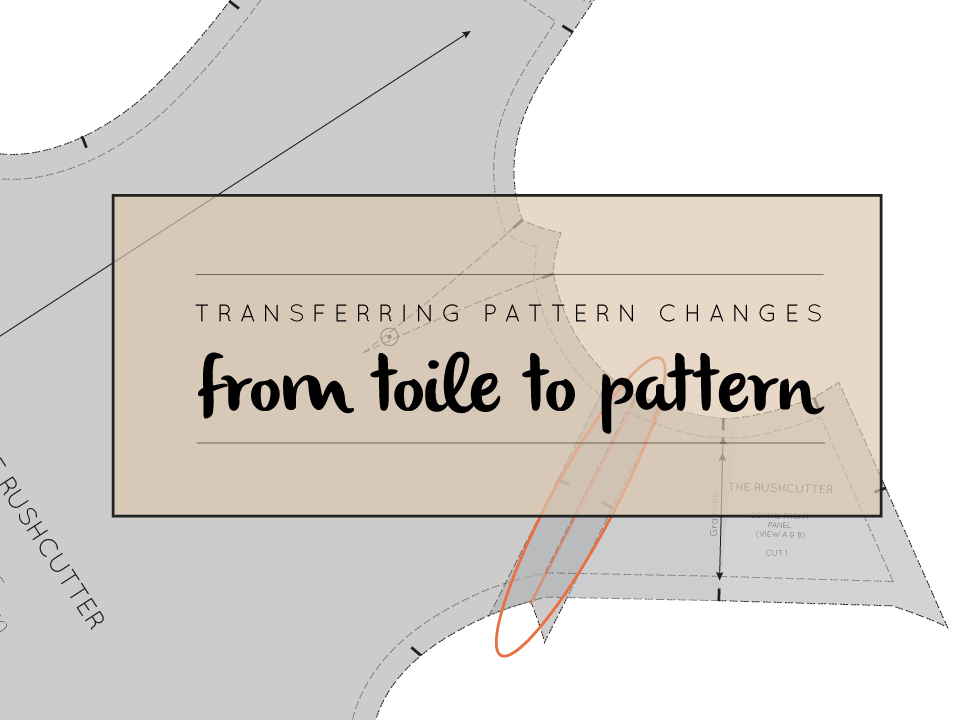
Have you ever heard of sewing samplers?

You may be familiar with the idea of needlework samplers, which have been used for many years by makers as a reference for embroidery patterns or stitches they have learned, but you may not be quite so familiar with the use of samplers when making garments.

Similar to their use in needlework, garment sewing samplers are often using in industry for sewing small examples of techniques that are then used as a reference during the garment construction process.

Our Curated by ITF sewing subscription has a big focus on building our members’ skills and understanding of the garment making process, rather than just making more clothes for the sake of it. We want our makers to be completely happy with the garments they make. To be confident in applying different sewing techniques while improving their skills, so they create a finished garment they are proud of that gets worn over and over again. This is exactly why we’re big believers of using samplers in our home-based sewing practice!

the benefits of sewing samplers

Often, when we try a new technique or skill we launch right into making a garment using it because we’re excited. It’s usually AFTER we’ve cut into our ‘good fabric’ and started sewing that we realise we don’t know how to do it properly or to the standard we’d prefer. Or perhaps when we’ve finished making a garment we might realise we’re not happy with the finish, which then might affect how much wear the garment gets.

There’s lots of reasons why you should include sewing samplers in your practice. Here’s a few:

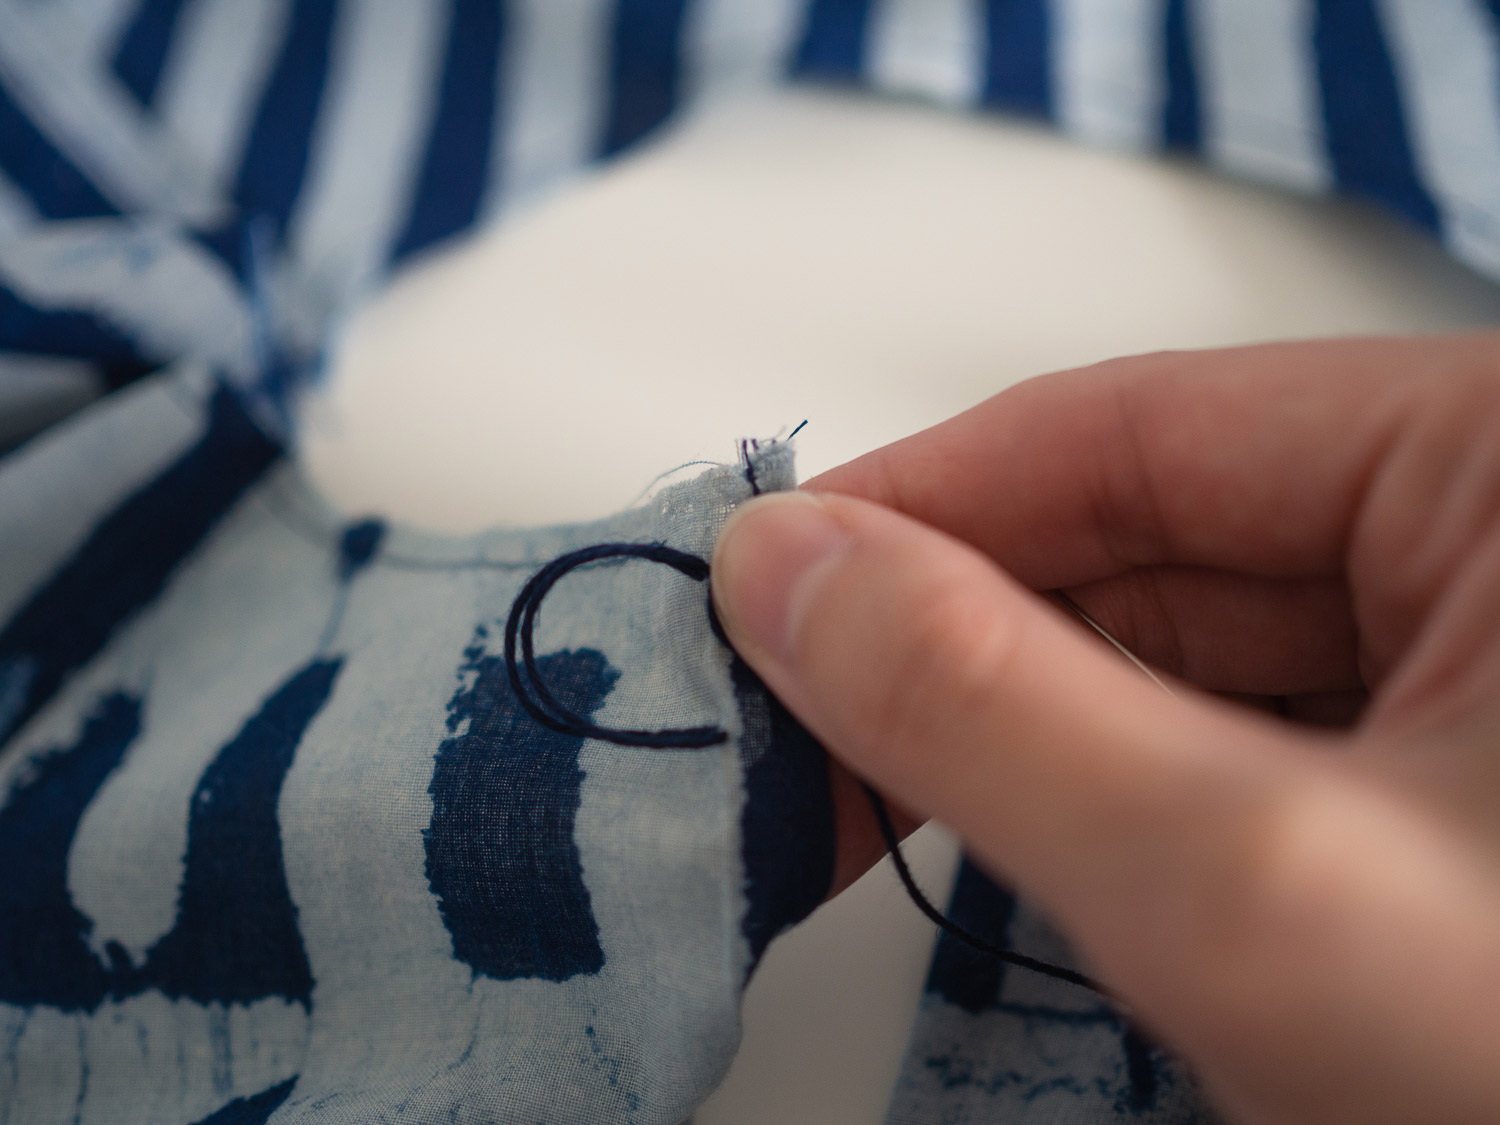
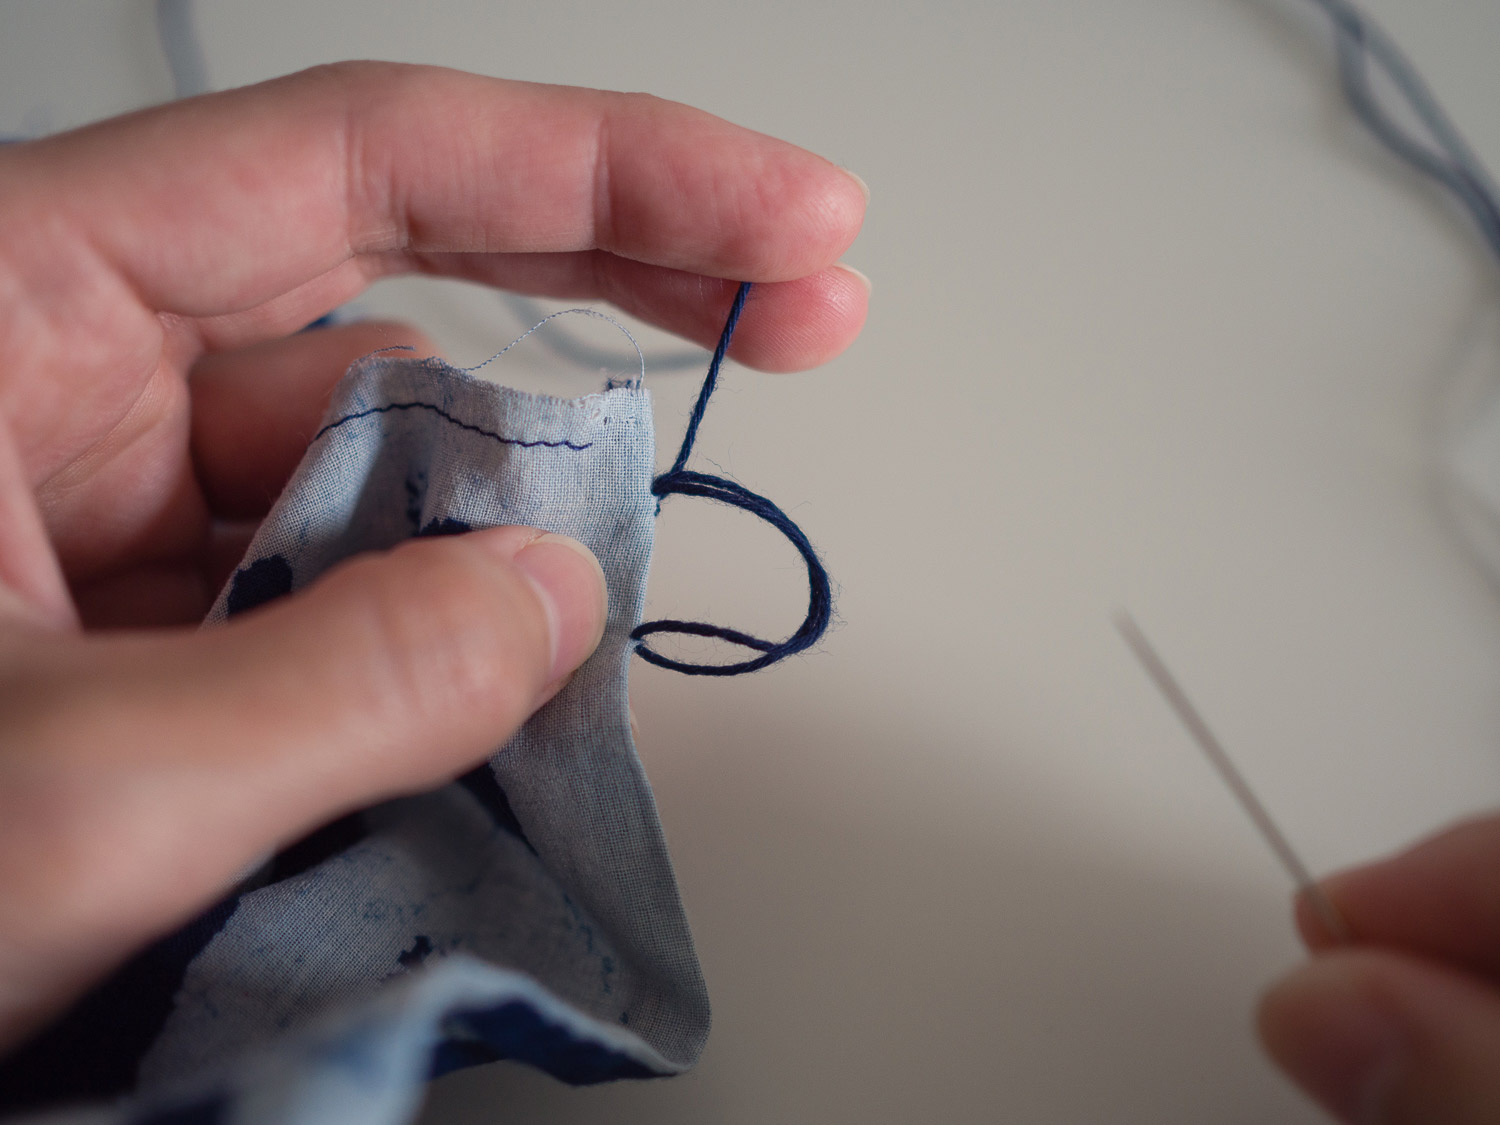
  • Because they’re small, samplers allow you to quickly practise and perfect new skills and techniques.

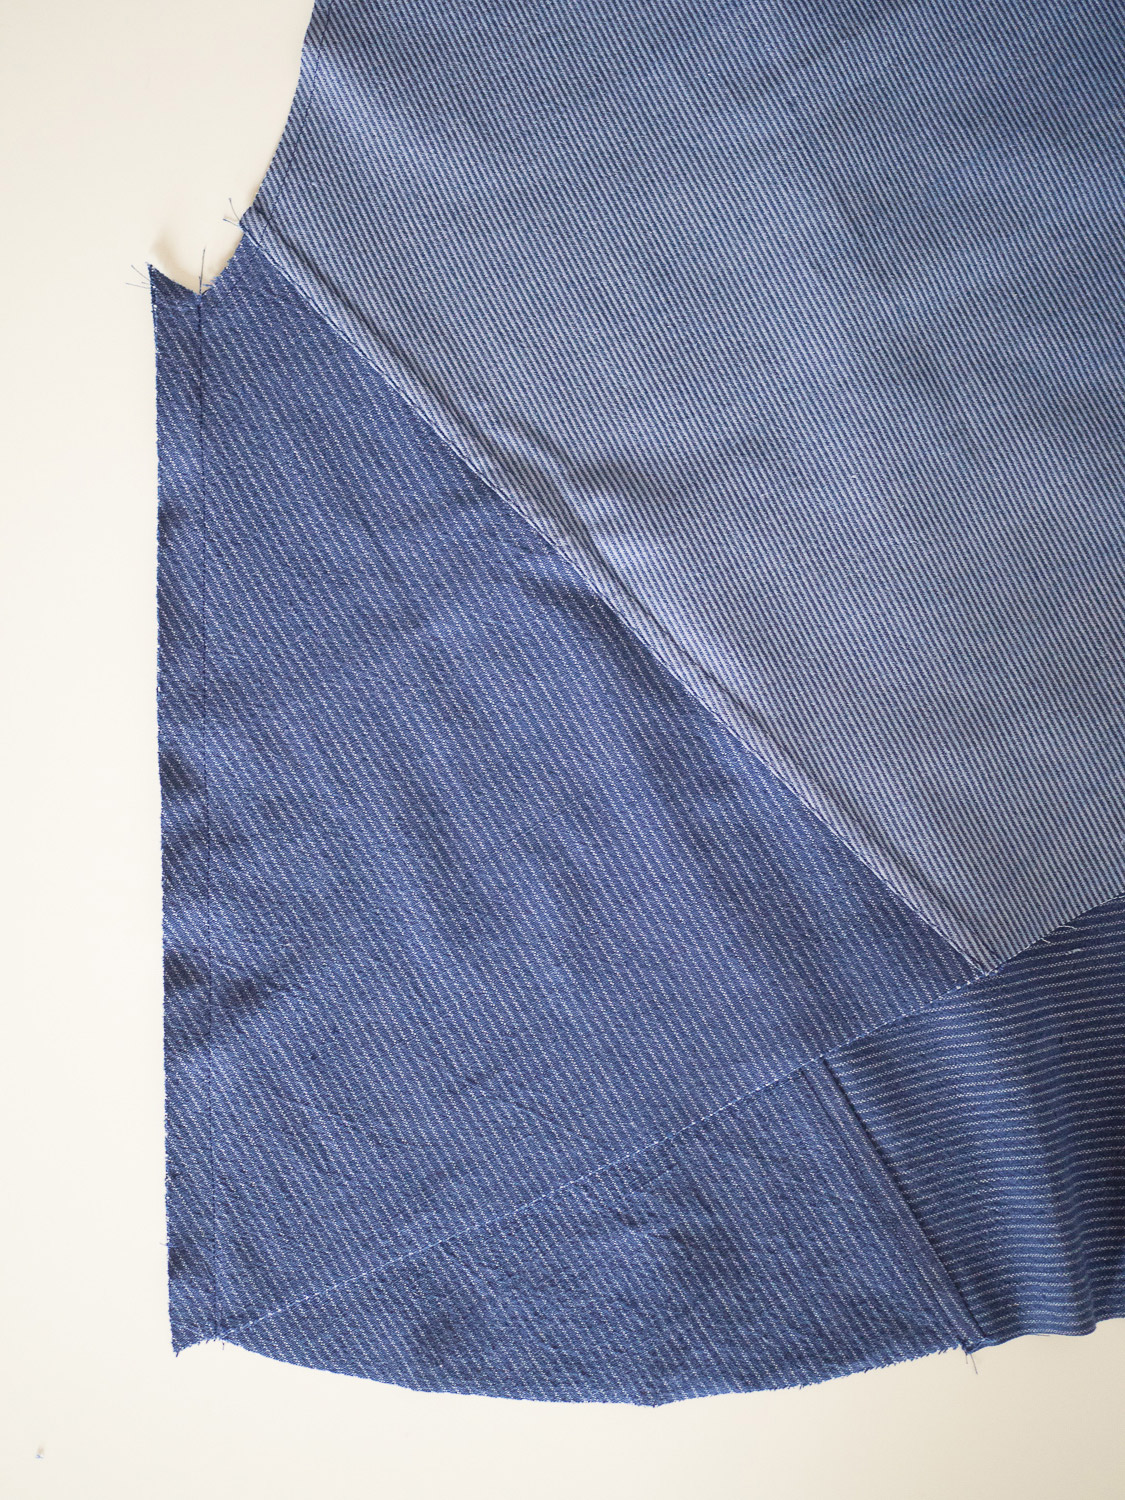
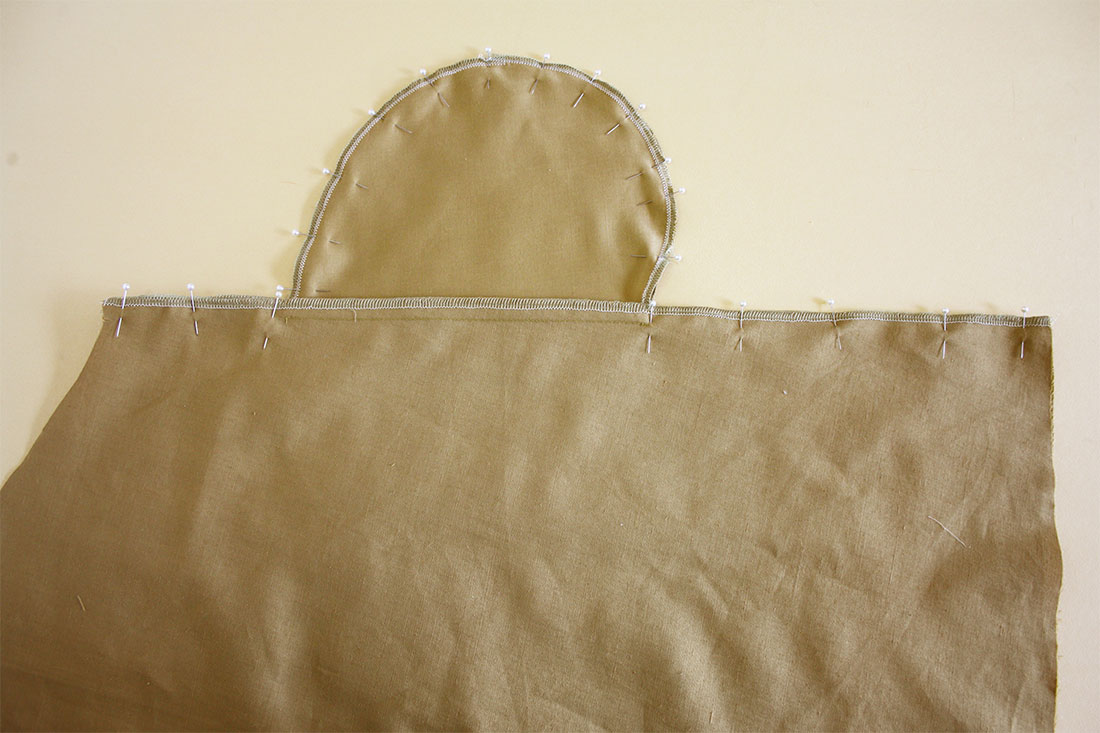
  • Samplers minimise waste because they are only a small portion of a garment (for example, an in-seam pocket), and because you are less likely to make mistakes if you’ve practiced before applying a technique to a garment you hope to wear.

  • They remove the pressure of getting it right the first time, because you’re not sewing an entire garment or using your ‘good fabric’.

  • Because you don’t wear them, they’re a great way of using up leftover fabric scraps. The fabric doesn’t have to match and can be patchworked together with a variety of fabric prints and colours.

  • They are a great way of making use of very small pieces of bias binding or interfacing, for example, that might otherwise get thrown in the bin.

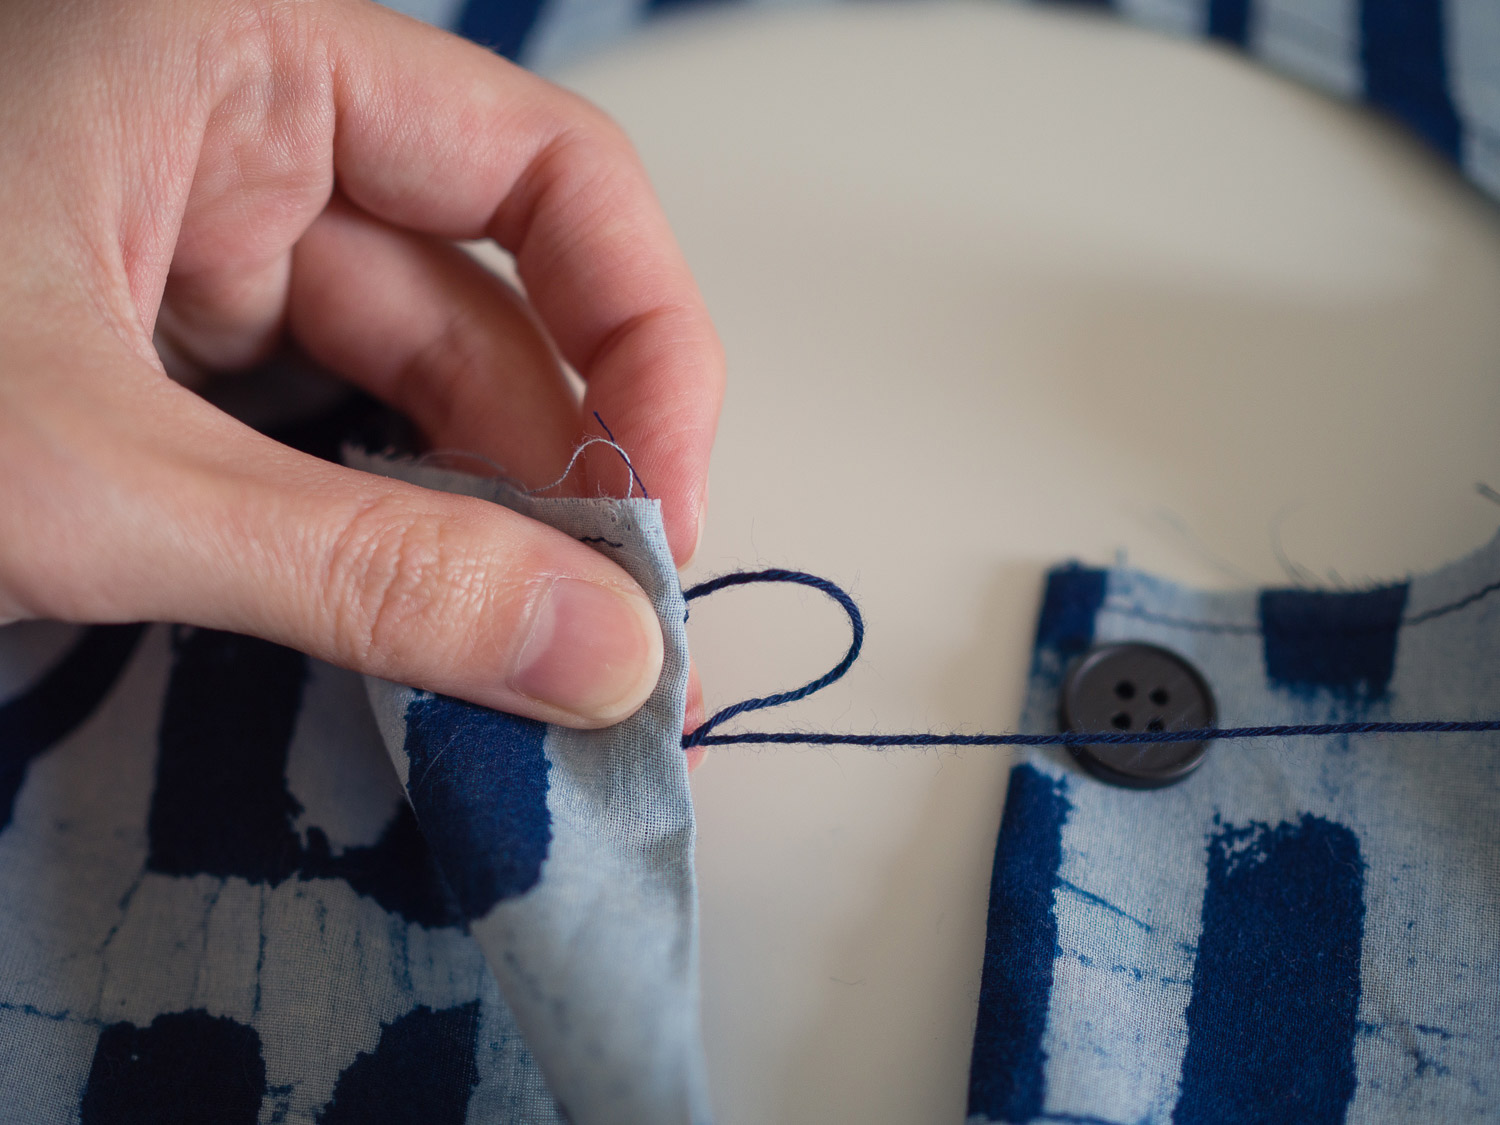
One of the main benefits of samplers is that they are excellent references to return to if you need reminding of how to do a particular technique, or the approach you’ve decided you prefer to use. Keeping samplers means that you don’t have to rely on your memory or scribbled (and often unreadable!) notes you made in a hurry on a scrap of paper that’s now somewhere in a pile on your sewing table. These small examples can be stored easily with construction notes and used as a reference to inform future makes.

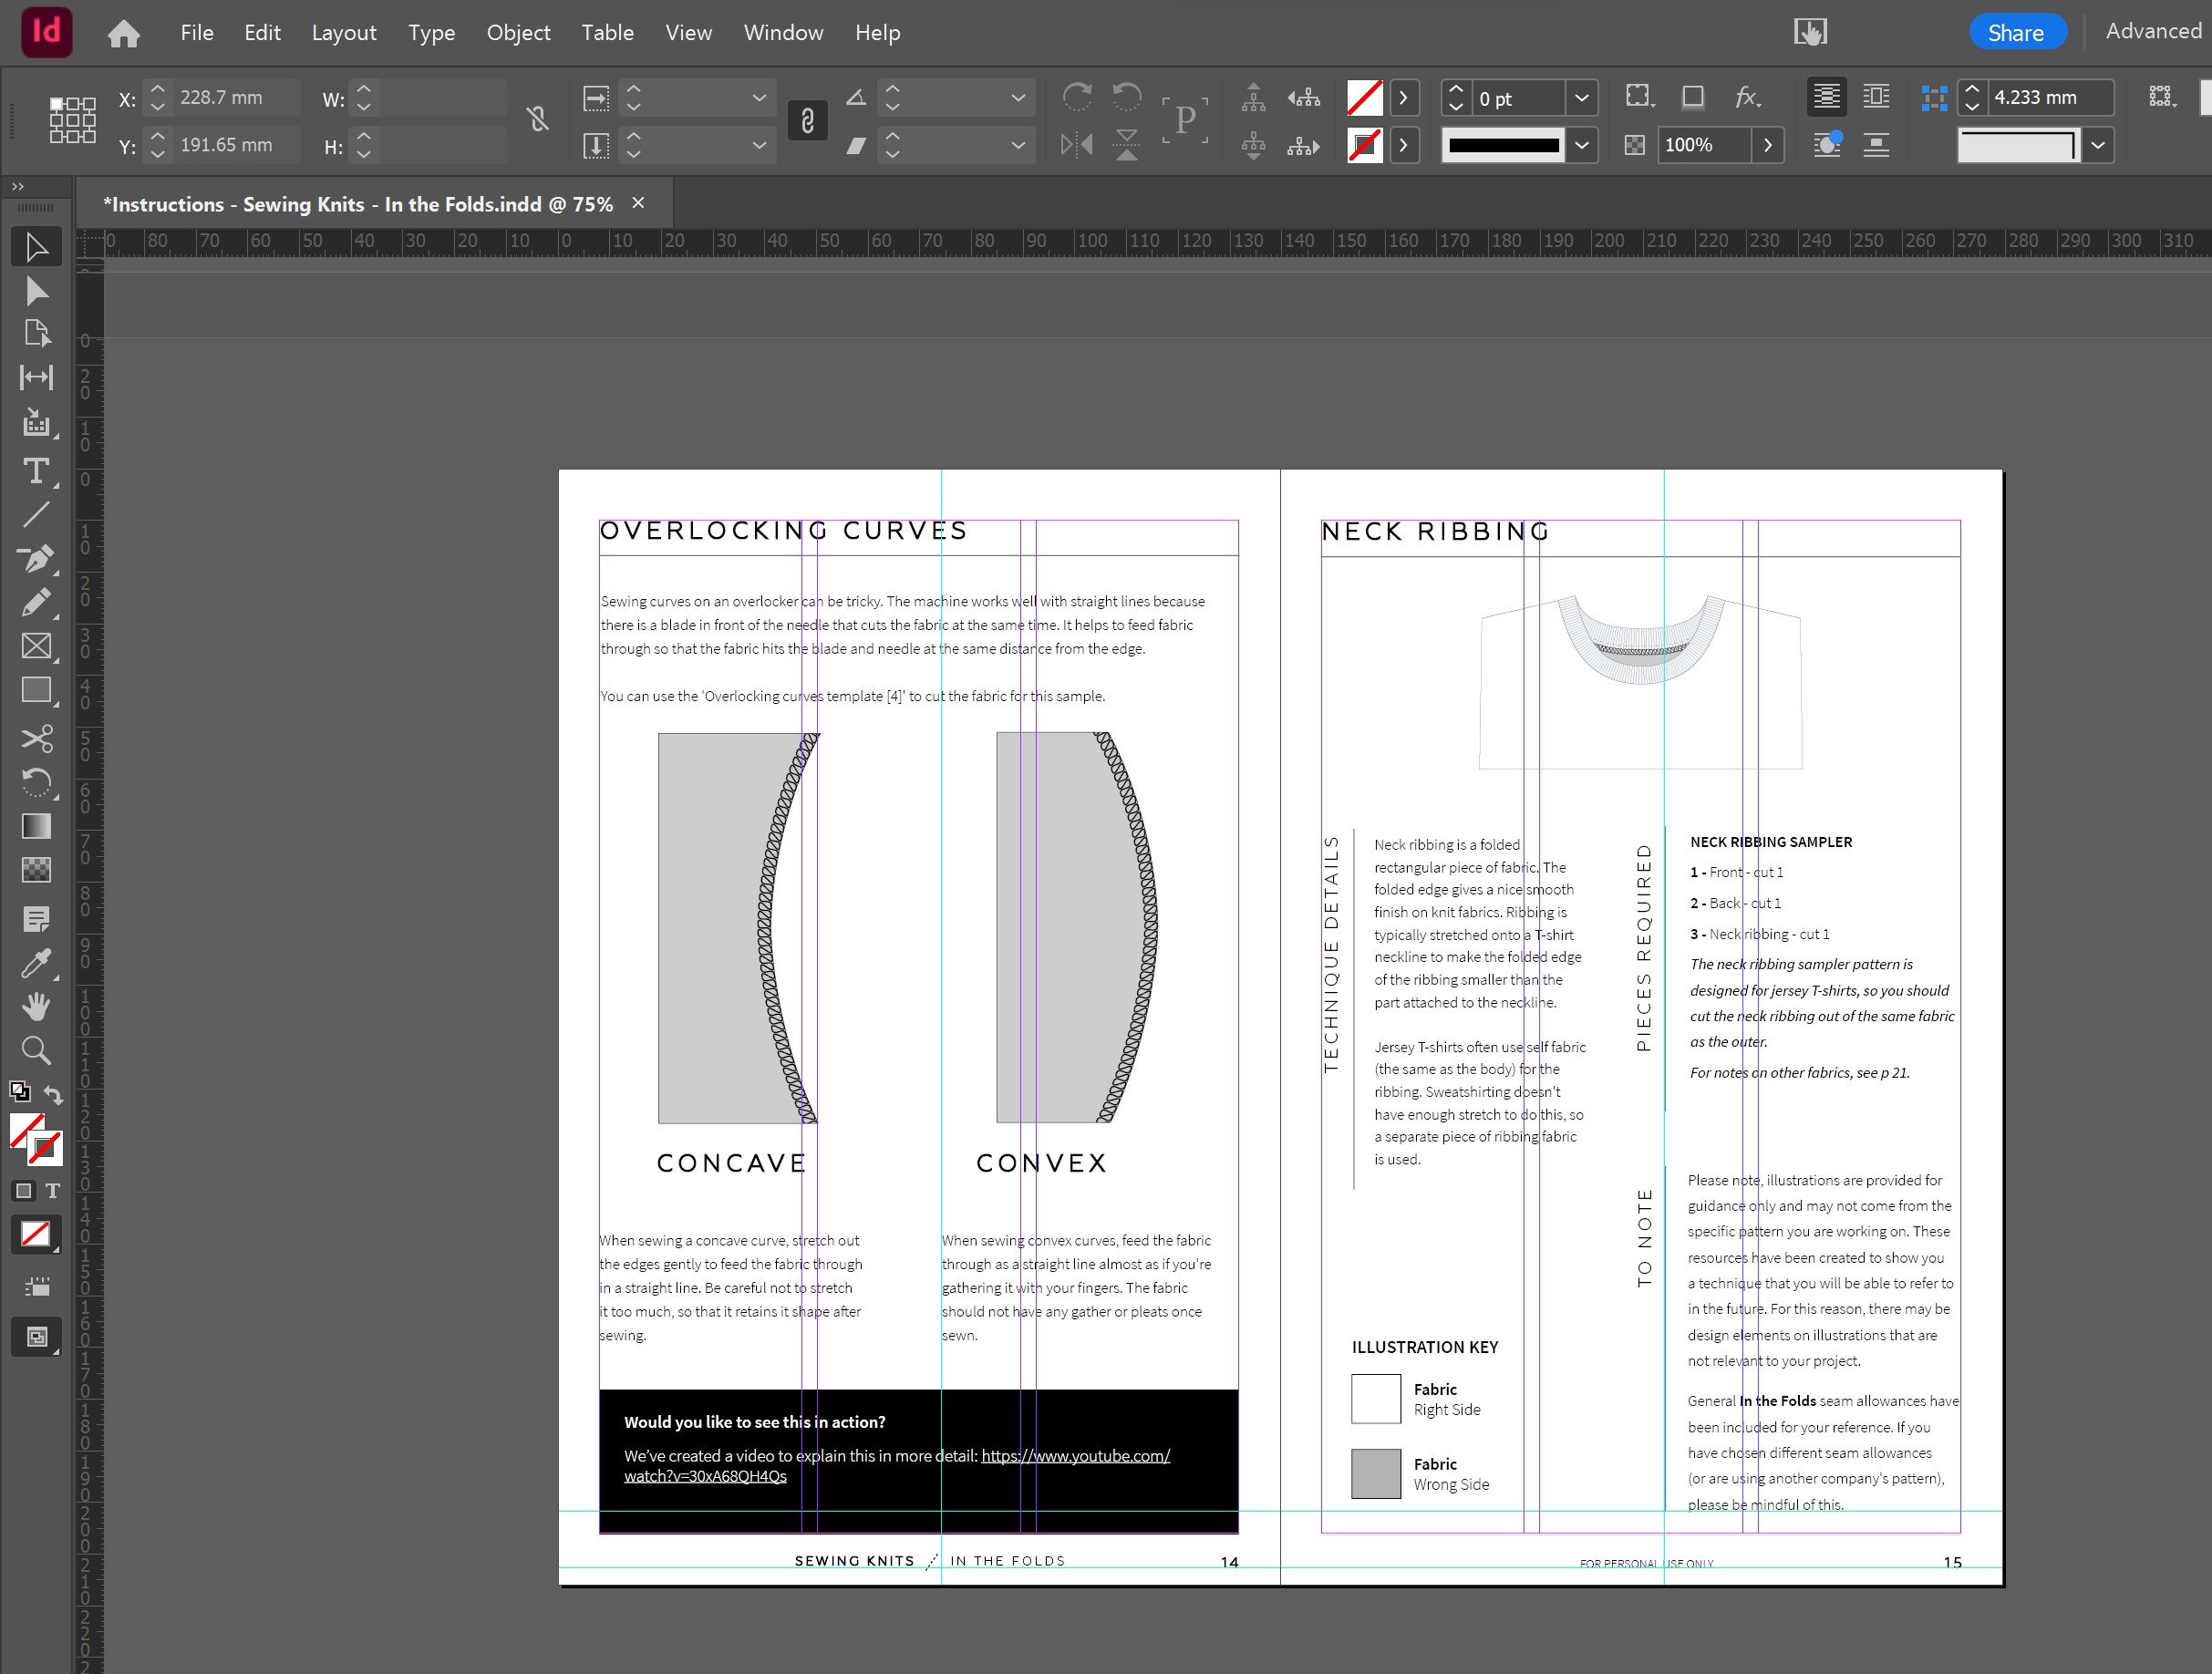
We used the samplers approach in our Pants Sewing Skills Kit and again in our Sewing Knits Skills Kit. Our members have loved including them in their sewing practice, so we thought we’d share some of their work to inspire you!


Join Curated by ITF - find your new community!

If you're looking to be supported, motivated and inspired through your sewing journey our Curated by ITF subscription might be just what you're looking for.

As well as a monthly sewing project, you’ll gain access to our private member platform where you can receive feedback and advice from the ITF team and other experienced makers, participate in sew-alongs and make sewing besties all over the world!


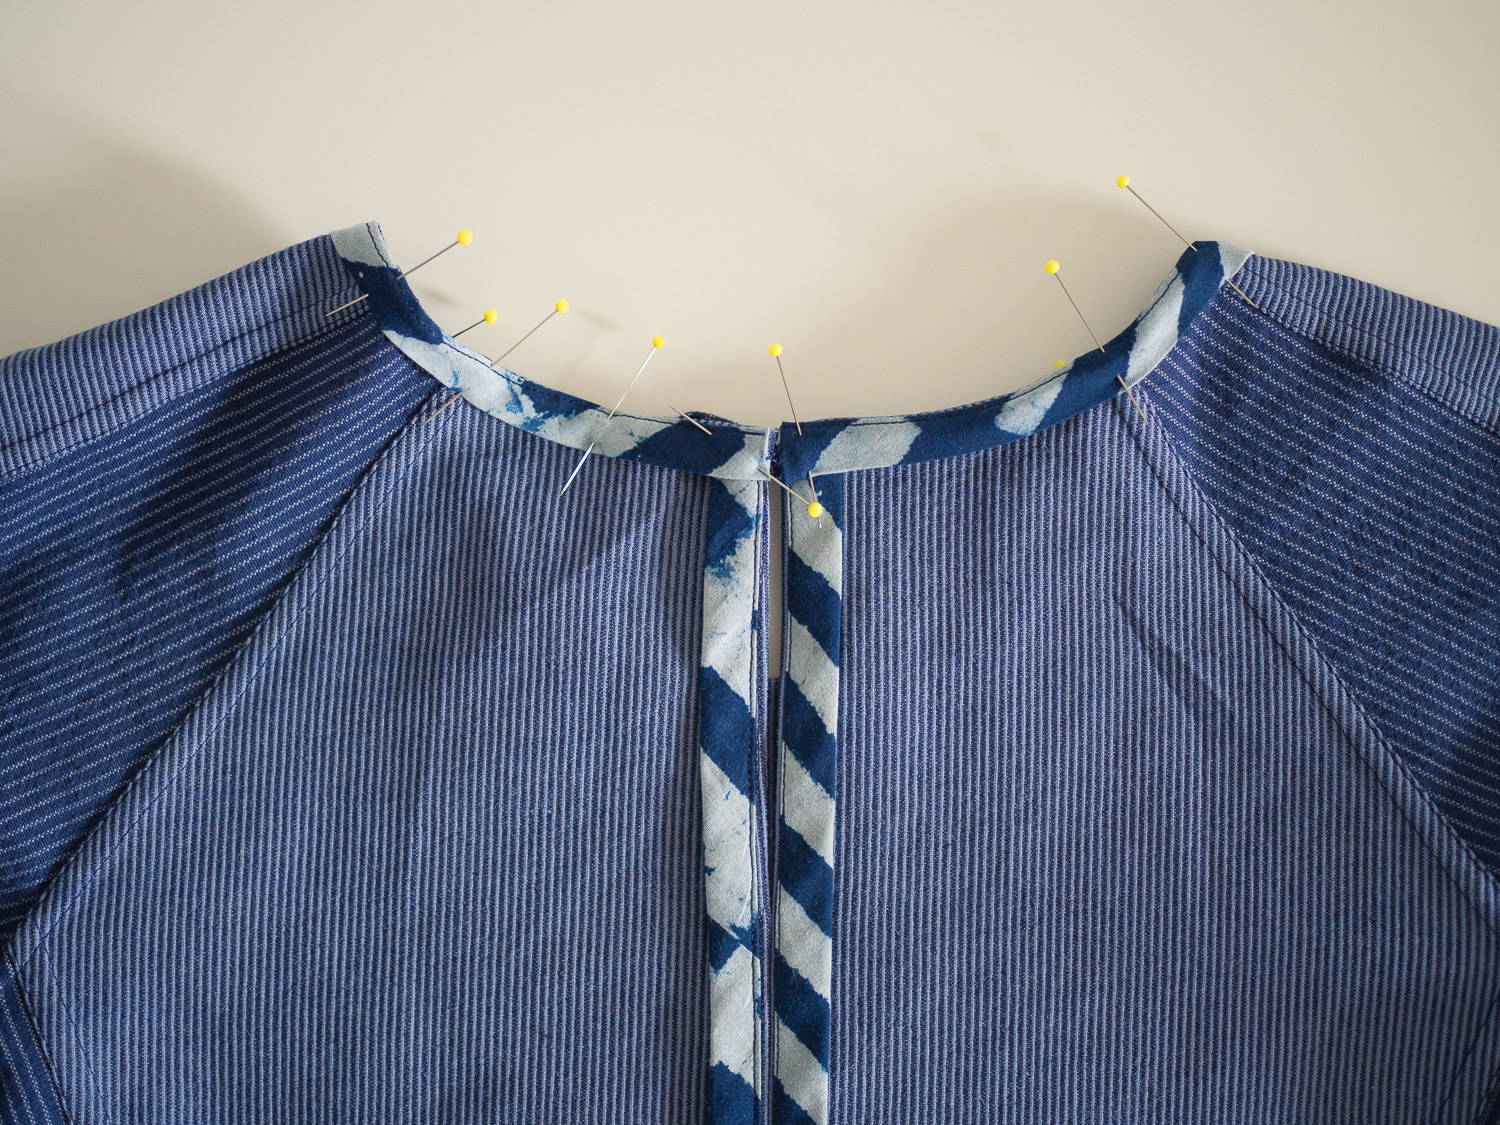
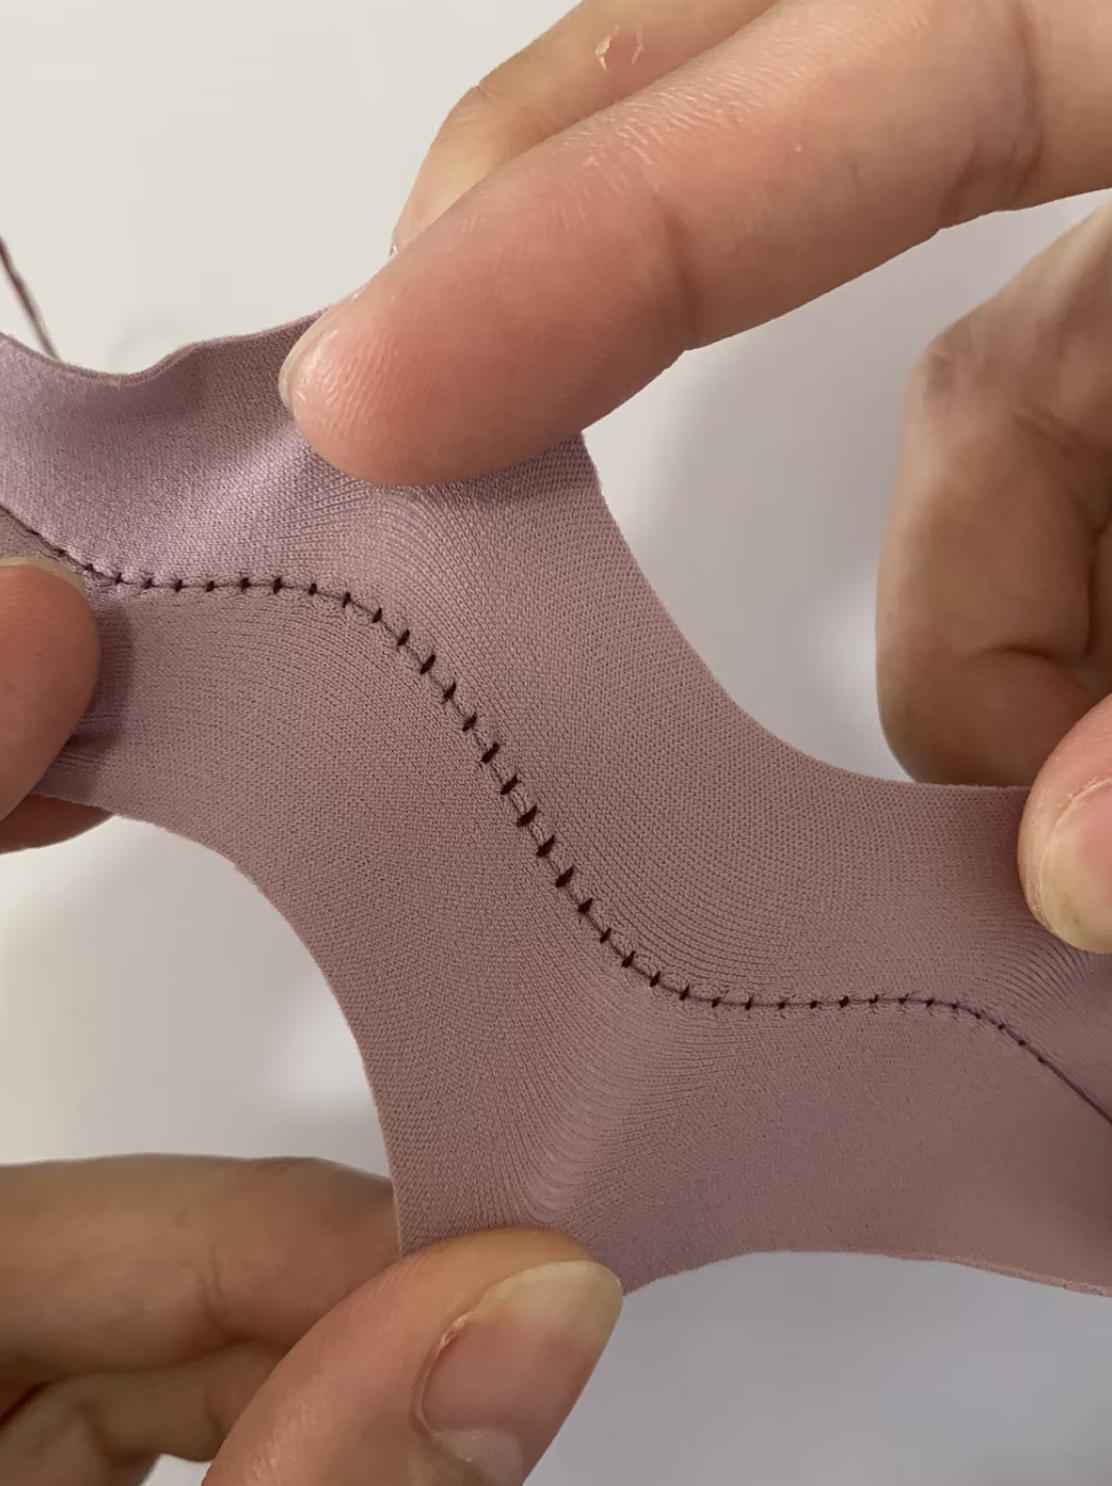
SHUAY’S stitch SAMPLERS

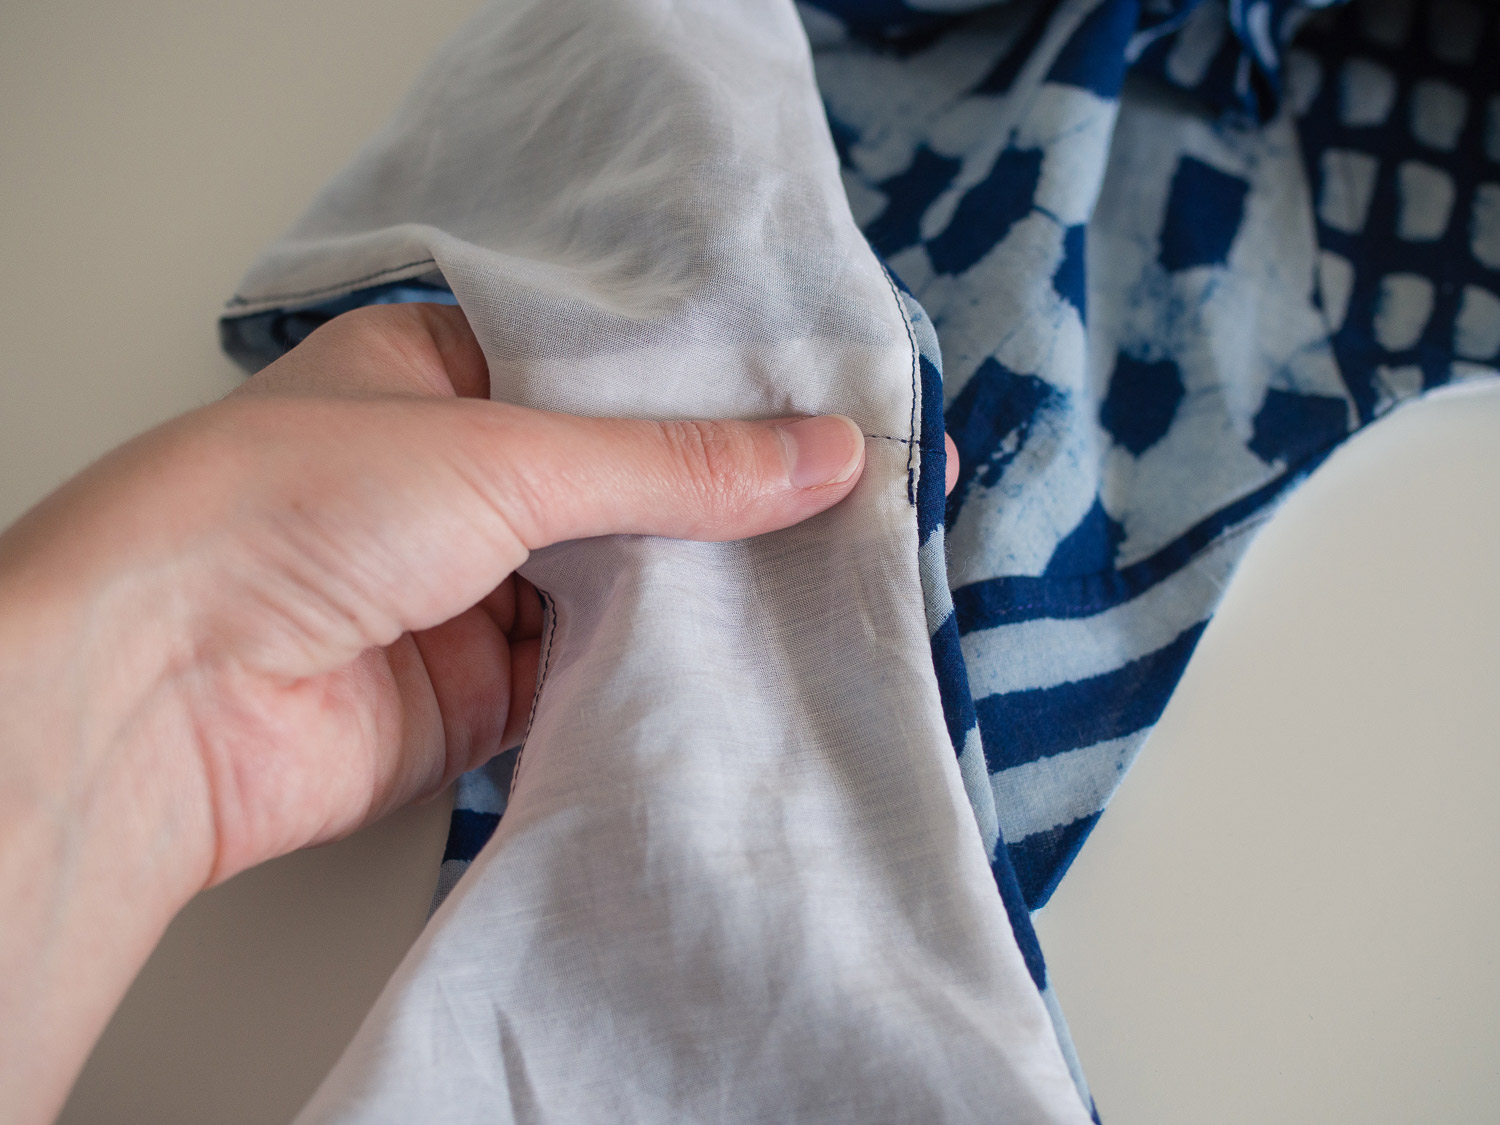
Shuay has spent a lot of time sewing with knit fabric and thought she had covered all the basics, but after reading through our Sewing Knits Skills Kit she realised there was a lot she didn’t know.

After learning about the stitches that mimic overlocking that can be found on regular domestic sewing machines, she started experimenting with samplers to figure out what stitch was the best option for the stretch fabrics she had in her stash. She found that depending on the fabric used, some stitches could be seen on the outside of the fabric once it was stretched, which is very important information to have when sewing with stretch fabric!

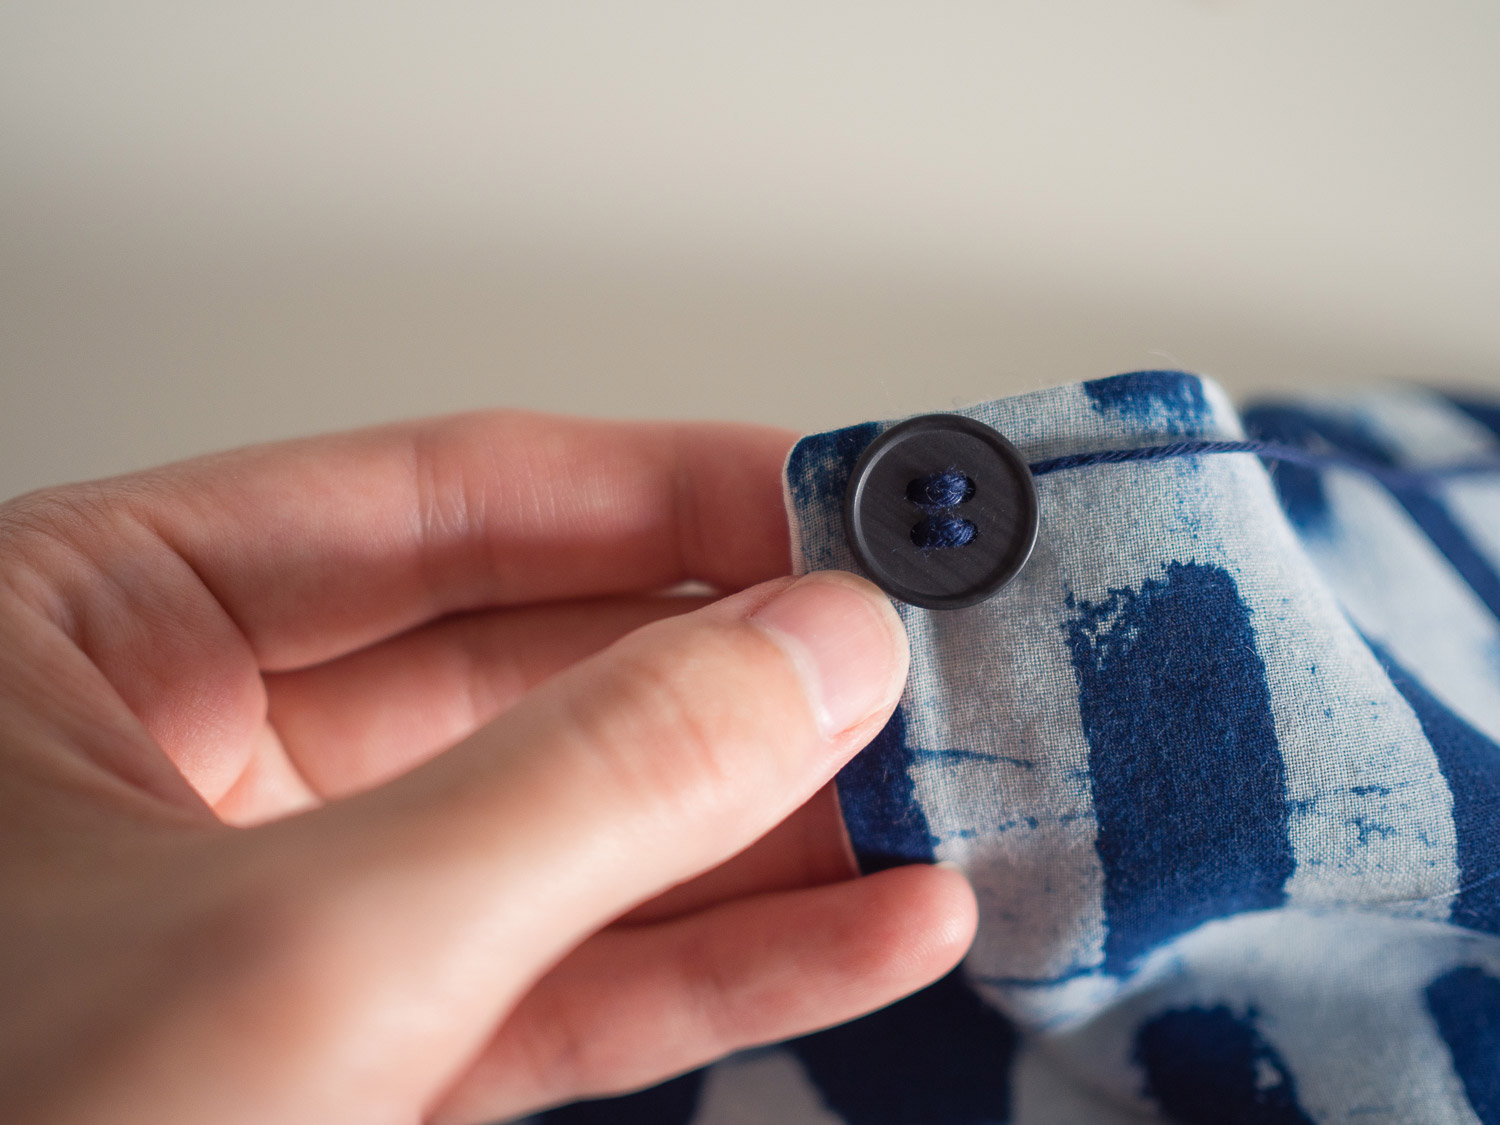
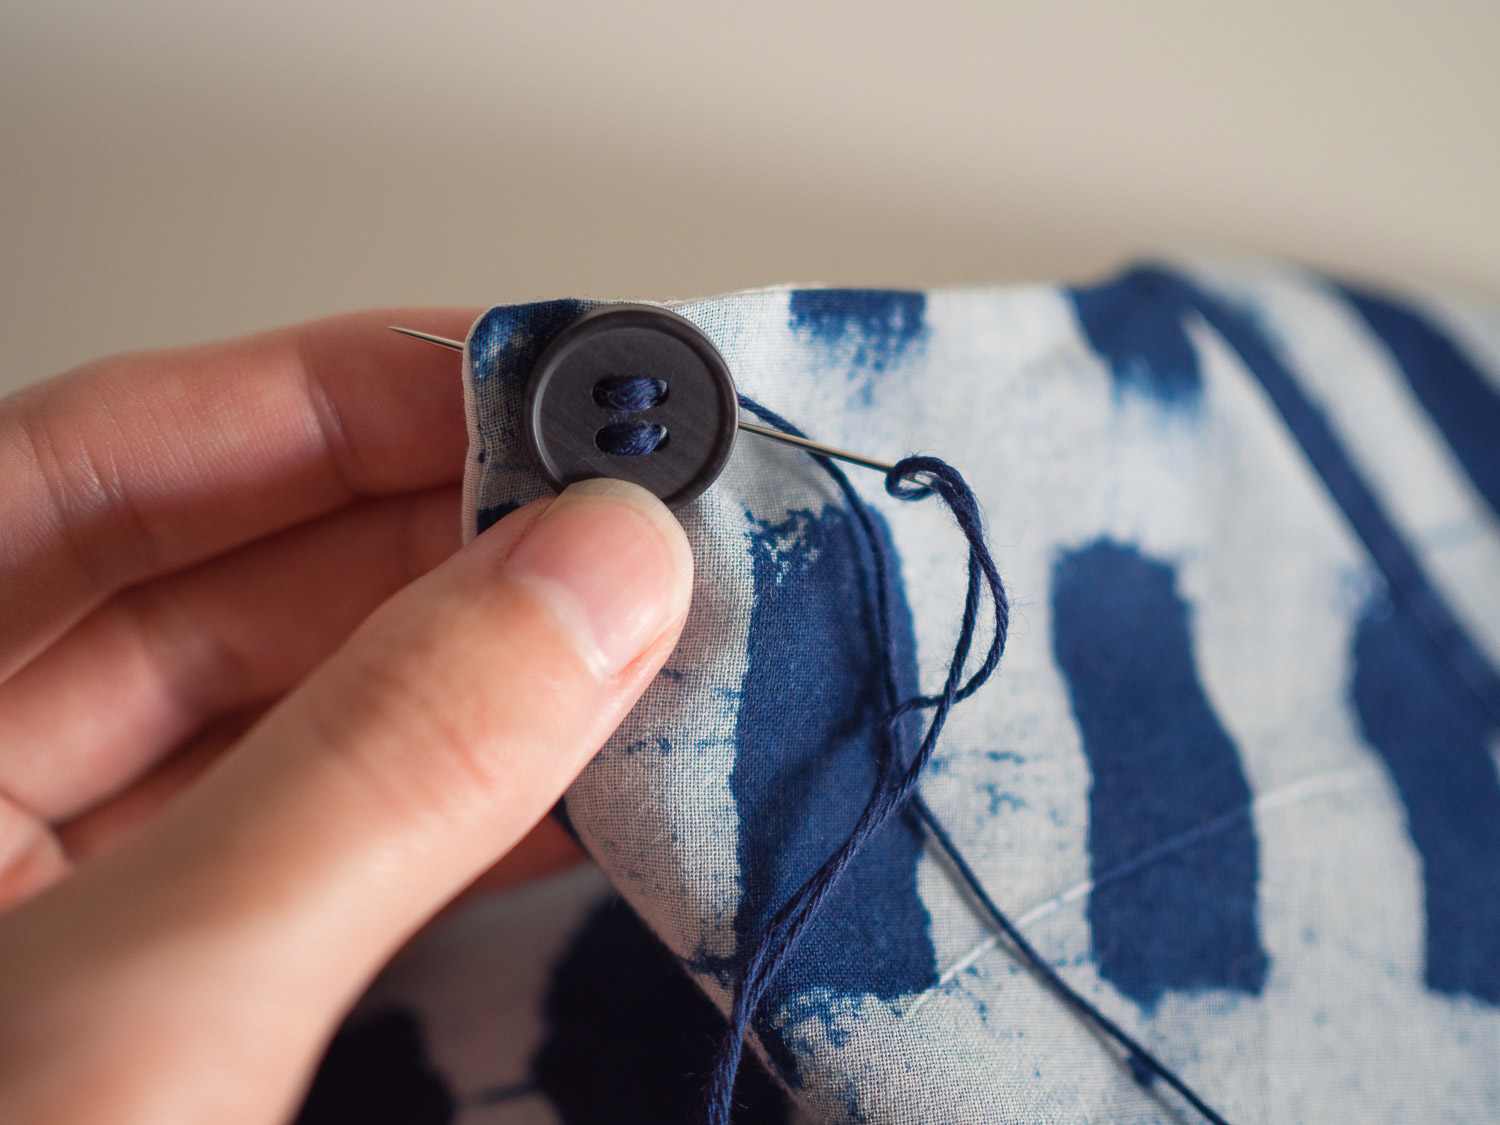
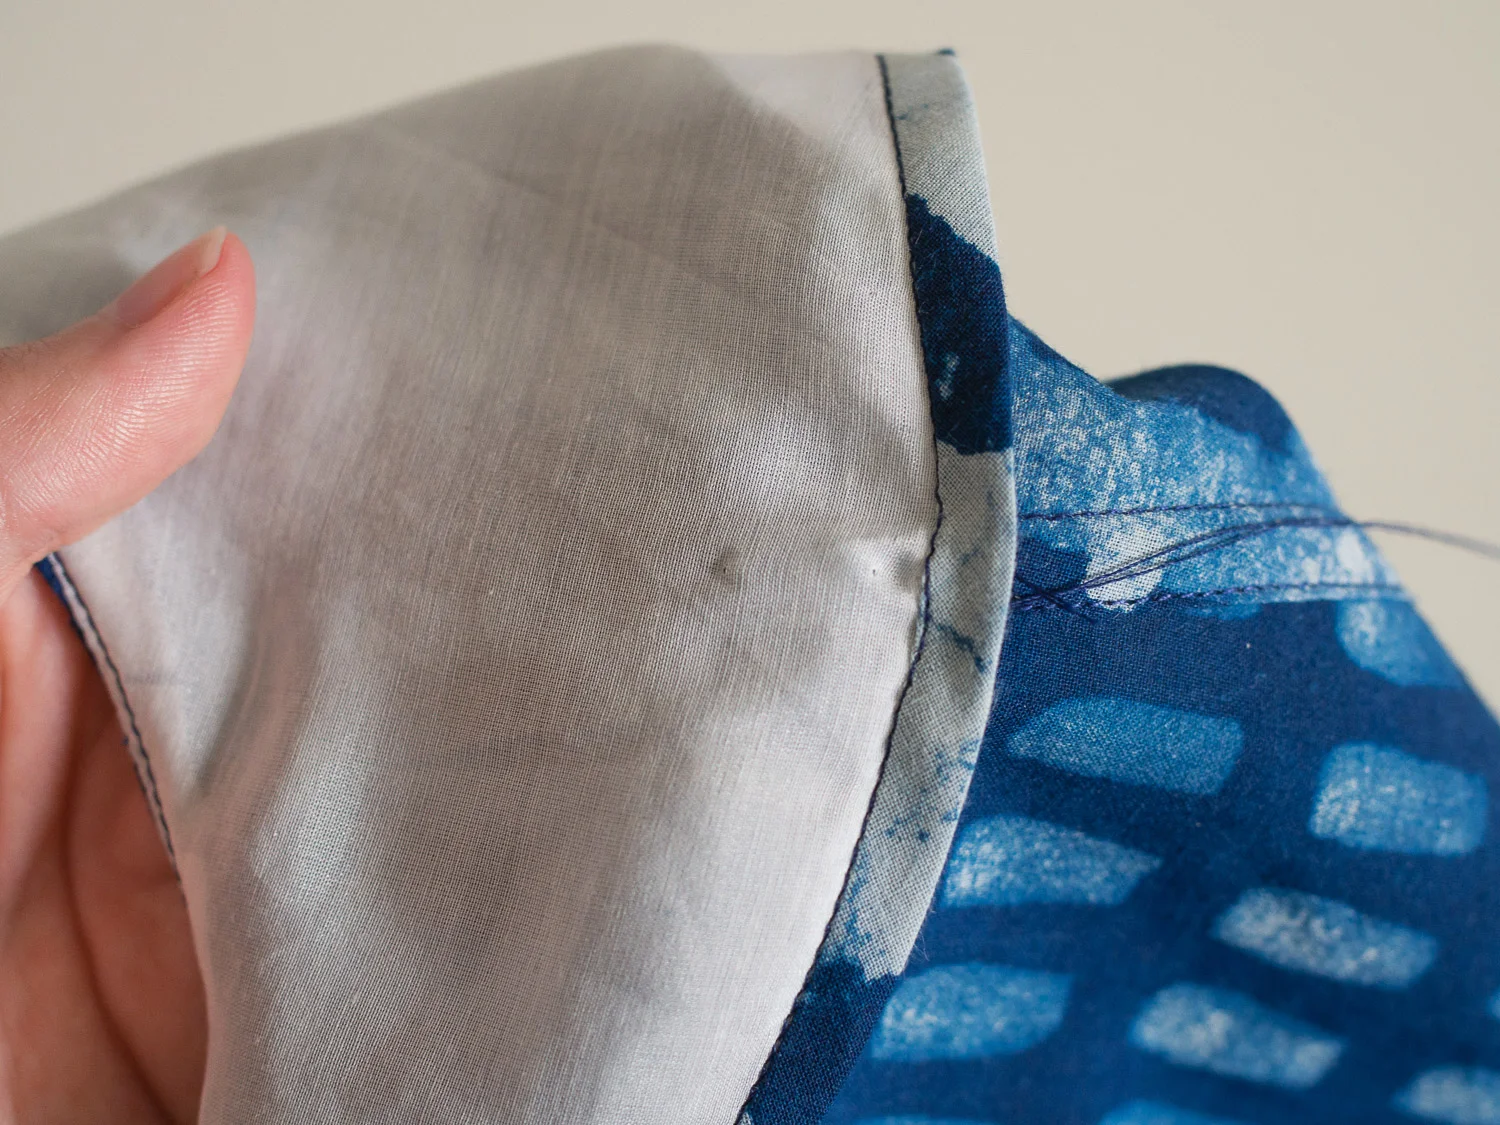
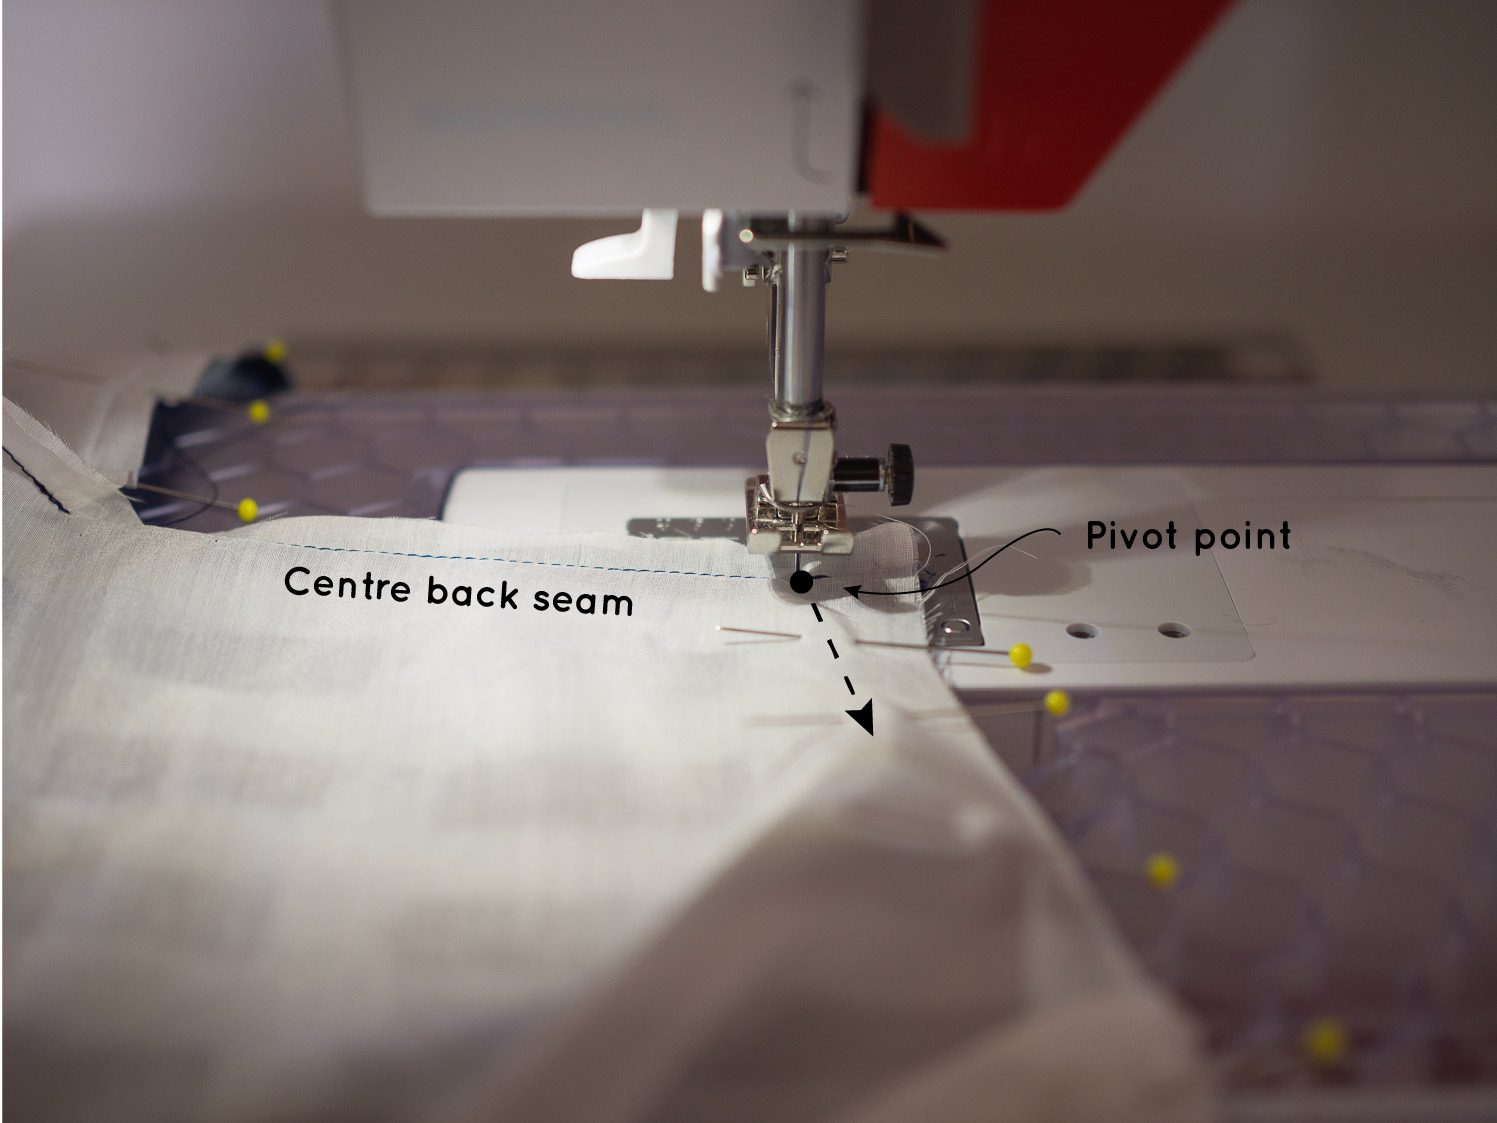
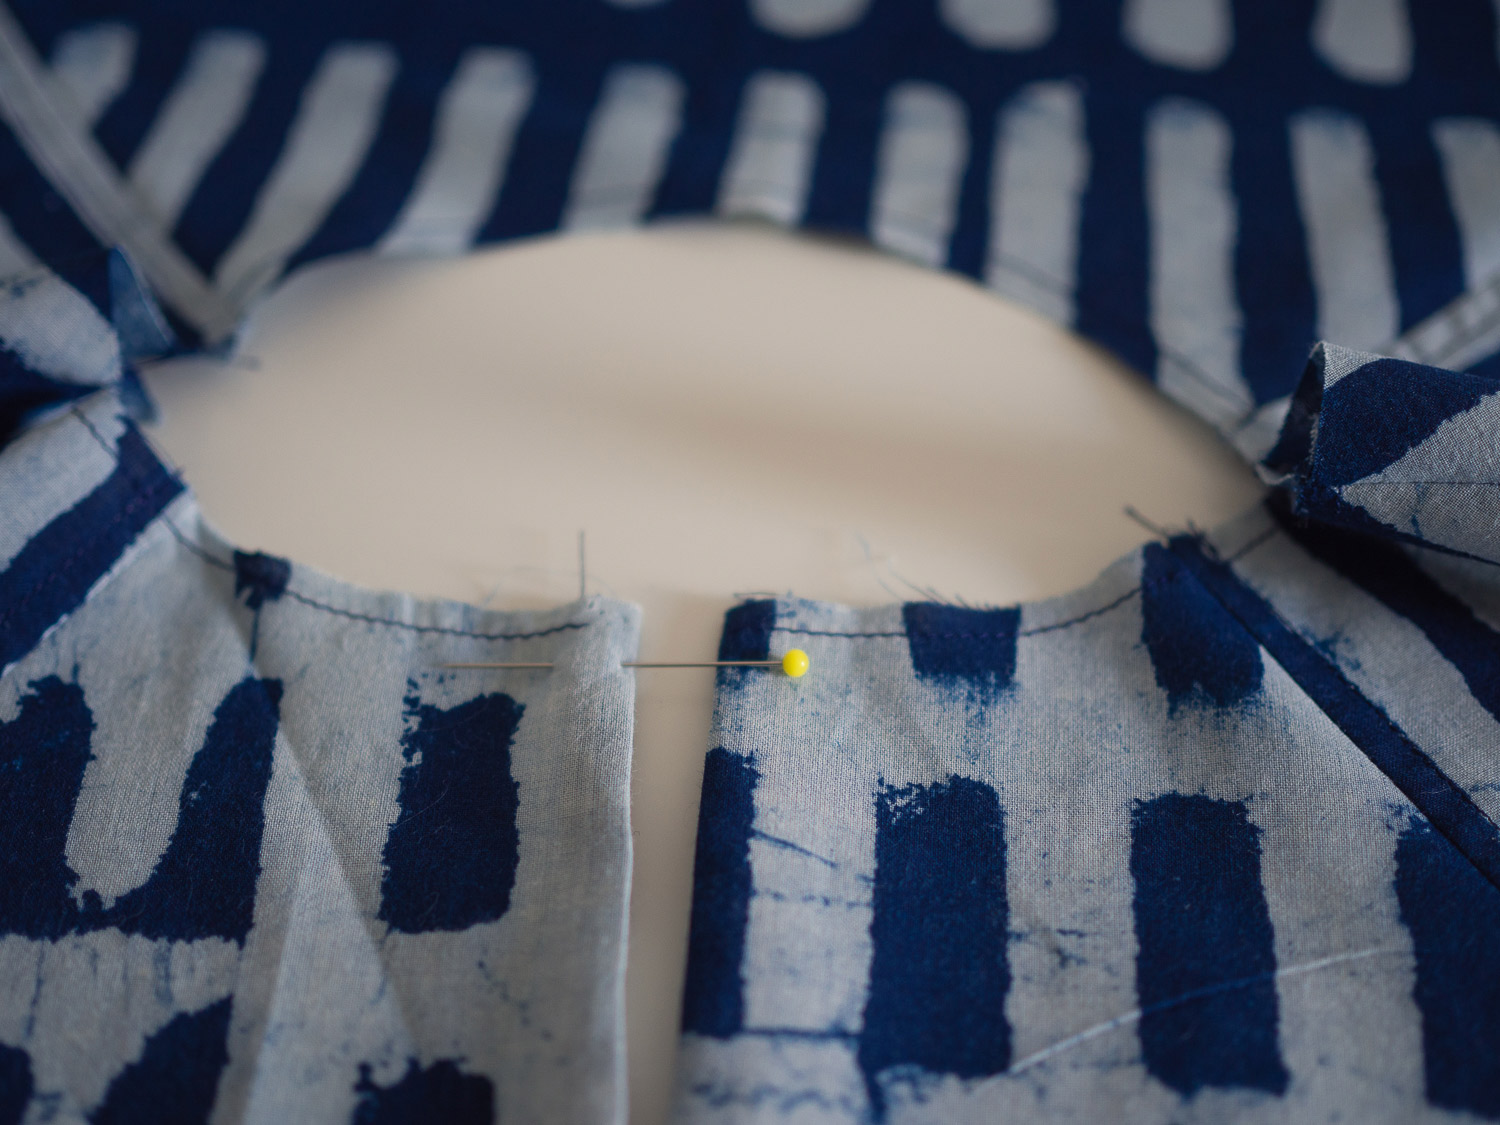
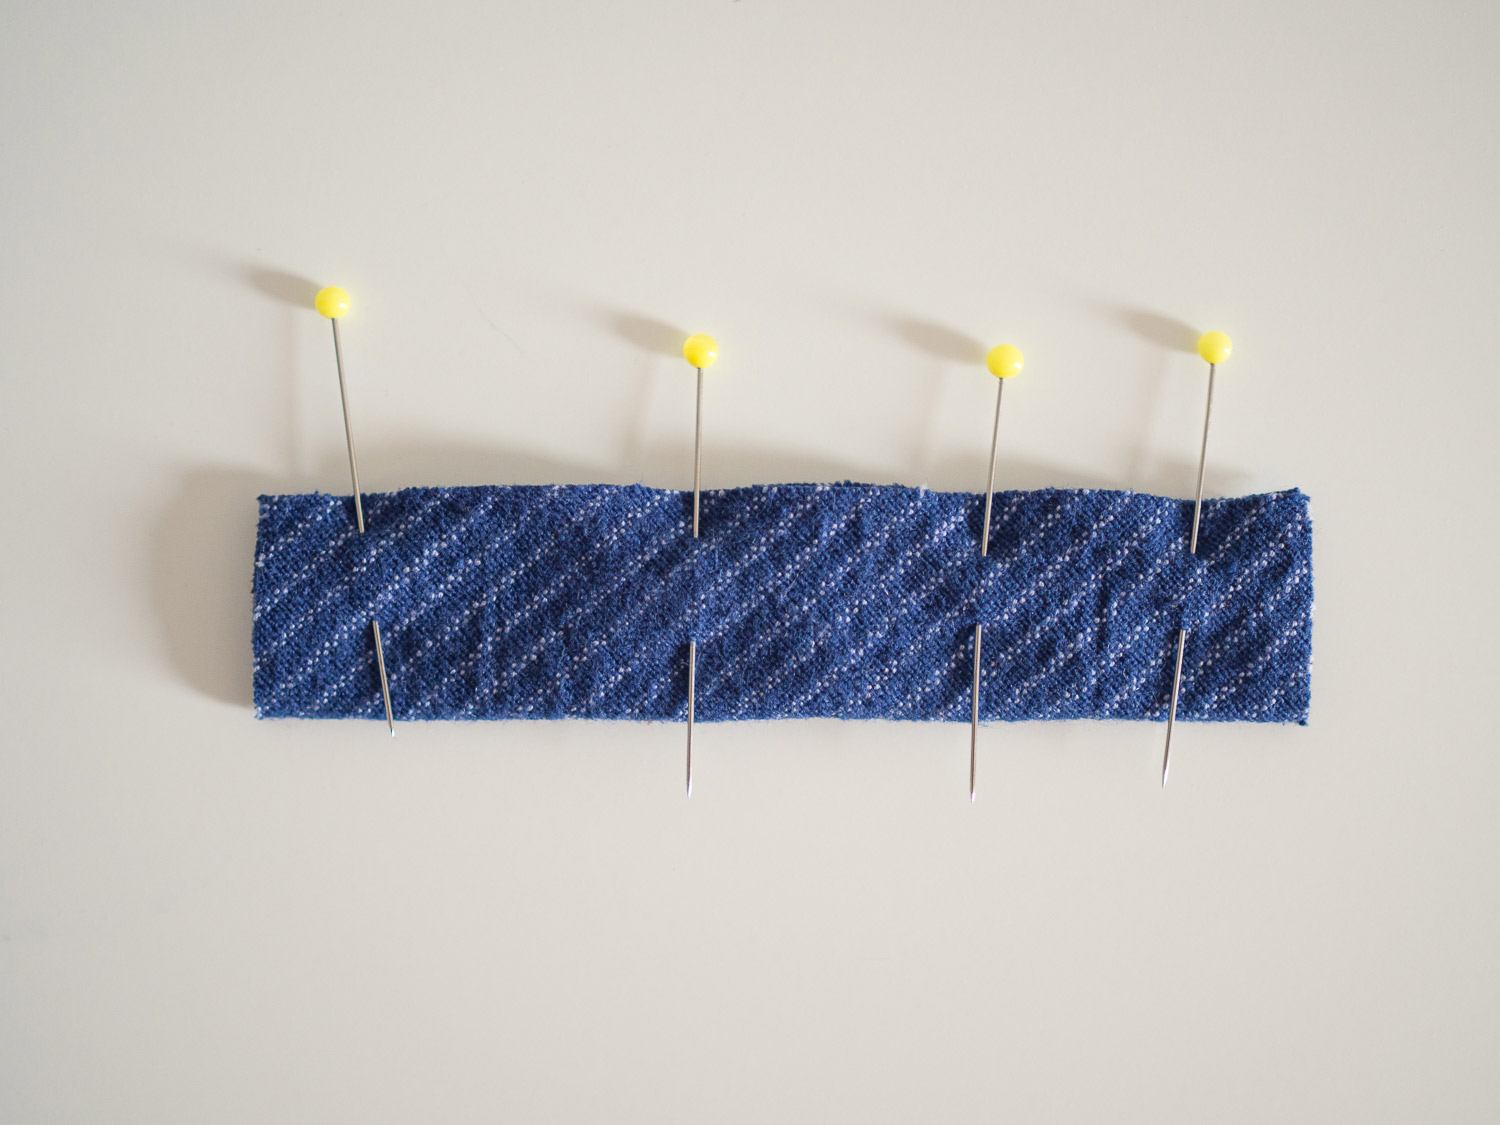
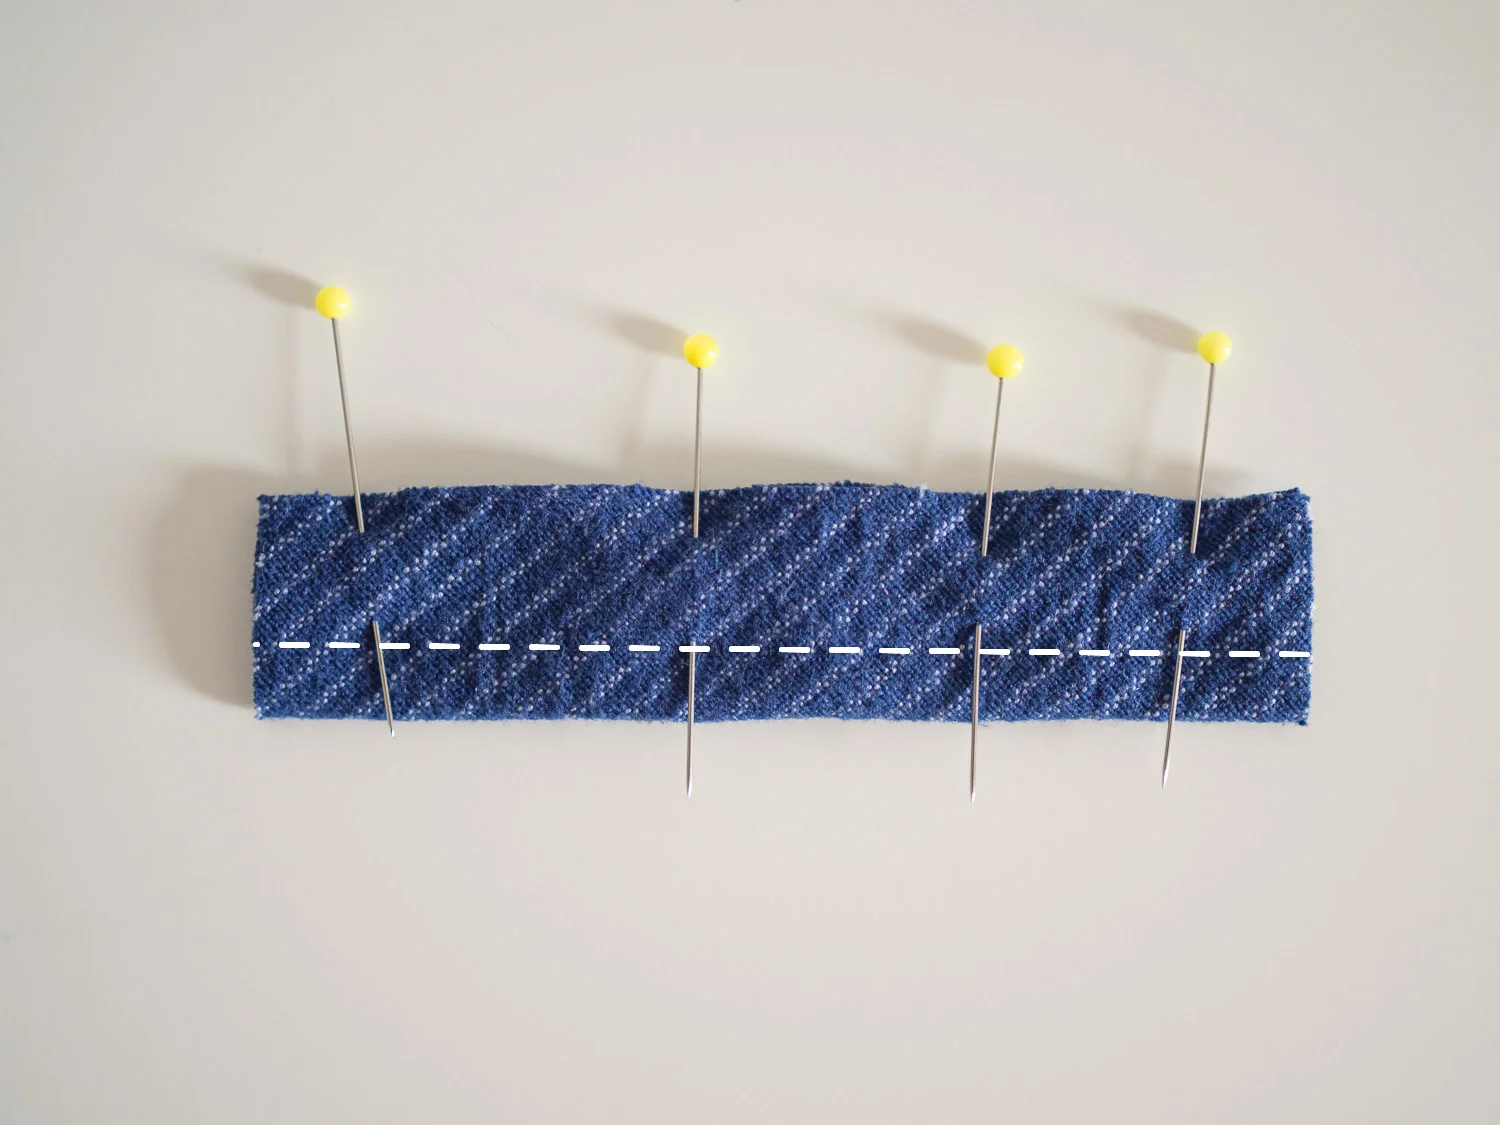
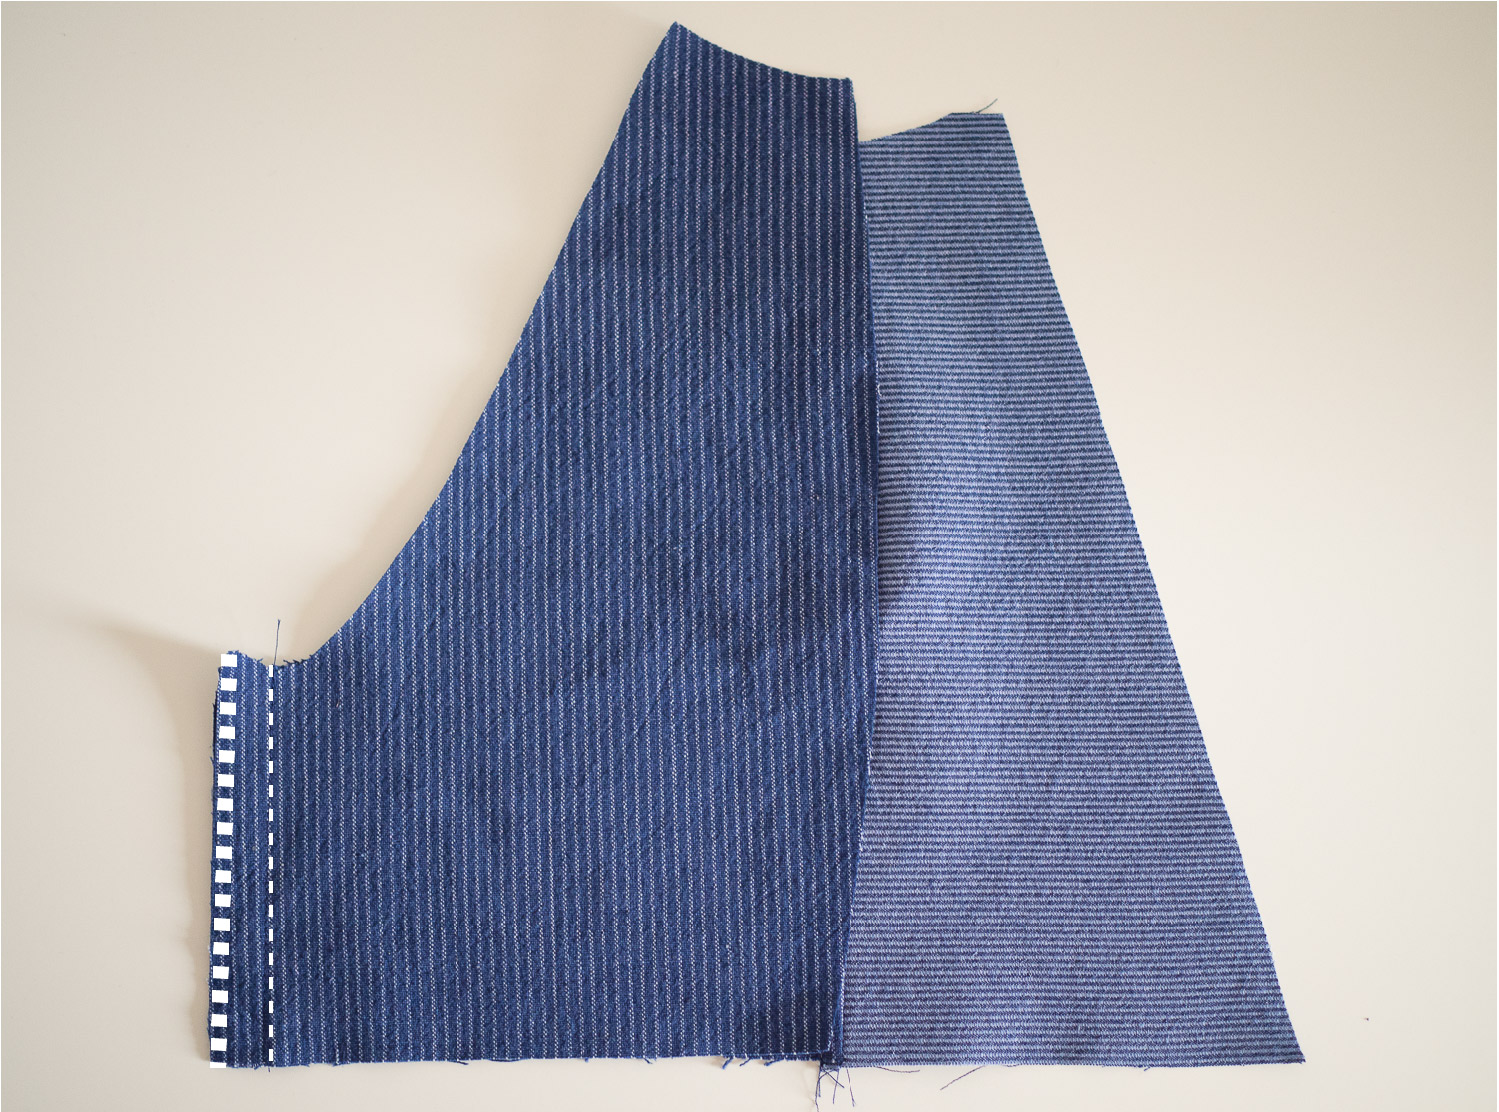
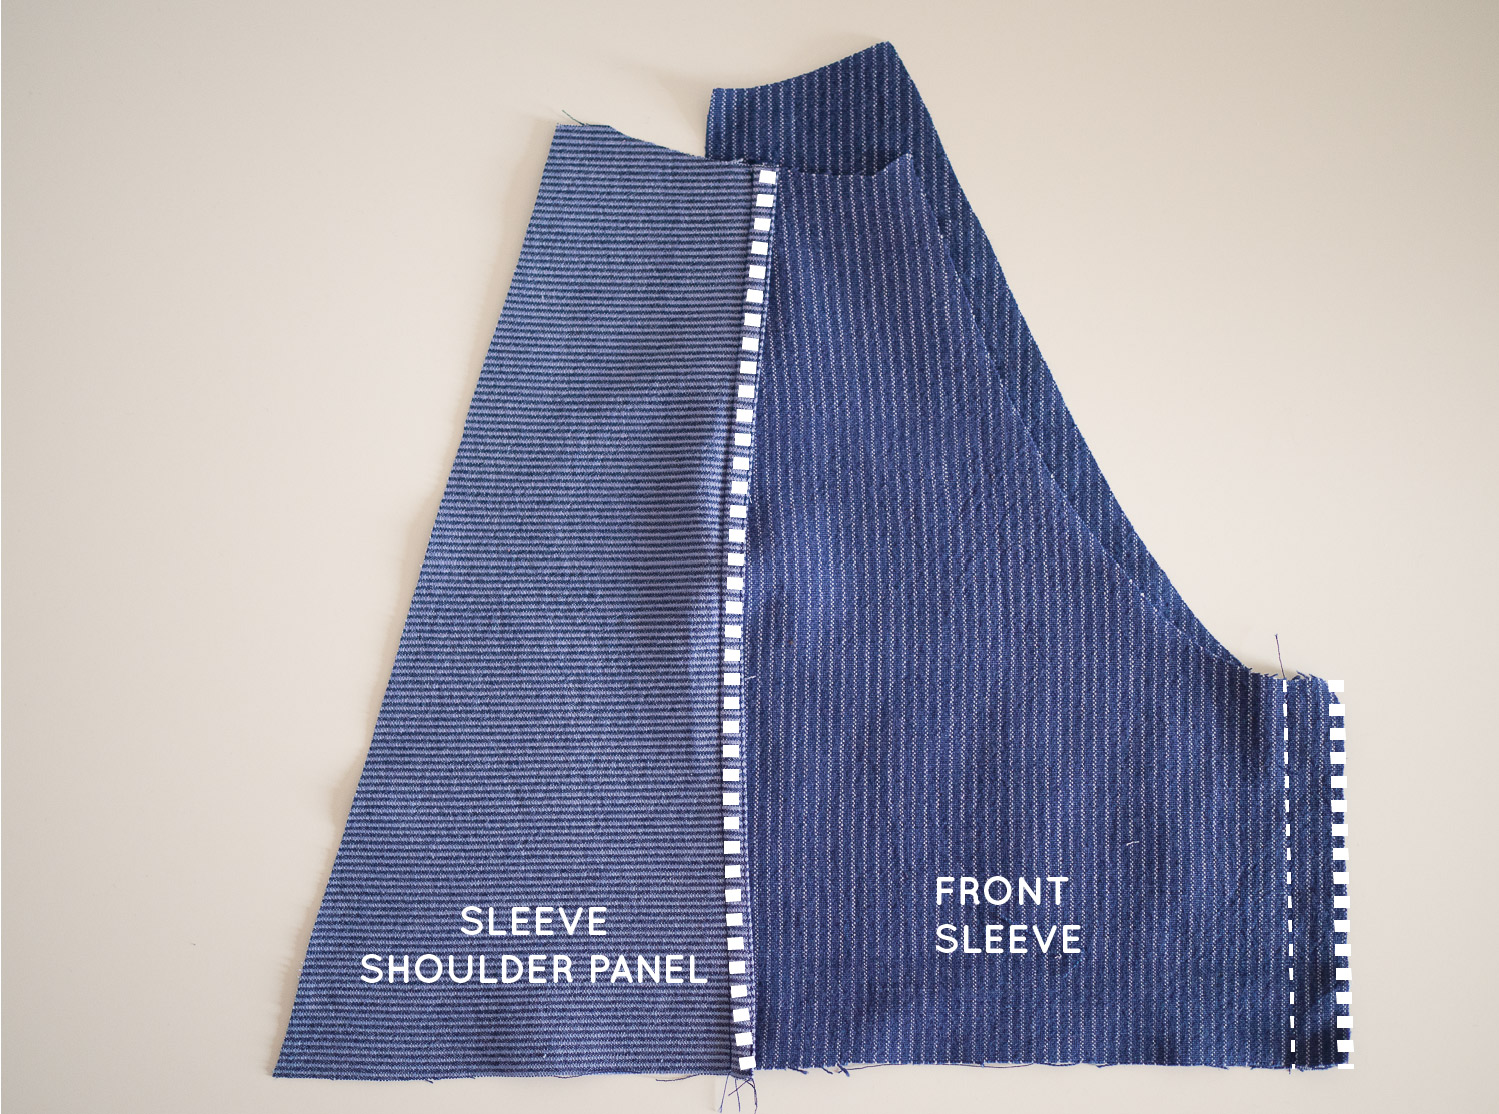
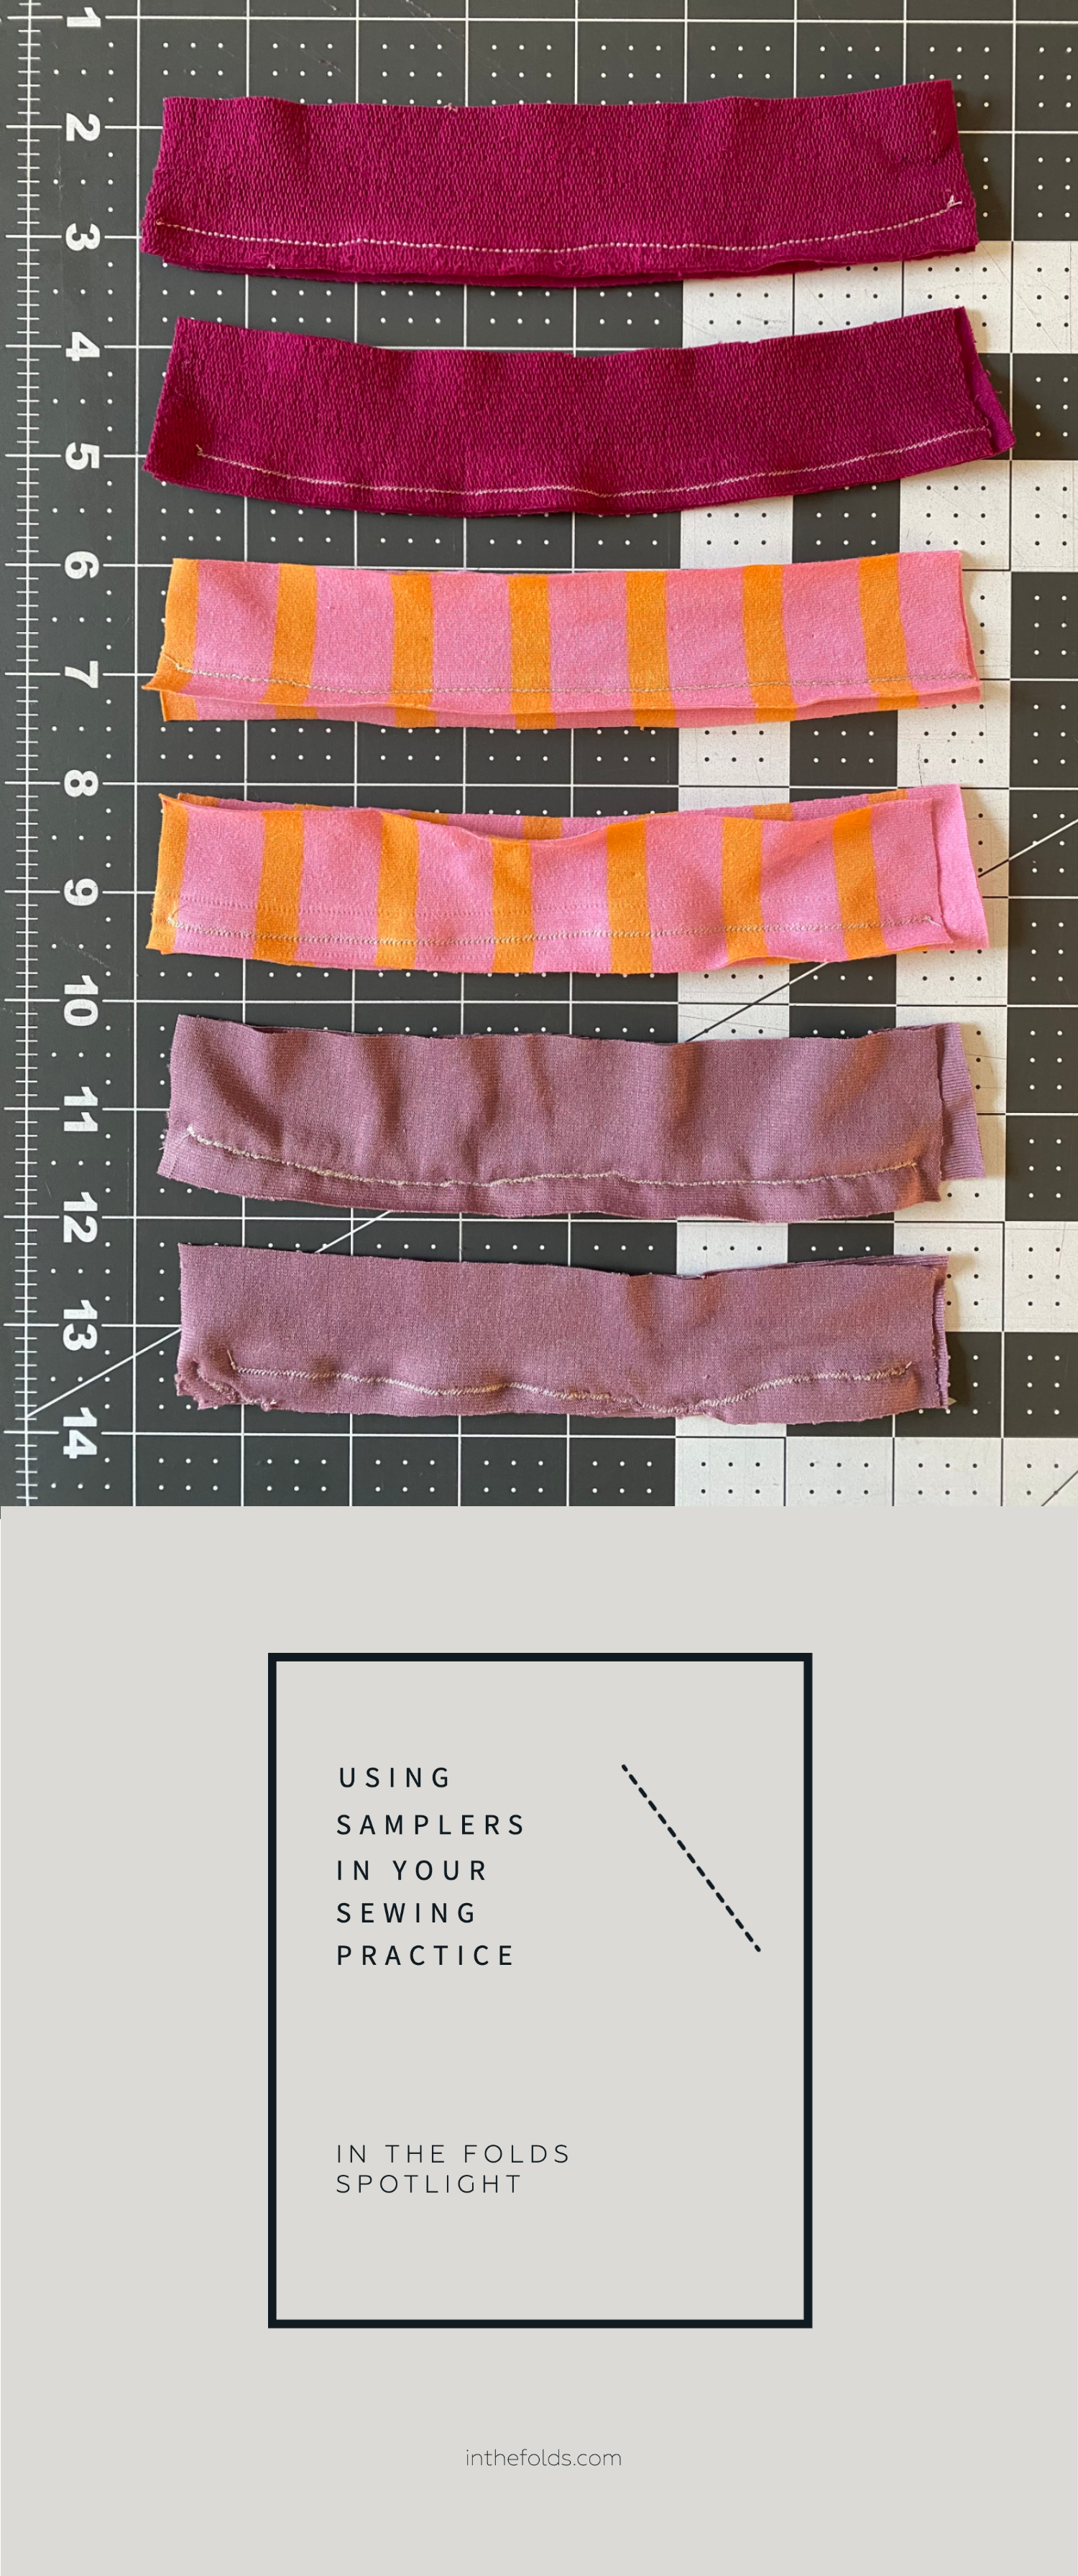
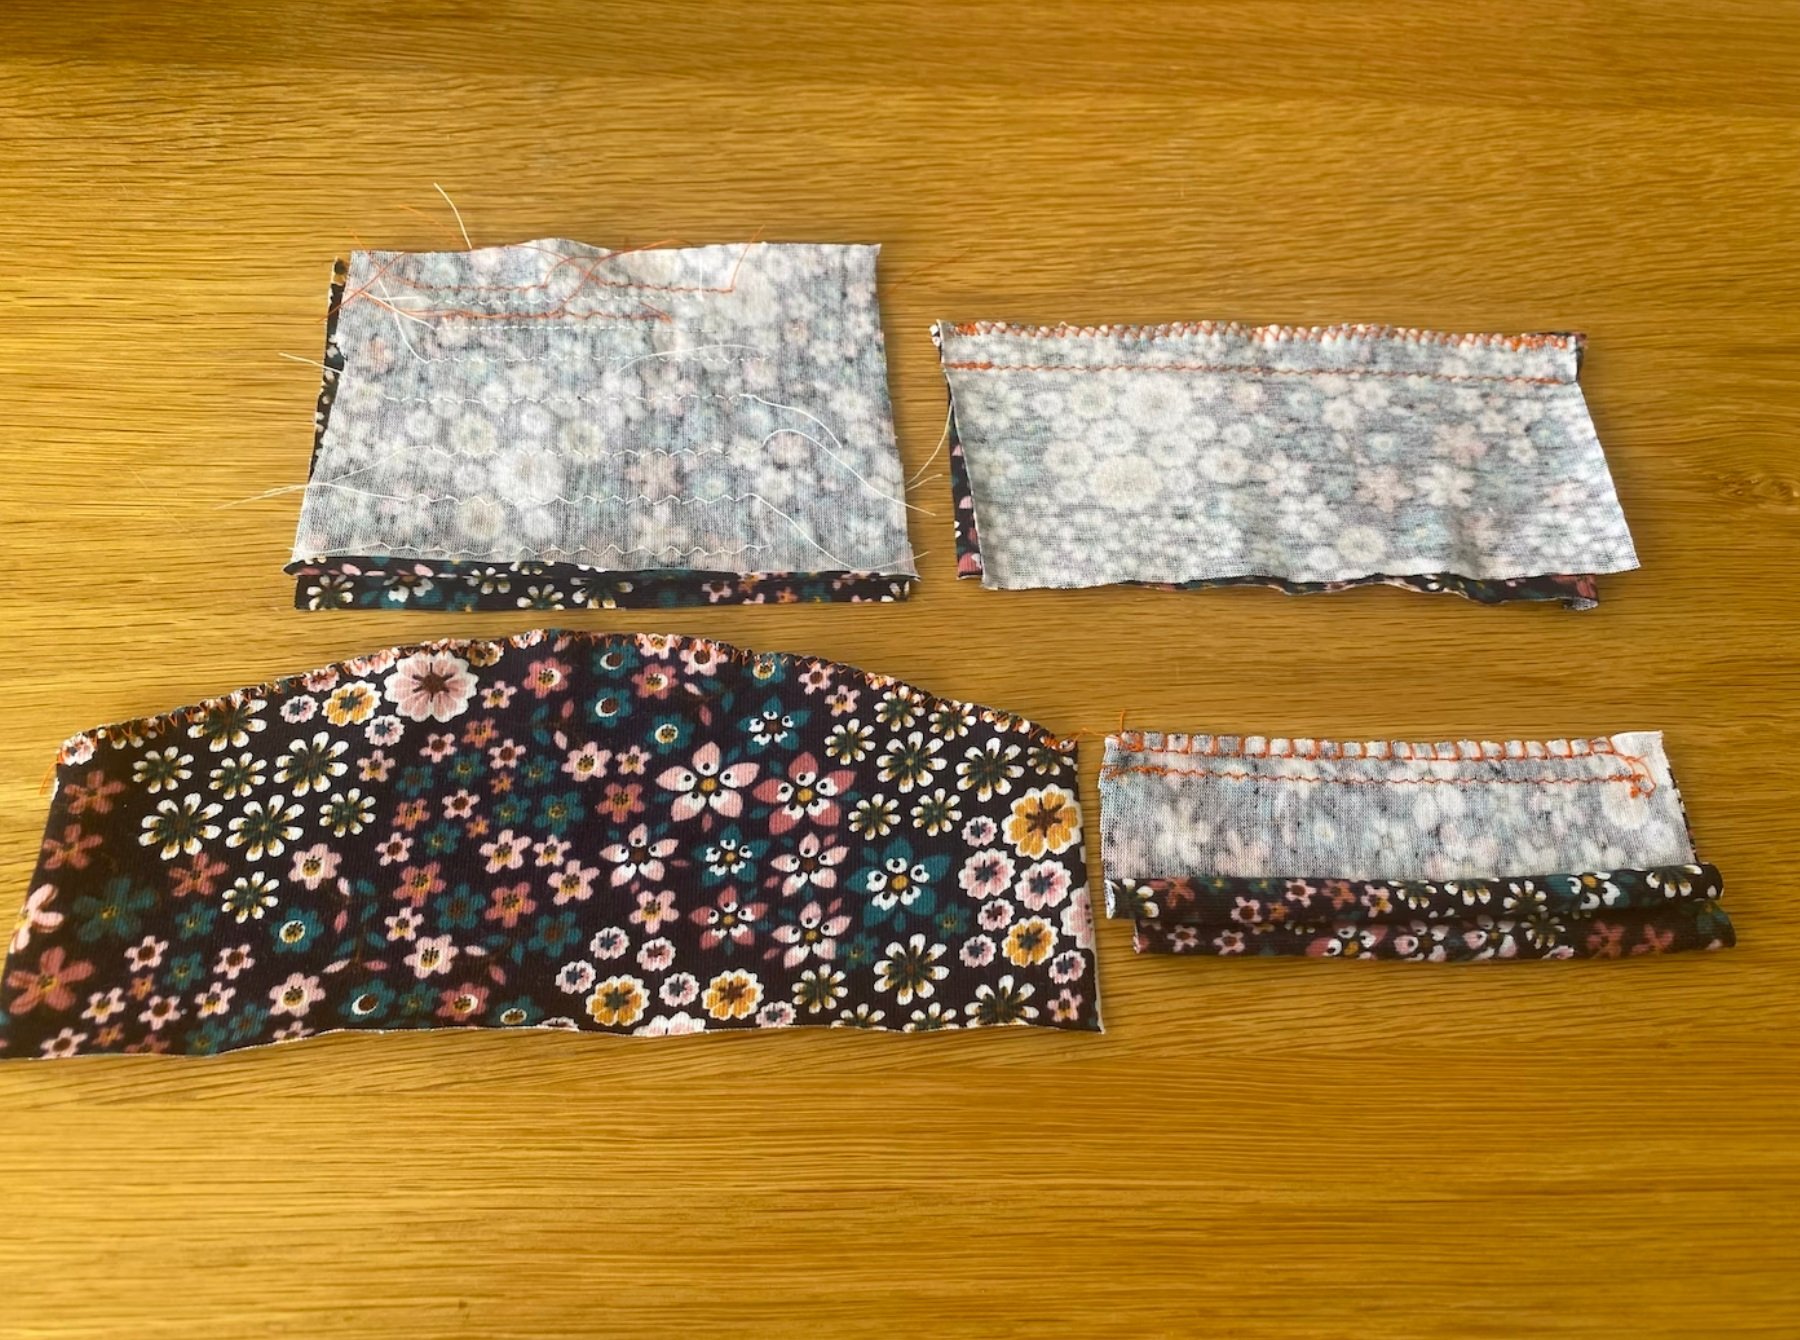
SUTHI’S seam samplers

Suthi experimented with the knit fabric in her stash by creating a range of knit fabric samplers that compared the finish she could achieve using different stitches with a walking foot on her 10 year old Brother domestic machine. Here’s what she sewed:

Top - Medium weight knit fabric with a triple stitch vs lightening bolt stitch.
Middle -Light weight knit fabric with a triple stitch vs lightening bolt stitch.
Bottom - Super light weight, drapey knit fabric with triple stitch vs lightening bolt stitch.

Suthi learned that even with the walking foot her fabric ‘grew’ up to 1cm in length and that she preferred the finished achieved using the triple stitch.

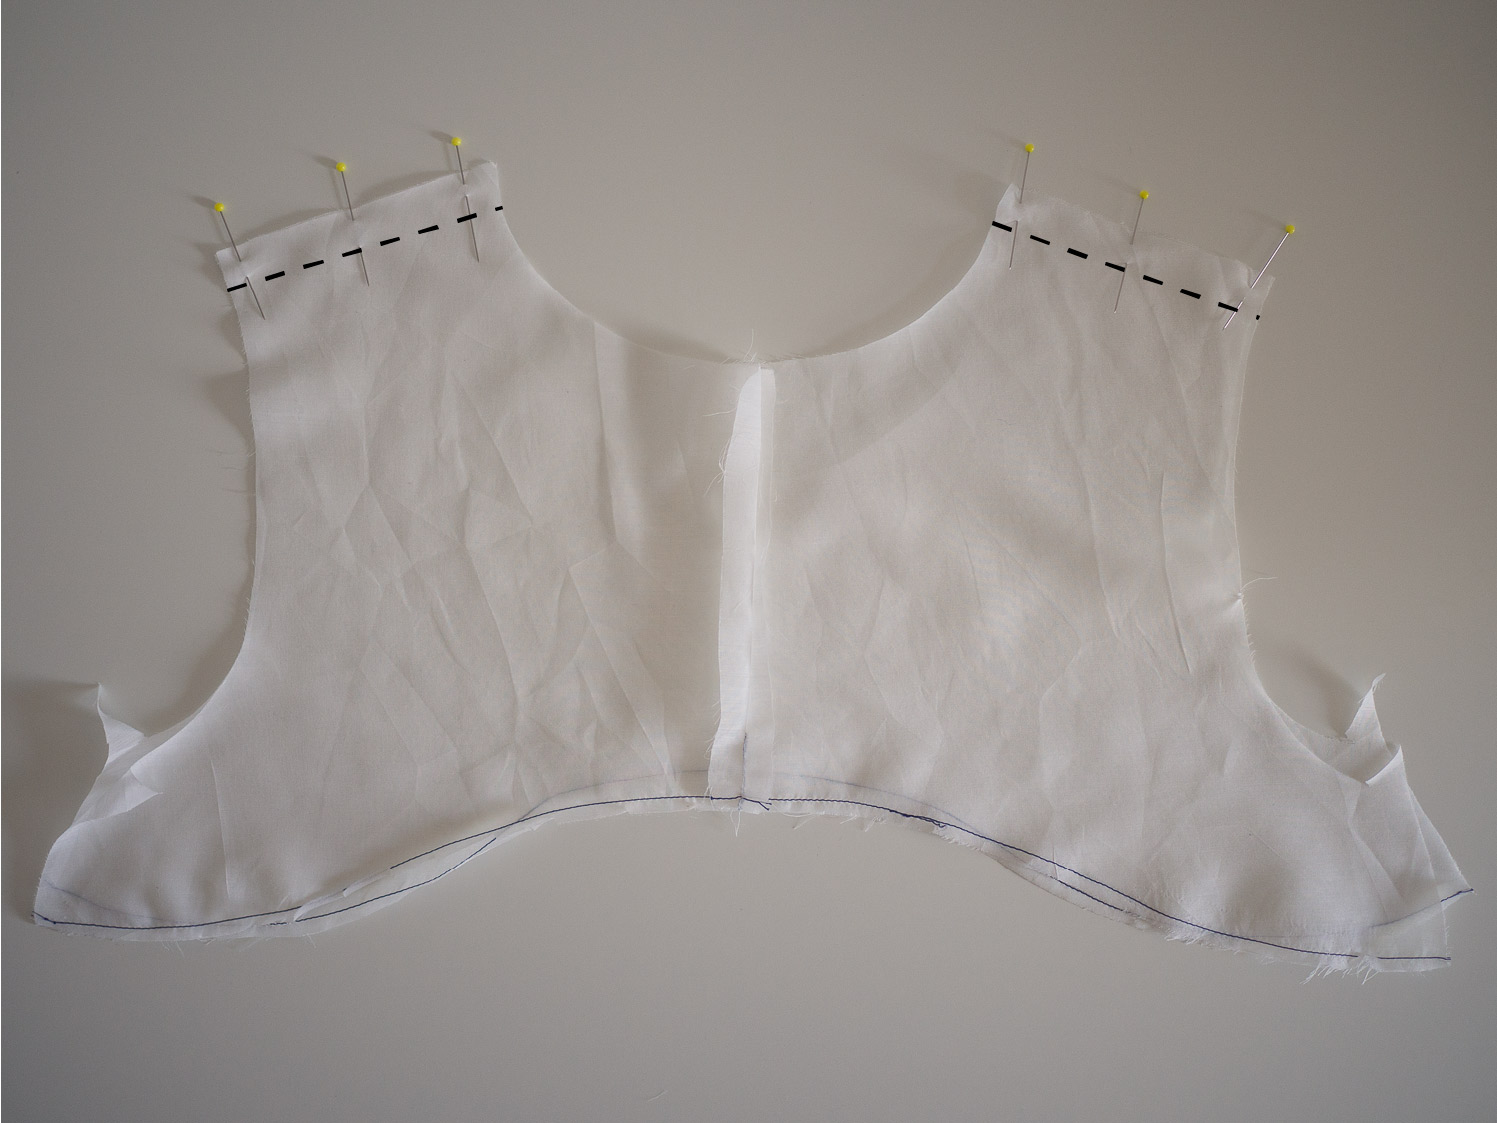
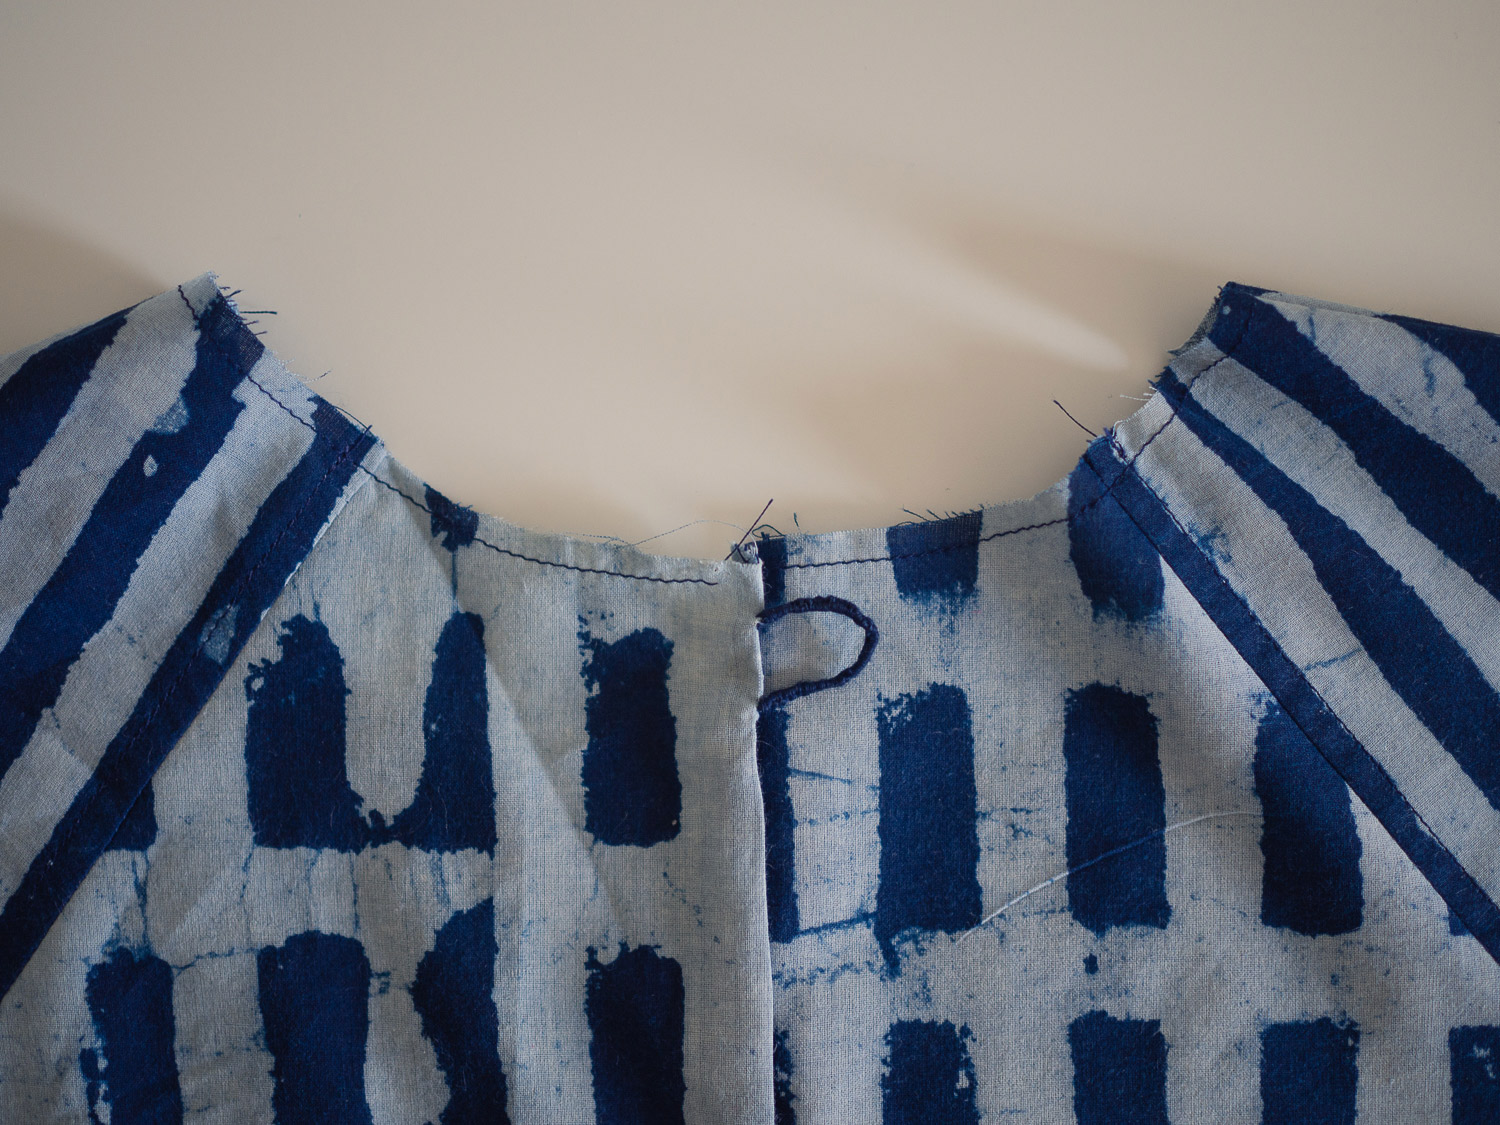
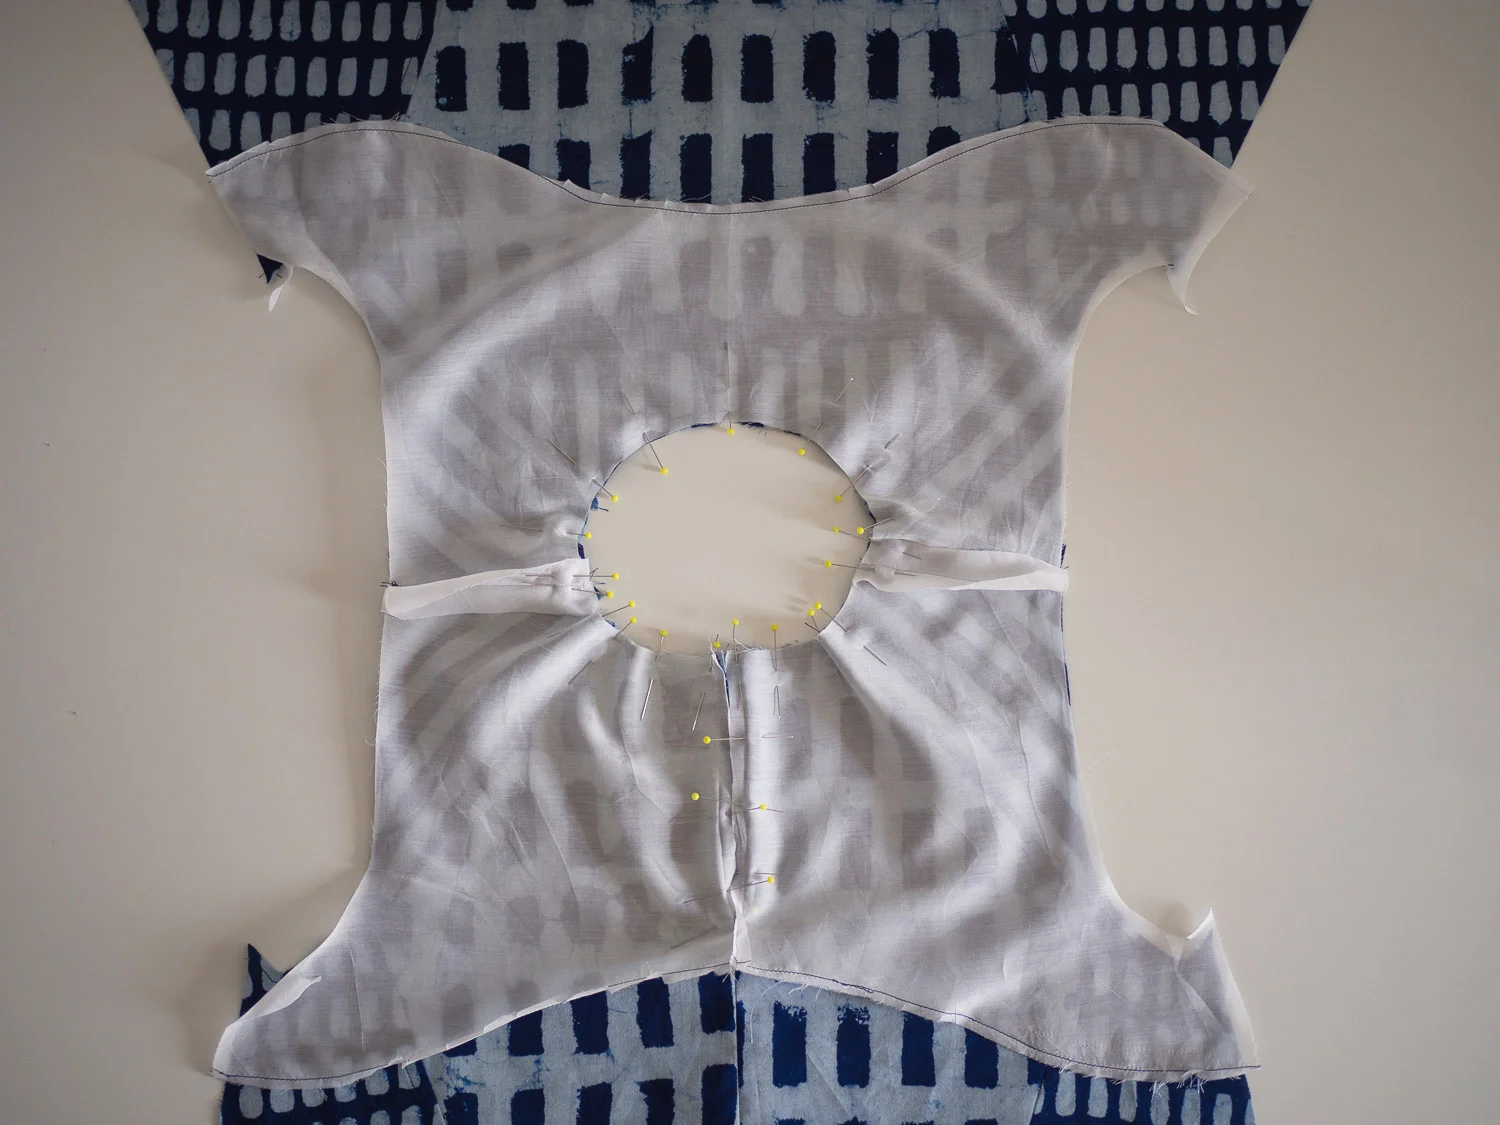
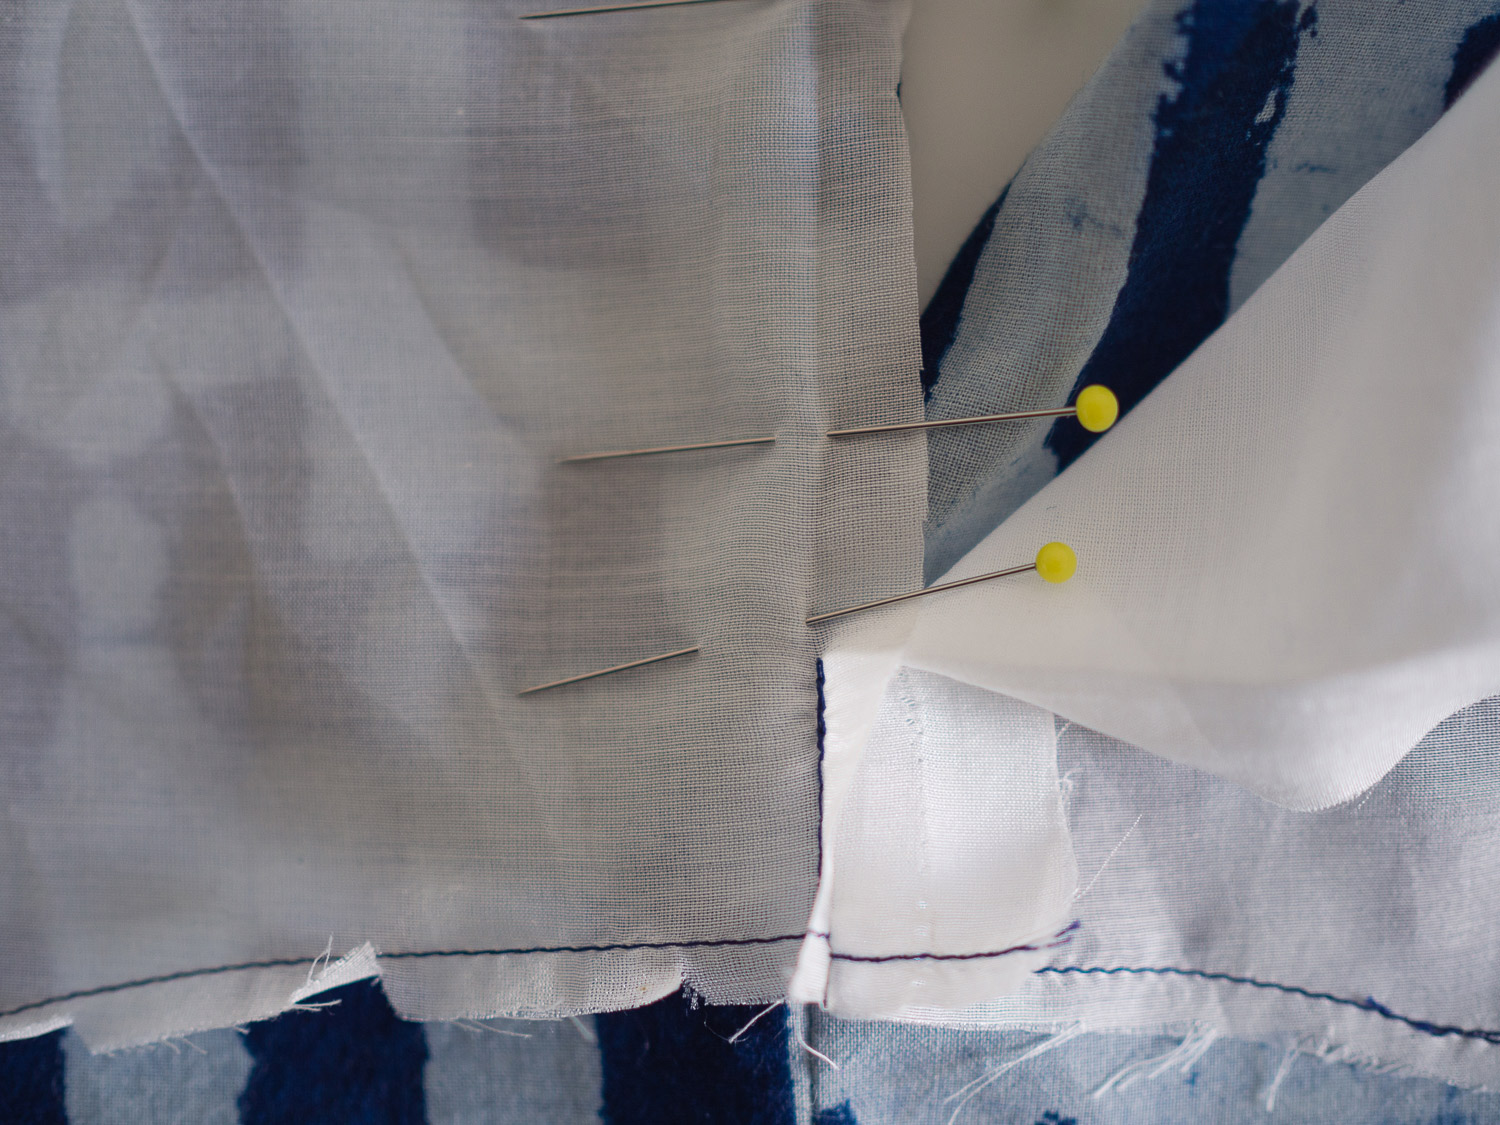
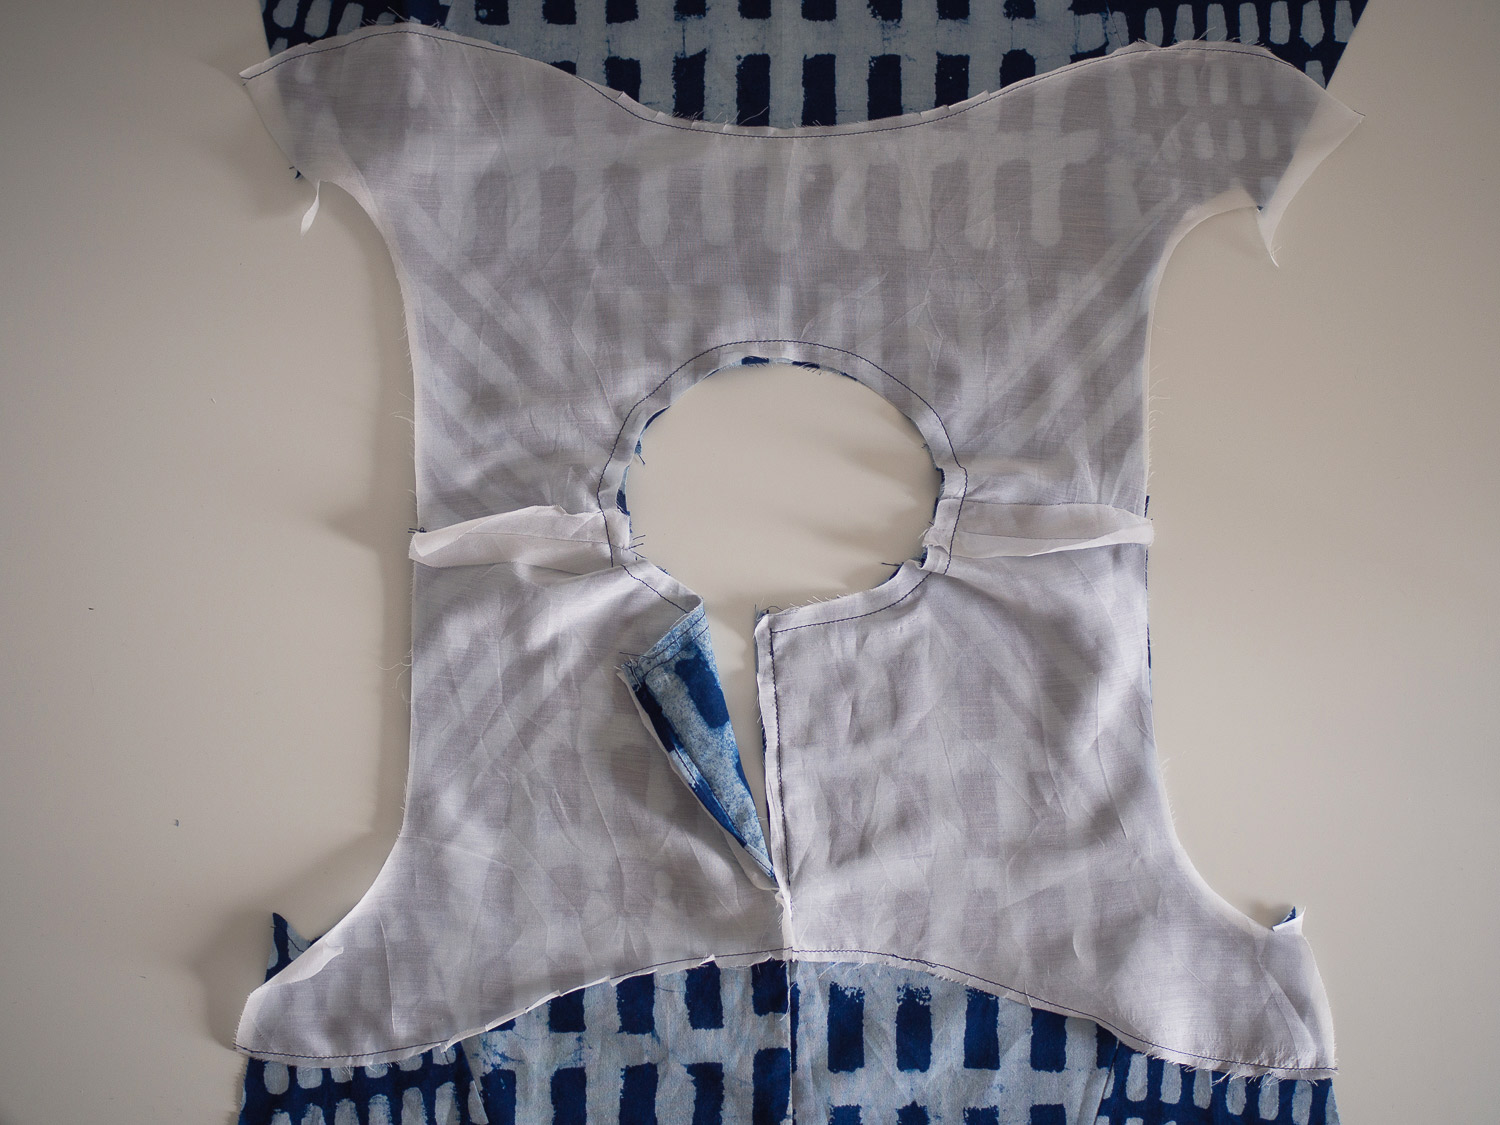
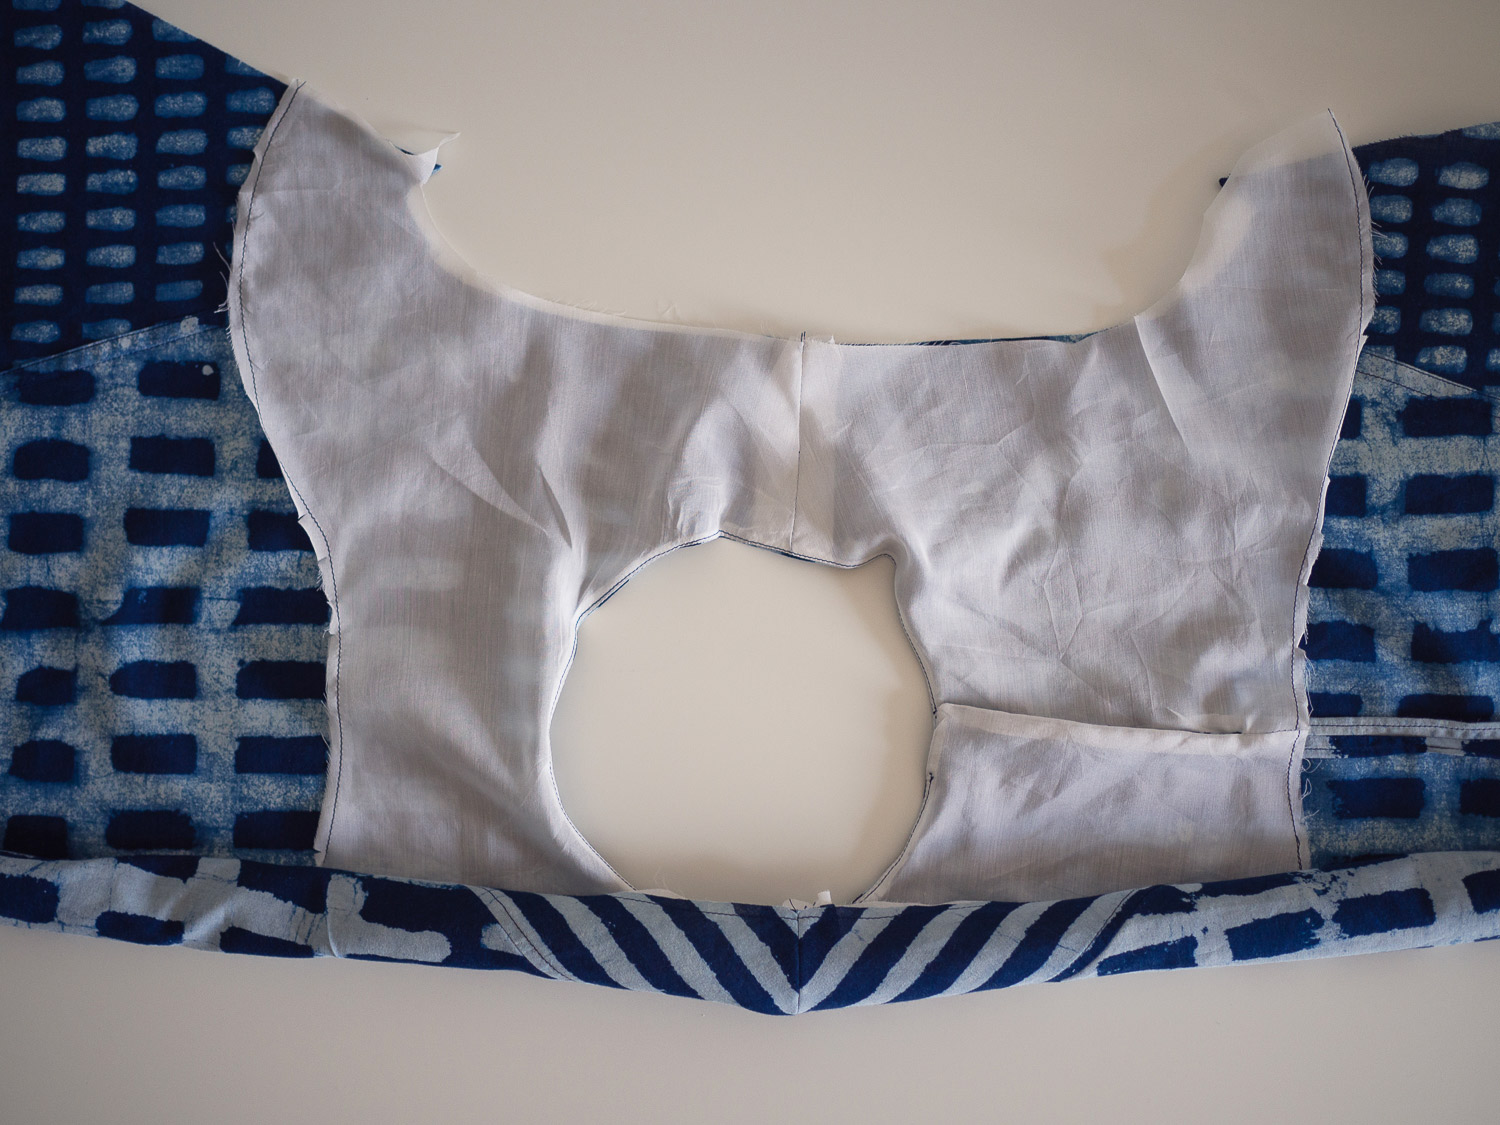
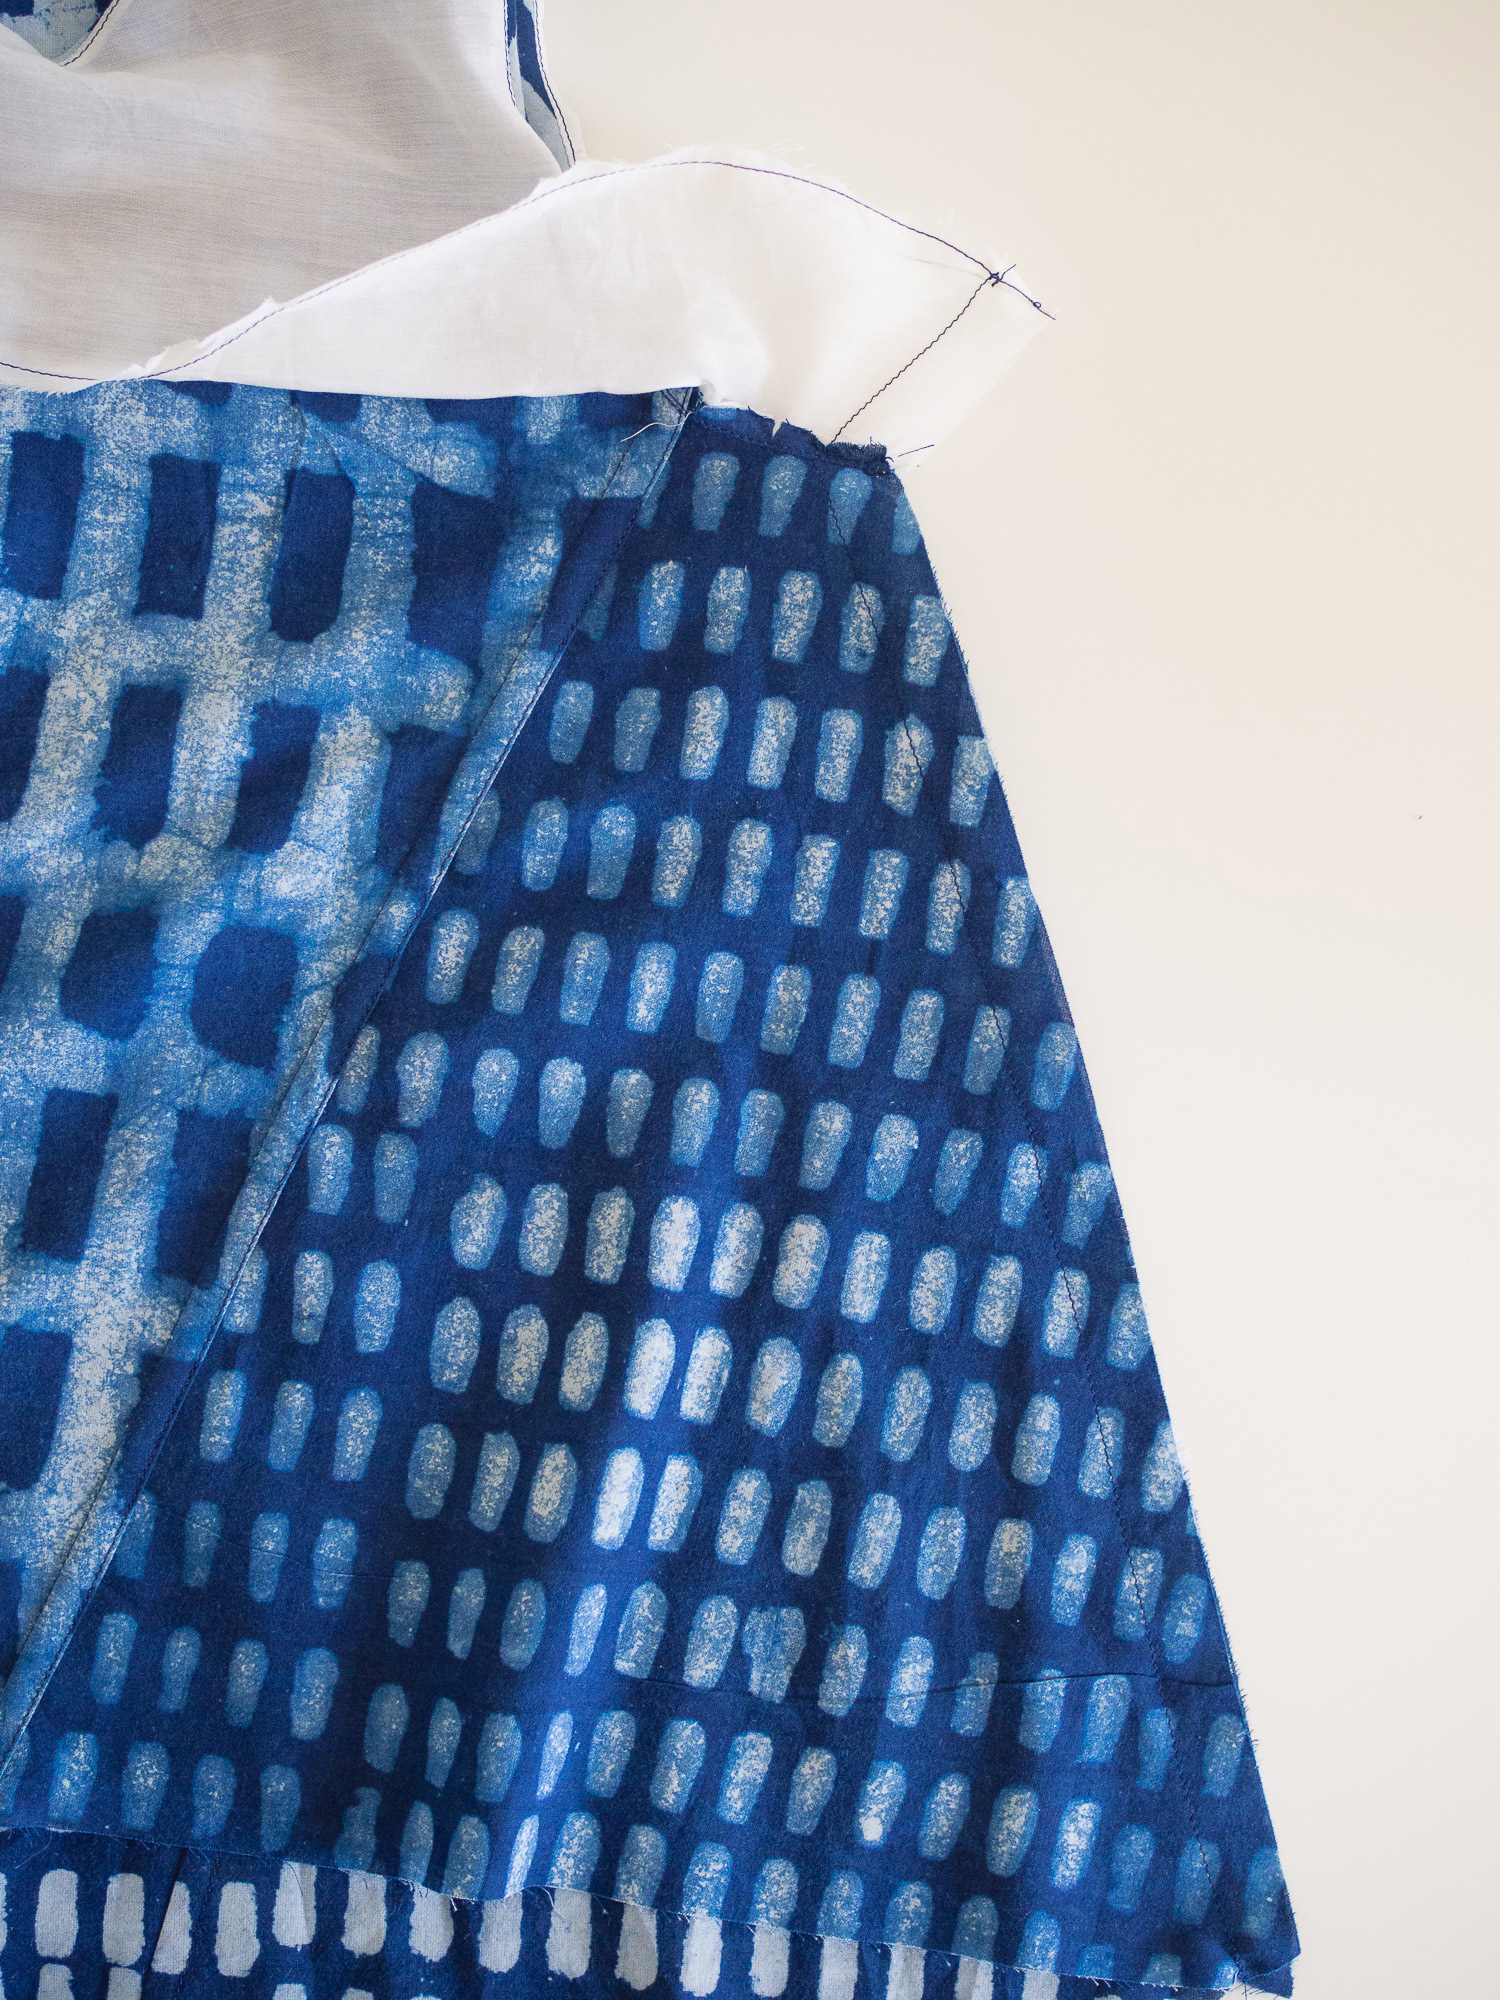
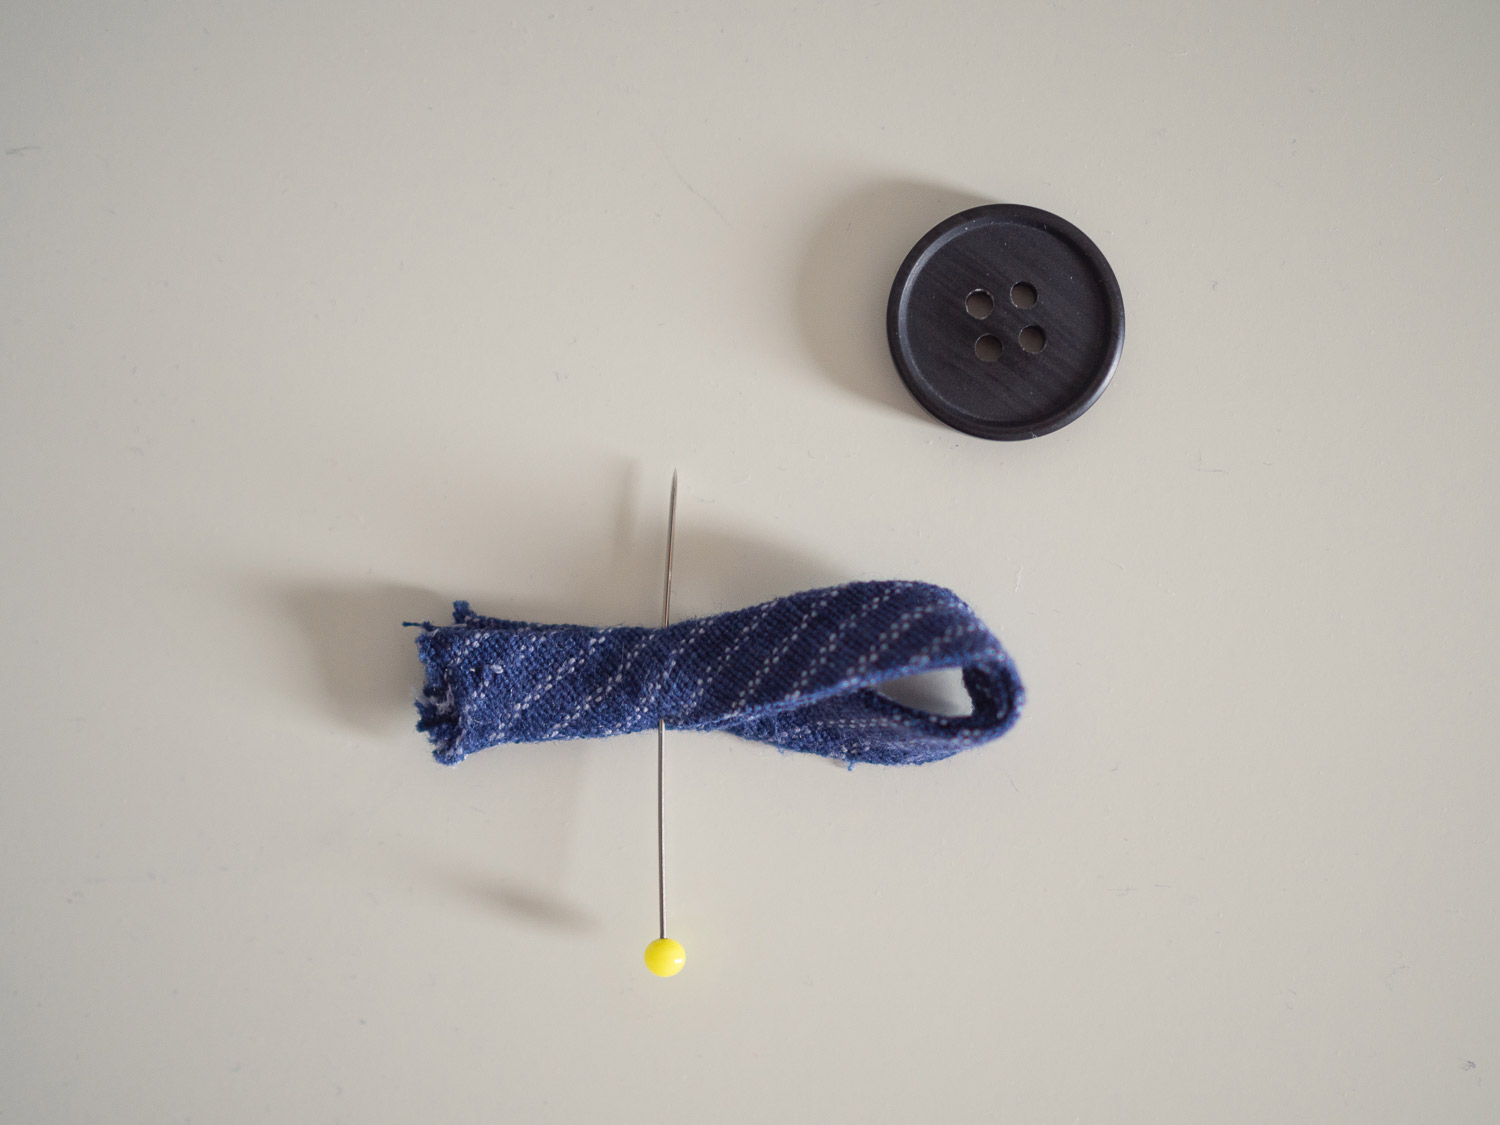
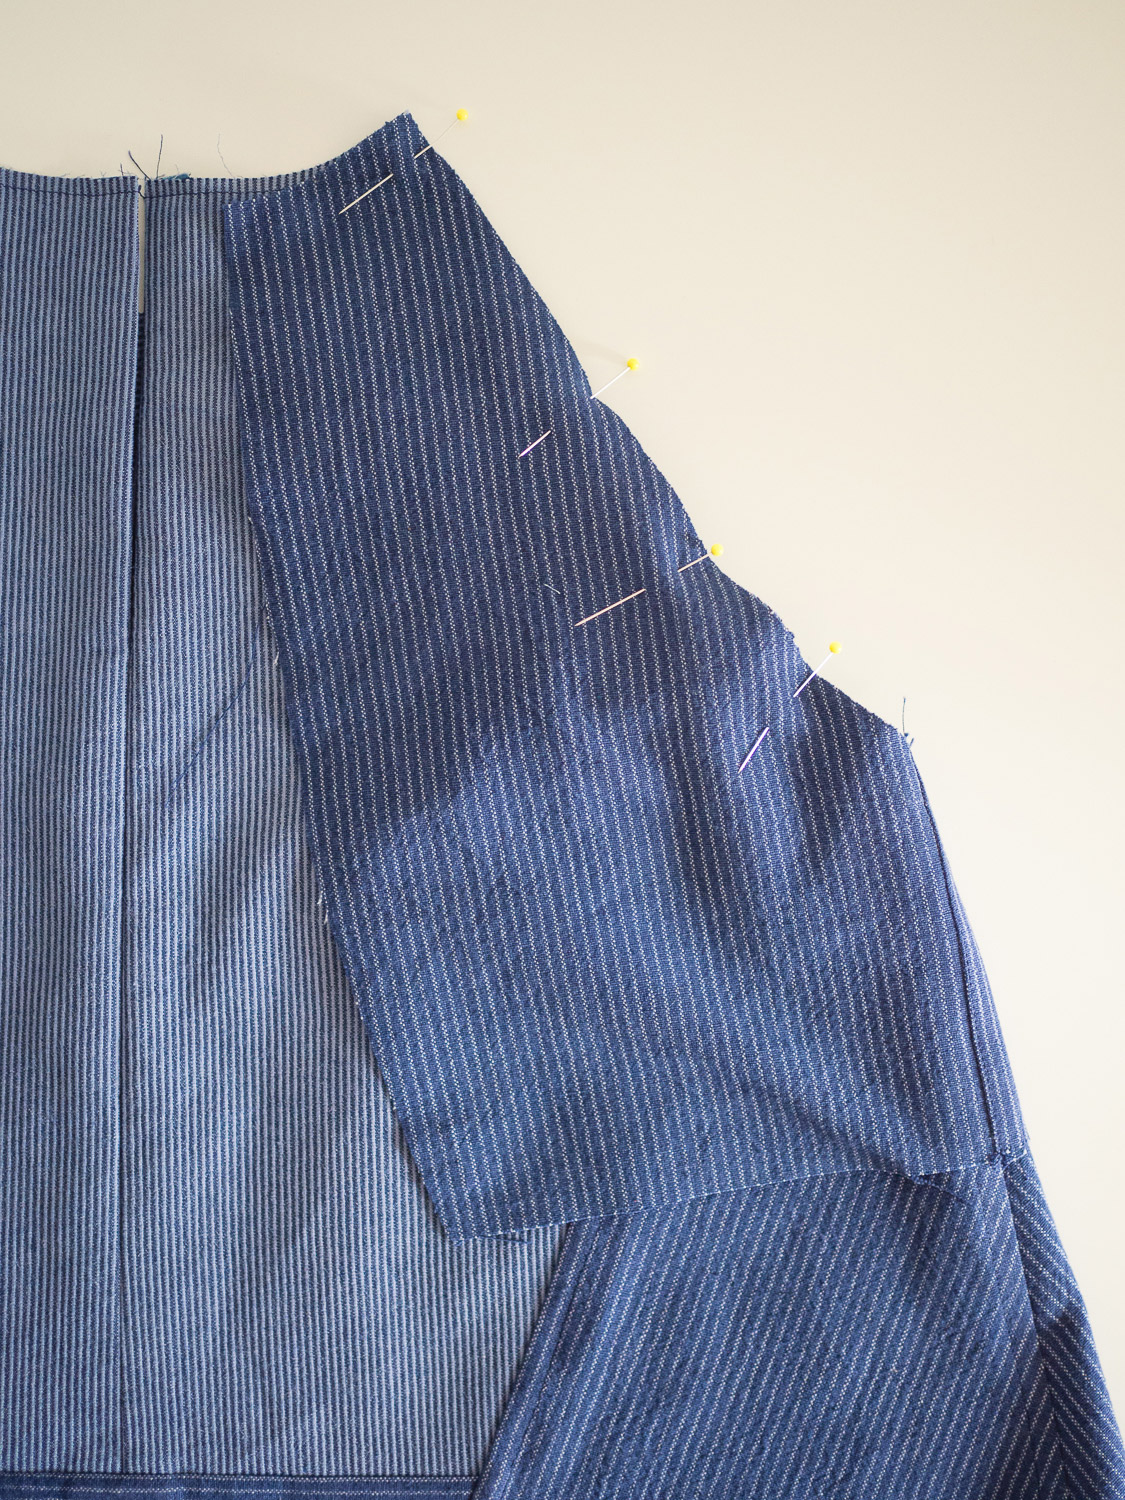
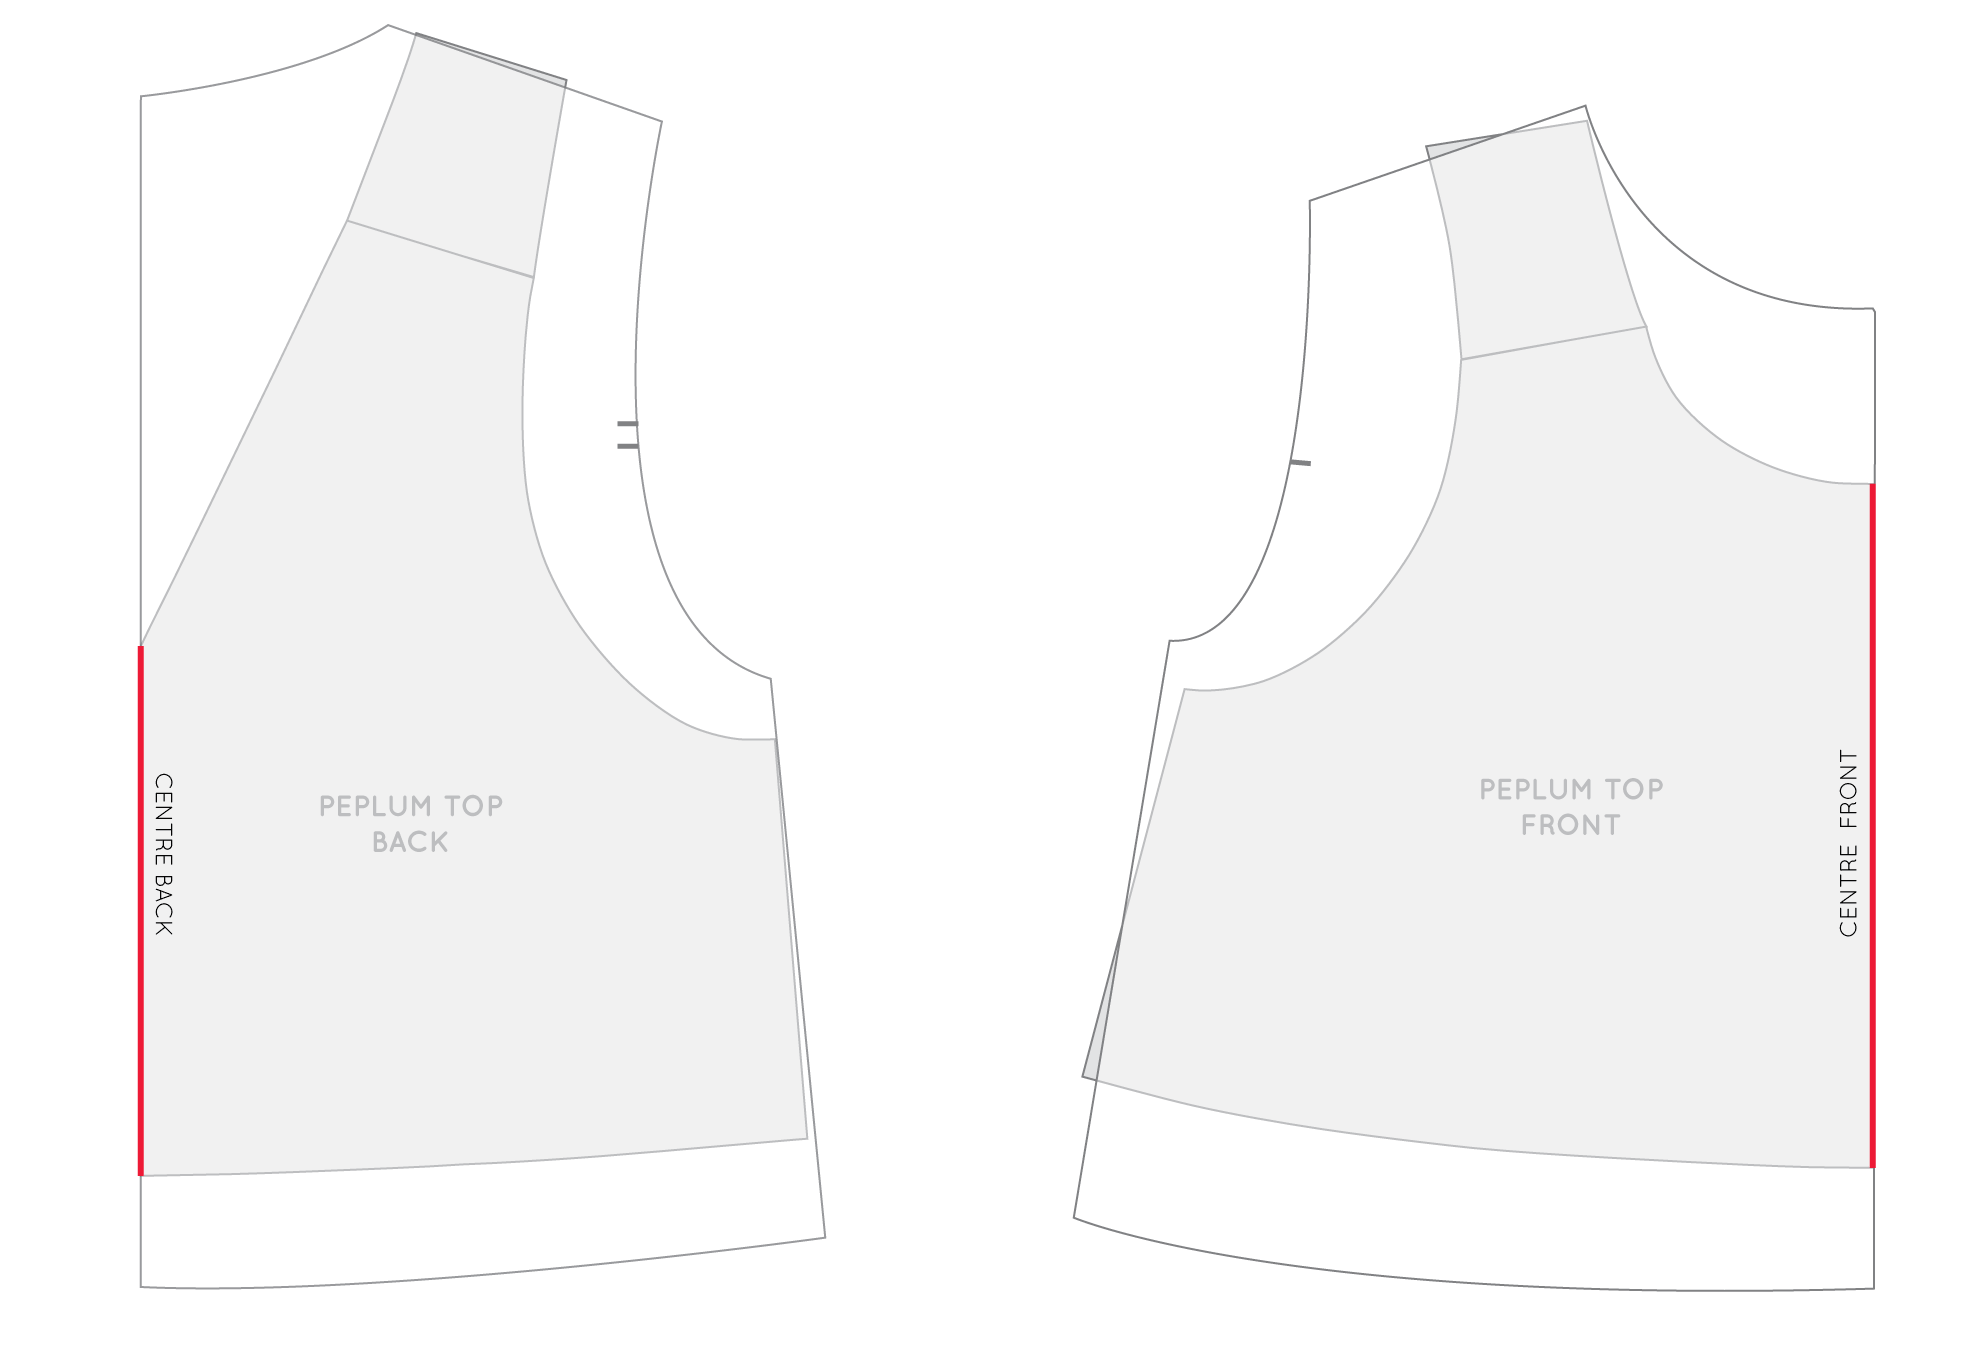
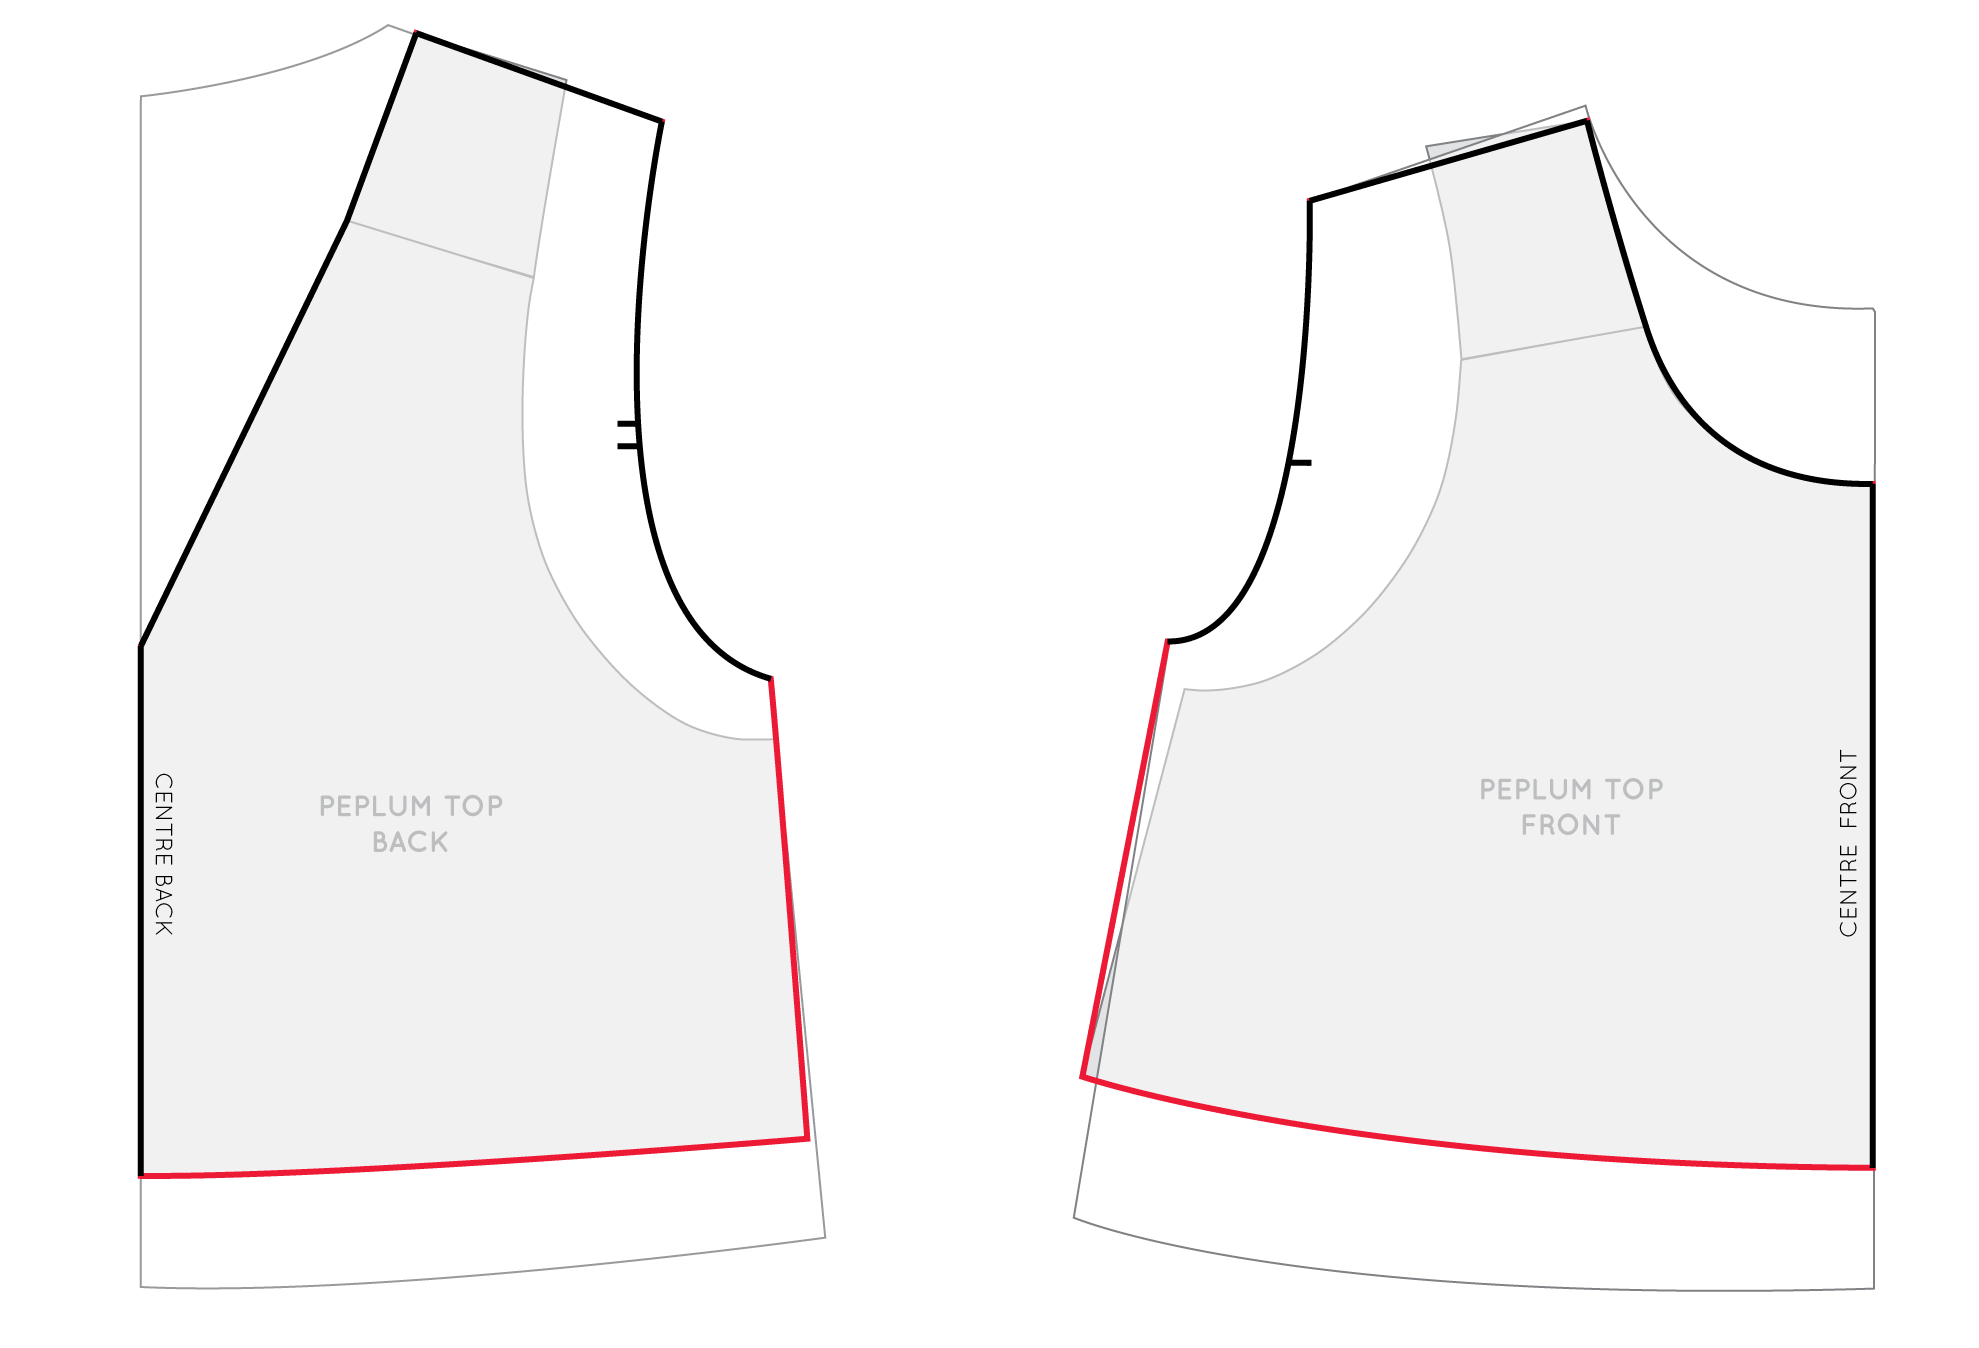
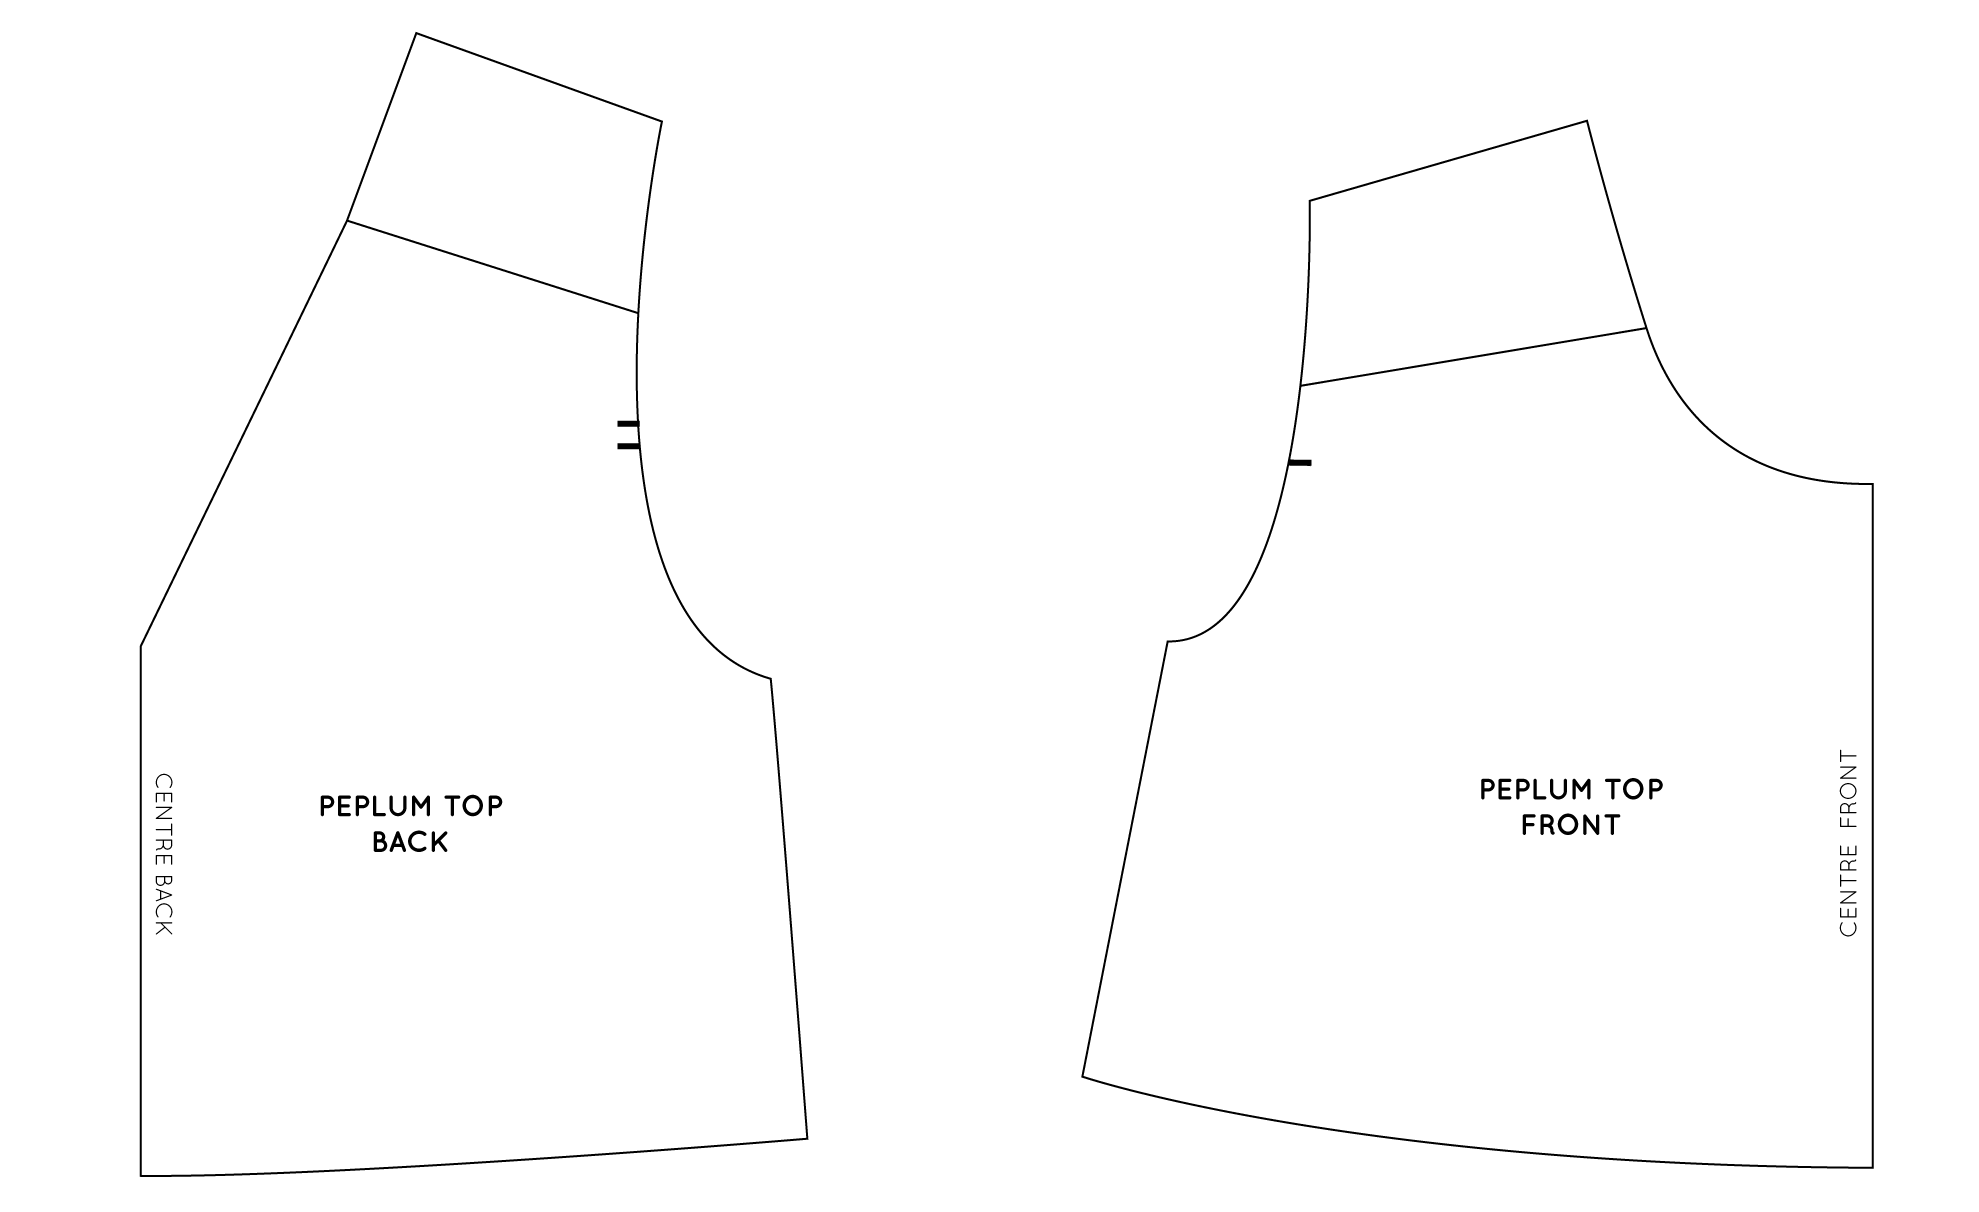
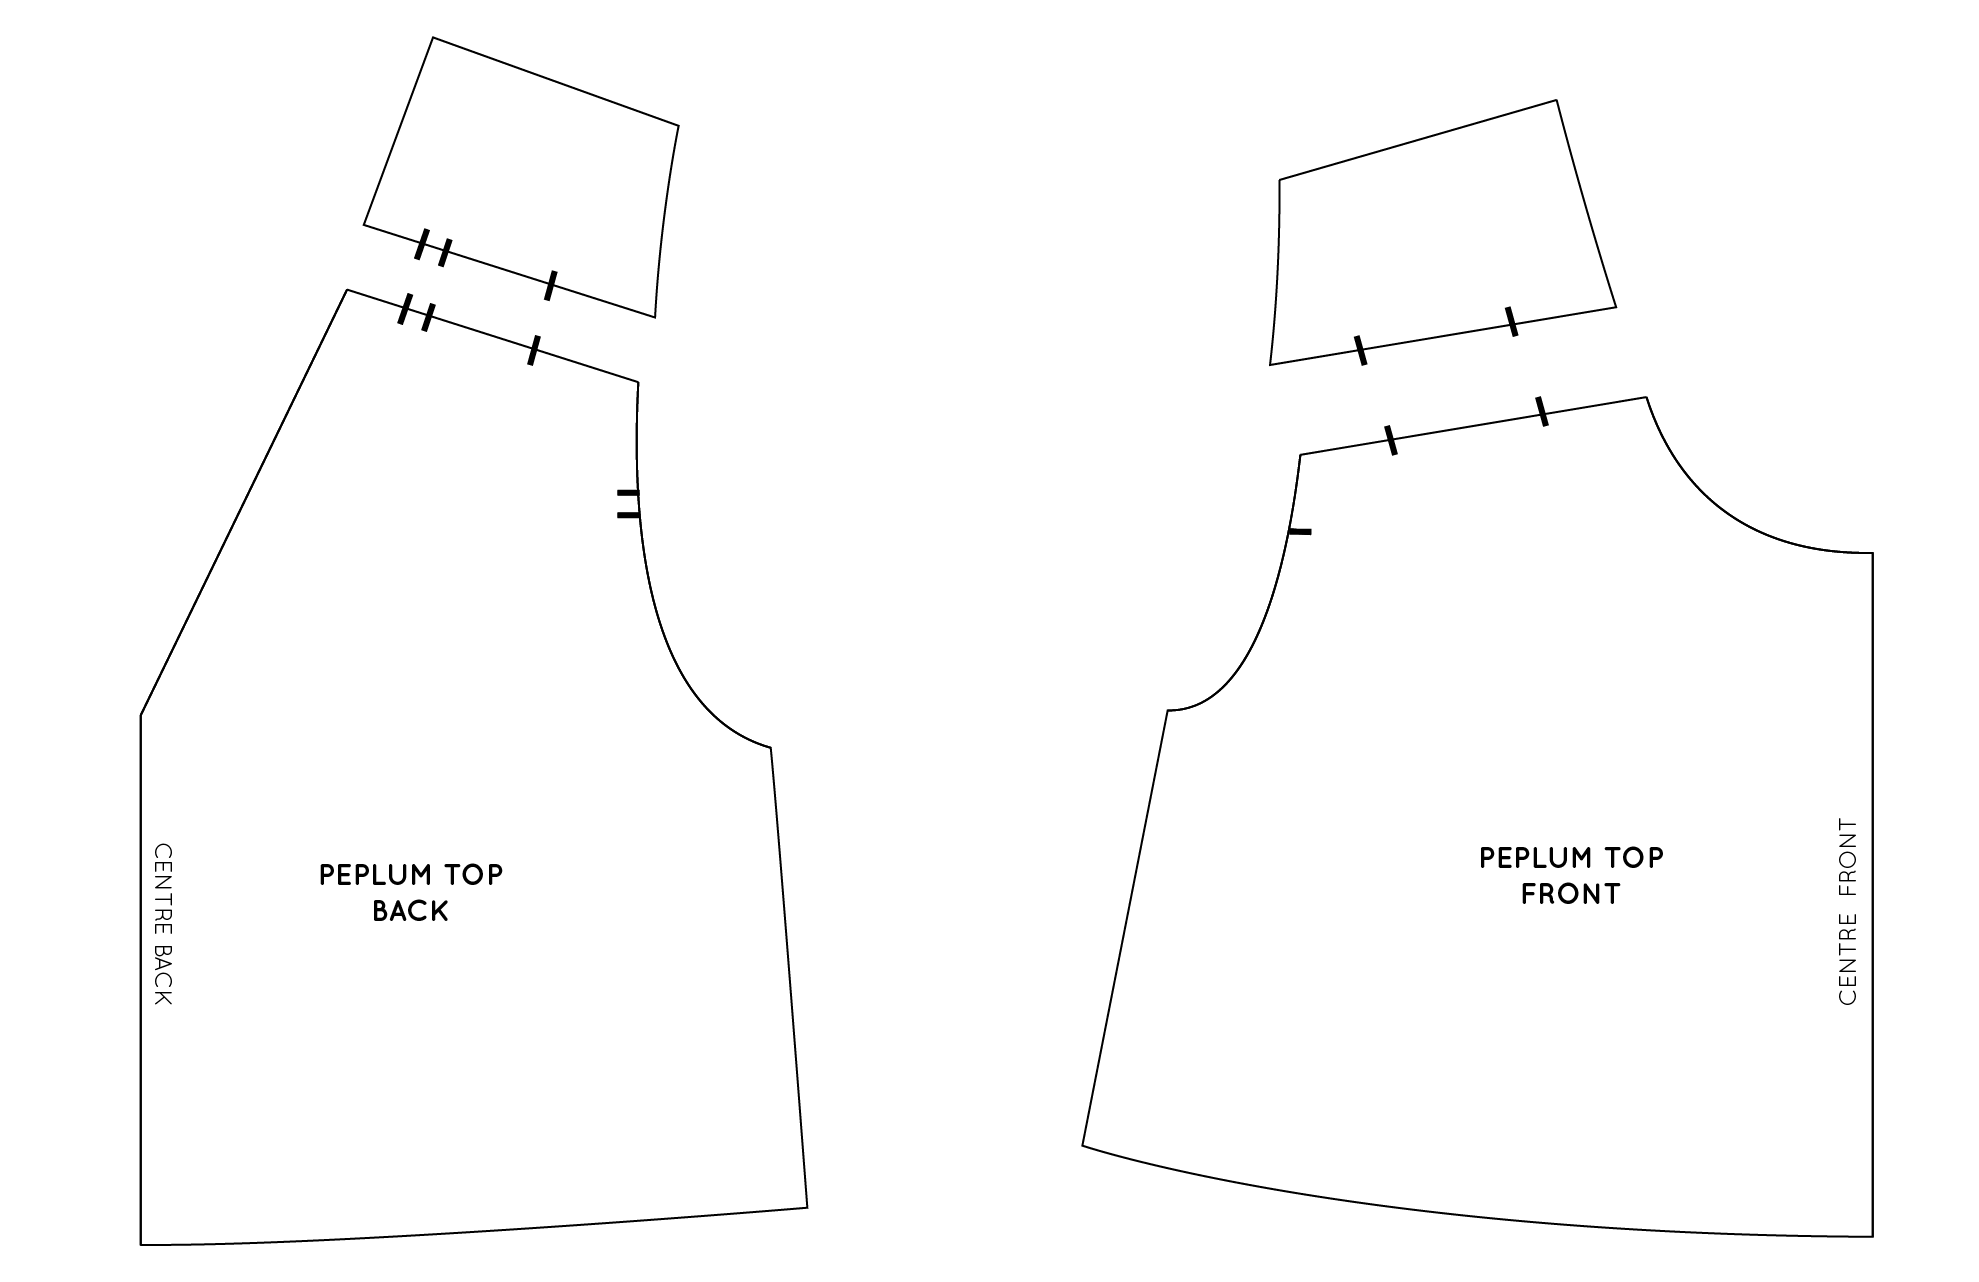
using our knit sampler patterns: emily’s experience

Inside this month’s Sewing Knits Skills Kit and the Pants Sewing Skills Kit we include patterns for knit samplers that allow you to practice particular elements of a T-shirt pattern (because next month we’re releasing the Kealy T-shirt pattern in our subscription!) and some basic skills required for sewing with knit fabric.

Emily used the patterns to create a range of samplers to test various settings on her domestic sewing machine, as well as practice the different techniques we cover in the Skills Kit.

Based on the experience she had sewing these samplers, Emily could see what she needed to practice more to get the finish she wanted, and was able to ask questions in our online community that helped her improve her technique. She’s now feeling confident to tackle next month’s Curated by ITF project, the Kealy T-shirt pattern and we’re waiting with baited breath to see what she creates!

We love seeing our community members becoming confident garment makers, and we hope by sharing these member experience we can encourage you to continue growing your own garment making skills.

If becoming a confident maker is something you want to achieve, you should definitely consider subscribing to Curated by ITF, where you will gain the support of professional garment makers with years of industry experience, as well as be inspired by a community of makers just like you!

Happy sewing!

Xanthe


WHAT YOU’VE BEEN MAKING…

BEHIND THE SCENES: A PEEK AT OUR PATTERN WRITING PROCESS

The pattern writing process might seem like a bit of a mystery to some people, so I thought it would be great to share a snippet of the process we go through.

Specifically, how we choose what finishings to include, and how we decide on the order of construction for the booklets we release for our awesome customers each month.

setting the direction

Okay, so first stop… say hello to Emily and I in the In the Folds studio!

Emily & Alys in the In the Folds studio

Every project we release begins with us having a good long chat about the techniques and skills we want to share. Whether we’re creating a skills resource or a sewing pattern, we ALWAYS focus on what you can learn by making them!

how will we get there?

Once we’ve ticked that off and we know exactly what direction the project is headed in, we chat about the options for finishing techniques and construction order.

This is a stage we both really love. It’s fun to talk through the project and share our ideas. And, this part of the process can vary enormously, depending on the project we’re working on.

Sometimes our ideas will line up perfectly and we know exactly what is needed. Other times our individual experiences with sewing techniques will differ and we’ll have different perspectives on how we should approach the project.

When this happens we’ll discuss the pros and cons of each approach. Not all sewing finishes and techniques suit every application, so we try to base the decision on what is most suitable for the project we’re working on.

Most importantly, we aim to include sewing techniques and skills that our makers will enjoy doing. So, if we don’t think our community will enjoy it or get good results from using it then it definitely doesn’t make the cut!

Once we’re all chatted out, one of us will start to create the content for the project.

We’ll dive into the other areas of creating a pattern in future posts, but today we’re discussing how we create instructions for sewing patterns or samplers. If you’re interested in this topic, you can learn more about how Emily created a pattern for the Gibson loungewear set here.

SAMPLING TO TEST IDEAS

When creating each project, we always sew samples or a complete garment to test out the techniques and order of construction.

Sometimes we know exactly how the steps will be sewn; other times, we experiment and sample with a few different ideas until we come up with the best order for you!

Because so much of our work is computer-based, sewing is a fun part of the process and often a welcome break from the screen! I’ll set myself up for the day and prepare my sewing machine, fabrics, and filming equipment for any sew-along videos or photos.


Join Curated by ITF - find your new community!

If you're looking to be supported, motivated and inspired through your sewing journey our Curated by ITF subscription might be just what you're looking for.

As well as a monthly sewing project, you’ll gain access to our private member platform where you can receive feedback and advice from the ITF team and other experienced makers, participate in sew-alongs and make sewing besties all over the world!


Sometimes we’ll be trialling a few different techniques at the same time and we’ll discover that one method doesn’t work well with another. When this happens we have to adjust, or change completely, the order things are sewn.

If we’re just making adjustments we might sew two alternatives, or go back and just sew and photograph the parts we need for the changes to the construction method. Sometimes if the construction order has changed completely, we’ll sew another version from scratch.

As you can appreciate, it can be a time-consuming process!

For the Sewing Knits Skills Kit samplers, we already knew how most techniques and the construction order would work, which meant I could go ahead and sew each stage and take photos.

I did, however, test two sleeve options for our T-shirt pattern coming next month! I sewed one in flat and one as a set-in sleeve. They both worked well, but we felt the set-in sleeve gave a better finish overall for this pattern.

When I had photos for each stage, I typed up instruction notes and added the photos to each step. We try to keep the wording of our instructions consistent, so I’ll often look back at past projects and adapt them where necessary.

This document is then handed to our illustrator, who works her magic to create the detailed illustrations you find in our sewing patterns.

Pattern layout in design application.

Once we receive the illustrations back from the illustrator, we drop them into our instruction booklets and tweak them to ensure they align with our vision!

If I’ve been working on the instruction booklet, once I’ve finished it I’ll hand it over to Emily (or she’ll hand it over to me!) to have a look over it with fresh eyes, and provide feedback.

Then we whisk it off to our pattern editor for a final check before it heads out to our photo team for testing and photography.

I hope you’ve enjoyed this little look inside our creative process! There’s so much that goes on that we can easily take for granted, so if you have any questions, just pop them in the comments and we’ll make sure we answer them!

Happy sewing!

Alys


WHAT YOU’VE BEEN MAKING…

The Collins Top Sew-along : Finishing up (sewing button and tacking the facing)

collins_sewing_button_1

Today we have made it to the final post in the Collins Top Sew-along! For a full round-up of all the posts in the series, you can have a look here. I must say it is a huge relief to be done. Although this time I received a lot of help with it, by having someone take the photos for me (fin out more about that here), it is still a huge amount of work to put a sew-along together.

In today's post, we'll be finishing of View B (the sleeveless version) by sewing the button in place and hand tacking the all-in-one facing in place (in my opinion, when it comes to clothing there is nothing more annoying than a facing that keeps flipping up from the inside of the garment).


Position button

collins_sewing_button_2

After giving the back of your top a really good press, lay the top flat with the back facing up. Close the centre back opening and position your button so that the button loop will go around it comfortably without pulling, being sure to check the top corners of the opening are in line. 

collins_sewing_button_3

Use a pin to mark the position of the button on the top.

collins_sewing_button_4

Use tailor's chalk or an erasable fabric marker to mark the position so that you can remove the pin. 

Sew button

collins_sewing_button_5

Take some thread and tie a knot in the end. I like to use a thick thread (like the one in the photo) or a normal thread doubled. Place your chosen button onto a tooth pick (or similar) and sew the first stitch to secure it. We are using a toothpick under the button so that the button will be slightly raised off the fabric, which will mean it is easier to secure the button loop around it, and the loop won't slip off the button.

collins_sewing_button_6

Making sure the button is straight, secure the bottom of the button with another stitch.

collins_sewing_button_7

Continue stitching the button in place, keeping your stitches nice and close together on the back so that it remains neat on the inside as well as the outside. 

collins_sewing_button_8

Once your button is secure, remove the toothpick from underneath the button.

collins_sewing_button_9

Take the needle to the inside of the top, by putting the needle through the fabric underneath the button. 

collins_sewing_button_10

Bring the thread up through the wrong side of the top, underneath the button. 

Make a small knot in the thread by making a few small stitches and putting the needle and thread through the stitches. 

collins_sewing_button_11

To secure the end, put the needle into the fabric under the button and bring it up about 2-3cm (1in) under the button on the centre back of the top.  

collins_sewing_button_12

Pull the thread through. 

collins_sewing_button_13

Cut the thread so that it drops back inside the top (between the top and the facing) so that you cannot see the end. 

collins_sewing_button_14

And admire your work! Your button is in position.


Secure all-in-one facing

The final step you need to do to complete your Collins Top, is to stitch down the all-in-one facing. I showed you in this tutorial how to attach the facing, but at this point it can still be flipped up from the neckline and armholes. 

collins_sewing_button_15

With the top inside out, give the facing a good press. You want to slightly roll the neckline and armhole seams in, so that are on the inside of the top (the understitching will help with this).

Pin the front facing in place on the two panel seams. 

collins_sewing_button_16

Do the same on the back, as well as at the side seams. 

collins_sewing_button_17

Working your way around the top, stitch the facing to the seam allowance at each point pinned. 

collins_sewing_button_18

Make your stitches slightly above the bottom of the facing, so that when the facing is turned down, the stitches are hidden underneath it. 

And that's it. Your Collins Top is finished! I hope you have enjoyed following along with these posts and have learned a new skill or two!

See all the posts in the Collins Top Sew-along.


CREDITS: 

Fabric : The Drapers Daughter

Photography : Saki Jane Marsh


You may also like:

The Collins Top Sew-along : Finishing the hem with bias binding

Hem time! Yay! If you would like to bind the hem on your Collins Top, then keep following this tutorial. If you would prefer a simple double folded hem, then head over to this tutorial for more guidance. 


Getting started

Take a length of binding at least 5cm (2in) longer than the circumference of your hem (this can be store-bought or self-made bias tape).

Fold one short end under by about 2cm (¾in) and begin pinning the binding to the hemline with right sides together. 

Continue pinning the binding until the end of the bias strip overlaps the beginning of the bias strip. Trim off any excess.

Stitch in place with a 1cm (⅜in) seam allowance.

Trim down the seam allowance down by about 5mm (¼in).

bias_binding_hem_5.jpg

Flip the binding to the right side, and with your fingers, press the seam allowance towards the binding.

Understitch the seam allowance to the binding.

Turn the top inside out and flip the bias binding to the inside of the top. Fold the raw edge of the binding under before pressing and pinning in place.

Sew hem by stitching binding in place, close to the folded edge of the binding.

Give the binding a good press from the right and wrong side. 

See all the posts in the Collins Top Sew-along.


You may also like:

The Collins Top Sew-along : Sewing an all-in-one facing

Welcome back to the Collins Top Sew-along, today we're working on my favourite element of the sleeveless version of the Collins Top - the all-in-one facing. It is sure to give you a really beautiful and clean finish, as well as leave you feeling pretty chuffed with your skills!

Finish raw edges of the facing pieces

To start, take the FRONT and BACK FACING pieces and finish the bottom edges with your chosen method. For a really beautiful finish, consider using bias binding (do this Hong Kong style to reduce bulk).

Join back facing pieces

With right sides together, pin the BACK FACING pieces together, from the notch down only. The upper part of the seam will be left open, as this will be attached to the centre back opening later on.

Stitch the seam with a 2cm (¾in) seam allowance, being sure to backstitch at the notch.

Press seam allowance open.

Join shoulder seams

With right sides together, pin FRONT and BACK FACING together at the shoulder seams.

Stitch with a 1.5cm (⅝in) seam allowance.

Press seam allowances open.

Attach button loop

Create the button loop and attach to the top using this tutorial. If you would prefer to make a hand-stitched button loop (pictured above), check out this tutorial

With the top right side up and the shoulder seams flat, turn back the centre back seam allowances on both sides of the opening, so that they are sitting flat (not folded inside the top).

Attach facing at neck line

sewing_facing_11.jpg

With the centre back seam allowances still pressed open, place the facing right side down on to the top (FRONT FACING on the front of the top and BACK FACING on the back of the top), matching the neckline and shoulder seams (the centre back seam allowance on the facing also needs to be flat and not folded). Pin the necklines of the facing and the top together.

When you reach the centre back opening, check that the seam allowance is still pressed open on both the top and the facing. Pin the facing to the top, down each side of the opening until you reach the point where the centre back seams are joined on both the top and the facing.

Sew the facing in place by stitching up the centre back seam on one side - with a 2cm (¾in) seam allowance (you should be able to follow the crease created earlier), starting at the point where the centre back seam stops.

Continue up one side of the opening until you reach the point where the centre back seam allowance meets the neckline. Pivot your machine foot using the needle, so that you can turn the corner and stitch around the neckline. 

Reduce to a 1cm (⅜in) seam allowance around the neck, before going back down the other side of the centre back seam (again with a 2cm / 3/4in seam allowance).

Before continuing, check that the button loop has been secured correctly by lifting the back facing.

Trim, clip + grade the seam allowance

Trim, clip and grade the seam allowance by 5-6mm (¼in). You can also clip back the corners at the centre back.

Turn the facing to the inside of the top and use a corner turner (or pencil) to turn out the corners at the centre back.

Understitch

Understitch the seam allowance to the facing. To do this, lift the facing and press the seam allowance towards the facing with your fingers. You can then understitch the seam allowance to the facing (this will help the facing remain on the inside of the top), before giving it a good press.

You won't be able to stitch all the way to the centre back. Just get as close as possible.

Sew the armholes

To sew the facing and the top together at the armholes, take the top and lay it out flat with the right side facing down. 

Take one side and carefully roll up the top, towards the opposite side.

Continue rolling the top until you reach the start of the shoulder seam on the other side (the end closest to the neckline).

With the top still rolled up, flip the facing back towards you, so that it lies on top of the rolled fabric.

Lift the roll and flipped facing, and turn the remaining side of the top right side up, so that the armhole of the top can now meet the armhole of the facing (with the rolled up fabric in between). Line up the shoulder seams and pin in place.

Pin the top and facing together at the armhole, using the shoulder seams and notches as a guide.

sewing_facing_28.jpg

Stitch the armhole with a 1.2cm (½in) seam allowance (being careful not to stitch through the rolled up fabric).

Grade the seam allowance before clipping into the curve. Gently pull the rolled section out through one side of the facing to turn top and facing right side out.

Understitch

As the facing is already attached at the neckline, you won't be able to understitch the armhole all in one go. Understitch the armhole seam allowance to the facing by lifting the facing on the front armhole and sewing in from the side seam on the front and getting as close to the shoulder seam as possible.

Repeat for the back armhole by stitching from the back side seam around the armhole towards the shoulder seam.

Repeat the previous steps to attach the top and facing on the other side. Give the neckline and armholes a good press.

Sew the side seams

With the top inside out, flip up the facing so that you can access the side seam of both the top and the facing.

Pin the side seam of the facing and continue down the side seam of the top. Stitch the side seam with a 1.5cm (⅝in) seam allowance and press the seam allowances open.

(Please note: in this photo the side seams are not finished - as Saki was sewing flat-felled seams in her version. In your version, side seams should be finished already.)

Stitch the side seam with a 1.5cm (⅝in) seam allowance and press the seam allowances open.

And that's it for today's post. I hope you enjoyed it and learned something new!

See all the posts in the Collins Top Sew-along.


You may also like:

How to sew a hand-stitched button loop

While doing the sew-along for the Collins Top, I thought it would be a good opportunity to show you how to make a hand-stitched button loop. Although the instructions of the Collins Top call for a bias cut button loop (the tutorial for making that can be found here), a hand stitched button loop could be a beautiful alternative, if you find you've got the time, or would just like a lovely little detail (or even just to learn a new skill)! This tutorial will guide you through making a button loop for the Collins Top, but could be used for any pattern that includes a button loop. 

Take the top and place it right side up, with the shoulder seams flat. Turn back the right side of the centre back opening, so that you can access the left side. Place a pin horizontally 1cm (⅜in) down from the neckline to mark the position of the button loop.

Thread a hand needle and tie a knot in the end. You can choose to use a thick thread (what we used for this tutorial), or you can double thread your needle so that you have four strands of thread.

Put your needle through the fabric from the wrong side, at the point where the pin marks the button loop location. 

Position your button where it will be sewn and loop your thread around it, to work out the amount of thread you require for your loop.

Insert your needle into the fabric on the same side that you started, but about 1cm (3/8in) down from where you started, creating a loop (although this distance will depend on the size of your button). For example, if your button is only 5mm, then the top and bottom of your loop should only be about that far apart. 

Being careful to hold your loop of thread firmly (so it remains the correct size), flip your fabric to the wrong side (the side that your thread is now on).

Still holding the loop firmly, put your needle back in the fabric, close to the point where your thread came through. 

Pull the thread through to the right side of the fabric. 

Take your thread back to the point where you started, creating a second loop. Make a small knot on the inside of the garment to secure the loop.

Bring the needle (and thread) back to the right side of the garment. You are now going to make your button loop using blanket stitch around your loops.

To form a blanket stitch, insert your needle into the button loop, creating a circle with the remaining thread. Once the needle is through the button loop, put it over the thread of the circle. 

This is quite a difficult process to describe in photos, so if you are new to this technique or stitch, check out this youtube video

Pull the thread tight to form your stitch. 

Once the stitch is formed, push it to the base of the loop.

Continue making blanket stitches, stacking one on top of the next, until you reach the end of the loop. 

Take your needle and thread to the inside of the garment and then secure the thread with a knot. 

And there you have it. A beautiful button loop to give you a very beautiful finish!

Again, if you would prefer the quicker button loop, check out this tutorial.

See all the posts in the Collins Top Sew-along.


You may also like:


CREDITS: 

Fabric : The Drapers Daughter

Photography : Saki Jane Marsh


The Collins Top Sew-along : Hemming + sewing button in place

So today we'll be finishing up View A (the sleeved version) of the Collins Top in the Collins Top Sew-along. Yay! We'll be hemming the body of the top and the sleeves as well as sewing the button in place. And then you'll be ready to wear your beautiful new top!

Hemming the top

With the top inside out, turn up the hem by 5mm (¼in) and stitch. You can simply do this with your finger, rather than pressing and pinning.

Turn the hem by another 5mm (¼in) and press. Pin hem in place and stitch along the original stitch line to complete the hem.

Give the hem a good press from the right and wrong side.

Hemming the sleeves

Finish the raw edge of each sleeve before turning up by 3cm (1¼in). You will notice in this photo that Saki has turned the raw edge under and then turned up the hem, to enclose the raw edge inside the hem. This is an option too. 

Press and pin in place.

Stitch in place, close to the raw (or folded edge).

Give the sleeve hems a good press from the right and wrong side.

Position button

With the top right side out and the back of the top facing up, close the centre back opening, so that we can work out where the button will go.

Place a vertical pin in the centre of the button loop, before marking the button location with chalk or an erasable fabric marker. 

Sew button in place

Open the back opening to access the other side of the opening and stitch button in place. For those of you who are beginners and would like some pointers on sewing on the button, there will be more detailed instructions in a later post (when we get to View B).

Give your top a good press and you're ready to wear your Collins like all these other amazing makers

Stay tuned, tomorrow we'll be starting on View B of the Collins Top (the sleeveless version).

See all the posts in the Collins Top Sew-along.


CREDITS: 

Fabric : The Drapers Daughter

Photography : Saki Jane Marsh


You may also like:

The Collins Top Sew-along : Binding the neckline

binding_neckline_cover.jpg

The Collins Top sew-along is now in full swing! We're coming towards the end of the posts for View A (the version with sleeves) and today we're up to binding the neckline.

I really love a bound neckline. It gives you a lovely clean finish, whilst also giving you a chance to add a nice personal touch (like Saki - the sew-along photoagrapher - did with her version, which you'll see in this post).

Measure the neckline

To get started, measure the neckline of your top. Using a tape measure, measure around the neckline of the top (with the centre back seam allowance folded inside the top), starting from the centre back on one side, and continuing around the neckline until you reach the centre back on the other side of the back opening.

Cut the bias binding

Cut a piece of 32mm (1¼in) wide bias binding about 4cm (1½in) longer than your neck measurement. If you need some tips about how to make your own bias binding, check out this tutorial on 'How to make your own bias binding (the low tech way).' You can use store-bough bias binding if you would prefer. 

If you have made your own binding, place it right side down and press one long edge of the binding under 1cm (⅜in).

 Repeat for the other (long) side.

Press both short edges under by 2cm (¾in).

Unfold one long edge of the binding (the crease will help you later) and pin the binding to the neckline with right sides together. Start at one side of the centre back opening and line up the folded edge of the binding with the back opening.

The centre back seam allowances need to be folded inside the top. Work your way around the neckline (being careful not to stretch the neck or the binding) until you get to the other side.

Stitch the binding in place with a 1cm (⅜in) seam allowance (you can stitch along the crease closest to the neckline). Check that all seam allowances are still pressed in the right direction.

Be careful not to catch the button loop in the seam.

Trim down the seam allowance around the neckline by 5-6mm (¼in), and then clip and grade.

binding_neckline_tutorial_10.jpg

Flip the binding up to show the right side. Using your finger, press the seam allowance up towards the binding and understitch the seam allowance to the binding.

Turn the top inside out and fold the neck binding to the inside of the neckline, rolling the seam line towards the inside of the top slightly. With the raw edge of the binding folded under, press the binding flat around the neckline. Pin in place. Stitch along the folded edge of the binding. Give the neckline a good press.

Stitch along the folded edge of the binding.

Give the neckline a good press from both the right and wrong side.

And you will notice that your Collins top is almost done!

See all the posts in the Collins Top Sew-along.


CREDITS: 

Fabric : The Drapers Daughter

Photography : Saki Jane Marsh


You may also like:

The Collins Top Sew-along : How to make a button loop closure

Today, in the Collins Top Sew-along, it's time to make the button loop for the centre back closure. You will need the button loop for both versions of the Collins Top

If you think you would prefer to make a hand-stitched button loop, check out this tutorial for more guidance. 

Create the button loop

Take your Button Loop piece, which should have been cut on the bias. 

Take the BUTTON LOOP piece and fold in half lengthways, with right sides together. Press and pin. 

Stitch along the long (raw) edge with a 1.5cm (⅝in) seam allowance. Once it is turned out to the right side, press the loop flat to neaten it up, rolling the seam to one side.

Trim back the seam allowance, close to the stitch line. Use safety pin or bodkin to turn the loop right side out. If you are struggling to turn it through, you can also take a think hand needle, make a few stitches close to the end of the tube and then guide the needle through the loop, before pulling the thread to turn it right side out (if you'd like more guidance on this technique, check out this tutorial from Tilly and the Buttons).

 Once it is turned out to the right side, press the loop flat to neaten it up, rolling the seam to one side.

Work out how big you need the loop to be, to go around your button comfortably (you don't want it to be too tight or too loose). You can simply do this by folding the button loop and gripping it closed at different points until you are happy with the size. Once you have the right size, put a pin through both ends of the loop to mark the correct size. Trim off any excess length.

Attach the button loop

Grab your top that you are assembled using the last ... tutorials (1, 2 and 3...).

With the back of the top facing up, turn back the right side of the centre back opening, so that you can access the left side of the opneing. Place a pin horizontally 1cm (⅜in) down from the neckline to mark the position of the button loop.

Take the BUTTON LOOP and pin in place at the position marked in the previous step. The loop should be pointing away from the centre back opening.

Carefully machine stitch in place - a couple of millimetres from the crease (inside the centre back seam allowance).

Fold both centre back seam allowances back to the inside of the top, and give the opening (along with button loop) a good press.

See all the posts in the Collins Top Sew-along.


CREDITS: 

Fabric : The Drapers Daughter

Photography : Saki Jane Marsh


You may also like:

The Collins Top Sew-Along : Sewing the sleeves

If you have been following the Collins Top sew-along you will have seen that over the last couple of posts we have assembled the body of the top. The process of assembling the front and back body of the top is the same for both styles, but once your panels are assembled, we've got to go separate ways.

For today's post, I'll be showing you how to go about sewing and attaching the sleeves (View A). 

Sew the side seams

With right sides together, pin the front and back of the top together at the side seams.

Stitch with a 1.5cm (⅝in) seam allowance. Press seam allowances open.

Prepare the sleeves

Take the two sleeve pieces  and finish the underarm seams of each piece. Place these two pieces, along with the SLEEVE SHOULDER PANEL right-side up. Put the SLEEVE SHOULDER PANEL in the centre and place the BACK and FRONT SLEEVE either side, using the notches to help guide you. Don't worry about the other raw edges just yet, we'll finish them later on in the process. 

Repeat for the other sleeve.

Pin the SLEEVE SHOULDER PANEL to the FRONT SLEEVE, using the notches as a guide. Stitch with a 1.2cm (½in) seam allowance. Finish the seam allowance (closed). Don’t worry about pressing the seam just yet - you can do that in a moment. Repeat for the other sleeve.

You will notice that the curves you are pinning are different in shape (this is what gives the top shaping through the shoulder). You will need to ease the SLEEVE SHOULDER PANEL slightly into the curve of the FRONT SLEEVE.

collins_top_sleeves_7.jpg

Stitch with a 1.2cm (½in) seam allowance. Finish the seam allowance (closed). Don’t worry about pressing the seam just yet - you can do that in a moment. Repeat for the other sleeve.

Open the pieces you just stitched together and place right side up. Place the BACK SLEEVE right side down on the FRONT (so that the pieces have right sides together). Pinning the pieces together at the underarm seam.

Pin the FRONT and BACK SLEEVE pieces together at the underarm seam.

collins_top_sleeves_10.jpg

Stitch with a 1.5cm (⅝in) seam allowance. Repeat for other sleeve. Press the underarm seam allowances open and press the front sleeve seam away from the SLEEVE SHOULDER PANEL (pressing this seam over a tailor's ham will help you press the curved seam nicely). You can leave the two remaining raw edges unfinished for the moment. They will be finished later on.

This is how the piece will look from the opposite side. 

Attach the sleeve to the top

I must say that this next bit is my favourite bit in the construction of the Collins Top. When I set out desinging the Collins Top, I really wanted something that was an interesting make, whilst also being suitable for beginners. That's why I chose raglan sleeves for the sleeved option. They are super fun to sew as well as being much easier then set-in sleeves (win, win!).

Grab the body of the top and place it face up, with right side out. Take one of your sleeves and pin the FRONT SLEEVE to the front of the top, with right sides together. Use the notches to guide you. Continue pinning until the underarm seam meets the side seam of the top.

Flip the top over so that the back of the top is now face-up. Continue pinning around the curve of the armhole, attaching the BACK SLEEVE to the back of the top - still using the notches to guide you.

Stitch the seam with a 1.2cm (½in) seam allowance, being careful to check that your seam allowances on the top and sleeve remain pressed in the right direction. Finish the seam allowance and press towards the body of the top. Repeat steps for the other sleeve.

Join the shoulder seams

collins_top_sleeves_15.jpg

Turn the top inside out and pin the shoulder seams together, using the notches to guide you.

Sew with a 1.2cm (½in) seam allowance.

collins_top_sleeves_16.jpg

Finish the raw edges and press seam allowances away from the SLEEVE SHOULDER PANEL. Turn top right side out. At this stage, you can try on the top and see how it's looking!

That's all for now. Next week we'll get to attaching the bias binding.

See all the posts in the Collins Top Sew-along.


You may also like:


CREDITS: 

Fabric : The Drapers Daughter

Photography : Saki Jane Marsh


The Acton-sew along : Sewing in-seam pockets

how_to_sew_in_seam_pockets_1

Hello! Welcome back to the Acton sew-along! Yesterday, we finally got started on our bodice, and today we're onto the skirt. 

View A has in-seam pockets (pockets hidden in the side seams) because I love to put pockets in every dress I can! This post will guide you through inserting the pockets with a standard finish (zig zag or overlocking), if you are using a really soft or flimsy fabric, I would suggest using french seams instead. The process is a little more involved, but you will achieve a really beautiful finish. You can check out that tutorial here

If you aren't including pockets in your Acton, you can simple stitch the front and back side seams together with a 1.5cm seam allowance. Finish the seams and press them open. 

Getting started :

Finish the edge of each pocket individually

how_to_sew_in_seam_pockets_2

Take both pairs of IN-SEAM POCKETS and finish the curved edge of each pocket individually, using an overlocker, zig zag stitch or bias binding.

Stitch pockets to front skirt

how_to_sew_in_seam_pockets_3

Take one pair of IN-SEAM POCKET pieces and pin to the FRONT SKIRT (with right sides together) by lining up the straight edge of each pocket with the side seam of the skirt. Stitch from the top of the pocket to the bottom, with a 1.2cm (½in) seam allowance. Finish the side seams - capturing the edge of the pocket, as well as the side seam - using your chosen method.

Stitch pockets to back skirt

how_to_sew_in_seam_pockets_4

Take your BACK SKIRT pieces and place them side-by-side, with the centre back seams next to each other. Take the other pair of IN-SEAM POCKETS and match with the notches on the side seam of the BACK SKIRT pieces, with right sides together. Pin in place and stitch from top to bottom, with a 1.2cm (½in) seam allowance. Finish the side seams - capturing the edge of the pocket, as well as the side seam - using your chosen method.

At this point you can also finish the centre back seams with your chosen method. 

how_to_sew_in_seam_pockets_5

Press each pocket bag away from the body of the skirt. Understitch the seam allowance to the pocket bag on each pocket (this will help keep the pockets on the inside of the dress).

Join front and back skirt

how_to_sew_in_seam_pockets_6

With right sides together, match the SKIRT FRONT to the SKIRT BACK at each side seam. Pin in place, around the pocket and then continue pinning the rest of the seam.

how_to_sew_in_seam_pockets_7

Stitch along the side seam with a 1.5cm (⅝in) seam allowance, reducing to a 1cm (⅜in) seam allowance around the pocket edge. Pivot to get from the side seam to the pocket edge. Press the seams, and the pocket, towards the skirt front. 

And that's it. Your Acton dress now has pockets! Tomorrow we'll be attaching the skirt to the bodice and all these pieces are really going to start looking like a dress. Yay!


You may also like:

Pattern hack : Add sleeves to the peplum top (or any other sleeveless top pattern)

You may have seen (or even already made) the Peplum Top that I released a couple of months ago in collaboration with Peppermint Magazine.

When it was first released, a number of people asked whether sleeves could be added, and I thought it would be a great tutorial to do, as I'm sure for a lot of you there are sleeveless patterns you would love to add sleeves to. This tutorial will walk you through adding sleeves to this particular pattern, but could be used for almost  any sleeveless pattern.

Why can't you just add a sleeve to a sleeveless pattern?

It's not a difficult process, but unfortunately it's not as simple as just adding a sleeve to the sleeveless top and hoping for the best. Above I've drawn two very basic tops - one with sleeves and one without. You can see that the armhole on each pattern is not the same. 

When you place one pattern on top of the other, you can clearly see this difference (which is highlighted in red on the illustration on the right). If you were to put a sleeve on the sleeveless top, without making any changes to the armhole, the sleeve would have to reach across the difference (the red area), which would leave you with an awkward looking garment and an ill-fitting sleeve. 

To rectify this, you will first need to change the armhole on your front and back pattern pieces, and then you will be able to fit the sleeve.

For this tutorial you will need a sleeveless top pattern as well as another top (or dress) pattern that has sleeves that you like the fit / style of. 

Trace a copy of the pattern

Trace a copy of your sleeveless top pattern without seam allowance (it is much easier to make alterations to a pattern without seam allowance). Mark any design features and notches.

The Peplum Top pattern has a seperate shoulder panel. To make this alteration easier, you will need to reattach the shoulder panel to the front and back pieces (I will show you how to get it back later on in the tutorial). To do this, draw a line (or fold a line) through the middle of the shoulder piece and cut the piece in half. Label each piece so you don't get them mixed up - as they are very similar in shape. 

Attach the shoulder panel pieces to the front and back of the top, so that you have to complete pieces - the front and the back. 

Take the front and back pieces from your other pattern (the one with sleeves) and place on top of the sleeveless pattern pieces, lining up the centre front / centre back, shoulder seams and side seams (as close as you can). This is when transparent paper helps!

Use weights to hold pieces in place.

Trace the pattern

With a fresh piece of pattern paper, trace the lines from each pattern piece needed for the new pattern. Begin by marking the centre front and centre back - taking the lines from the original (sleeveless top) pattern.

Next, trace the front and back neckline - using the lines from the original pattern. 

Re-draw the shoulder seam - starting at the neckline end of the seam on the original pattern (sleeveless top) and joining with the end of the shoulder seam from the second pattern (top with sleeves). This will ensure that the neckline binding still fits the neck of the top, whilst the sleeve will fit in the armhole. 

Trace the armhole curve from the pattern with sleeves - being sure to also transfer the sleeve notches. 

Transfer the side seam - starting at the new armhole and joining to the side seam of the sleeveless pattern at the hemline. Trace the original hemline. 

Before removing the pattern, transfer the shoulder panel lines onto the new pattern. 

You now have the pattern with armholes ready for sleeves!

Re-create the shoulder panels

You will need to re-cut the panel lines to re-create the shoulder panel pieces. Before cutting through the lines, add notches to the panel lines on both the front and back (you can transfer notches from the original pattern if you like).

Seperate the shoulder panels from the main front and back pieces. 

Re-attach the front and back shoulder panel pieces at the centre line, before tracing a new copy of the piece onto a seperate piece of pattern paper. Use a smooth curve down either side to remove any sharp points.

Complete the pattern by adding seam allowance to each piece. You will be able to use the original pattern to transfer the seam allowance to the hem, side seams and neckline. You will need to add seam allowance on your own to the armhole, shoulder panel and sleeve - this tutorial will help with that!


You may also like:

Pattern release : The Peplum Top

You may have noticed that recently I have been releasing seasonal patterns in collaboration with Peppermint Magazine.  

The first one I made was a sweater dress (perfect for those of you in the northern hemisphere) and then just recently our Spring pattern was released - a nice little peplum top, perfect for warm summer days. 

The best bit about this collaboration, is that the patterns are free! You can just jump on their site, browse through their pattern archive and take your pick.

This pattern is a nice easy one - sewing up beautifully in light-weight summer fabrics like cotton, linen, silk or viscose/rayon.

Perhaps my favourite thing about this pattern is the v-neck back. The pattern includes a bias cut pieces to help you get a really nice finish on the 'v,' without too much fiddling.

Think this top is for you? Download it for free now!


You may also like:

A round-up of the most popular posts from the past 12 months

As this week is a time to celebrate the first birthday of In the Folds, I am also seeing it as a good time to reflect on all that I have done this year. It's been a very busy year, with a range of different projects and collaborations and a fair number of blog posts. I dived into my blog analytics today so that I could share the 10 most popular posts of this last year. 


I'd love to know what you would like to see on this blog in the next 12 months! Let me know in the comments or send me an email!

Finished project : Winslow Culottes

COVER.jpg

A month or so ago, Helen from Helen's Closet put out a call for pattern testers for her upcoming pattern. I jumped at the chance as she had recently pattern tested for me and I wanted to return the favour, and (more selfishly) I wanted to force myself to sew something new for myself. These days I get very little free time to sew, as most of my sewing time is consumed by pattern development and sampling for upcoming releases. I do know though that I work very well under pressure, and a deadline is a great way for me to make time to do some (semi)selfish sewing.

We were given two weeks to test the pattern, and of course about three days before the deadline, I decided to start sewing my Winslows. Thankfully the pattern isn't made up of too many pages (and does include a copy shop version), so doesn't take to long to assemble, and it's a quick and straightforward sew. 

The details

'The Winslow Culottes are wide-legged pants designed for ultimate comfort and style.  This pattern is intended to be made at any length, from shorts to full length palazzo pants. The design features inseam pockets, an invisible zipper, a waistband, and inverted box pleats.  Make above-the-knee or midi-length culottes in tencel for a chic, professional look, shorts in cotton lawn for active adventures, or full pants in viscose poplin for comfortable weekend wear.' (Helen's Closet)

I decided to make view B (the knee-length version) as I wasn't too sure about the whole culottes thing and I thought this style was the least drastic, and therefore probably the most wearable for me and my lifestyle. Since it started getting cold in Sydney, I have been living in jeans, so I had been on the hunt for some different bottoms I could make, for days when I need something a little more formal (but still comfortable).

The Fabric

I used a mysterious fabric that I bought second hand form The Fabric Cave. It has lovely loose weave that gives it a beautiful texture, although I am not at all sure what the fibre content is. It definitely has a polyester component as it didn't want to press well (but is also good because it doesn't hold creases, which is a real plus when we're talking culottes). 

Techniques used

I used a couple of different techniques in my Winslows to make them more winter appropriate (the pattern is designed for lighter fabrics) finish. I added 5cm to the length and turned this up for the hem - this extra weight in the hem helps them sit nicely and also makes them less likely to blow around too much in the wind. 

I also bound the inside edge of the waistband and sewed it flat (rather than tucking it under) to minimise on bulk in the waist area. (Sorry about the shoddy photos. It is really hard to photograph black garments!)

The verdict

When I finished my culottes, I wasn't totally convinced that I'd wear them much, as they're quite different to my usual style. But I must say I've worn them five or six times since I made them! 

If I made them again I would think about changing the straight waistband to a shaped one (using this tutorial), but apart from that the fit is great. I know this is totally a matter of preference, but straight waistbands just never sit very well on my curves.  

This is a really straightforward sew, with fantastic instructions that guide you through the process. I really enjoyed testing for Helen, she was so supportive and positive throughout the whole process and was very open to feedback, which I thought was fantastic. She somehow managed to coordinate testing with over 40 testers, and then released the pattern in no time (I wish I could take a leaf out of her book!)

All in all, a great pattern. Head over to Helen's blog for more details and inspiration (she has made so many pairs!)

What are your thoughts on culottes? Are you still sitting on the fence, or have you been converted like me?


You may also like: