Welcome back to the Collins Top Sew-along, today we're working on my favourite element of the sleeveless version of the Collins Top - the all-in-one facing. It is sure to give you a really beautiful and clean finish, as well as leave you feeling pretty chuffed with your skills!
Finish raw edges of the facing pieces

To start, take the FRONT and BACK FACING pieces and finish the bottom edges with your chosen method. For a really beautiful finish, consider using bias binding (do this Hong Kong style to reduce bulk).
Join back facing pieces
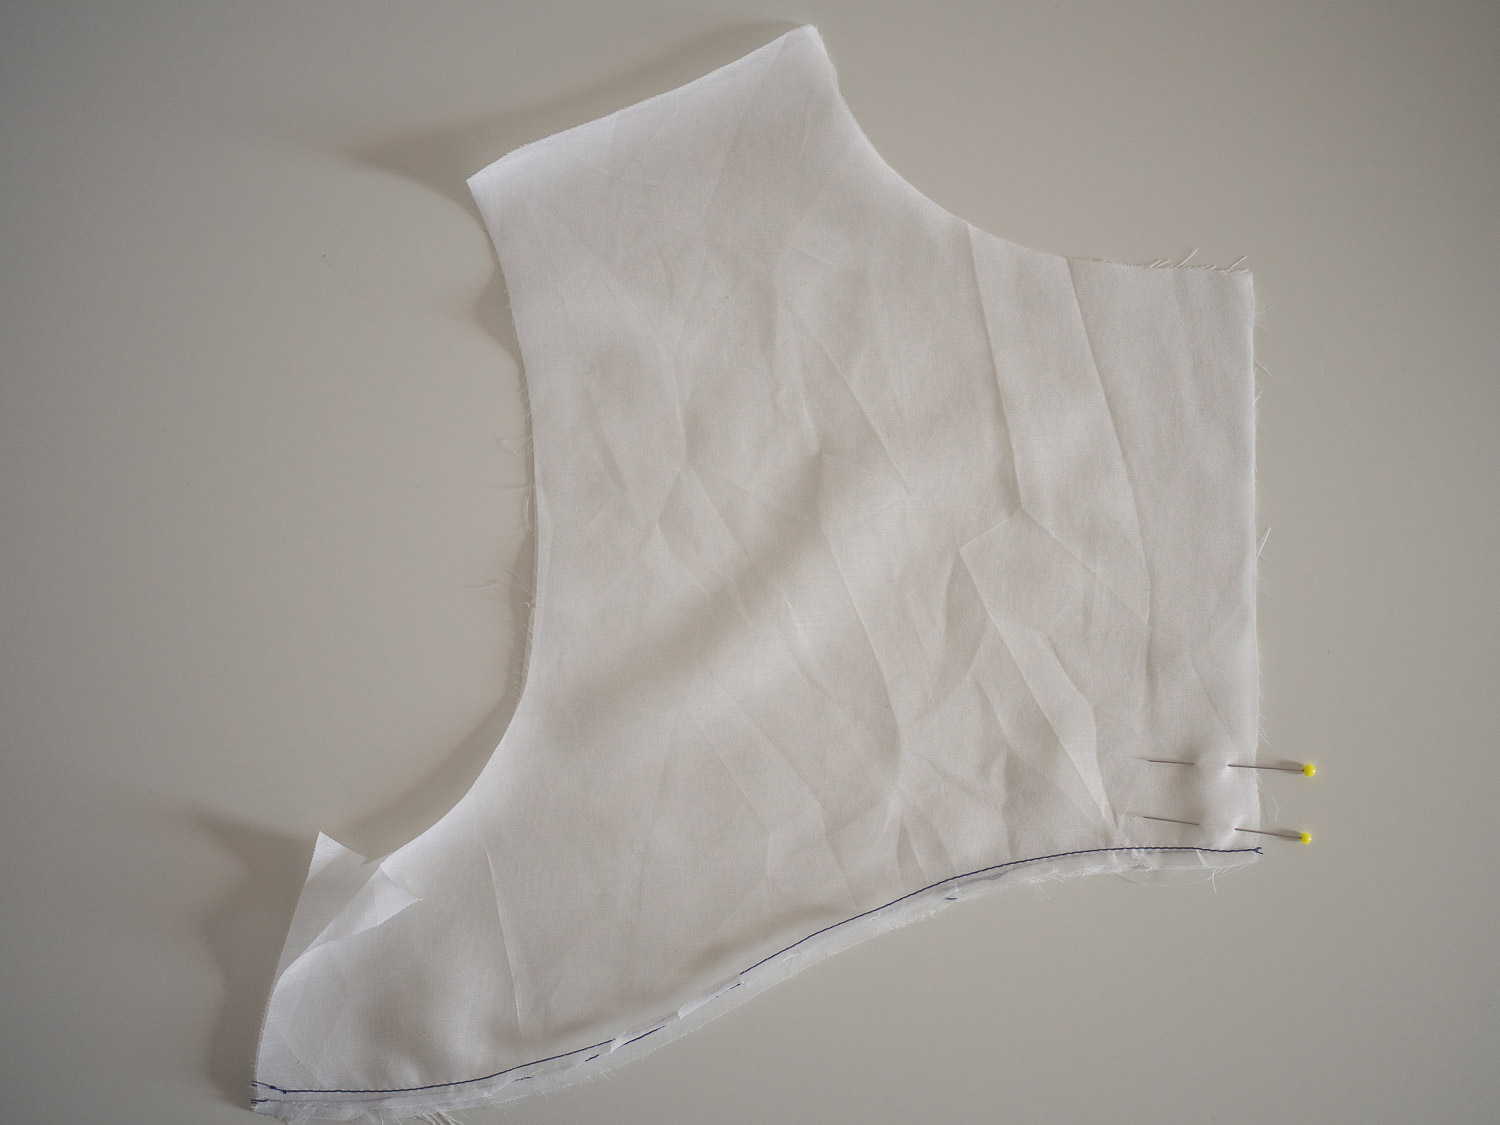
With right sides together, pin the BACK FACING pieces together, from the notch down only. The upper part of the seam will be left open, as this will be attached to the centre back opening later on.

Stitch the seam with a 2cm (¾in) seam allowance, being sure to backstitch at the notch.

Press seam allowance open.
Join shoulder seams
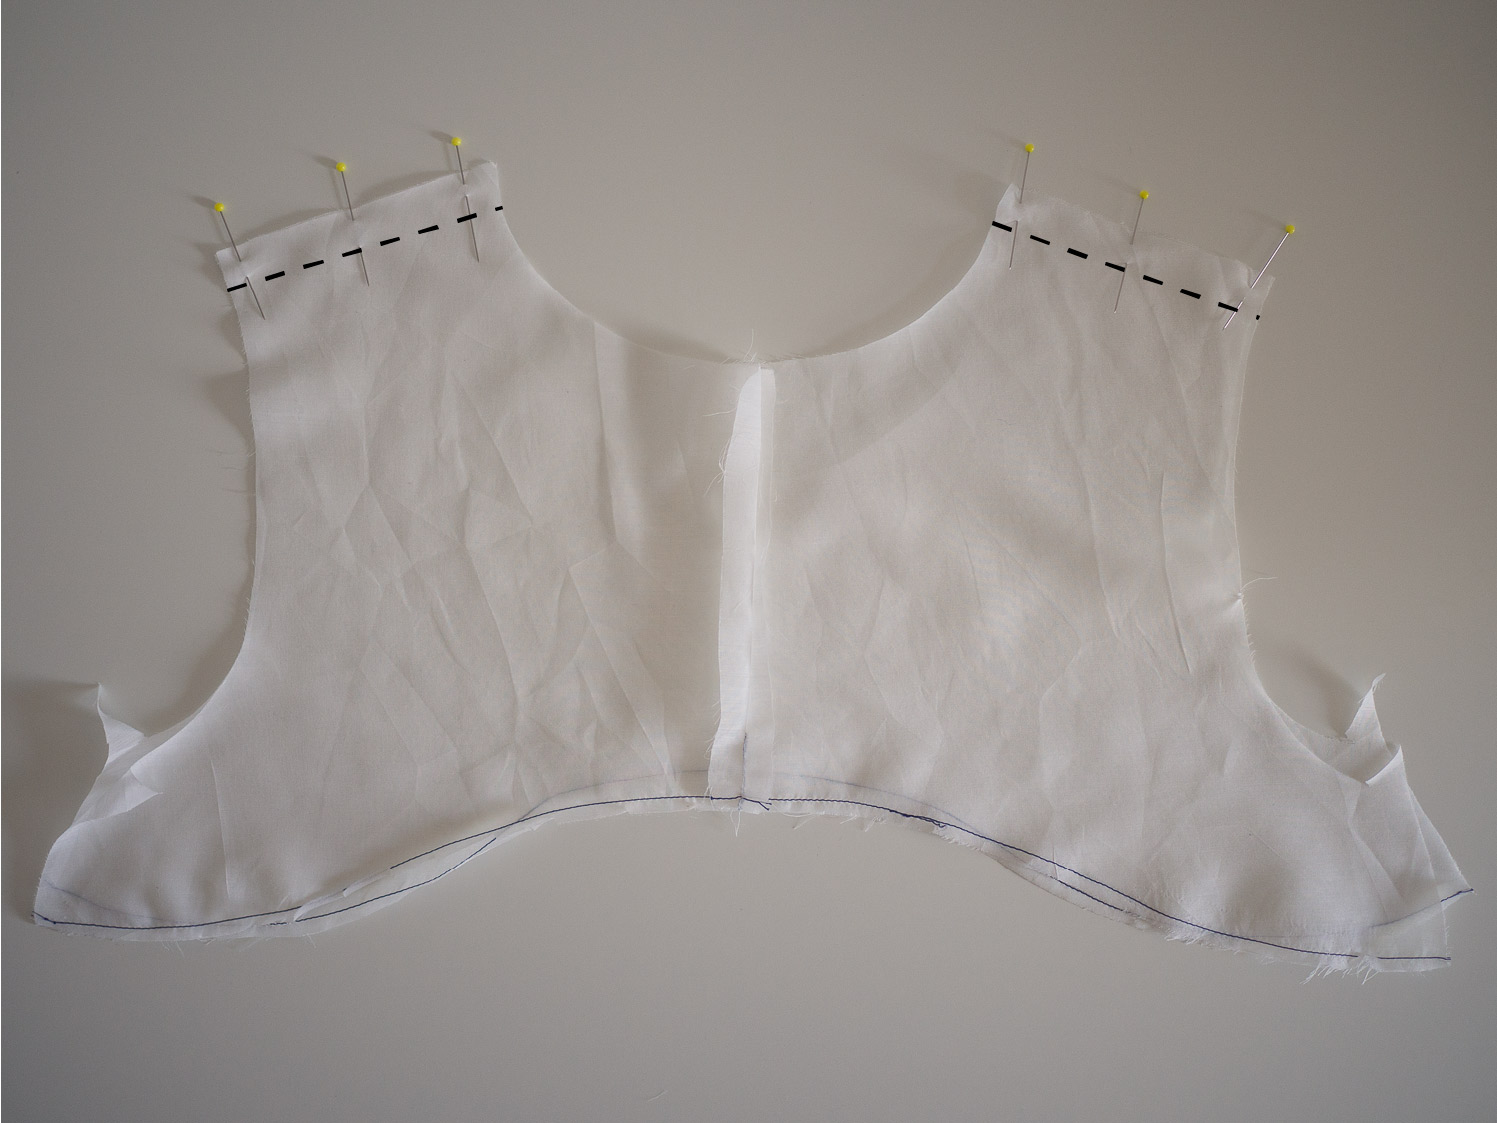
With right sides together, pin FRONT and BACK FACING together at the shoulder seams.
Stitch with a 1.5cm (⅝in) seam allowance.

Press seam allowances open.
Attach button loop
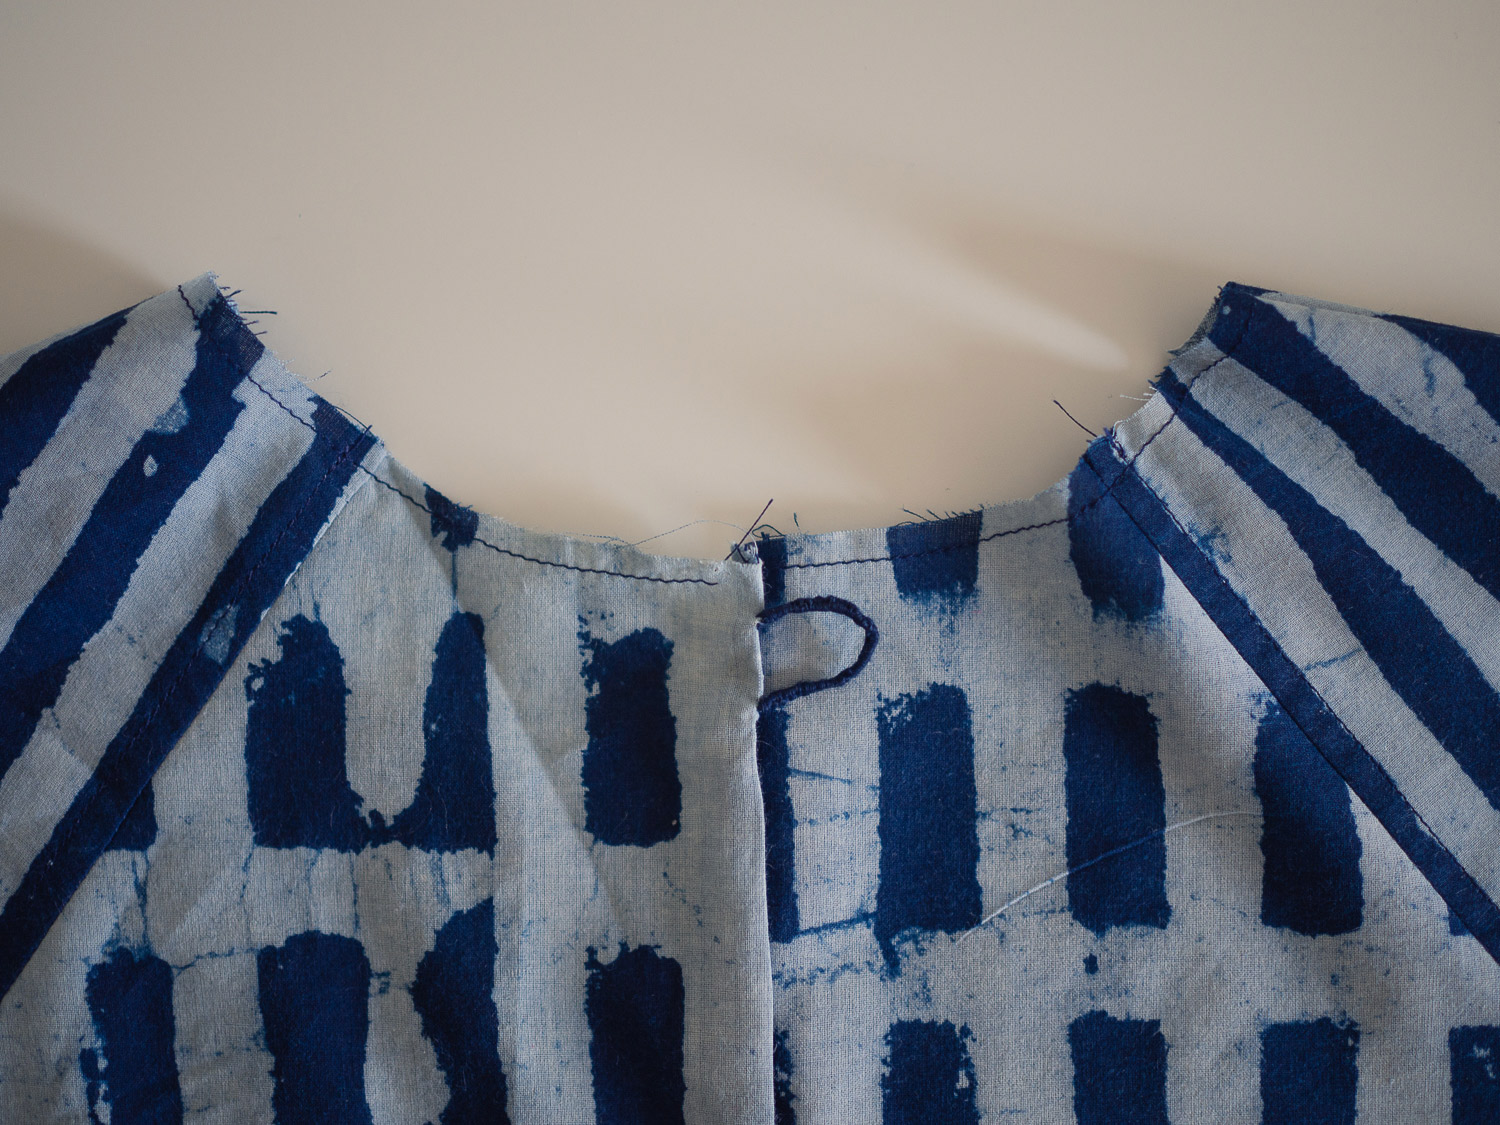
Create the button loop and attach to the top using this tutorial. If you would prefer to make a hand-stitched button loop (pictured above), check out this tutorial.

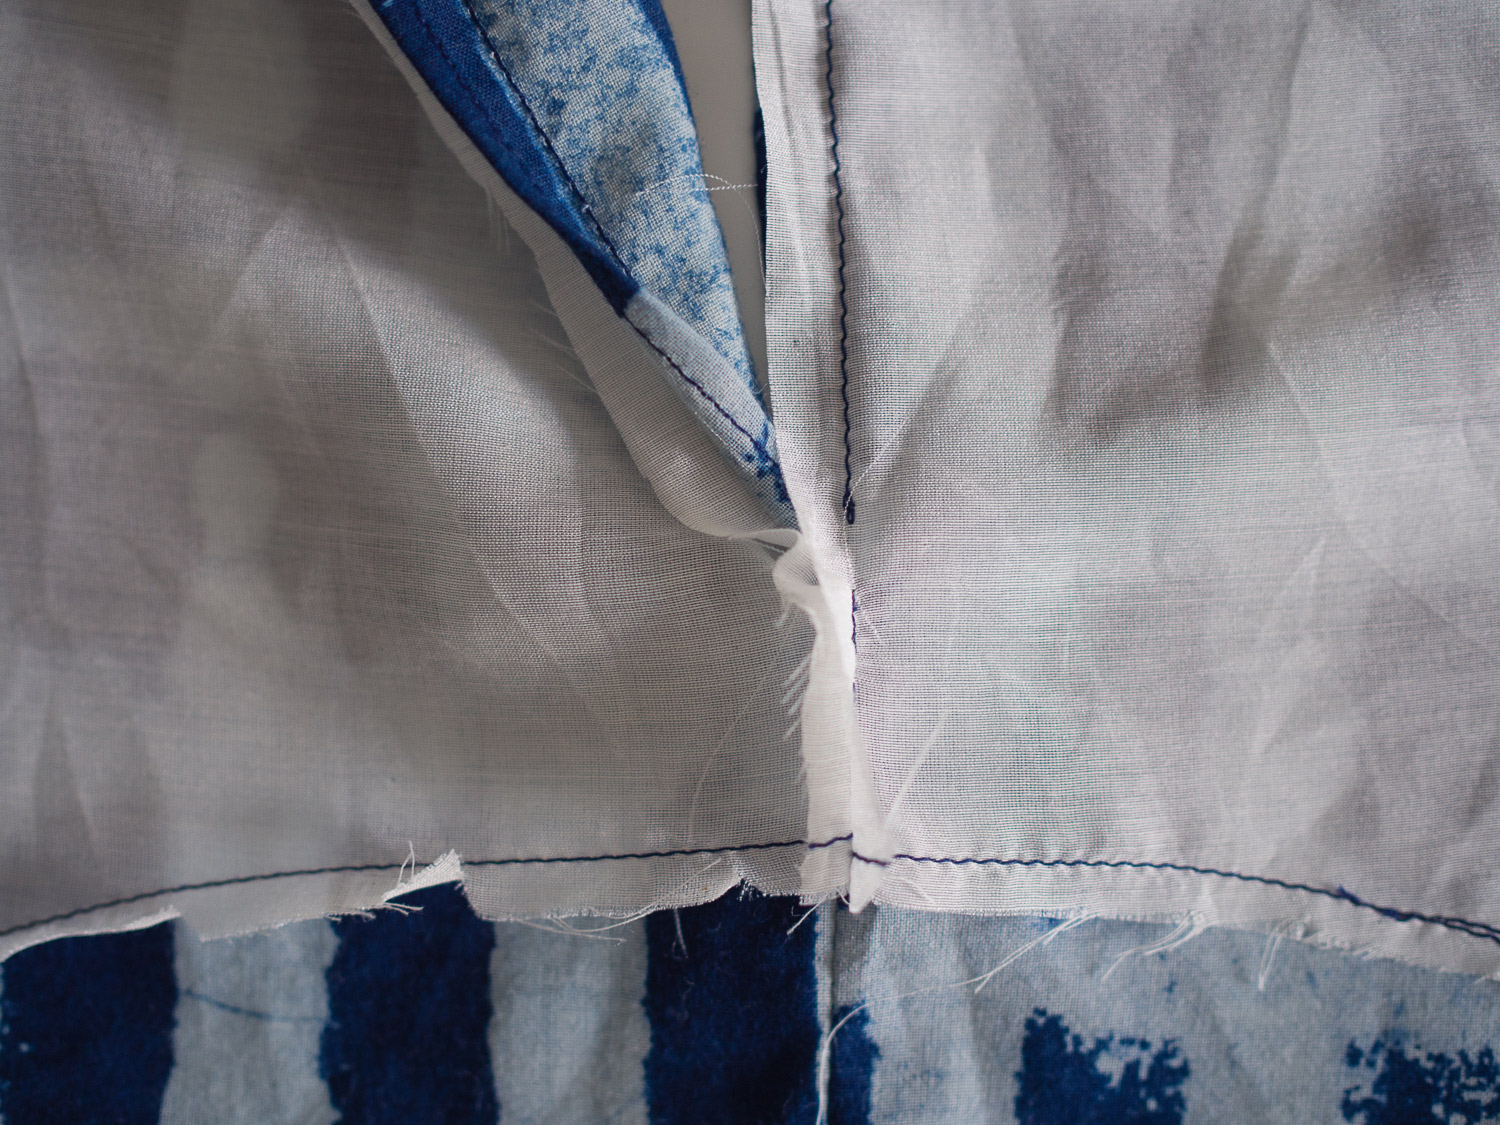
With the top right side up and the shoulder seams flat, turn back the centre back seam allowances on both sides of the opening, so that they are sitting flat (not folded inside the top).
Attach facing at neck line
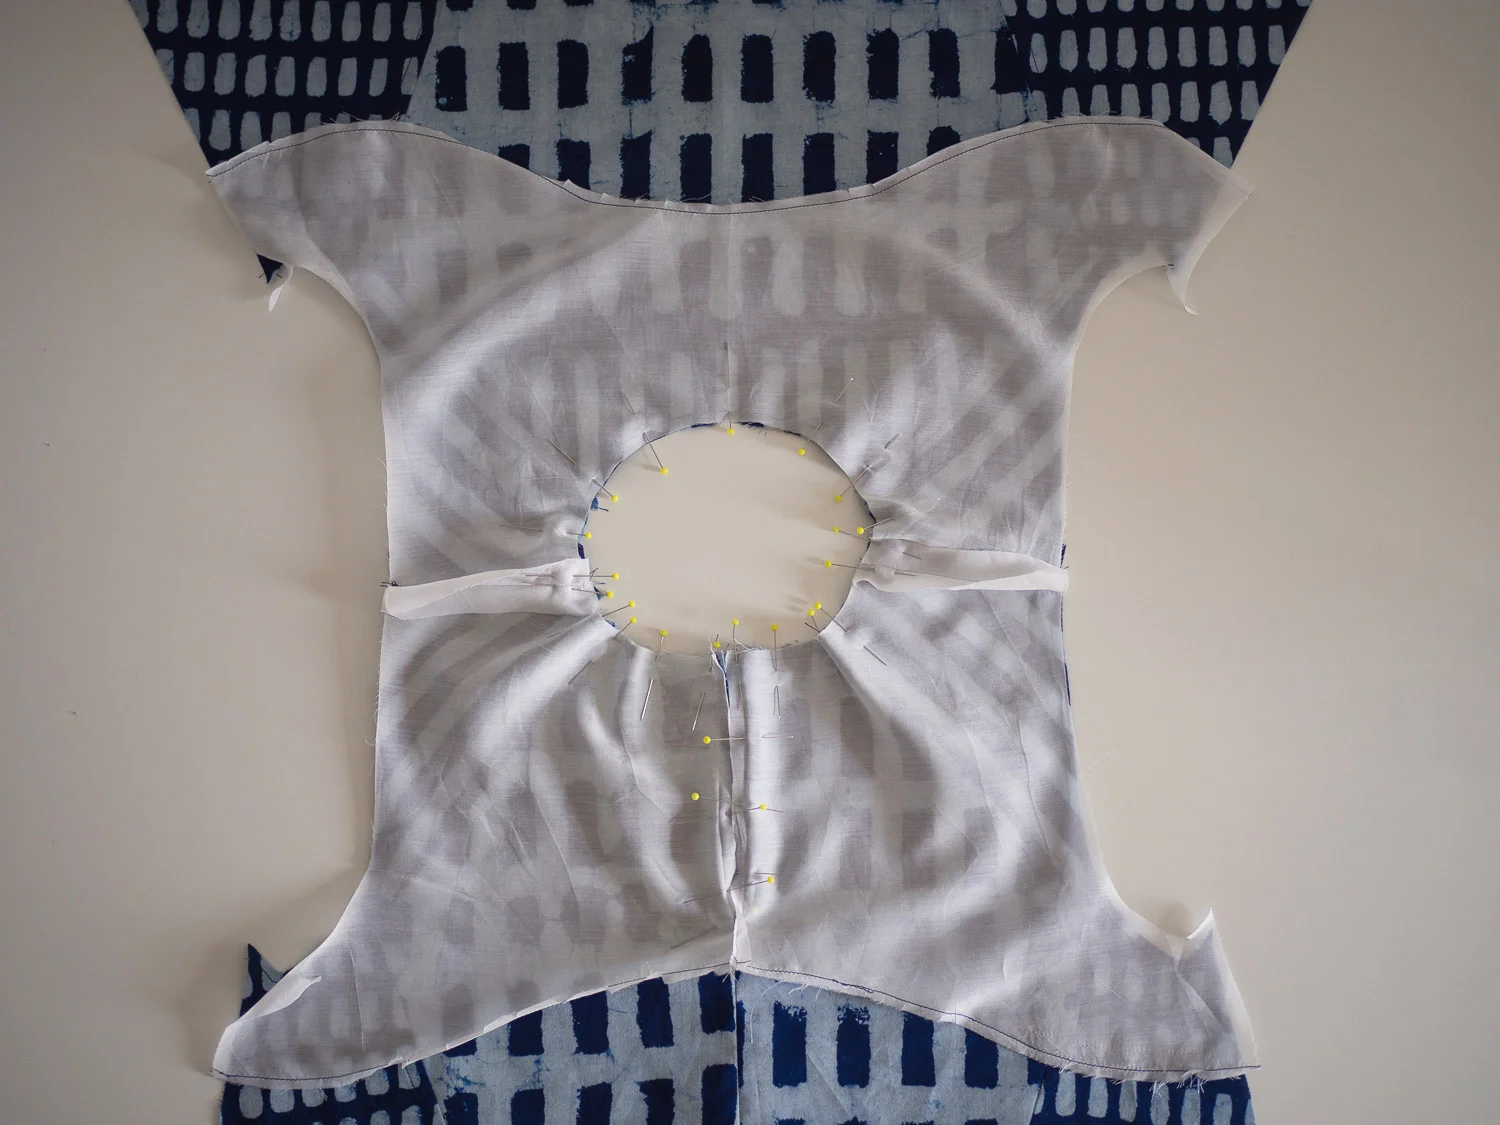
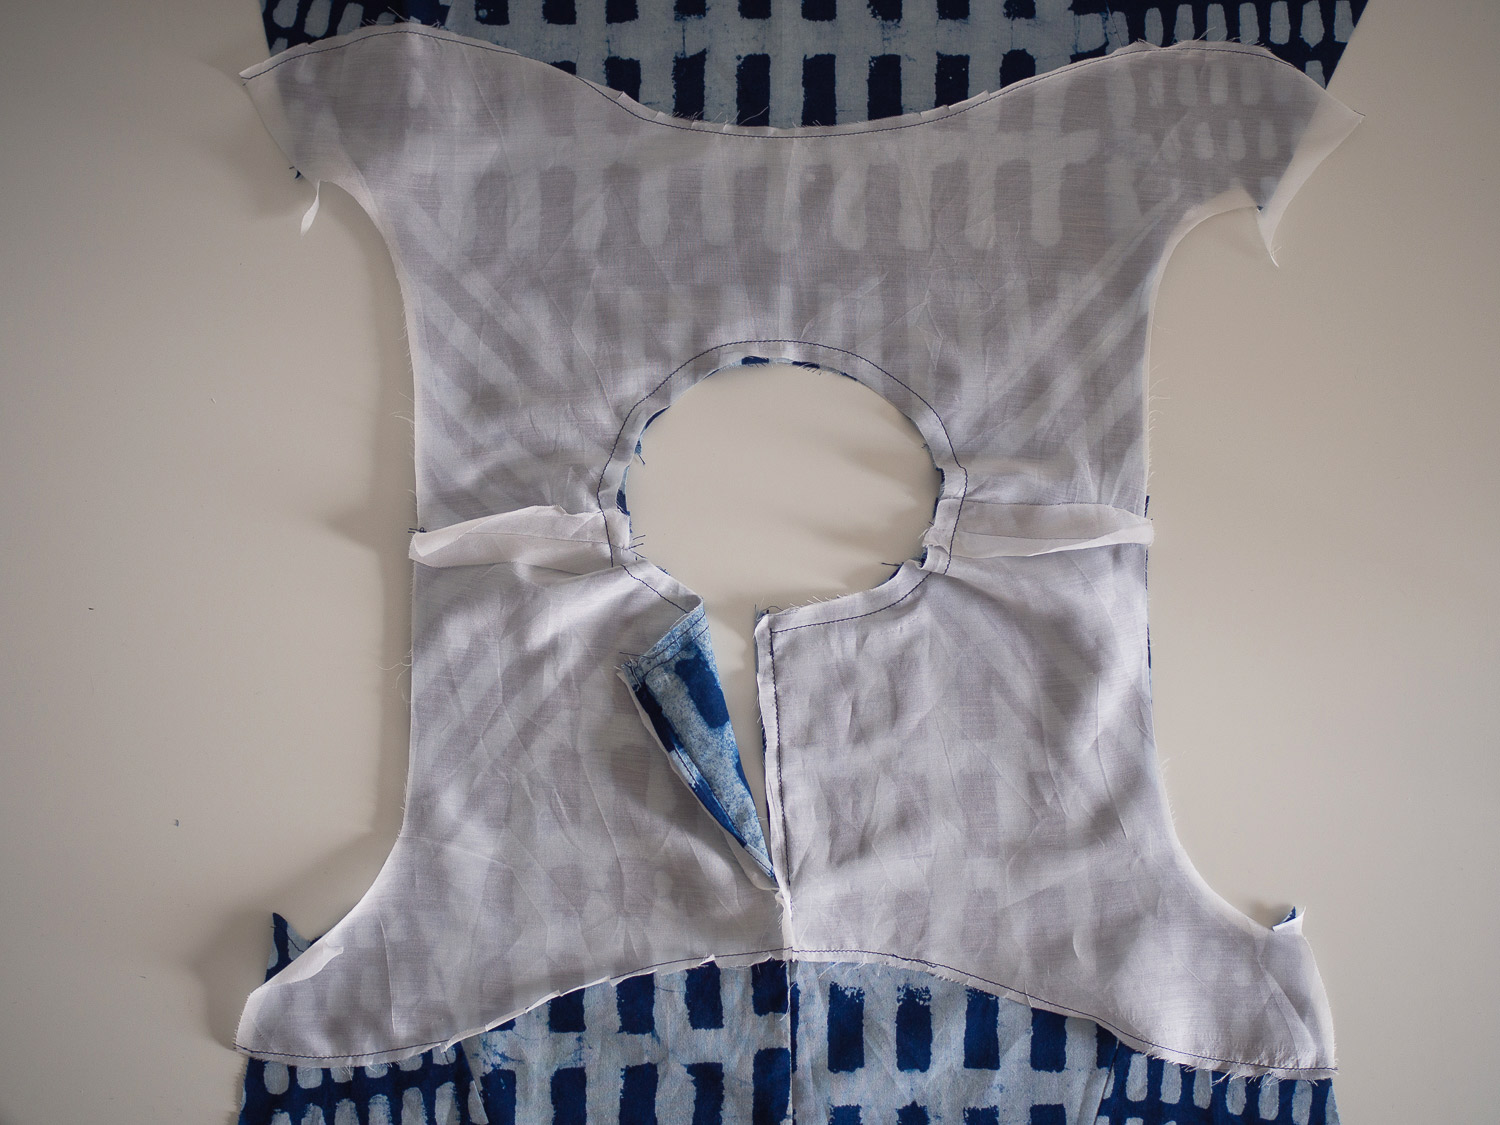
With the centre back seam allowances still pressed open, place the facing right side down on to the top (FRONT FACING on the front of the top and BACK FACING on the back of the top), matching the neckline and shoulder seams (the centre back seam allowance on the facing also needs to be flat and not folded). Pin the necklines of the facing and the top together.
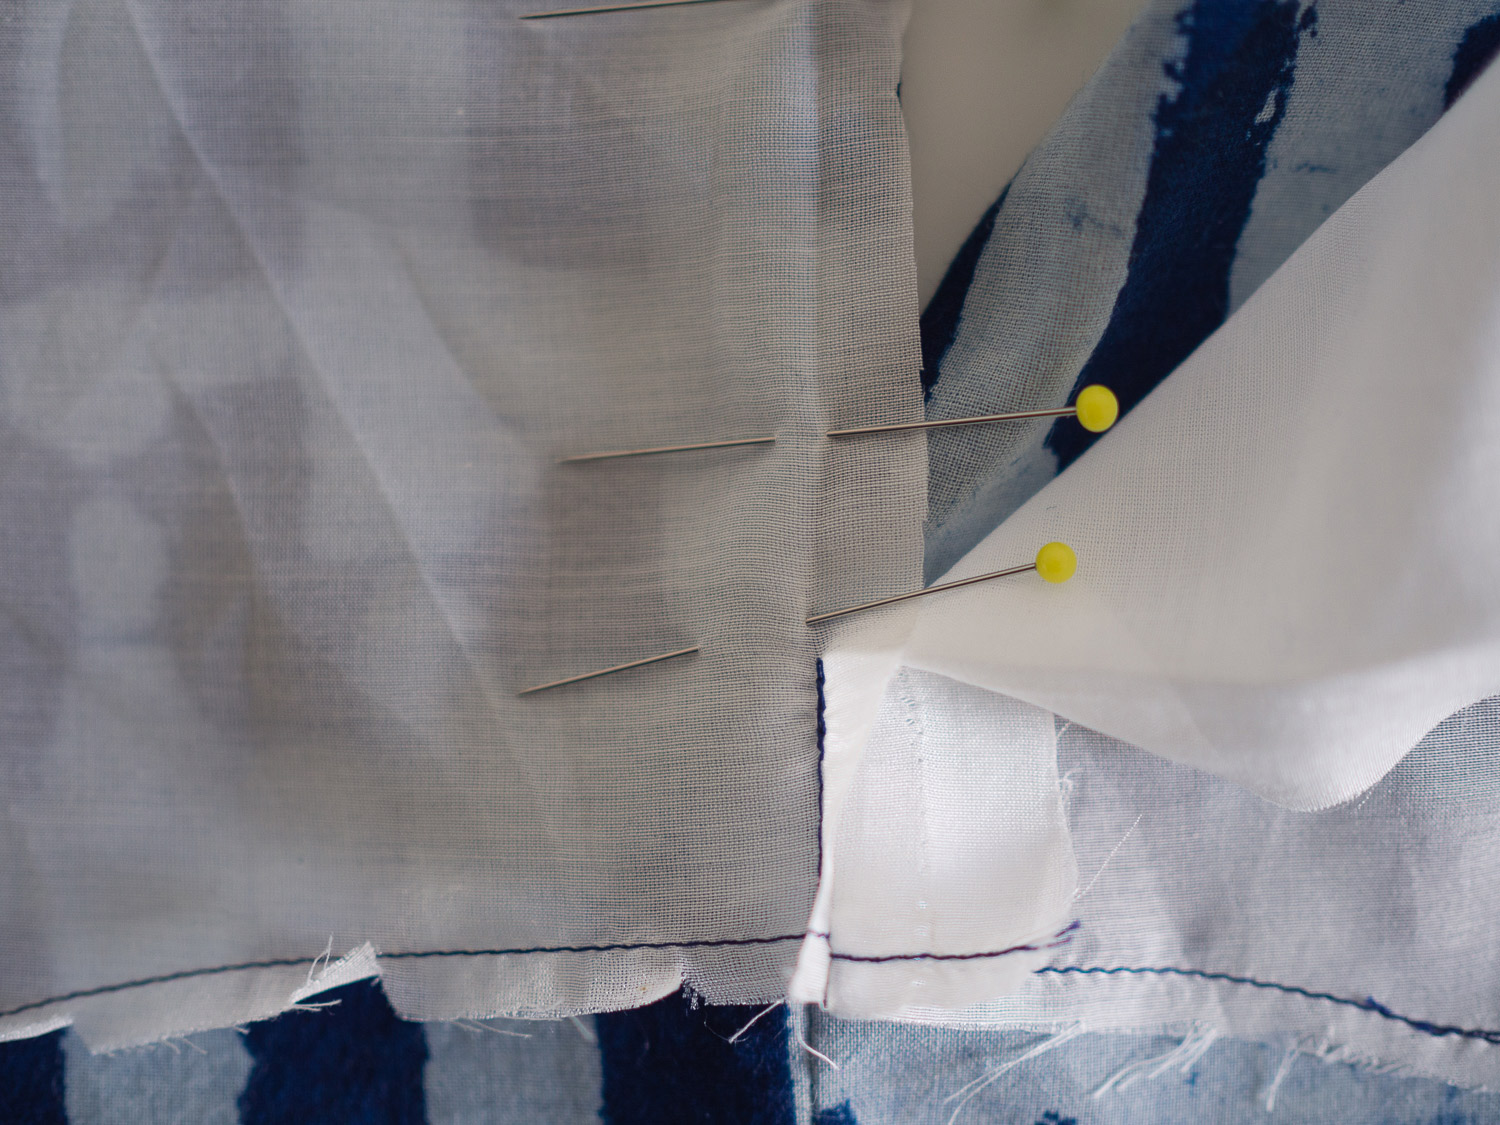
When you reach the centre back opening, check that the seam allowance is still pressed open on both the top and the facing. Pin the facing to the top, down each side of the opening until you reach the point where the centre back seams are joined on both the top and the facing.
Sew the facing in place by stitching up the centre back seam on one side - with a 2cm (¾in) seam allowance (you should be able to follow the crease created earlier), starting at the point where the centre back seam stops.
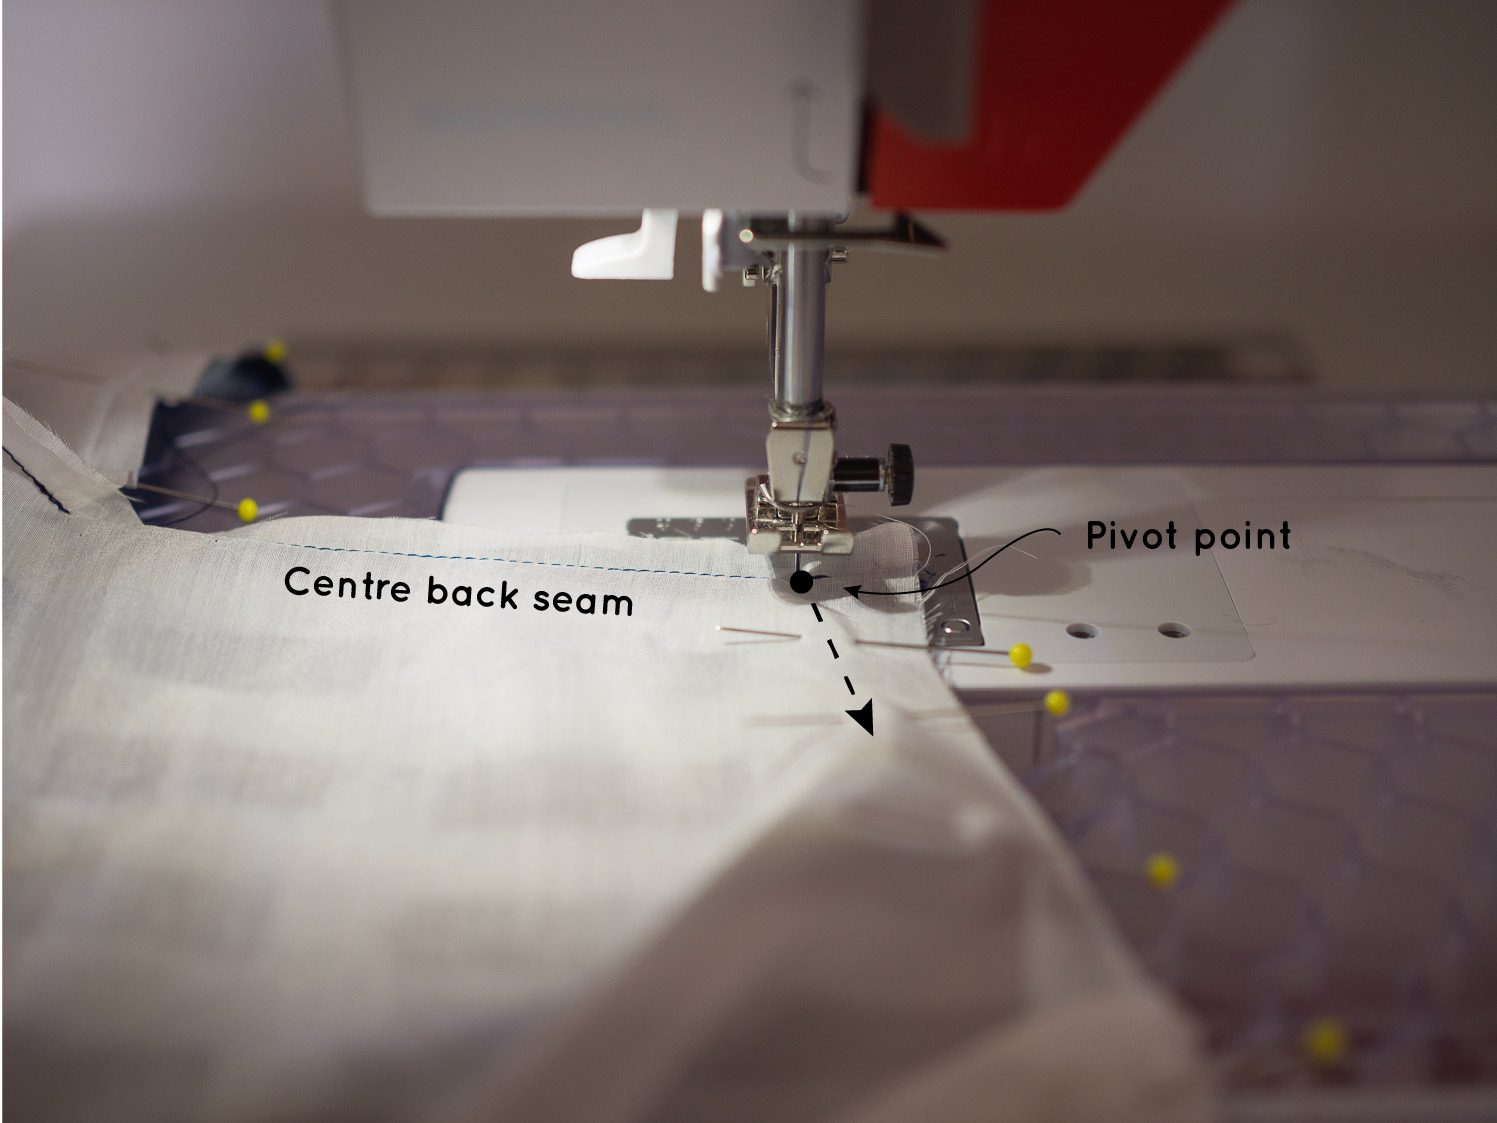
Continue up one side of the opening until you reach the point where the centre back seam allowance meets the neckline. Pivot your machine foot using the needle, so that you can turn the corner and stitch around the neckline.
Reduce to a 1cm (⅜in) seam allowance around the neck, before going back down the other side of the centre back seam (again with a 2cm / 3/4in seam allowance).
Before continuing, check that the button loop has been secured correctly by lifting the back facing.
Trim, clip + grade the seam allowance
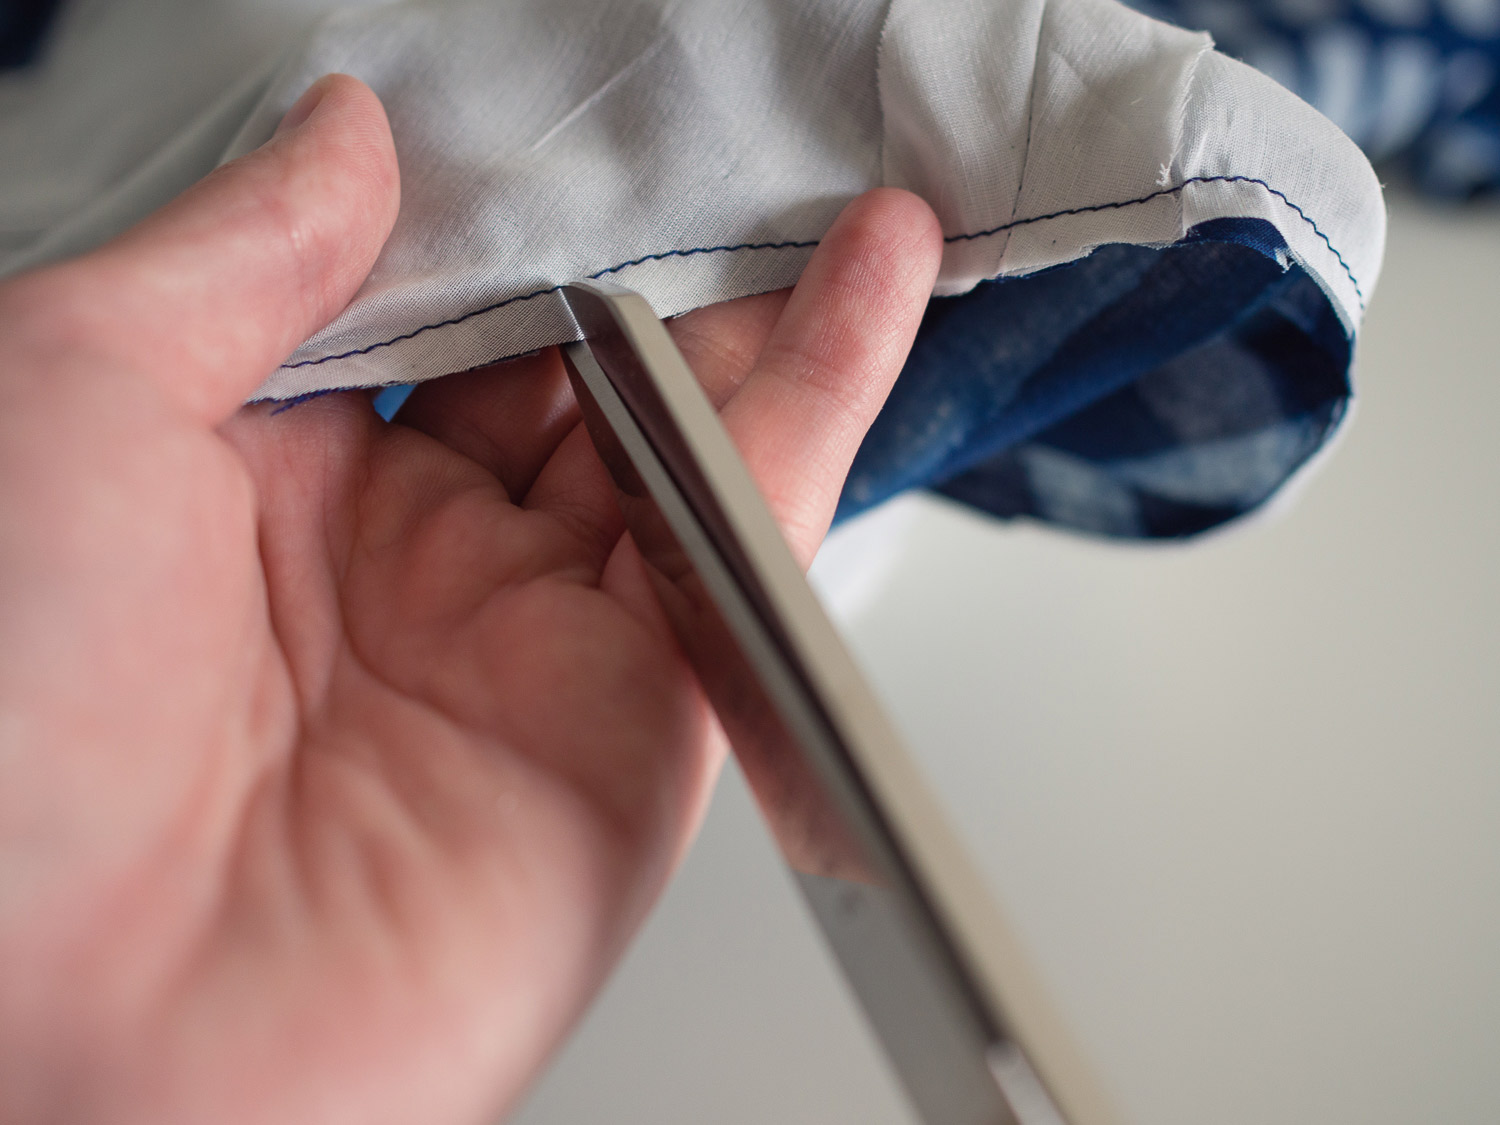

Trim, clip and grade the seam allowance by 5-6mm (¼in). You can also clip back the corners at the centre back.

Turn the facing to the inside of the top and use a corner turner (or pencil) to turn out the corners at the centre back.
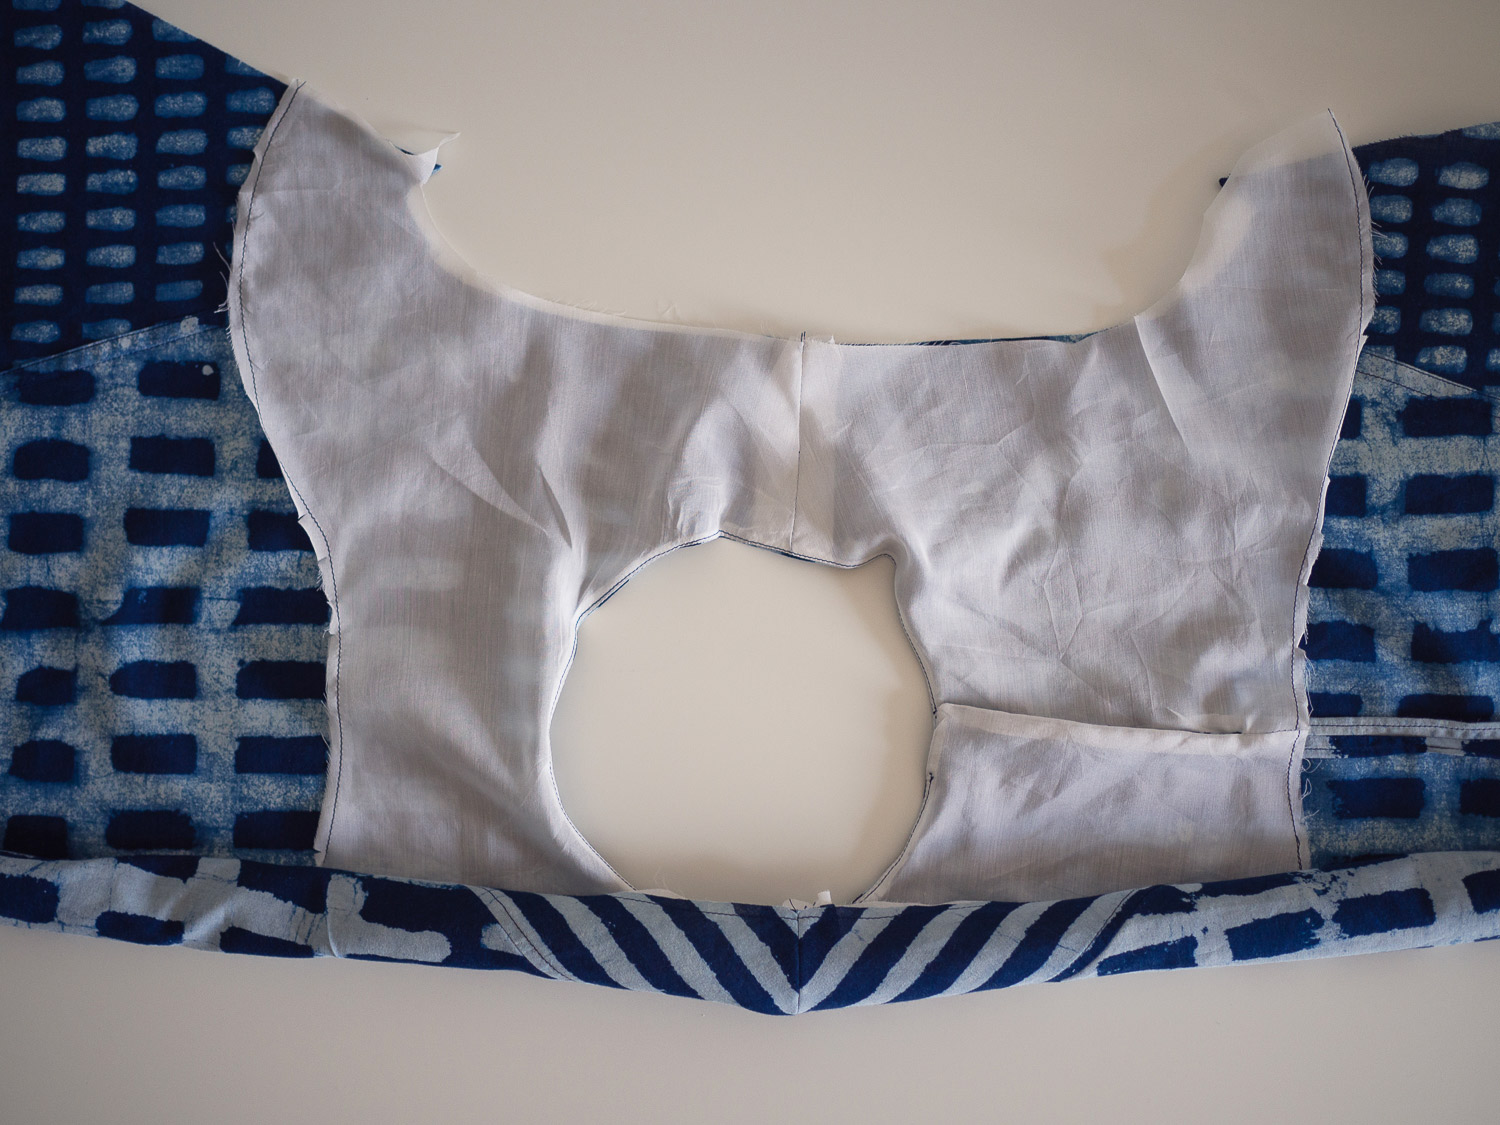
Understitch

Understitch the seam allowance to the facing. To do this, lift the facing and press the seam allowance towards the facing with your fingers. You can then understitch the seam allowance to the facing (this will help the facing remain on the inside of the top), before giving it a good press.

You won't be able to stitch all the way to the centre back. Just get as close as possible.
Sew the armholes

To sew the facing and the top together at the armholes, take the top and lay it out flat with the right side facing down.
Take one side and carefully roll up the top, towards the opposite side.

Continue rolling the top until you reach the start of the shoulder seam on the other side (the end closest to the neckline).

With the top still rolled up, flip the facing back towards you, so that it lies on top of the rolled fabric.

Lift the roll and flipped facing, and turn the remaining side of the top right side up, so that the armhole of the top can now meet the armhole of the facing (with the rolled up fabric in between). Line up the shoulder seams and pin in place.

Pin the top and facing together at the armhole, using the shoulder seams and notches as a guide.

Stitch the armhole with a 1.2cm (½in) seam allowance (being careful not to stitch through the rolled up fabric).

Grade the seam allowance before clipping into the curve. Gently pull the rolled section out through one side of the facing to turn top and facing right side out.
Understitch
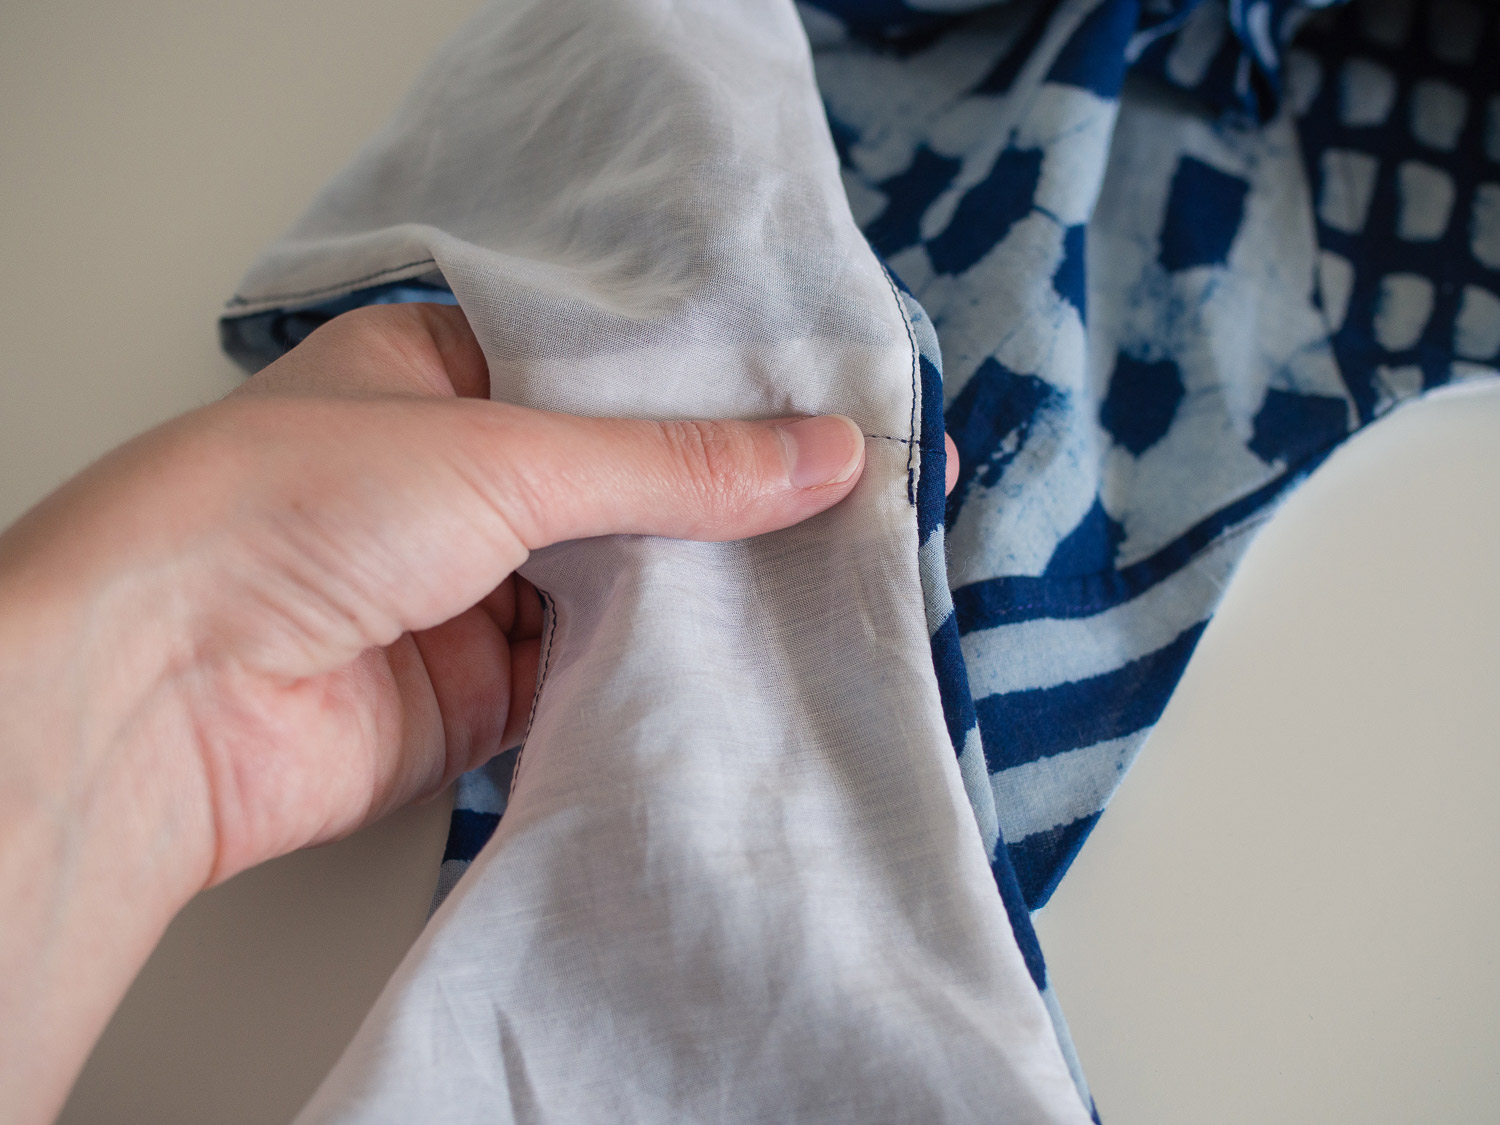
As the facing is already attached at the neckline, you won't be able to understitch the armhole all in one go. Understitch the armhole seam allowance to the facing by lifting the facing on the front armhole and sewing in from the side seam on the front and getting as close to the shoulder seam as possible.

Repeat for the back armhole by stitching from the back side seam around the armhole towards the shoulder seam.

Repeat the previous steps to attach the top and facing on the other side. Give the neckline and armholes a good press.
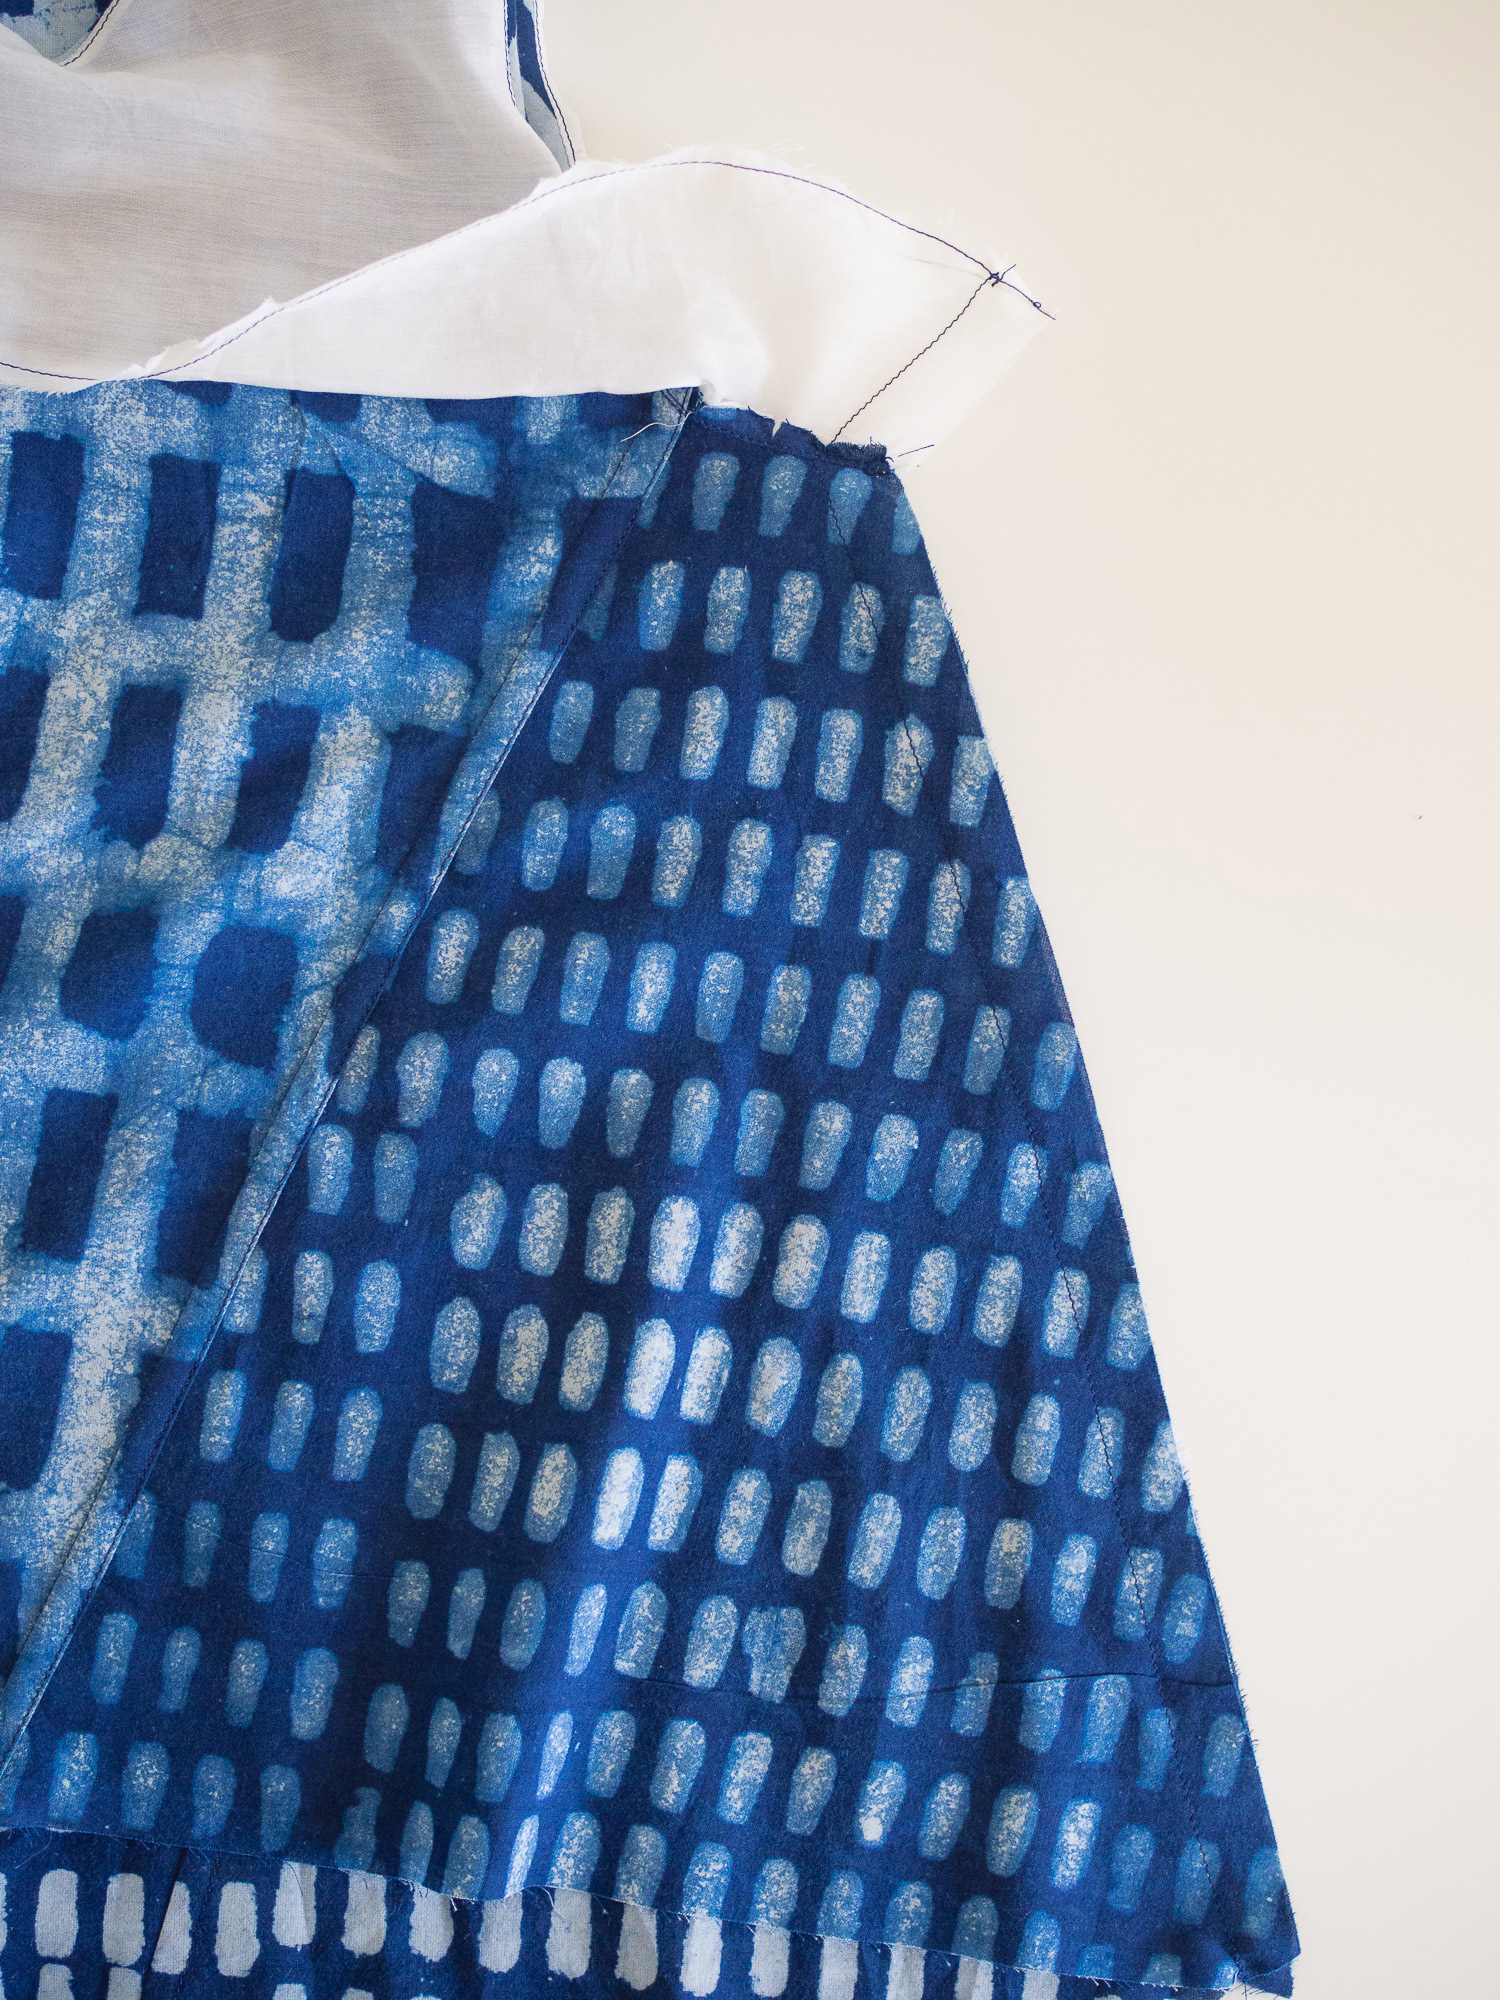
Sew the side seams

With the top inside out, flip up the facing so that you can access the side seam of both the top and the facing.

Pin the side seam of the facing and continue down the side seam of the top. Stitch the side seam with a 1.5cm (⅝in) seam allowance and press the seam allowances open.
(Please note: in this photo the side seams are not finished - as Saki was sewing flat-felled seams in her version. In your version, side seams should be finished already.)
Stitch the side seam with a 1.5cm (⅝in) seam allowance and press the seam allowances open.
And that's it for today's post. I hope you enjoyed it and learned something new!


