So today we'll be finishing up View A (the sleeved version) of the Collins Top in the Collins Top Sew-along. Yay! We'll be hemming the body of the top and the sleeves as well as sewing the button in place. And then you'll be ready to wear your beautiful new top!
Hemming the top

With the top inside out, turn up the hem by 5mm (¼in) and stitch. You can simply do this with your finger, rather than pressing and pinning.
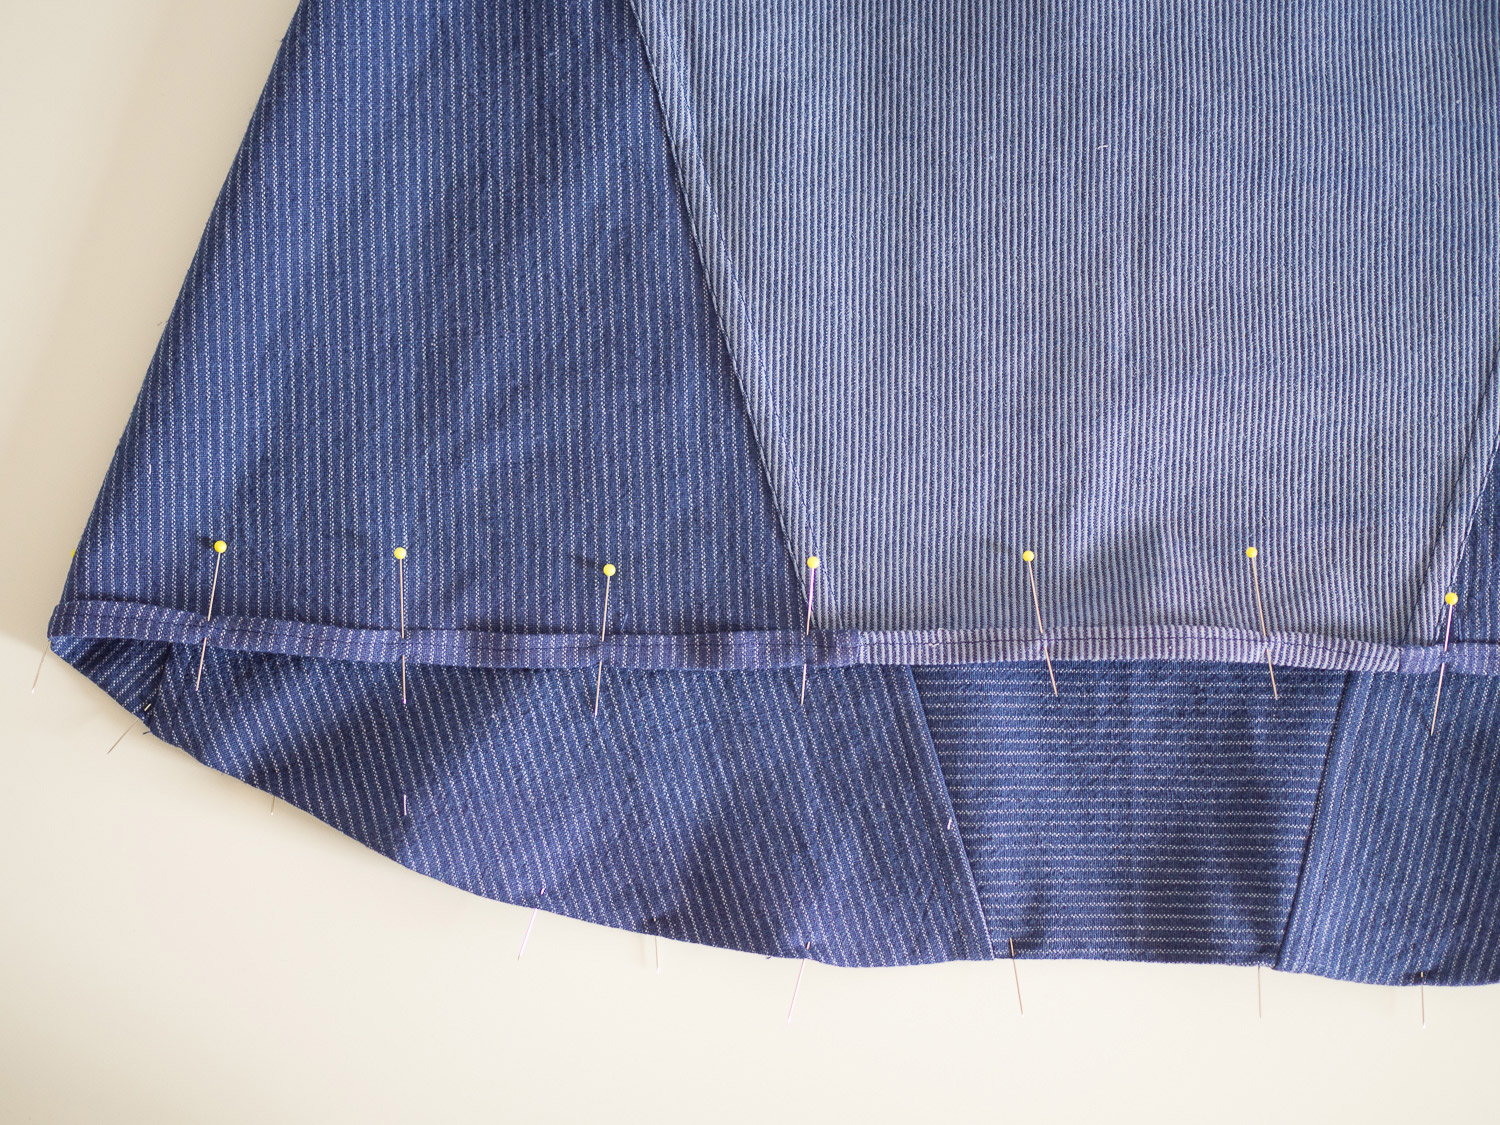
Turn the hem by another 5mm (¼in) and press. Pin hem in place and stitch along the original stitch line to complete the hem.
Give the hem a good press from the right and wrong side.
Hemming the sleeves

Finish the raw edge of each sleeve before turning up by 3cm (1¼in). You will notice in this photo that Saki has turned the raw edge under and then turned up the hem, to enclose the raw edge inside the hem. This is an option too.
Press and pin in place.

Stitch in place, close to the raw (or folded edge).
Give the sleeve hems a good press from the right and wrong side.
Position button
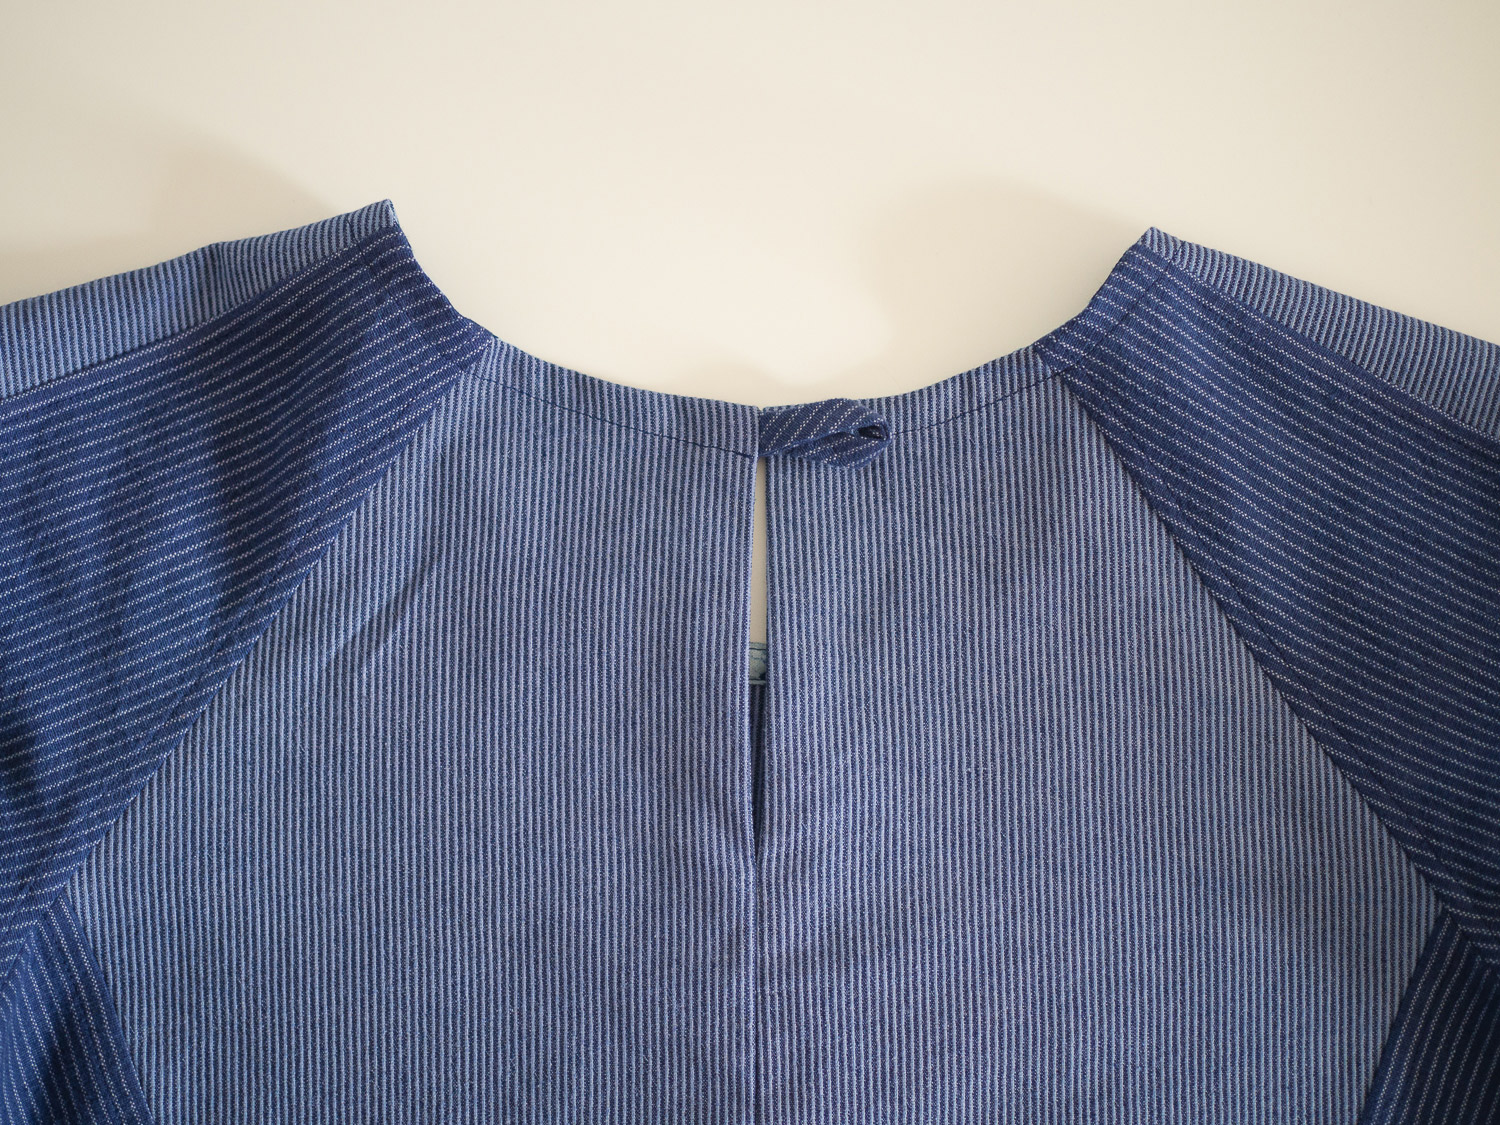
With the top right side out and the back of the top facing up, close the centre back opening, so that we can work out where the button will go.

Place a vertical pin in the centre of the button loop, before marking the button location with chalk or an erasable fabric marker.
Sew button in place

Open the back opening to access the other side of the opening and stitch button in place. For those of you who are beginners and would like some pointers on sewing on the button, there will be more detailed instructions in a later post (when we get to View B).
Give your top a good press and you're ready to wear your Collins like all these other amazing makers.
Stay tuned, tomorrow we'll be starting on View B of the Collins Top (the sleeveless version).