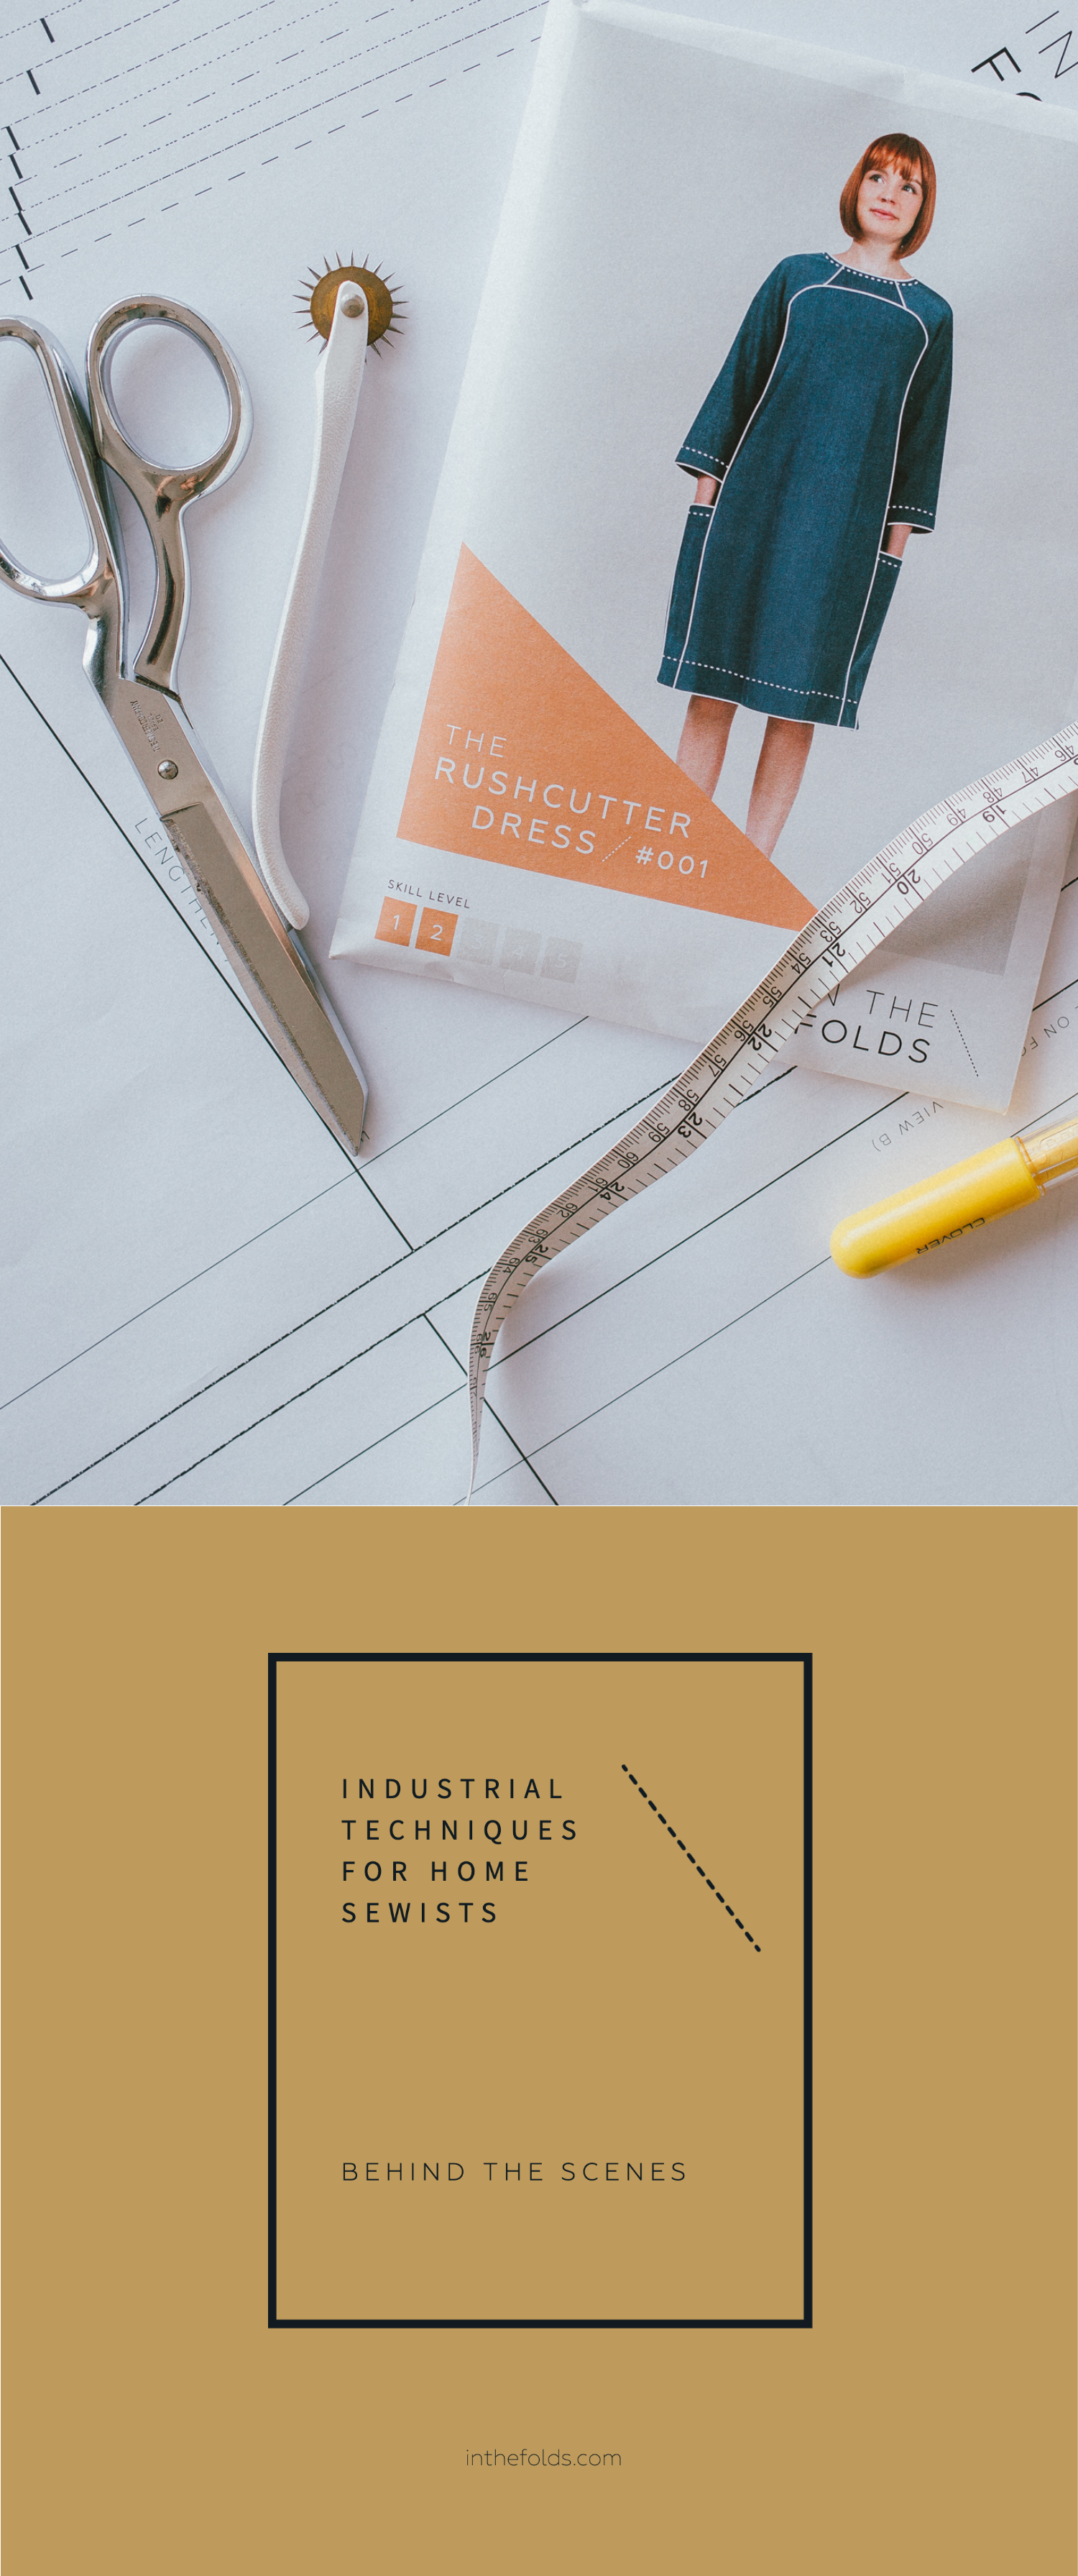
We know how much our community loves to geek out about sewing, so for this month’s behind the scenes email we thought we’d dive into the nitty gritty of some of the industrial sewing techniques we like to use at In the Folds.
With every pattern we design, there are very specific reasons why we do things the way we do them. And what you may notice when you first open up an In the Folds pattern is that it may be a bit different to how you’ll see things done in the home sewing world more broadly.
When I started drafting my first patterns for In the Folds it was really important to me to do things the ‘right’ way. For me, that meant continuing to use the techniques I learned while studying Fashion Design at university. Of course, since I’d spent several years studying these techniques and methods of sewing they made a lot of sense to me, but as someone who had sewn for many years before studying, I could also see the benefits of using them when it came to the overall standard of finish of the garments I made. Everything looked more polished and well-made. They fit better. They even felt stronger - like they would handle being worn over and over again without needing to be repaired constantly. And this was exactly what I wanted for the makers of my In the Folds patterns!
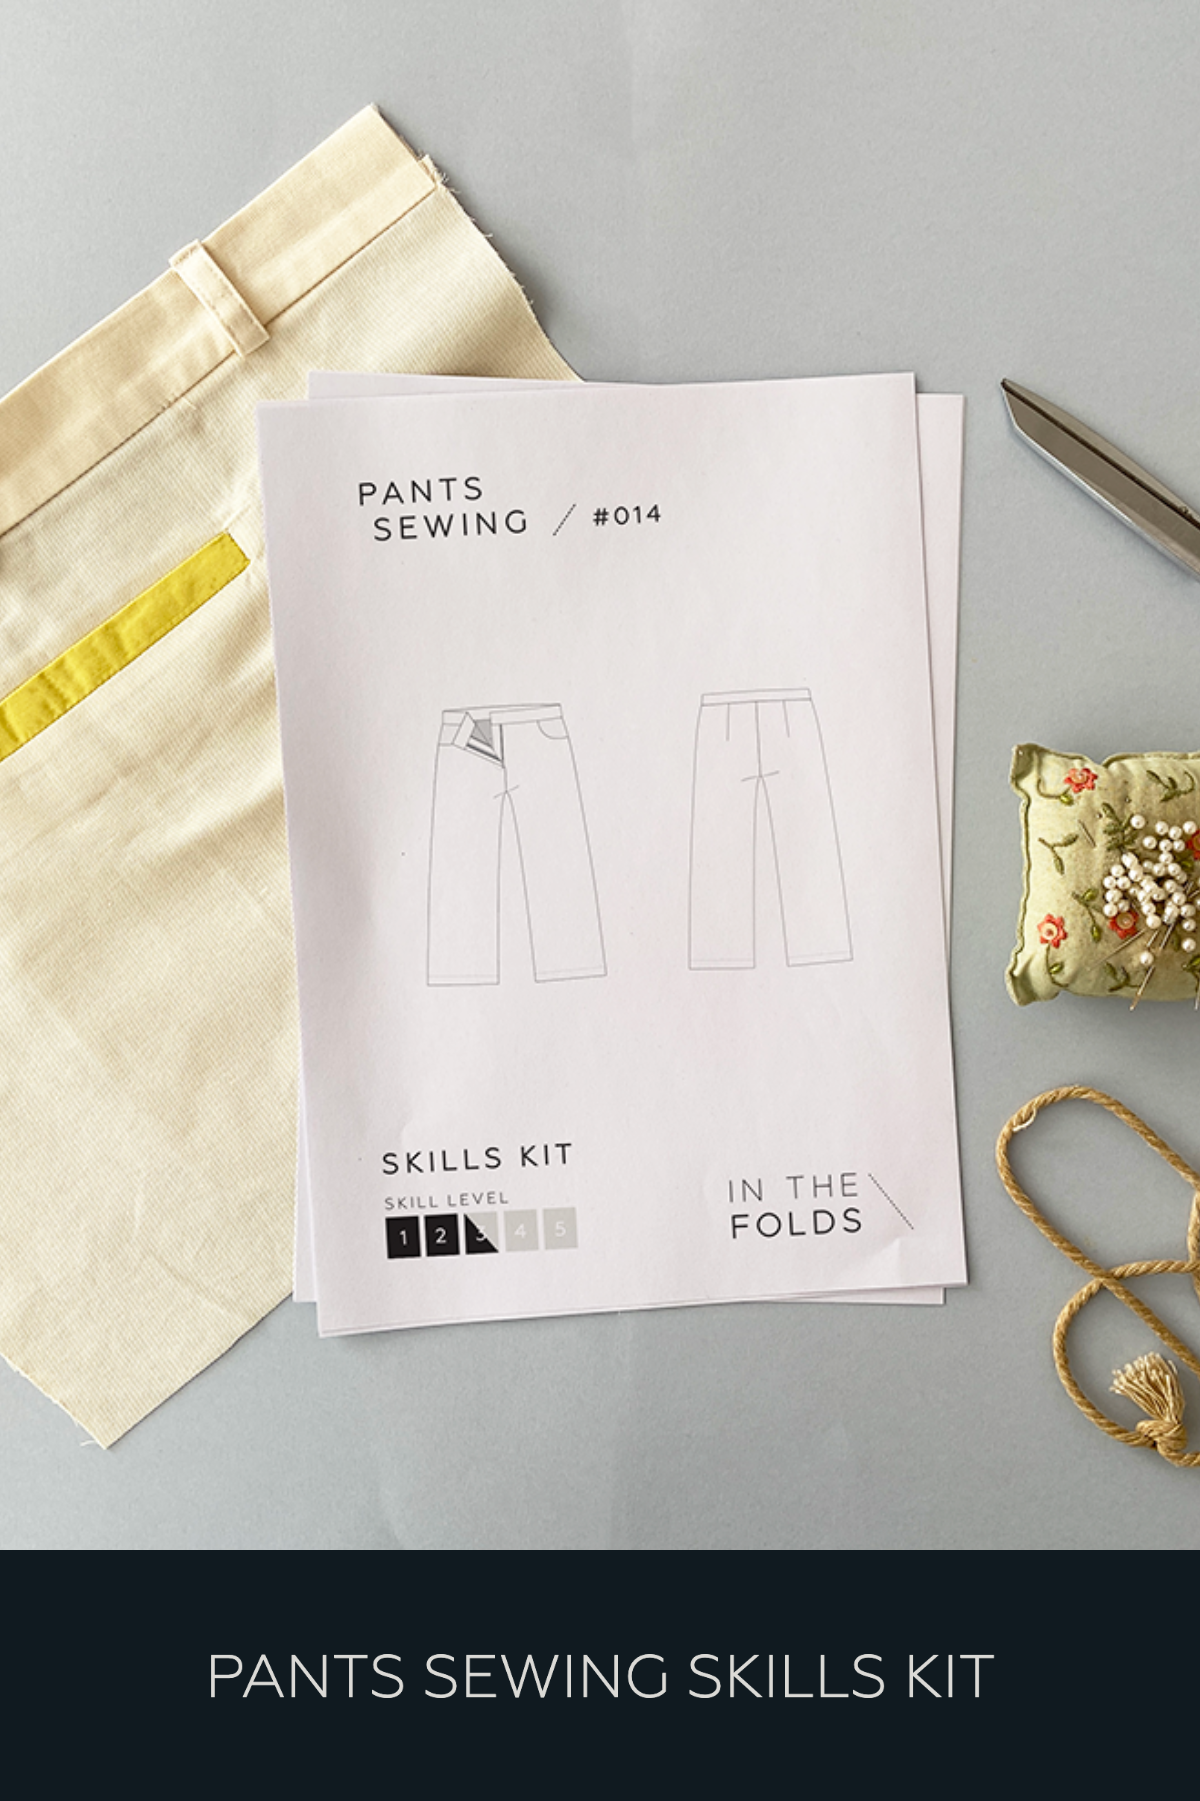
Sometimes this means that the techniques we use aren’t quick and easy to explain, and our Fit Kits and Skills Kits are often over 100 pages long as a result! But the thing is, once you’ve learned them, you can apply these skills over and over again, on every garment you make, and create yourself a wardrobe full of beautifully-made pieces that will last a long time.
Here’s some examples of the industry techniques we use, along with why we prefer them. I hope you find it enlightening, AND perhaps feel encouraged to try a method you’ve been too scared of previously!
INDUSTRIAL SEWING TECHNIQUES VS HOME SEWING TECHNIQUES & our preferred methods
Notches
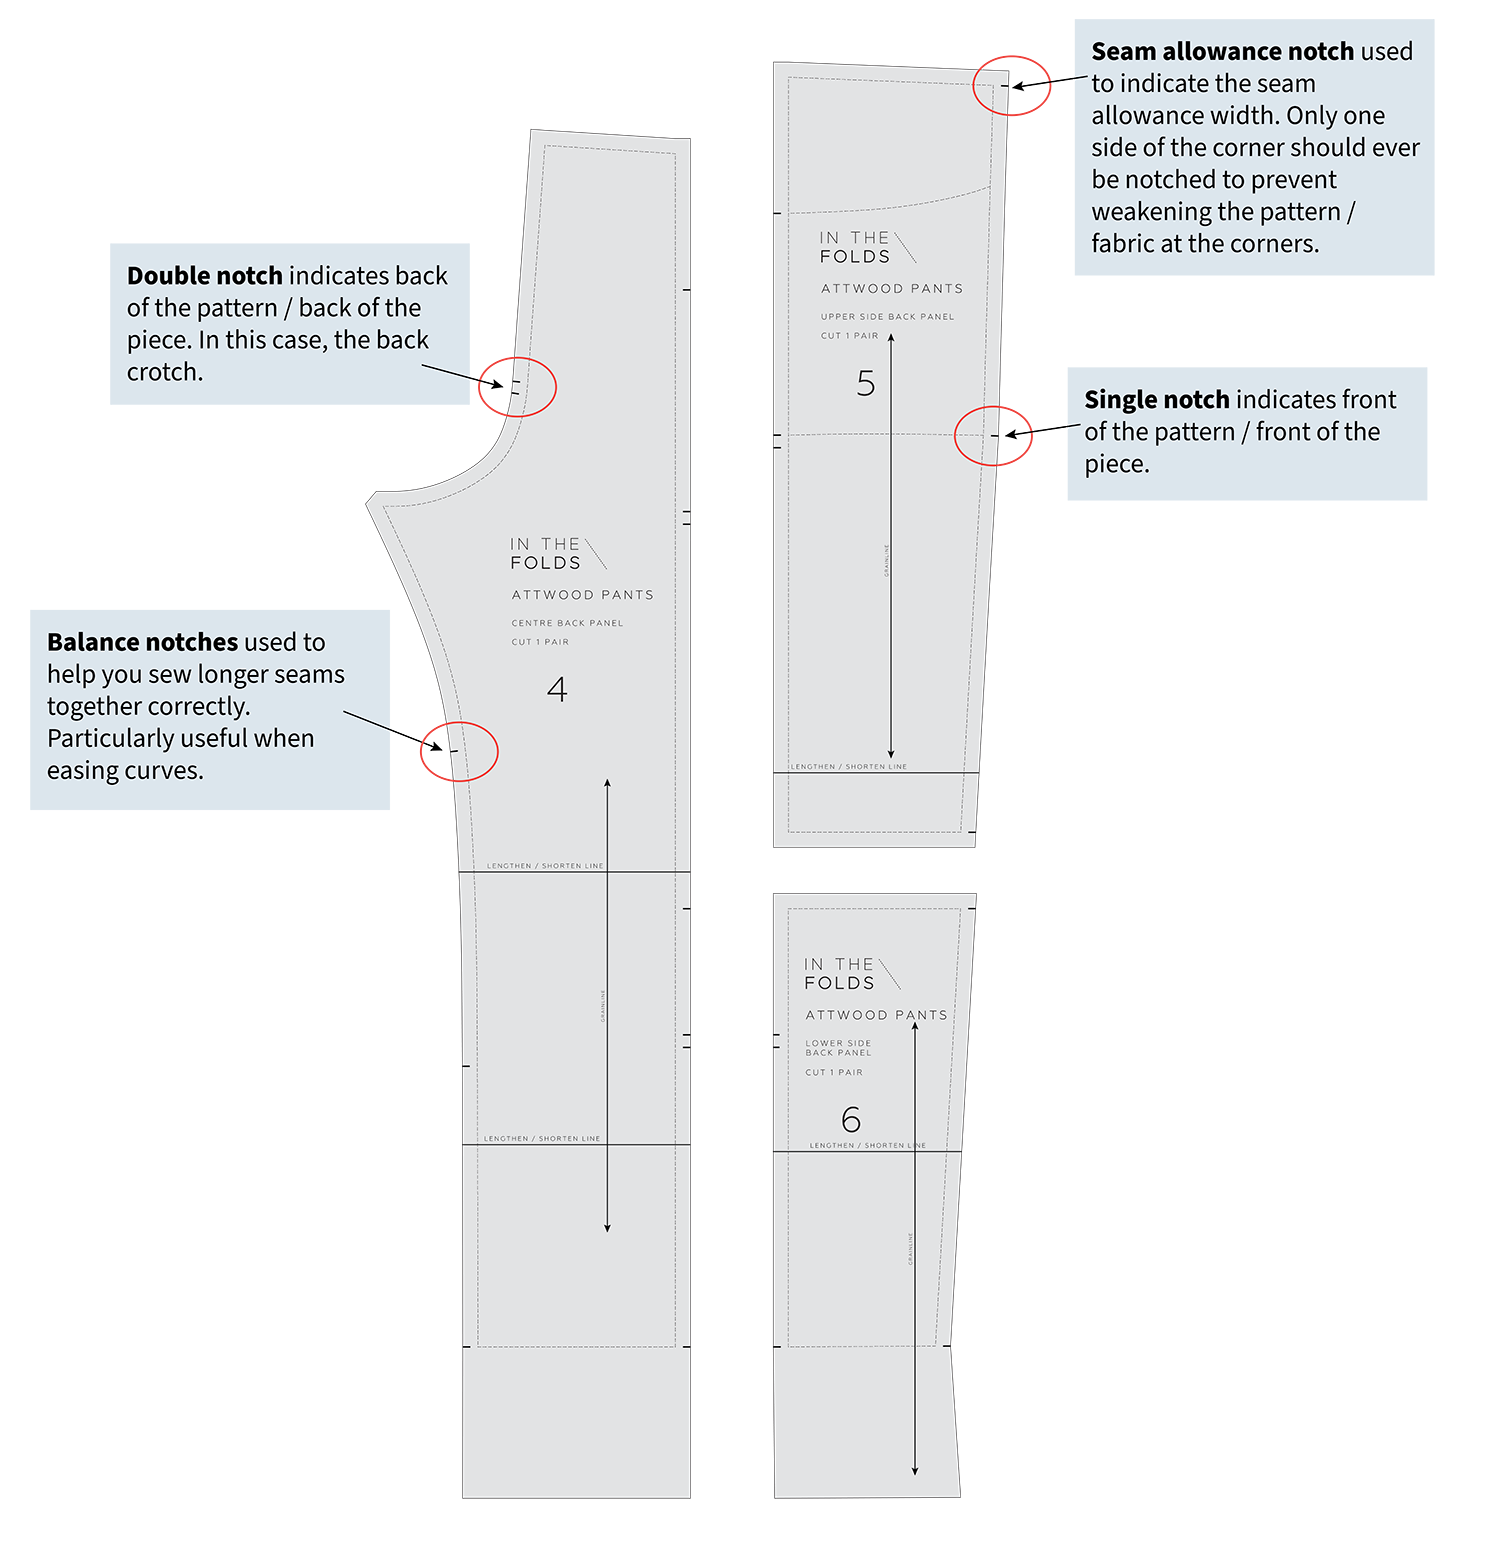
Notches are used to indicate seam allowance, dart arms, and the location of design details, such as pleats, tucks, gathers, hems and pockets. They can also be used to indicate key points on a pattern, such as the centre front and centre back. Single notches indicate the front side of the pattern piece, while double notches indicate the back.
In most traditional home sewing patterns you’ll see notches marked by a triangle. We use the industrial way of notching patterns, which is where you snip into the edge of the fabric. Not only are single snips much easier to make, they’re also much more accurate. Lining up a single point is always going to be easier than lining up and cutting triangles accurately.
How to mark notches using the industrial method
To mark a notch, snip into the fabric 6mm (¼in). If the notch is on a narrow seam (for example, 6mm) you will need to reduce the amount you snip in by.
Drill holes
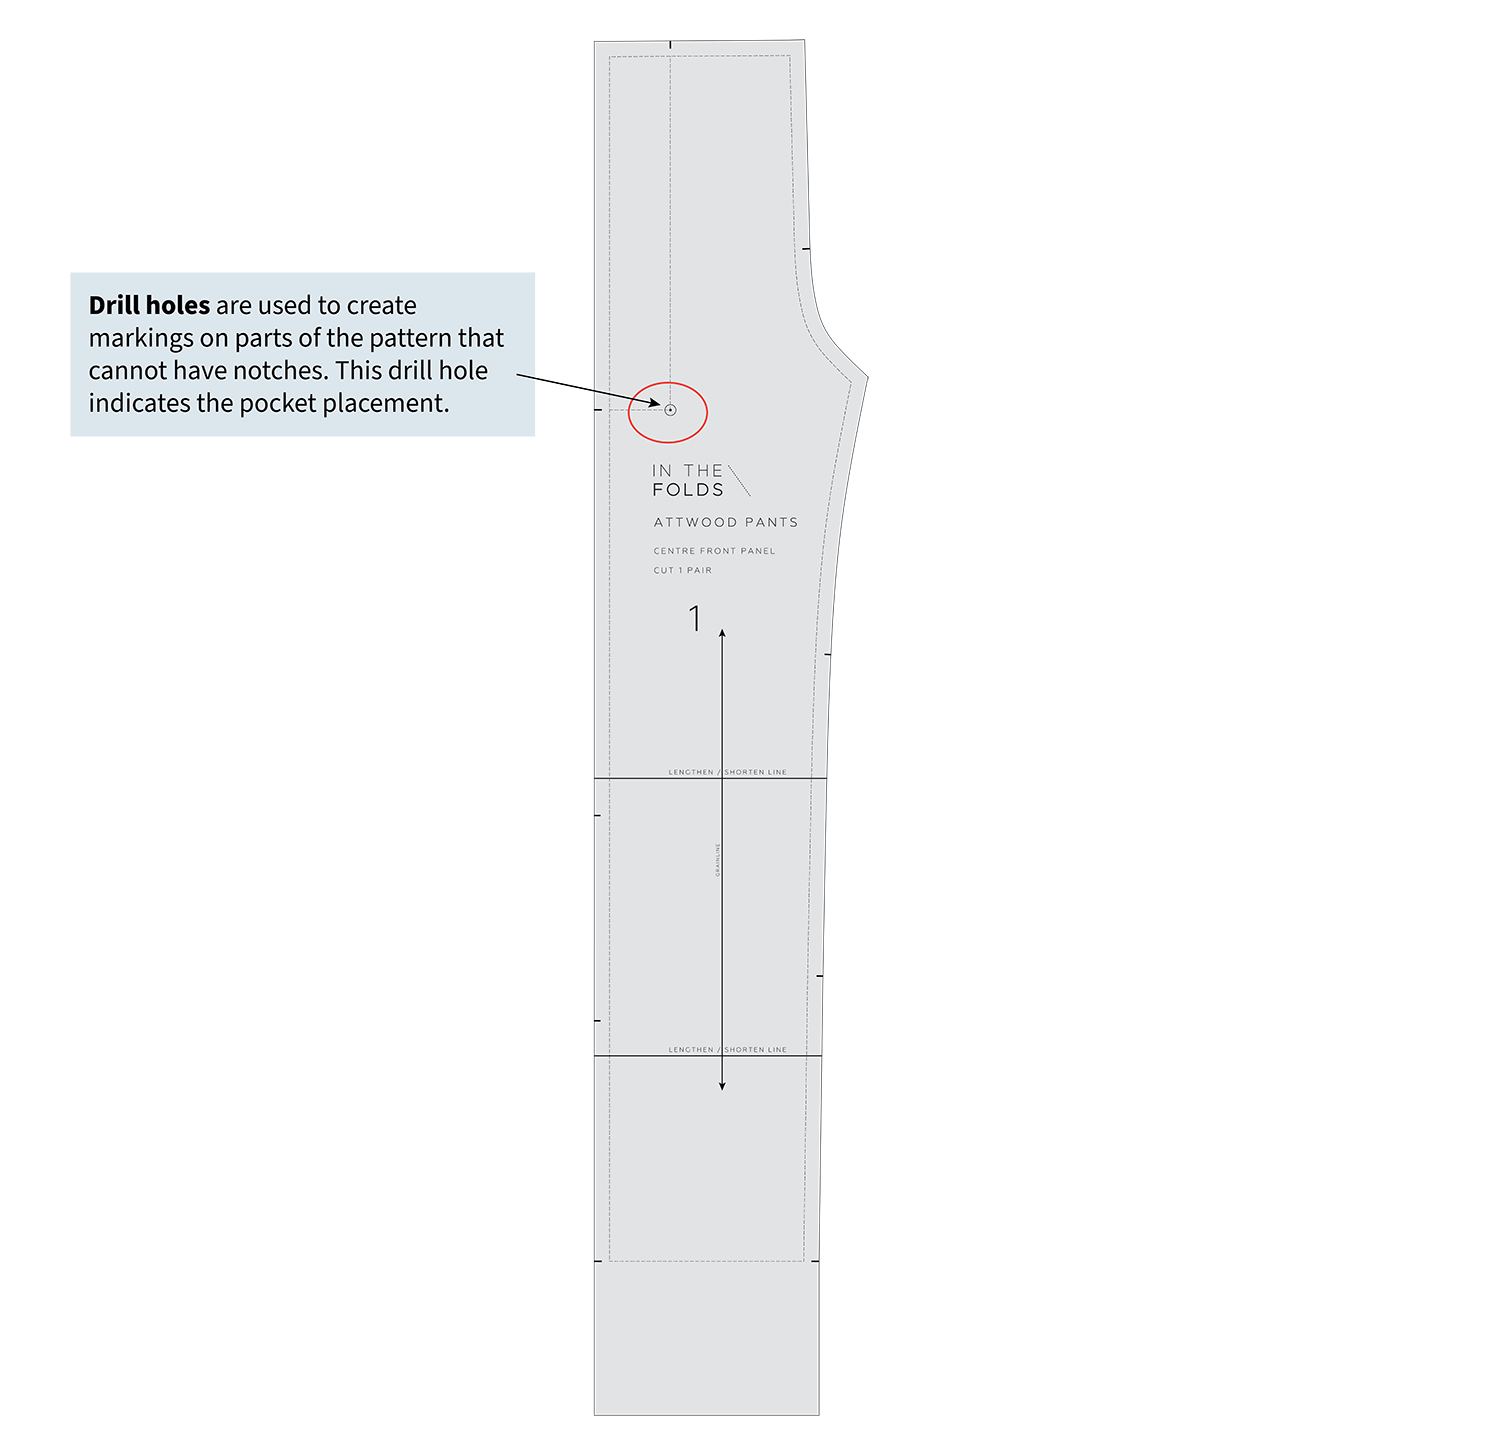
Drill holes are used to indicate features that are located in an area of the pattern that can’t be notched. For example patch pocket placement and dart points. Drill holes can be marked in a range of ways - with chalk, pins or a tailor’s tack.
In the industry, drill holes are literal drill holes - tiny holes that are drilled into the fabric. The reason for this is that garment pieces are cut in multiples by layering fabric, and drill holes are then marked through all the layers in one go.
For home sewing we don’t need to worry about marking multiple garments at a time, so we can do it any way we like. When sewing a toile I always use a stiletto / awl to pierce a hole in the fabric because it won’t be worn as a finished garment and it’s much faster to do (and we all want to finish our toiles fast!) and also very accurate.
When it comes to marking darts on In the Folds patterns, we set the drill hole back 1.2cm (1/2in) from the dart point. The reason for this is that the marking will be hidden inside the dart when it’s sewn and you don’t have to worry about marking or damaging fabric where it might be visible at the dart apex.
Join Curated by ITF - find your new community!
If you're looking to be supported, motivated and inspired through your sewing journey, our Curated by ITF subscription might be just what you're looking for.
As well as a monthly sewing project, you’ll gain access to our private member platform where you can receive feedback and advice from the ITF team and other experienced makers, participate in sew-alongs and make sewing besties all over the world!
Seam allowances

The seam allowances in our patterns vary, depending on the part of the garment that is being sewn, as this makes sewing our patterns easier. If patterns have the same seam allowance over the entire pattern, it makes some areas quite tricky to sew.
For example, if a zip is being sewn into a seam we’ll allow for a larger seam allowance of 2cm (3/4in). For necklines and waist seams we tend to use 1cm (3/8in) as curves are easier to sew with a narrower seam allowance.
In industry, seam allowances can be a small as 6mm (1/4in) but I learned quickly that a lot of home sewists shy away from a 6mm (1/4in) seam allowance, and that’s okay! At the end of the day we are creating patterns for home sewists and we want the chosen techniques to suit home sewists!
Marking seam allowances on a pattern

When I first started using commercial sewing patterns I was surprised to realise they don’t have the seam allowance marked. I had become used to using my own patterns that always had the stitch line marked, and I referred to these lines often.
Stitch lines come in handy when making alterations (for style or fit) to a pattern. When adjusting a pattern you need to remove the seam allowance before making a change, so having it on there cuts out this step because it’s there ready to go.
I also believe that having it on a pattern normalises the idea that patterns are designed to be altered and hacked to meet the user’s needs and requirements. Yes, it’s fun when you love a pattern and it works on the first try, but in reality this is not the case for most makers, so adding stitch lines makes our patterns more accessible to those that know they’ll need to make adjustments.
Although I love having stitch lines marked on the pattern, I have learned over time that they’re not for everyone, so now our digital patterns have these lines on a separate layer so you can choose to print your pattern with or without.
build your sewing skills with a
curated by itf membership
Cut 1 pair vs Cut 2


Our cutting instructions are always written so there is no room for confusion. There’s enough to think about when starting a new project, so we like to make sure makers feel supported and that the guess work has been taken out of the process.
Using the term ‘Cut 1 pair’ specifies that the two pattern pieces should mirror each other, which is important for one-sided or directional fabric. Patterns that say “Cut 2” leave room for error as the term doesn’t communicate whether the pieces need to be identical or mirror images.
Sewing sleeves in the round
If you’ve been in the home sewing world for a while you’ve probably come across a (possibly heated) discussion somewhere about which method of sewing sleeves is better - in the round or flat?
My preference is most definitely sewing in the round, unless I’m sewing a knit or relaxed fit garment with a dropped shoulder. The reason is because I will always choose longevity and finish quality over speed, and that’s exactly what you get when you sew sleeves in the round.
Sewing sleeves in the round almost always helps you achieve a sleeve that fits and hangs properly and sits nicely under the arm. You’ll get a smoother finish under the arm because you have more control over which direction to press the seams, and the sleeve will wrap around the curve of the underarm, rather than sit flat.
Want to learn more about these two methods and why I prefer sewing in the round? Check out this blog post. You might also be interested in how and why we combine the two approaches.
Flat felled seams vs Mock flat felled seams

Flat felled seams are one of those finishes we all admire on RTW garments. It just looks so good! One of the strongest seam finishes, they’re perfect for hard-wearing items like pants and jackets and we just had to include them in our latest pattern release, the Attwood pants pattern. (Also, we knew this was a finish our community was keen to perfect!)
Flat felled seams are where the raw edges are enclosed inside the seam, like with French seams, but it’s then pressed and stitched to keep the seam nice and flat. Because there is a bit of bulk in this finish and they do take some time to do, mock or faux flat felled seams were created to give the same look.
Although they may look the same from the right side, faux flat felled seams are simply not as hard wearing as true flat felled seams, and the finish on the inside is not as clean. So that’s a no to faux!
Neck ribbing

Have you ever attached a ribbed neckband on a knit shirt you’re making, only to be disappointed at how warped it looks when you’re done?
For ease of explaining the instructions, knit fabric patterns will often tell you to ‘quarter the neckband’. However, because the front neckline is longer than the back, it means the front ribbing is stretched more than the back, making the neckband uneven. In the Folds patterns always have notches to distribute the stretch evenly around the neckline, and if you’re making your own pattern we recommend using the ratio method to work it out. If you’re keen to learn more about sewing with knit fabric, we recommend you check out our Sewing Knits Skills Kit!
These techniques are just a dash of those we prefer to use at In the Folds, and if you’d like to learn more and find out how to start applying these to your own sewing process, we’d love you to join us with a Curated by ITF membership.
In the meantime, I hope these techniques and explanations are helpful!
Happy sewing,
Emily