Designing a new sewing pattern is a really enjoyable experience, and for many designers it’s the best part of the entire process. With the first design you can do whatever you like and you’re really only limited by what you can imagine.
But one of my favourite parts comes after this stage, when the key design elements of the garment have been established and the main direction for the pattern has been set… The pattern variation design stage.
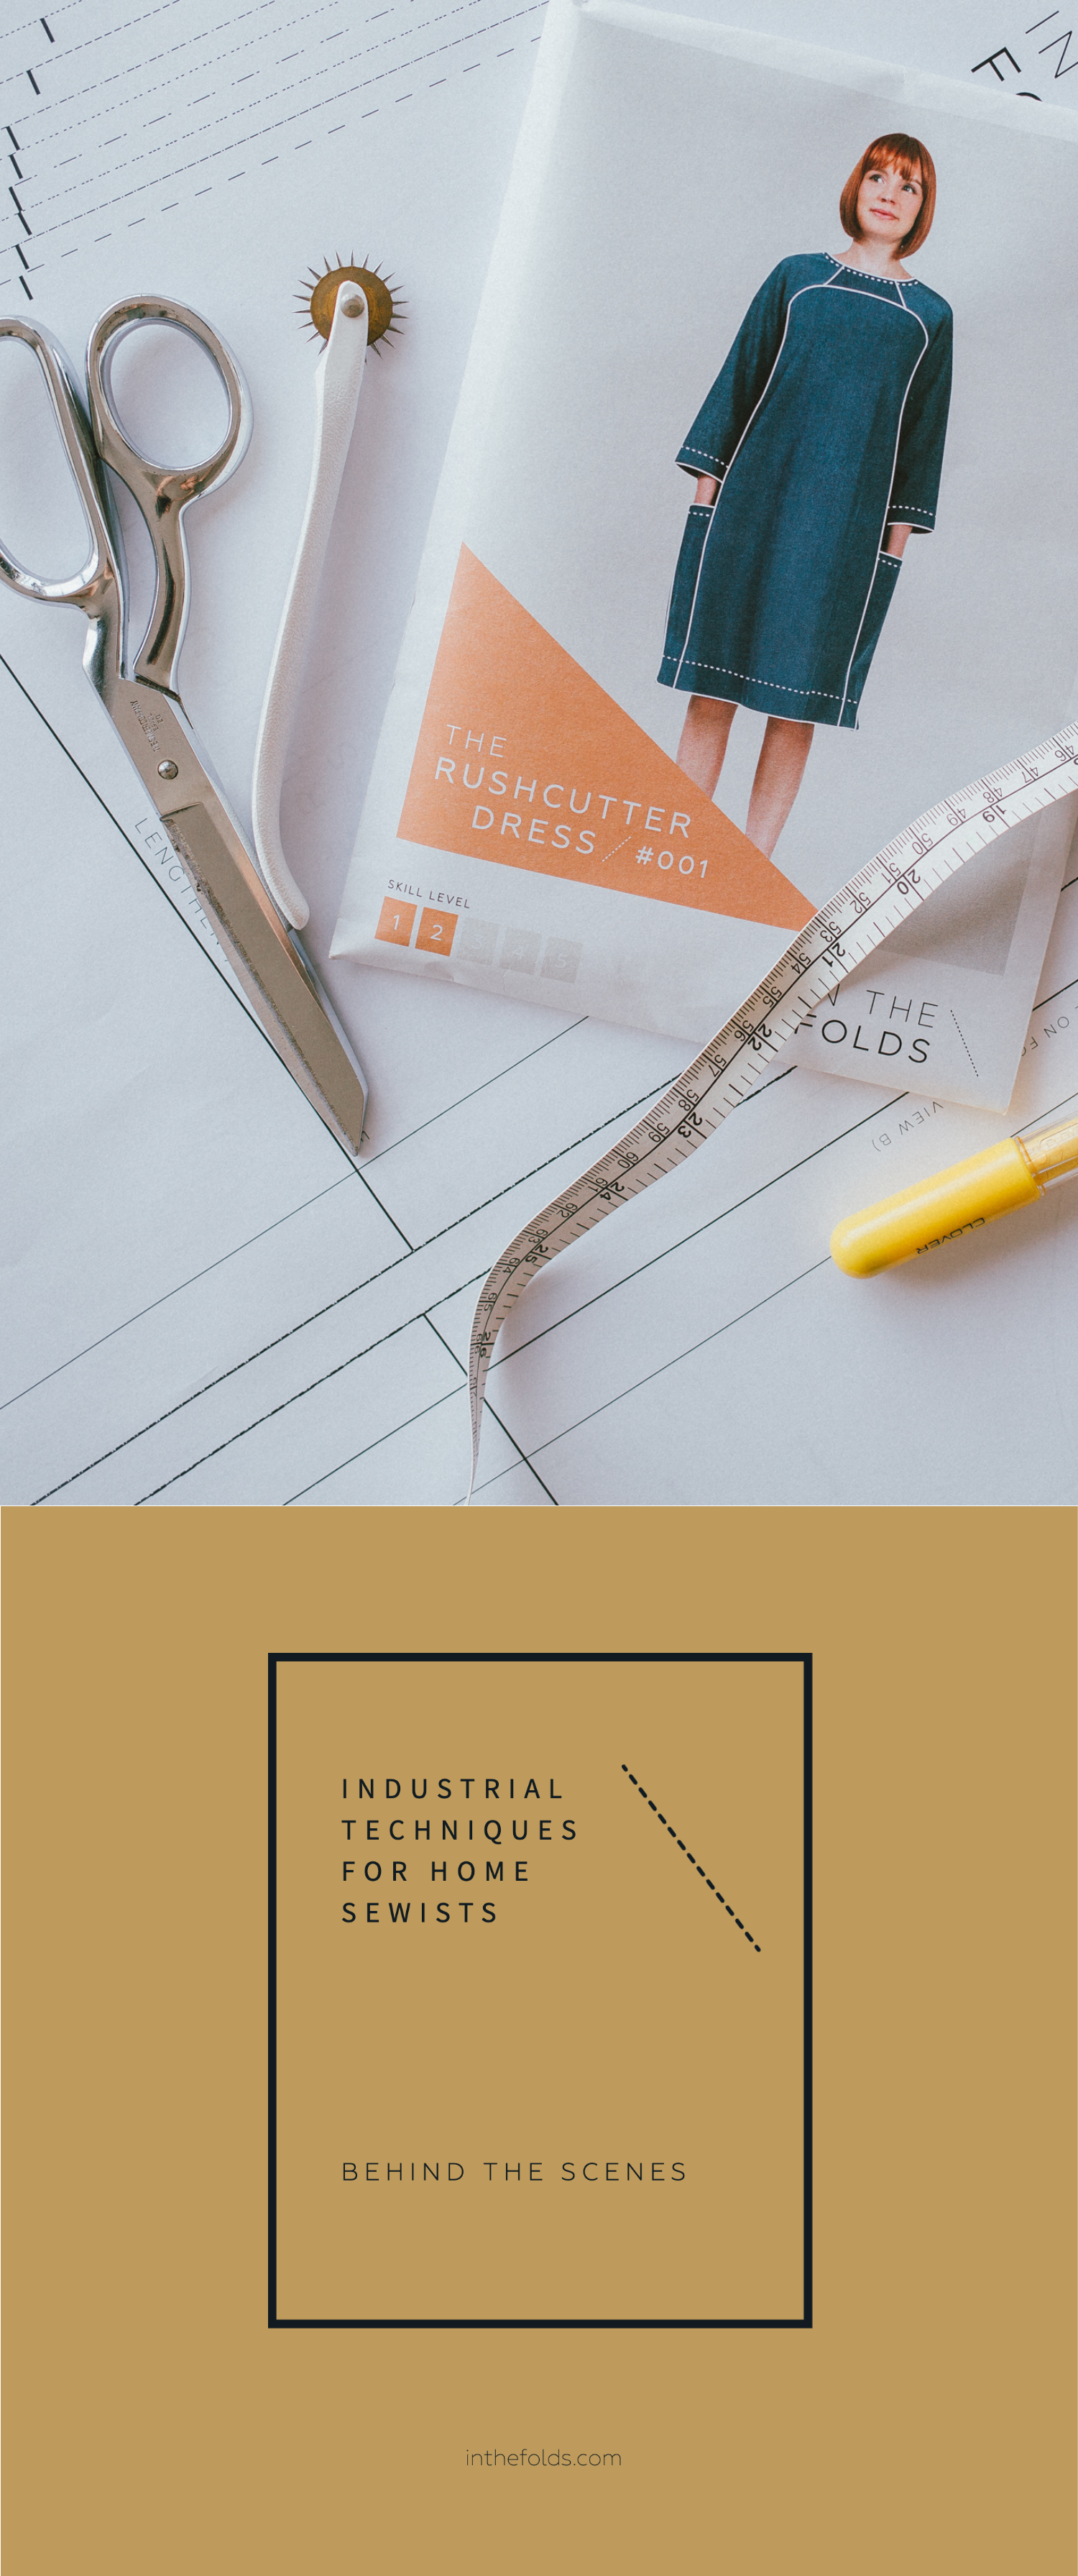
WHAT ARE SEWING PATTERN VARIATIONS?
Collins top, View A (original design)

Collins top, View B (pattern variation)
Pattern variations are the different styles that can be made from one sewing pattern, and they’re commonly referred to as Views (ie. View A, View B etc). With our Collins top pattern, for example, View A, with the three-piece raglan sleeve, is the base (or original) design, while the sleeveless View B Collins top is the variation.
The pattern variation design process
For me, thinking about the little (or sometimes big!) changes I can make to create pattern variations is a lot of fun. If I decide there is going to be a variation to a pattern I’m working on, it can sometimes be very obvious what the variation will be. Some designs point you in a certain direction and it just makes sense to go that way. Other times it's hard to know where a variation will go until I actually start playing around and experimenting. Sometimes, with whatever approach you take it turns out to be a dead-end. In my experience, either approach can lead to great pattern variations, and at the very least, lots of learnings.
What I love about this part of the design process is the constraint, because it challenges me to think outside the box. You don't have the endless freedom that you have with the first design. You have to consider the limitations that have been set by the original. And this has very practical implications when designing patterns for home sewists. We need to use as many of the original pattern pieces as possible to limit the number of pages our customers have to print. And we also need to use as many of the same processes as possible to avoid having a 100 page instruction booklet!
Fun fact #1: The Hove jacket was originally a variation!
You may be familiar with my very popular Hove jacket pattern, but what you may not be familiar with is its back story…

Flynn jacket (original design)

Hove jacket (pattern variation)
Originally, the Hove jacket was a variation of the Flynn jacket. As the design evolved, through the addition of a hood, a change in the hem shape and different pleats, it became impossible to keep them both in one sewing pattern. The pattern would have been enormous! The up-sides of this variation evolution was that I now had two new designs to release and could create other variations within each design. Also, the patterns can be mixed and matched, which you can read more about here.
Fun fact #2: Pattern variations can come about as a result of customer requests!
And this is how the Acton sleeve expansion pack was created…
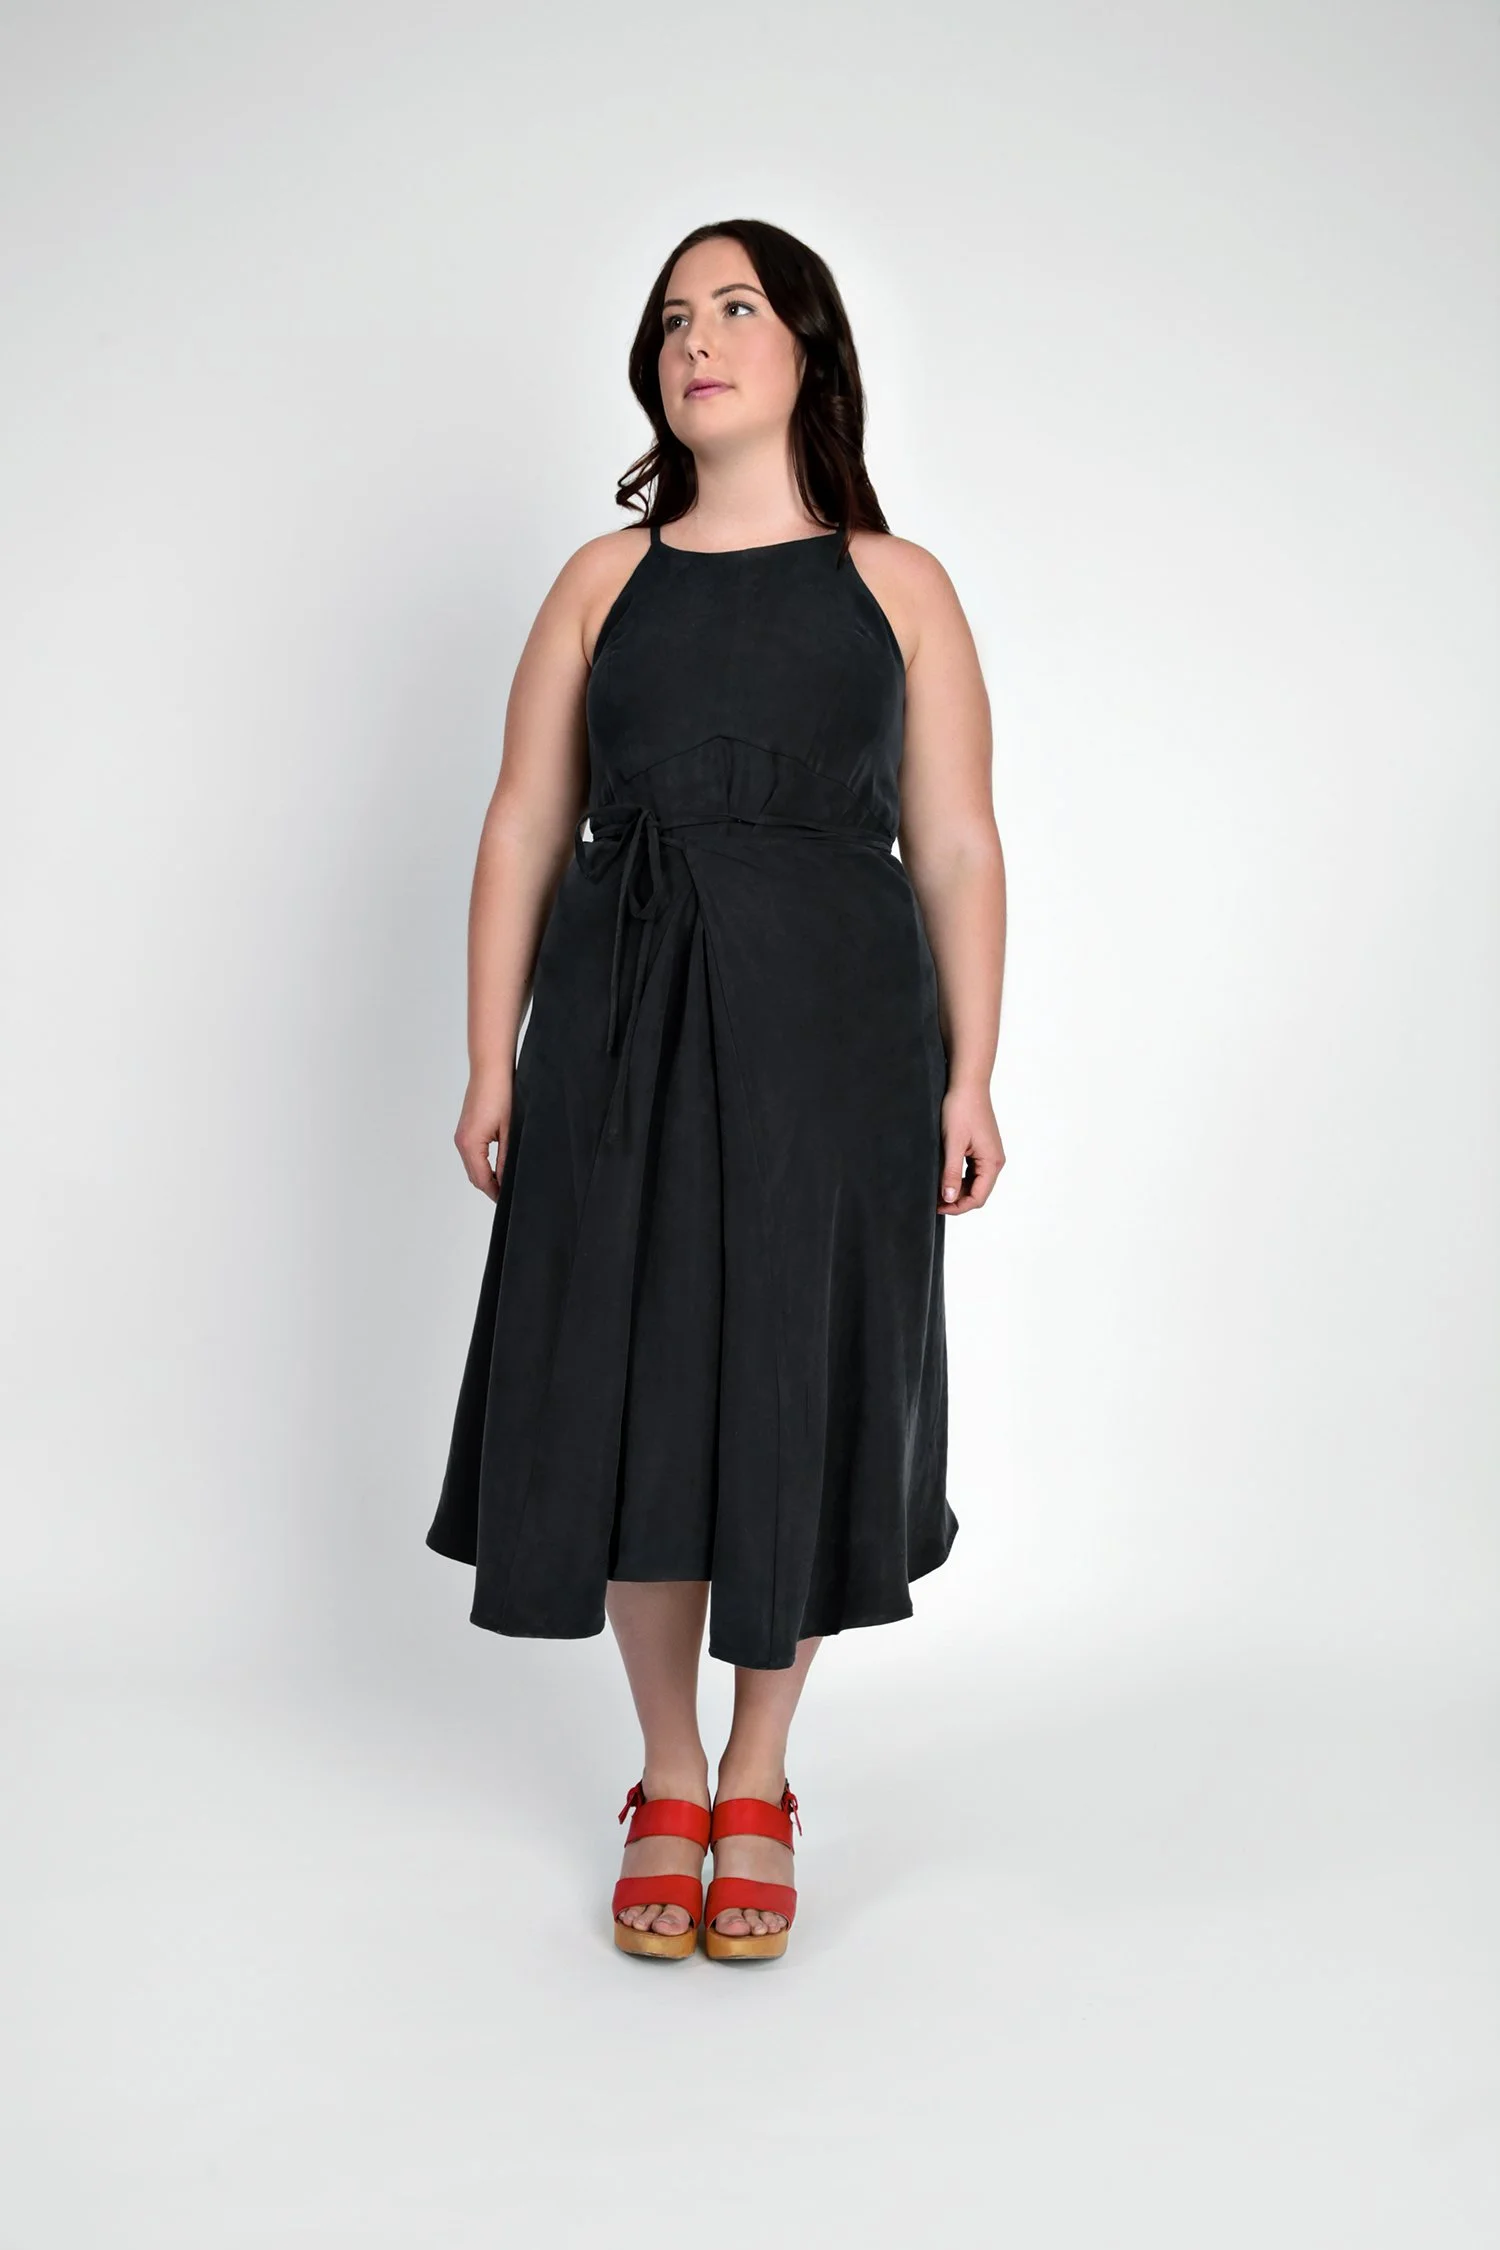
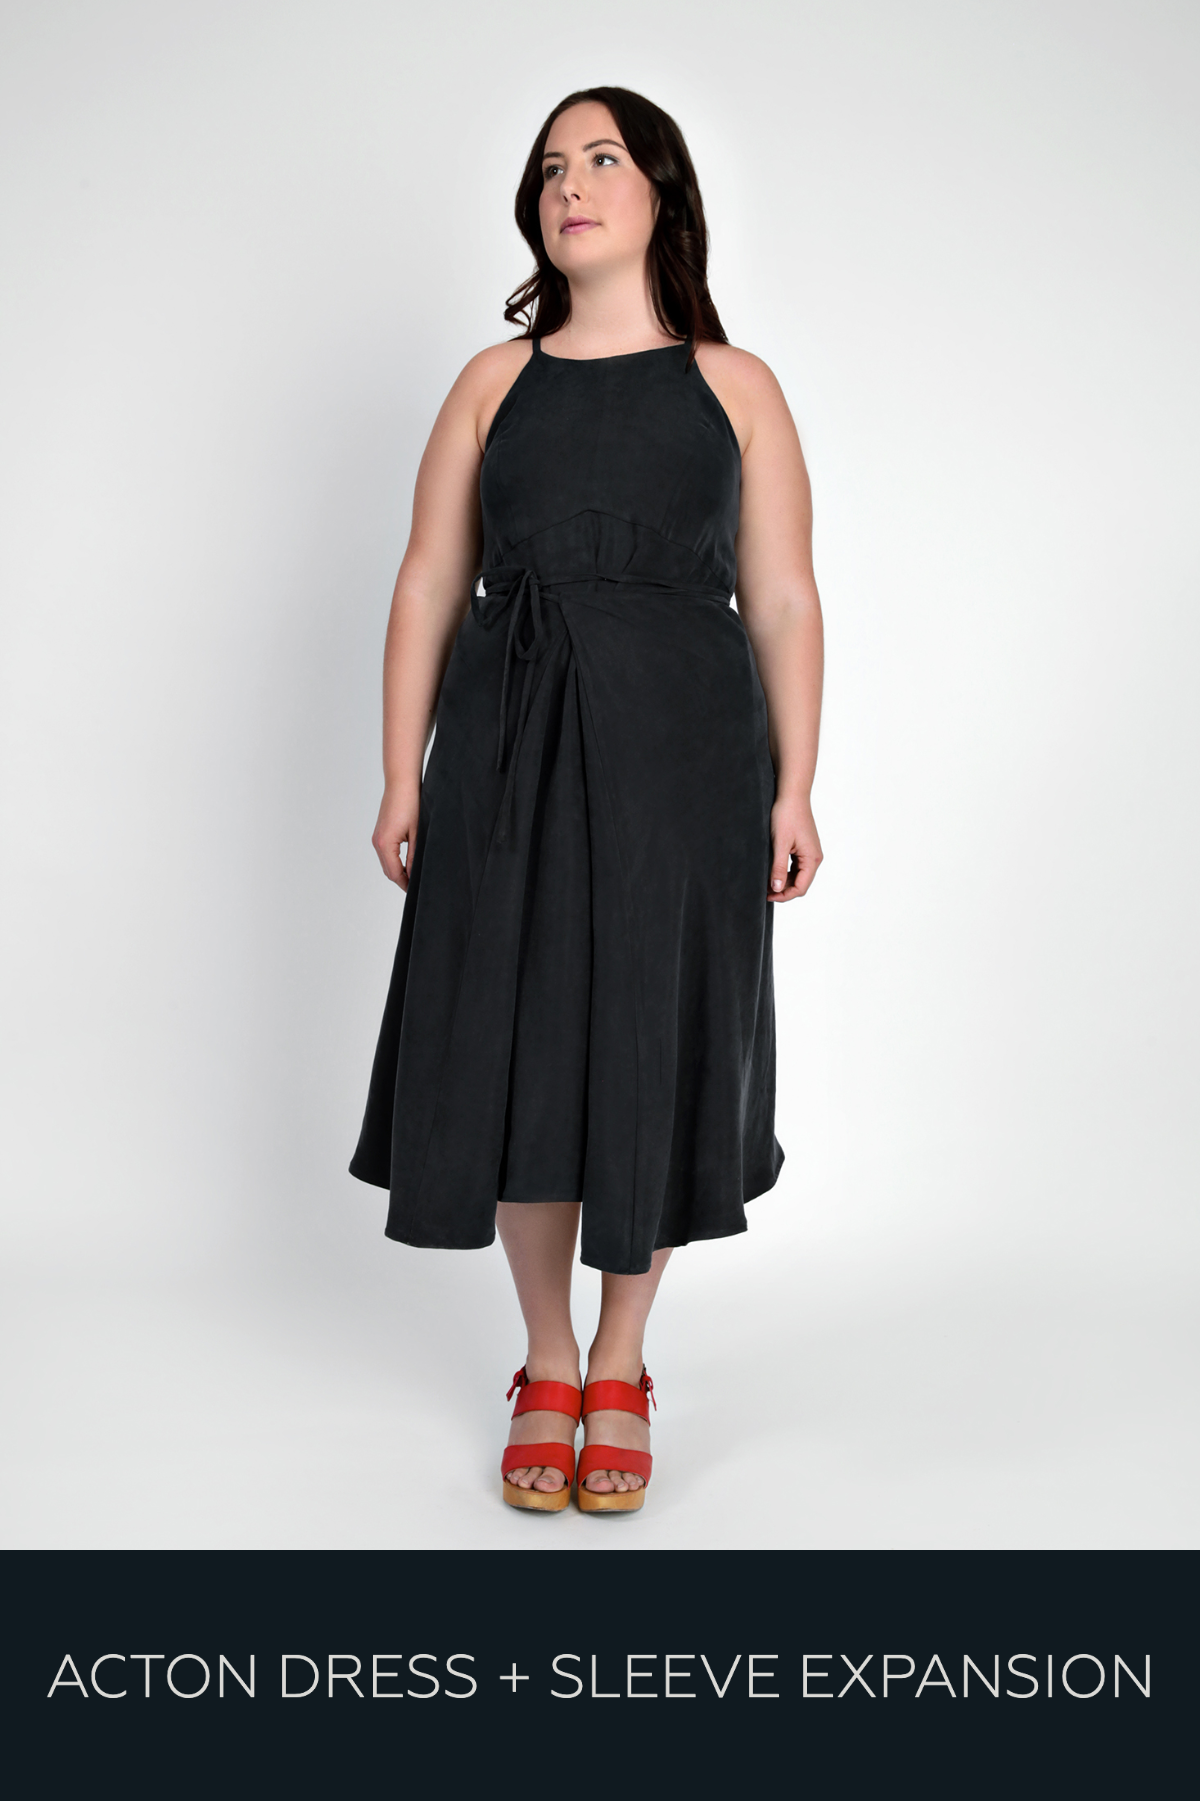
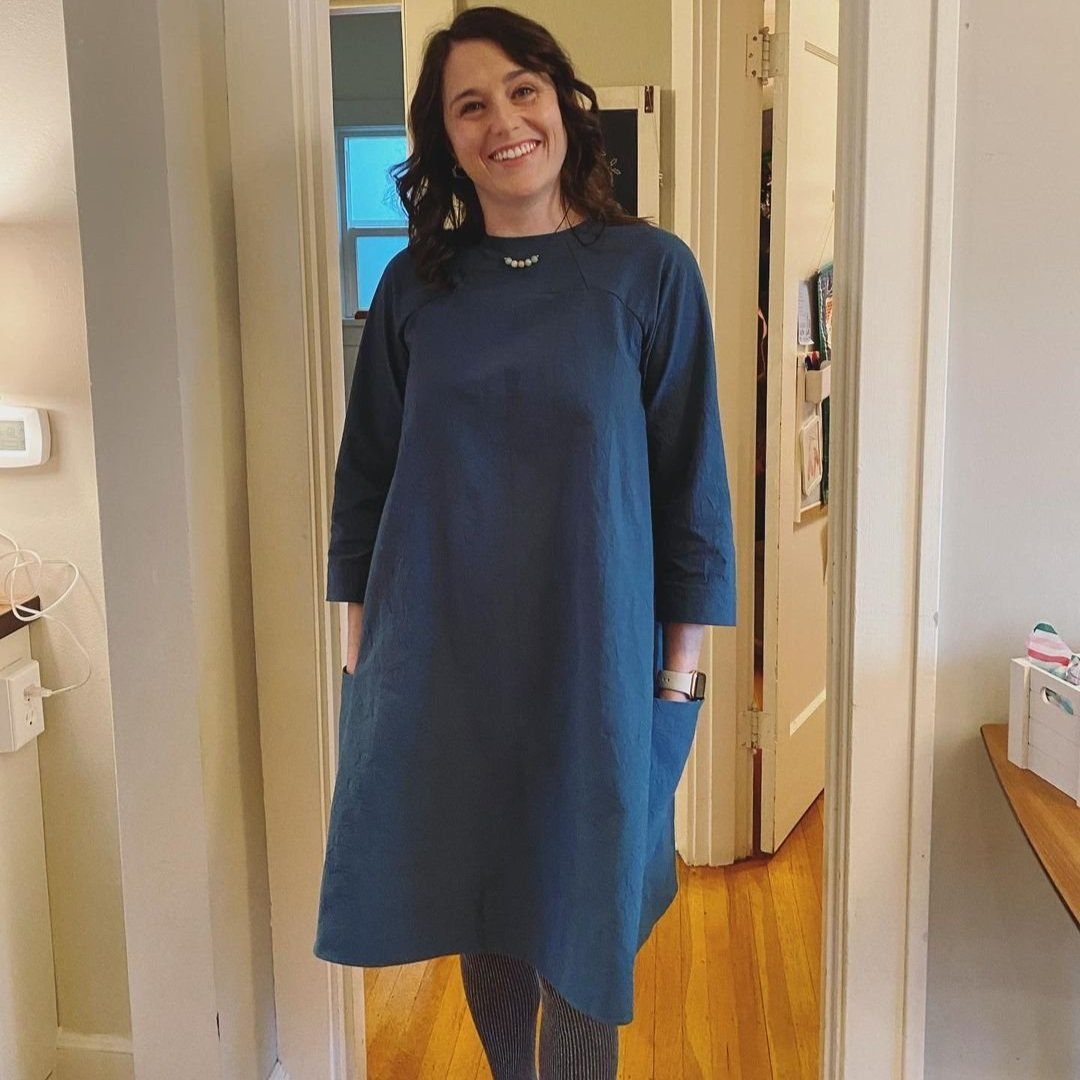
Acton dress (original design)

Acton dress sleeve expansion (pattern variation)
This pattern variation was actually quite difficult to design because the original Acton dress pattern had already been published and therefore couldn’t be changed. This meant there was absolutely no room for movement in the original design when working through the sleeve variation design process and I had to come up with a new bodice design that worked with the original pattern to be able to create the sleeves patterns.
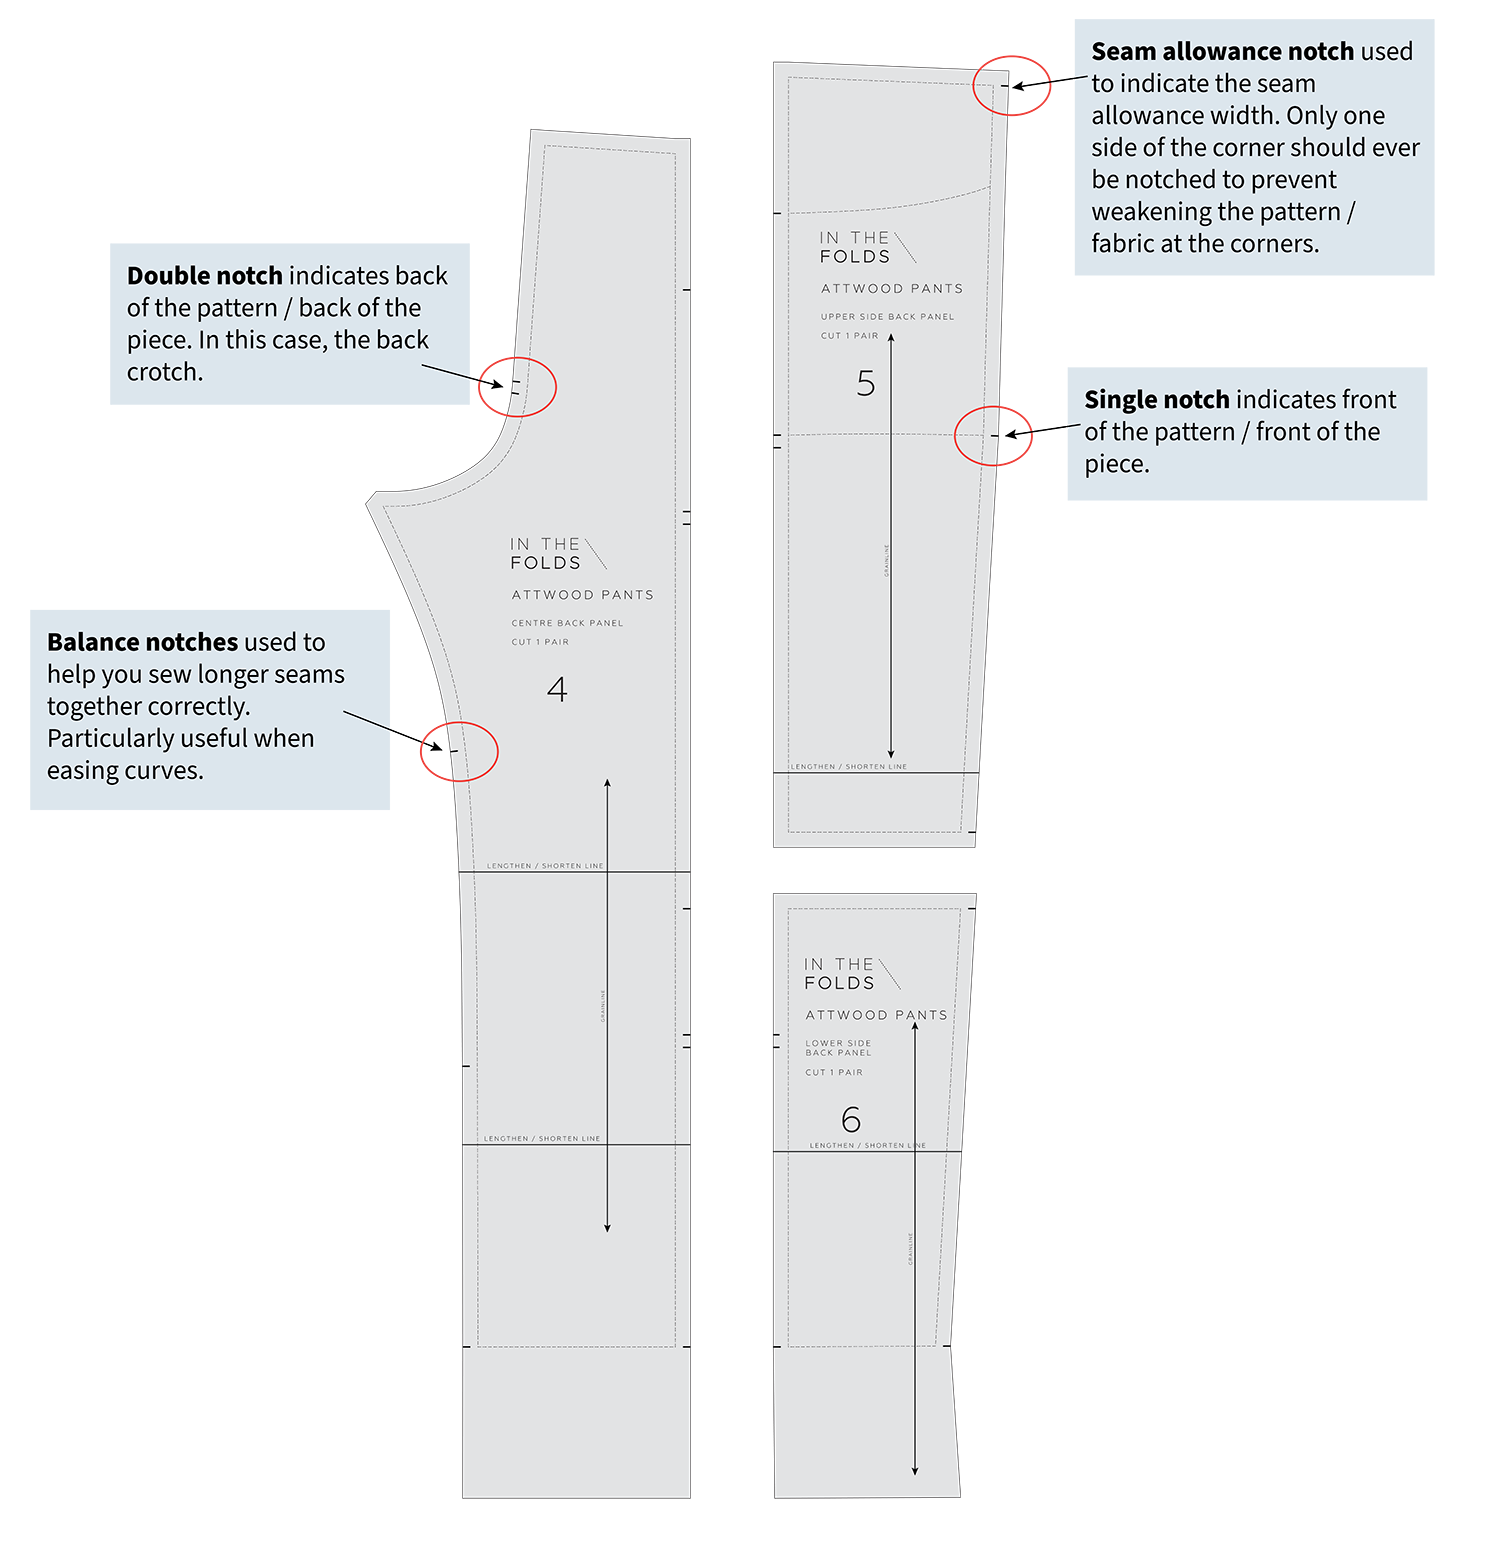
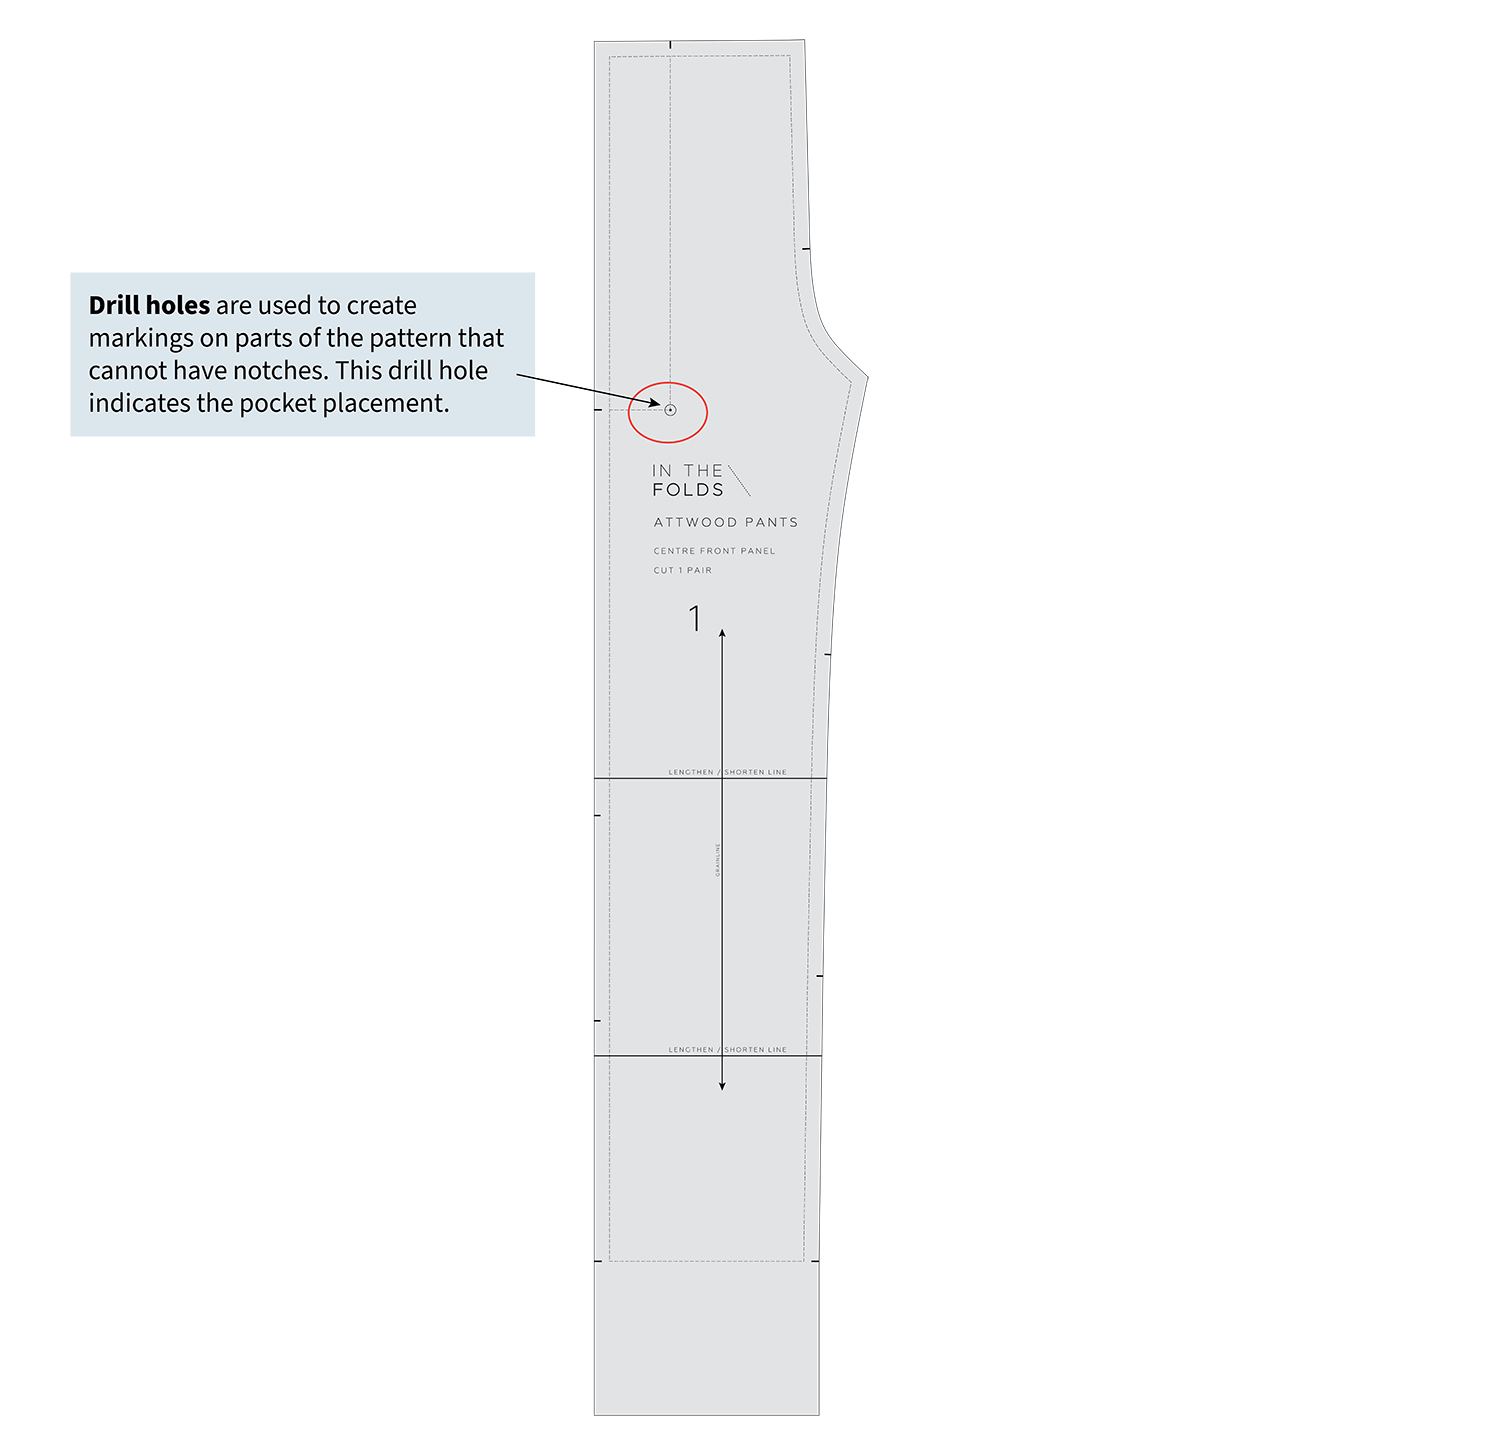
THE ORIGINAL ATTWOOD PANTS

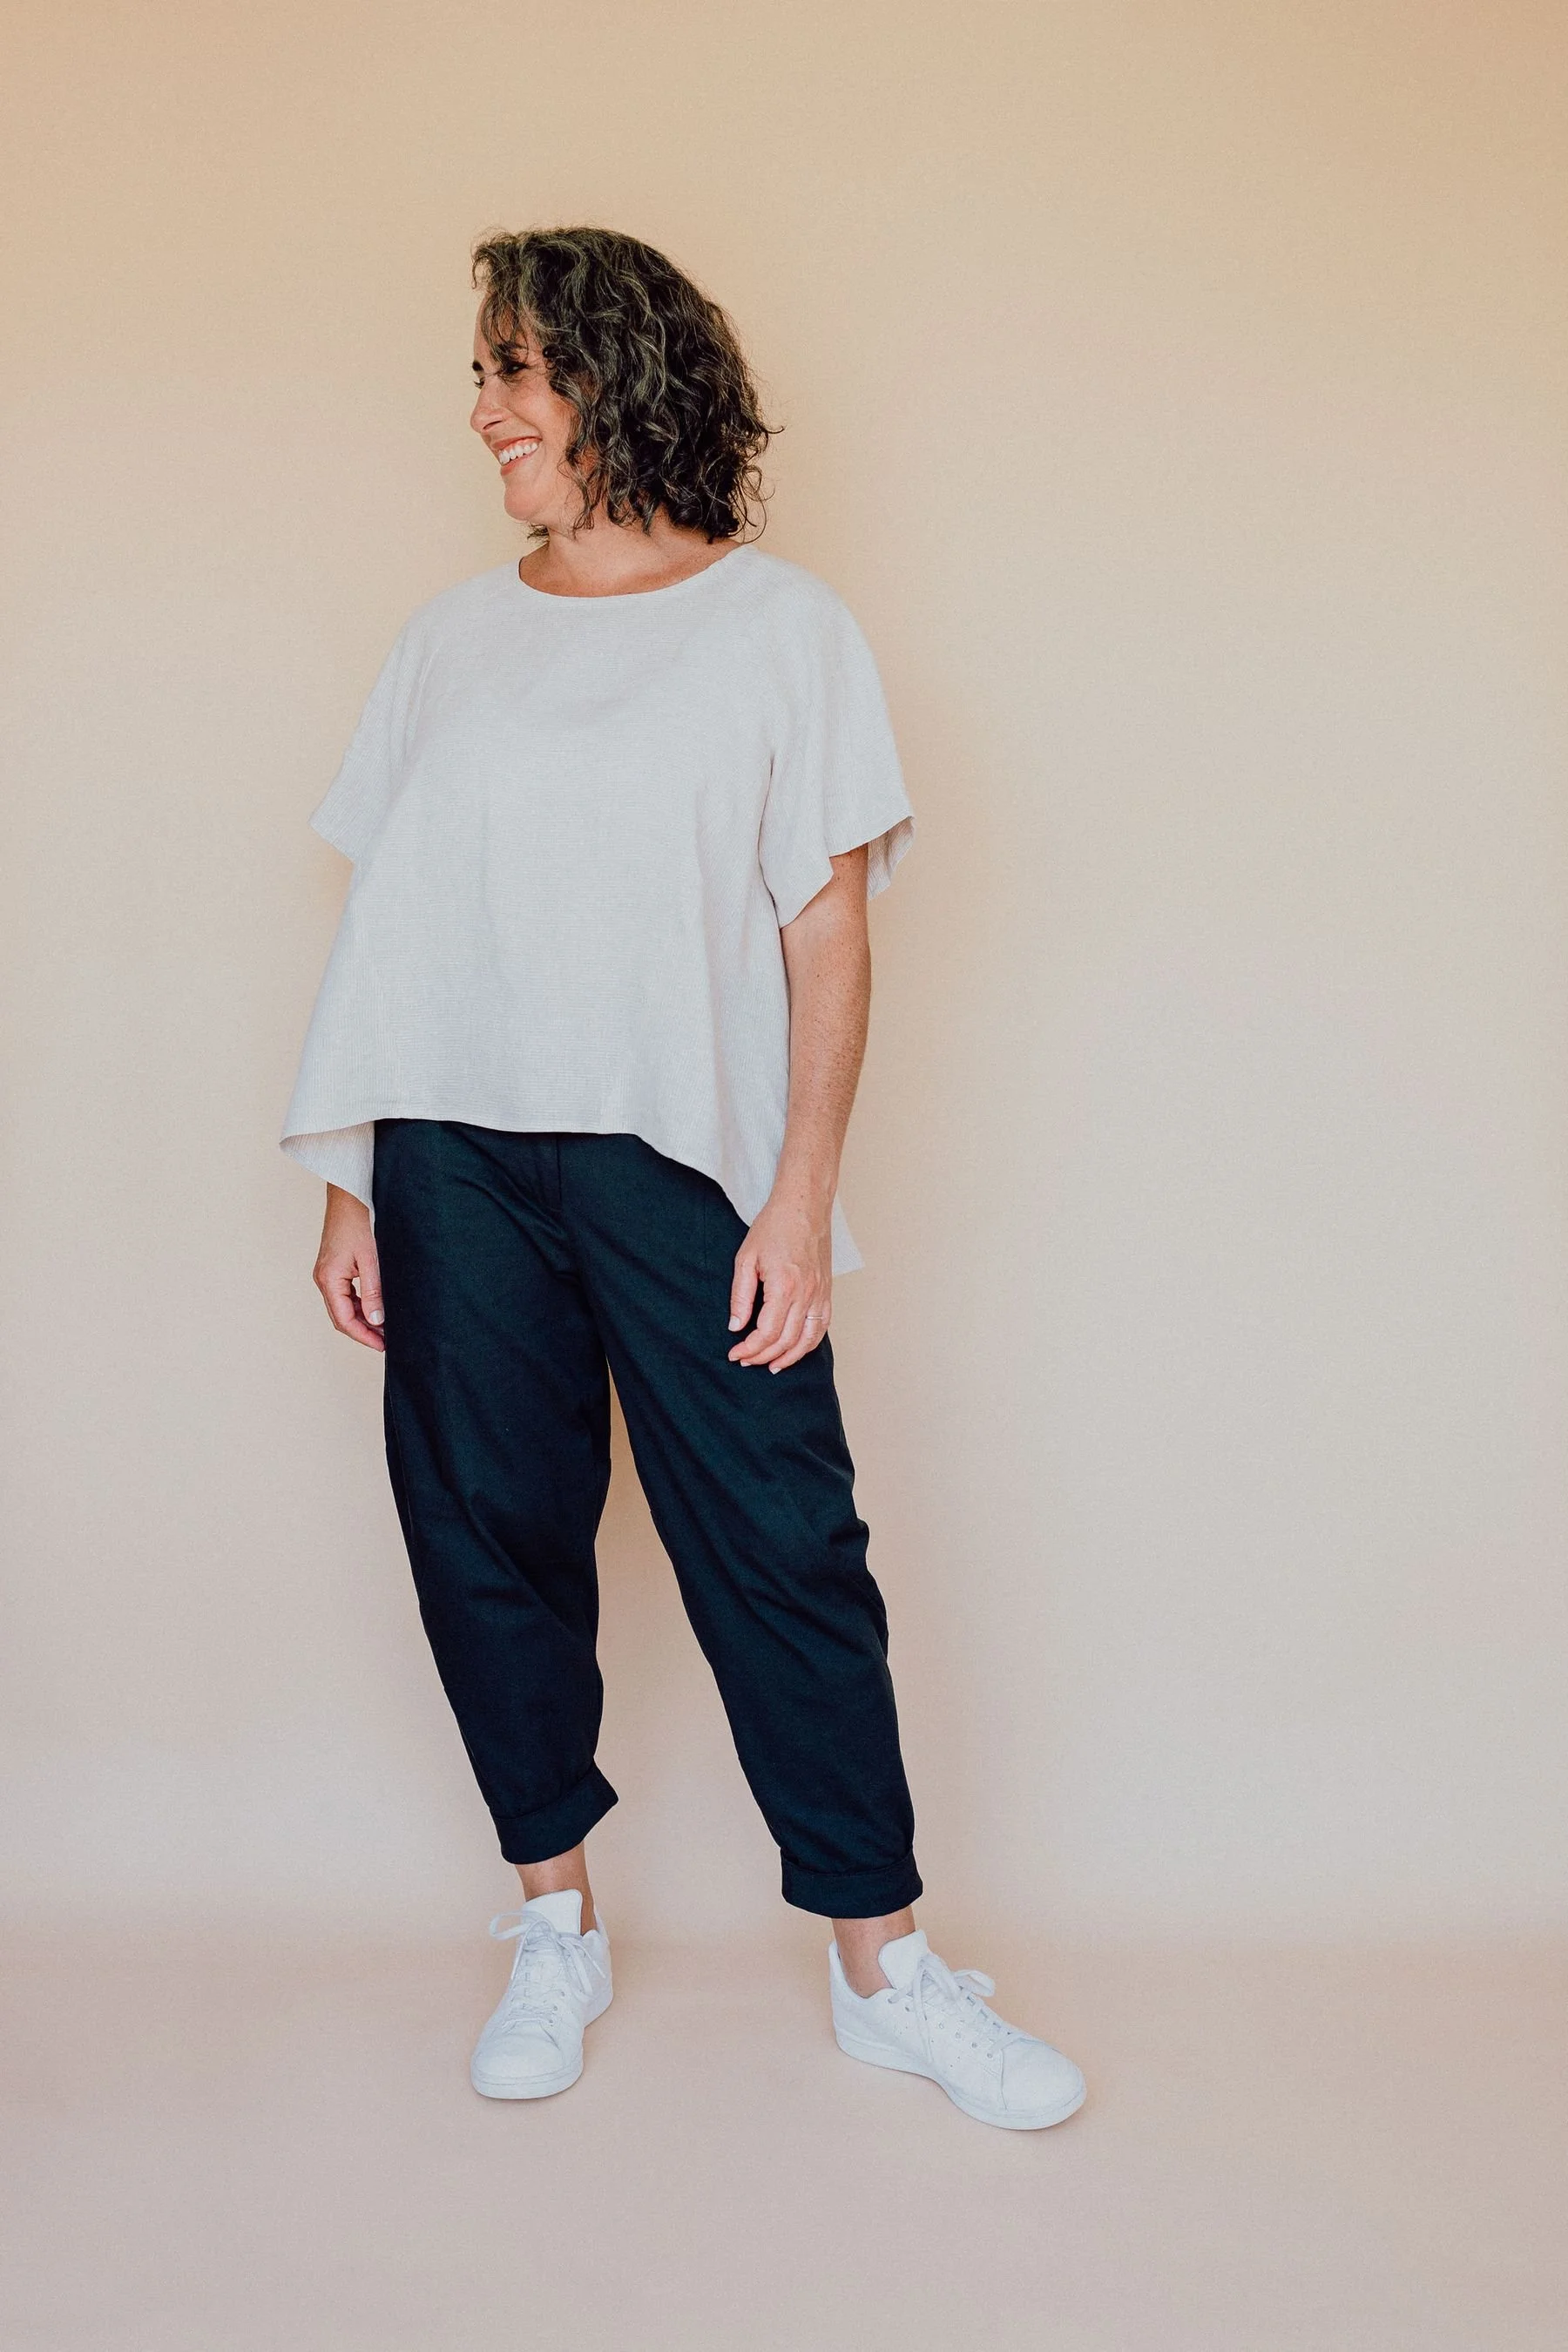
Attwood pants (original design)

Attwood pants (original design)
I first designed the Attwood pants and created the pattern long before I launched my sewing subscription, Curated by ITF. Back then, they were referred to as the very original 'Panel pants'.
Side note: I made the pair above many moons ago when the pattern was still in development. They’re made in a cotton drill fabric that suits the pattern perfectly. They are the perfect weight and I have worn them A LOT. (They’re so old that I can't remember what size these are, but I'd say probably a D or E. I am currently 1-2 sizes bigger in my waist and hip measurements compared to when I made them and they are still comfortable. Elastic waist pants for the win!)
As the idea for Curated by ITF began to grow, the pants pattern was pushed to the side and my time was filled with learning new skills and designing other projects. But a couple of years ago, when I was wondering how to include the pants pattern in our Curated program, I started to think about a skirt variation. I liked the idea of playing with the panels and using the wrap around pocket (my favourite element!) in another garment type.
The hurdles of drafting an Attwood skirt variation

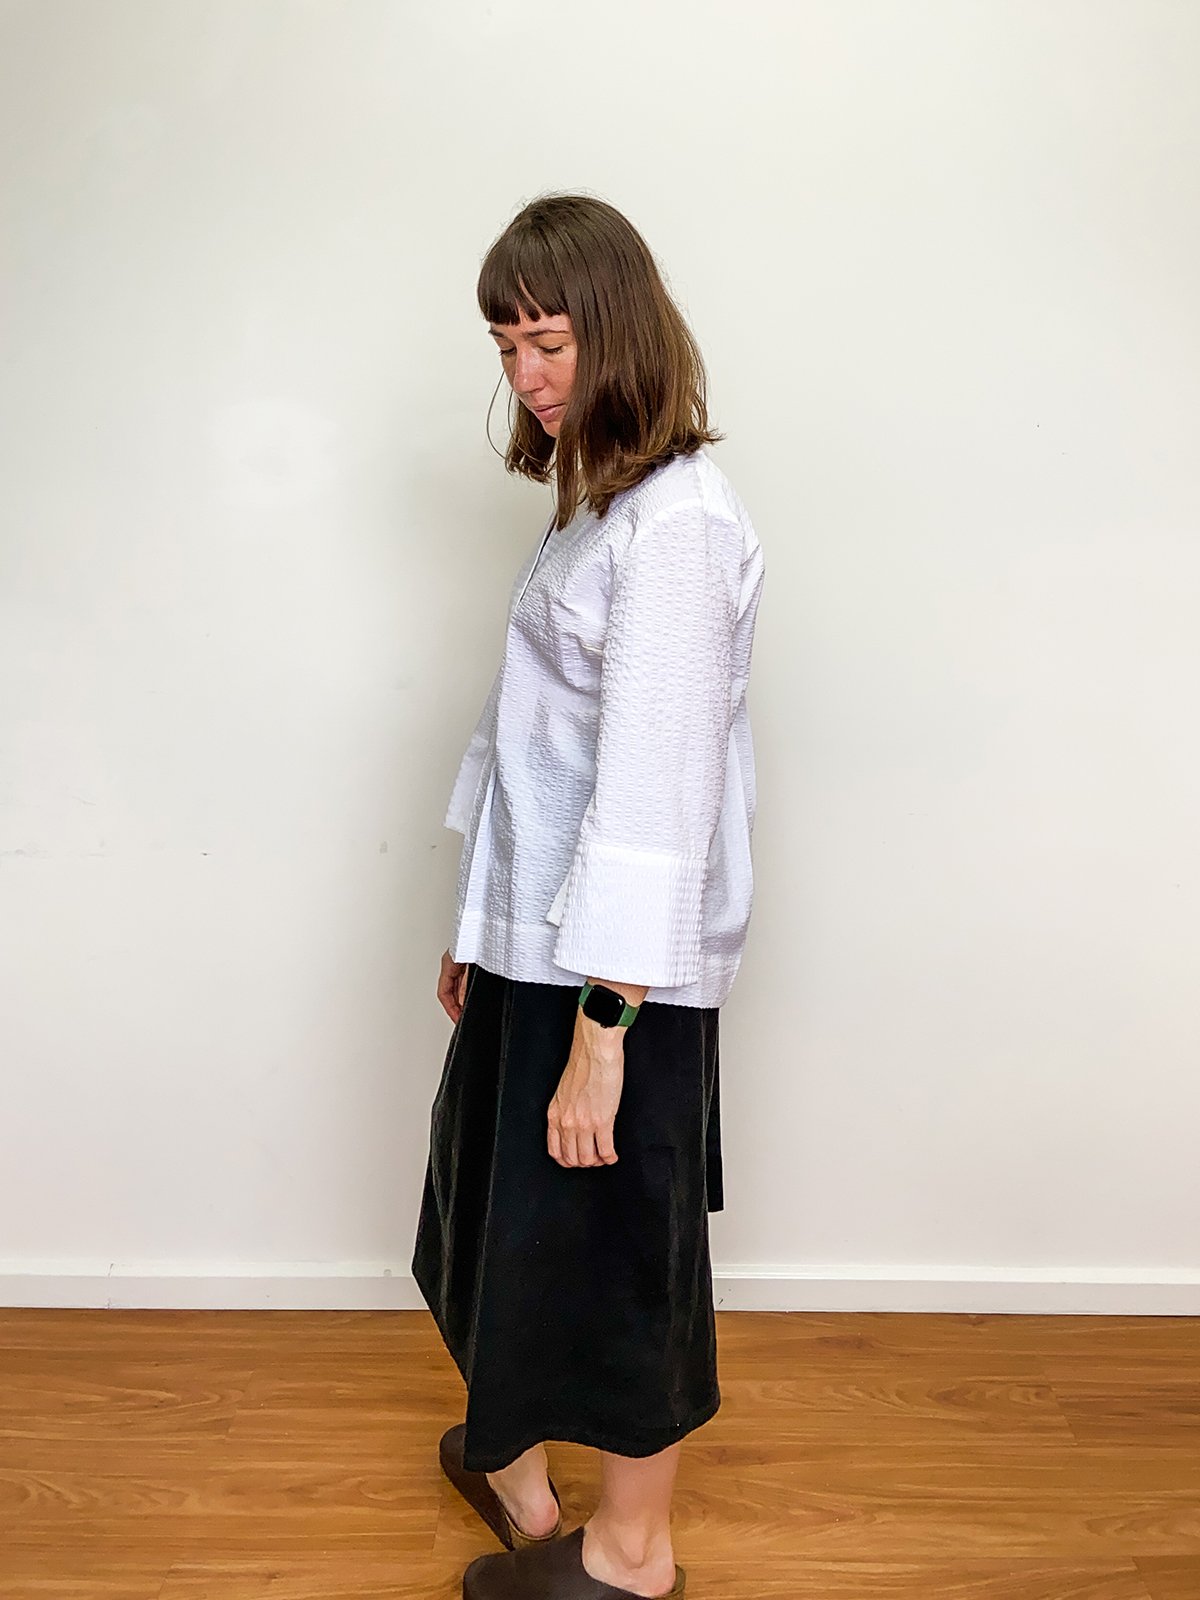
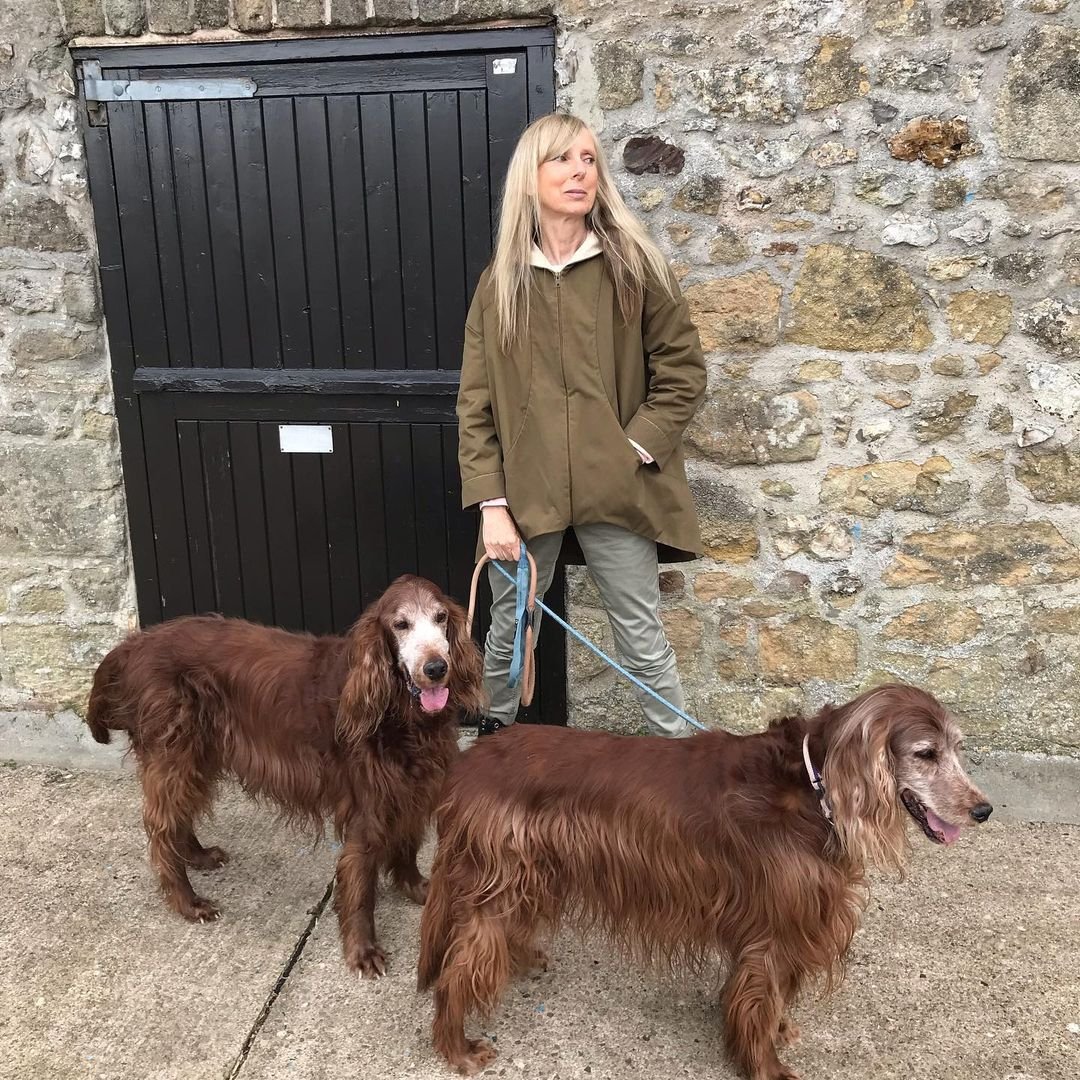
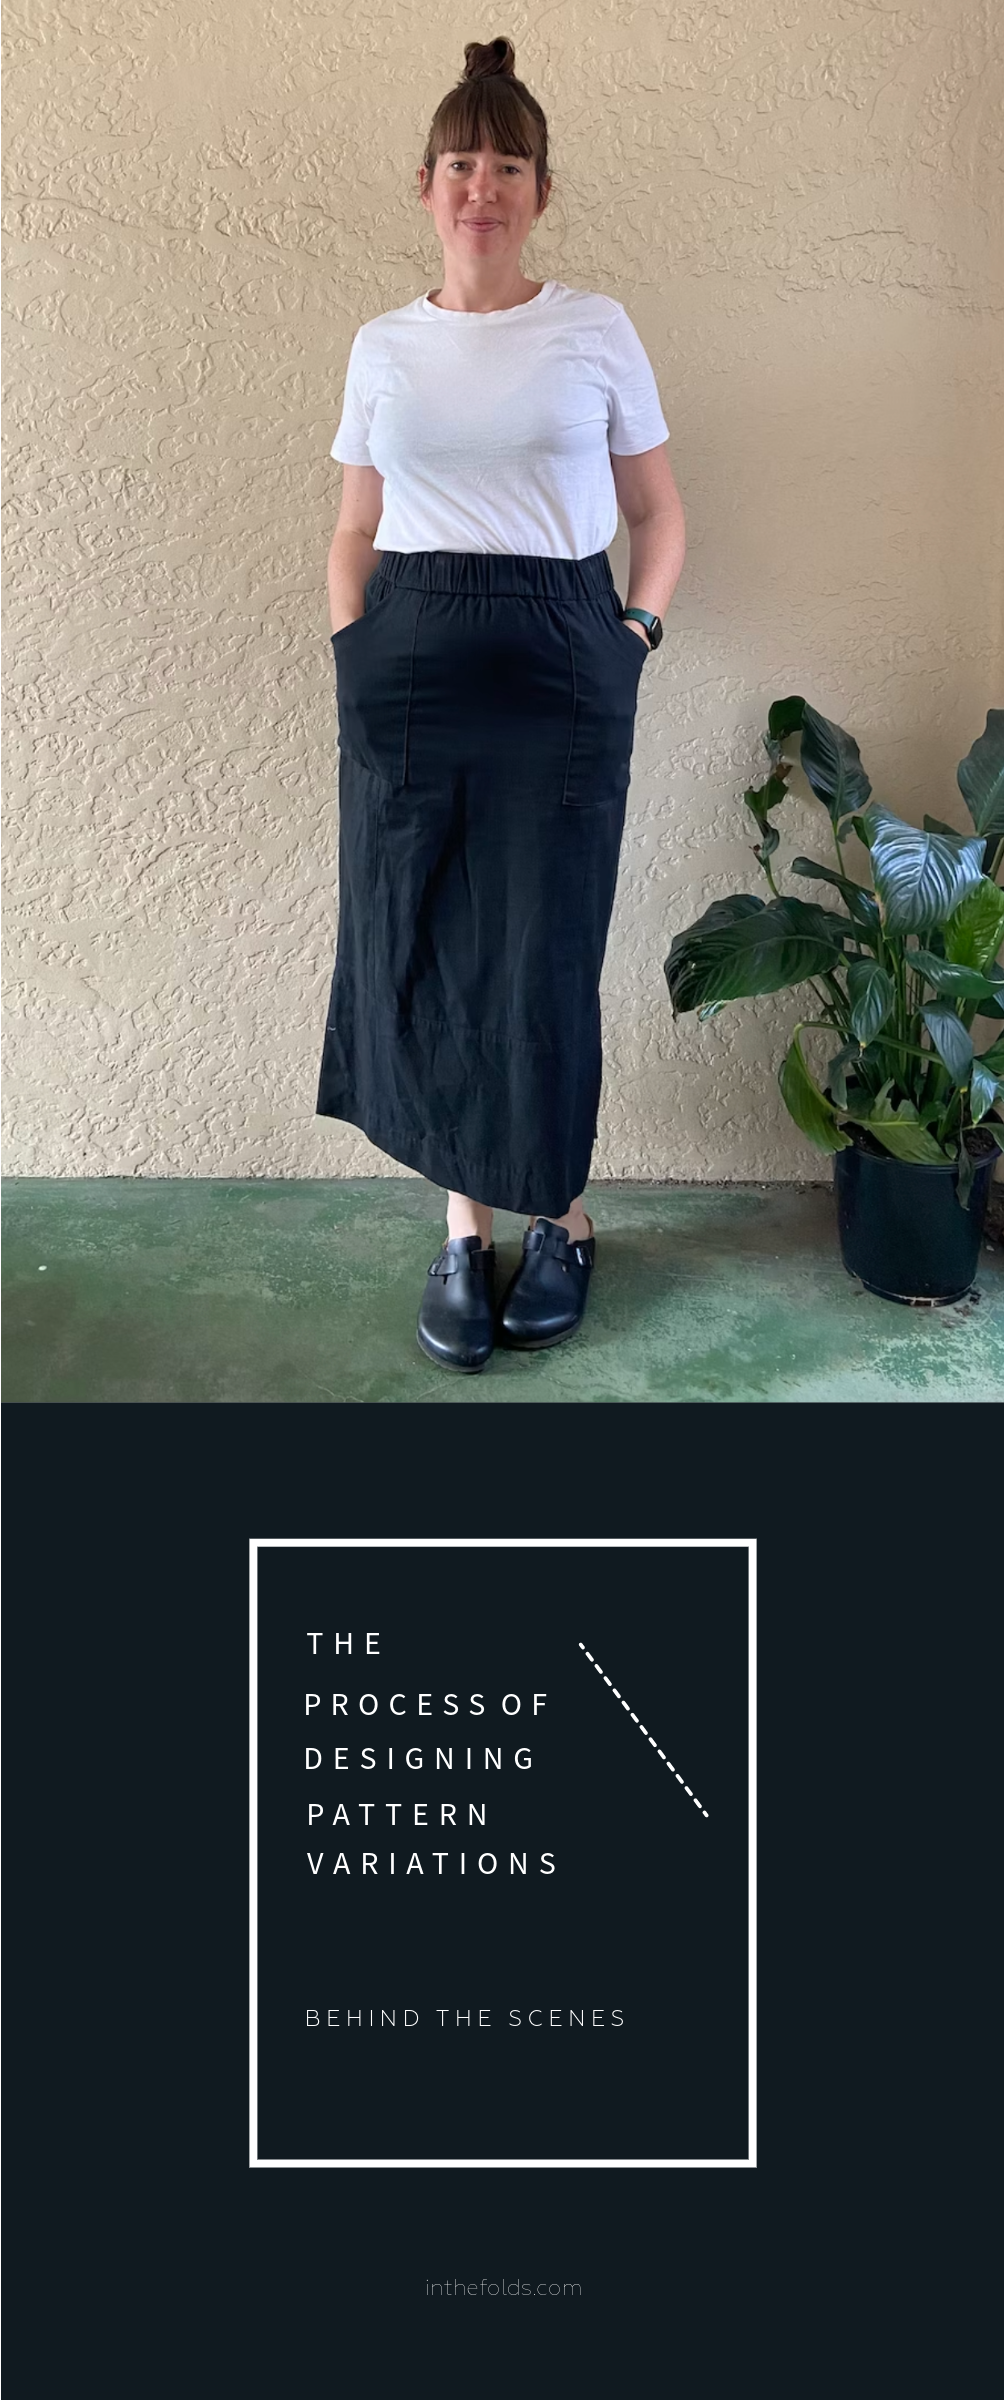
Attwood pants (pattern variation - skirt)
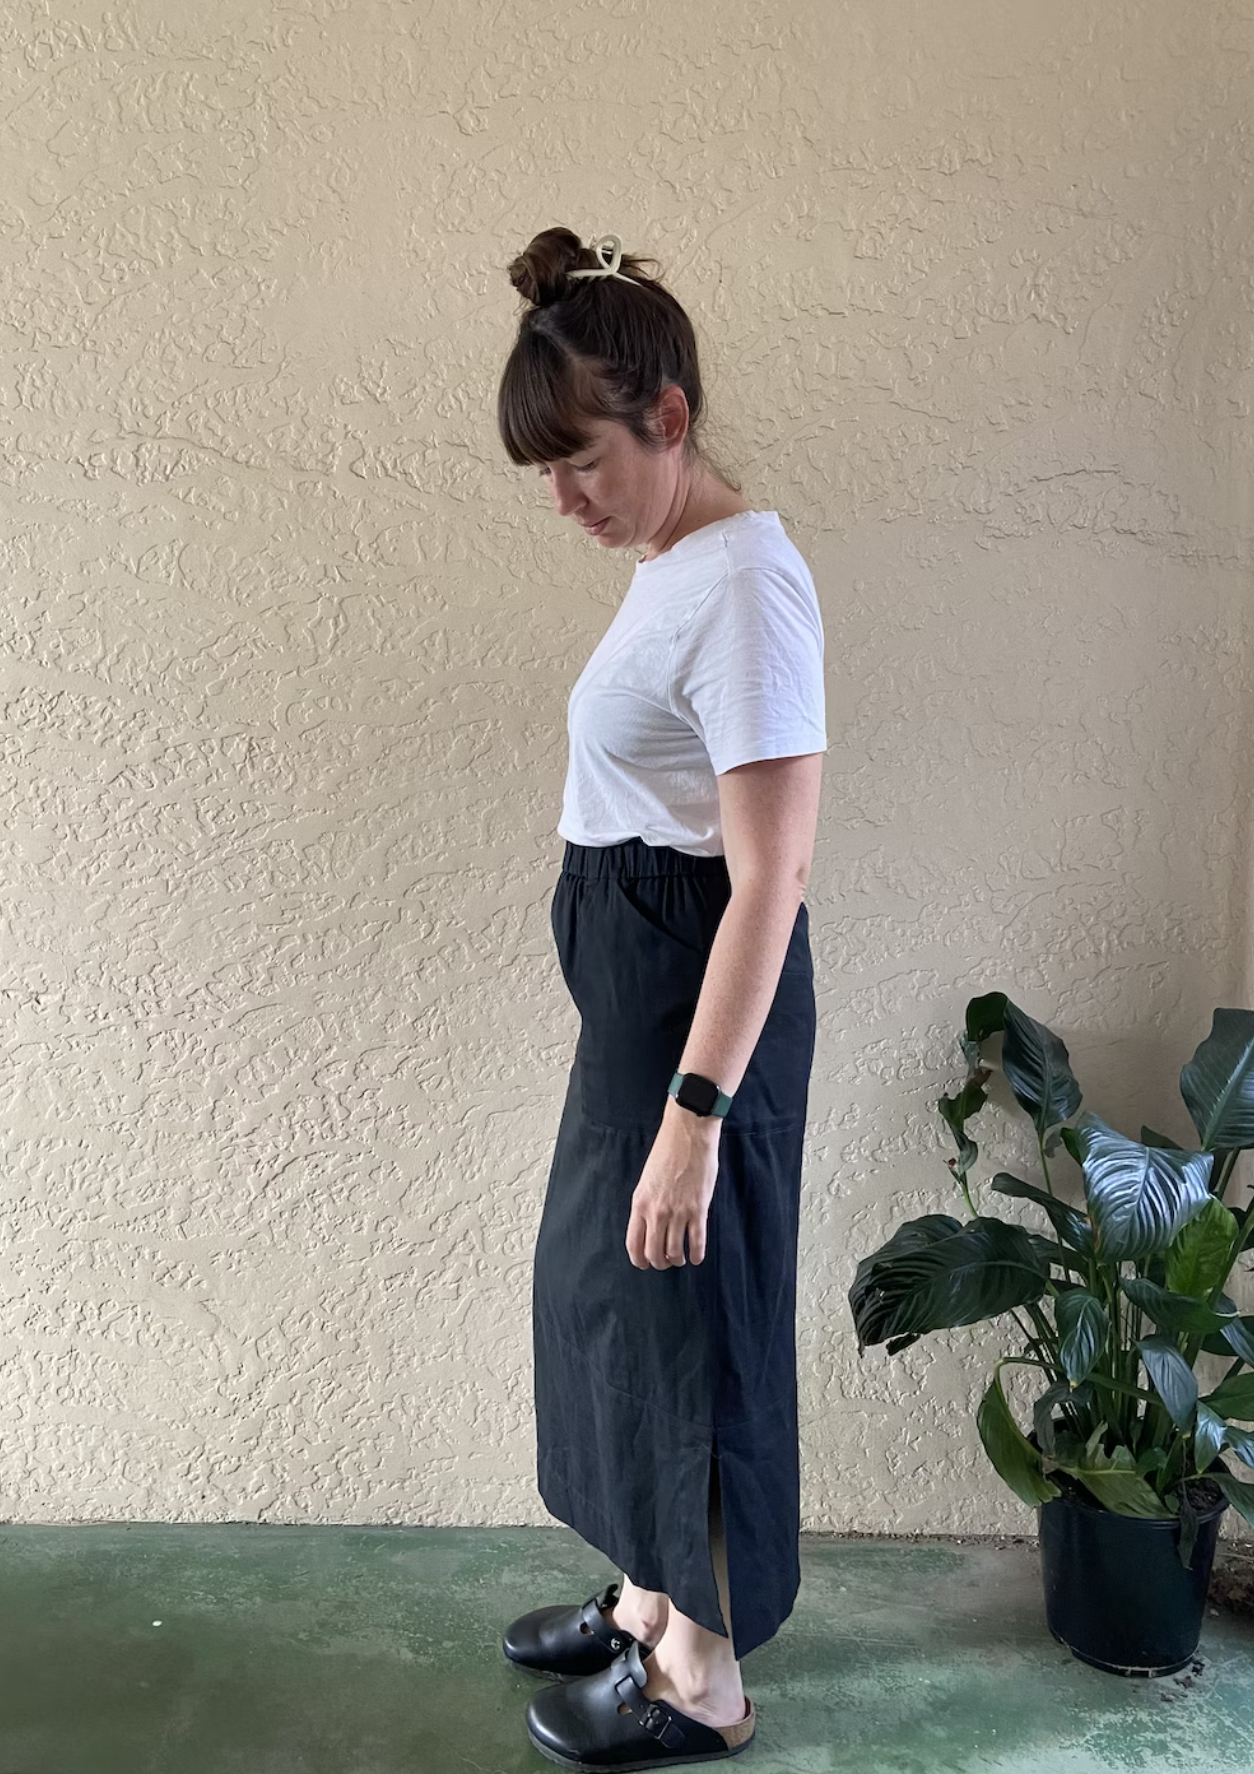
Attwood pants (pattern variation - skirt)
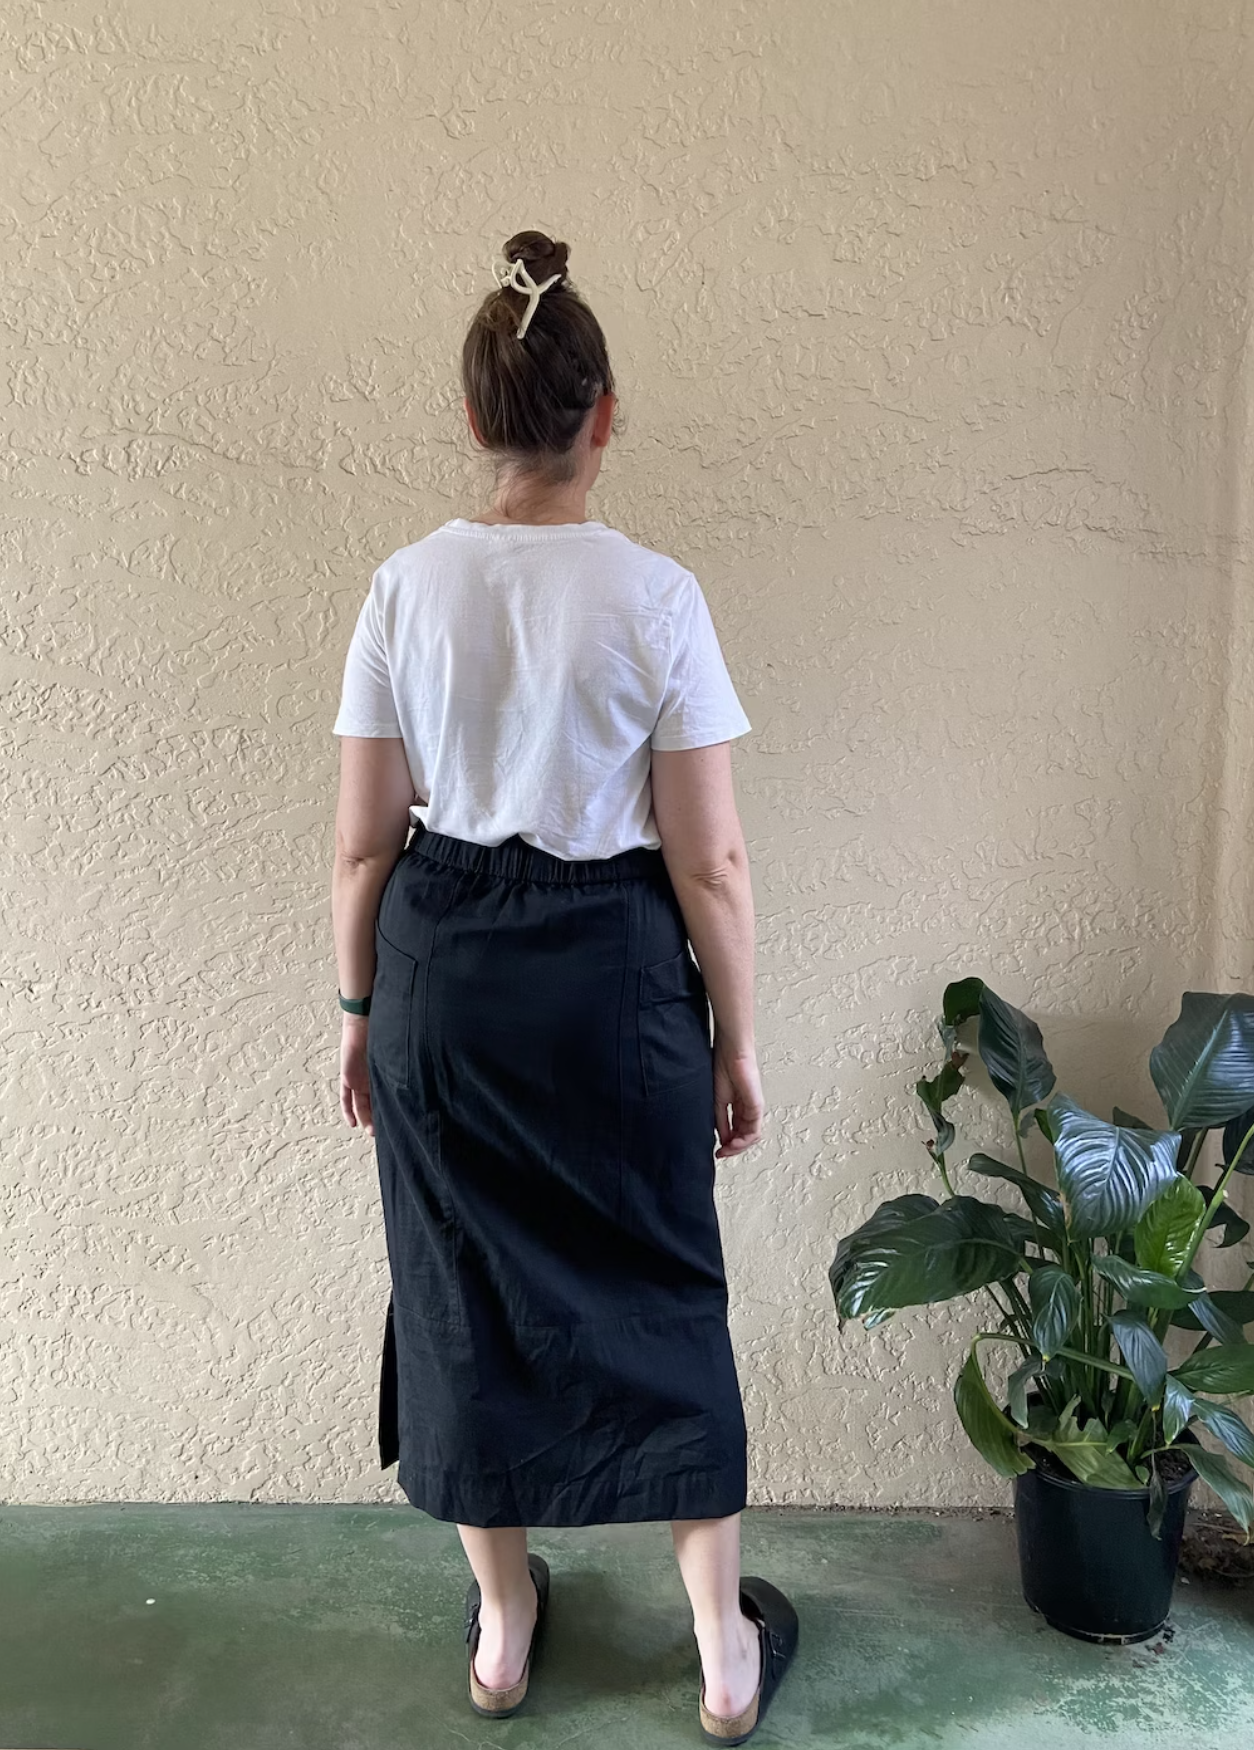
Attwood pants (pattern variation - skirt)
When I started drafting the Attwood skirt variation, I began to realise that I wasn't going to be able to use the pants pattern pieces how I’d hoped and expected.
I had anticipated that I would need to draft a new centre front and centre back panel, because skirts don't need a crotch seam and I also needed these pieces to be the same length as the side panels. But, I had thought the side panels could work for both pants and a skirt. Once I started drafting the skirt however, it was clear they were going to be too narrow.
Then there was the problem of how to finish the seams, as a side split would need to be added to give enough room for movement…
So you can see here what I was talking about before. The limitations of the original design meant that I would have to make significant changes to the pattern pieces and write completely new instructions in order to include a skirt view in the Attwood pants pattern.
Sometimes pattern variations just don’t work
Although it's fun to design within the parameters of an established pattern, it was fairly ambitious of me to think that pants and a skirt could come from the same pattern. Sometimes you have to accept that a particular variation is just not going to work. That’s what I came to with this one, and that’s okay.
Although I had to give up my dreams of including a skirt variation in the Attwood pants pattern, I did make the skirt to see how and if it would work, which you can see above. And, I love it!
I realised that a tutorial showing how to hack the Attwood pants pattern into a skirt is exactly the kind of information my Curated by ITF community loves, and it’s now one of the additional resources that we created for our much-loved Foldies. So if you think you’d like to learn how to do this too, I recommend joining. We’d love you to see you in there!
Happy sewing,
Emily
build your sewing skills with a
curated by itf membership