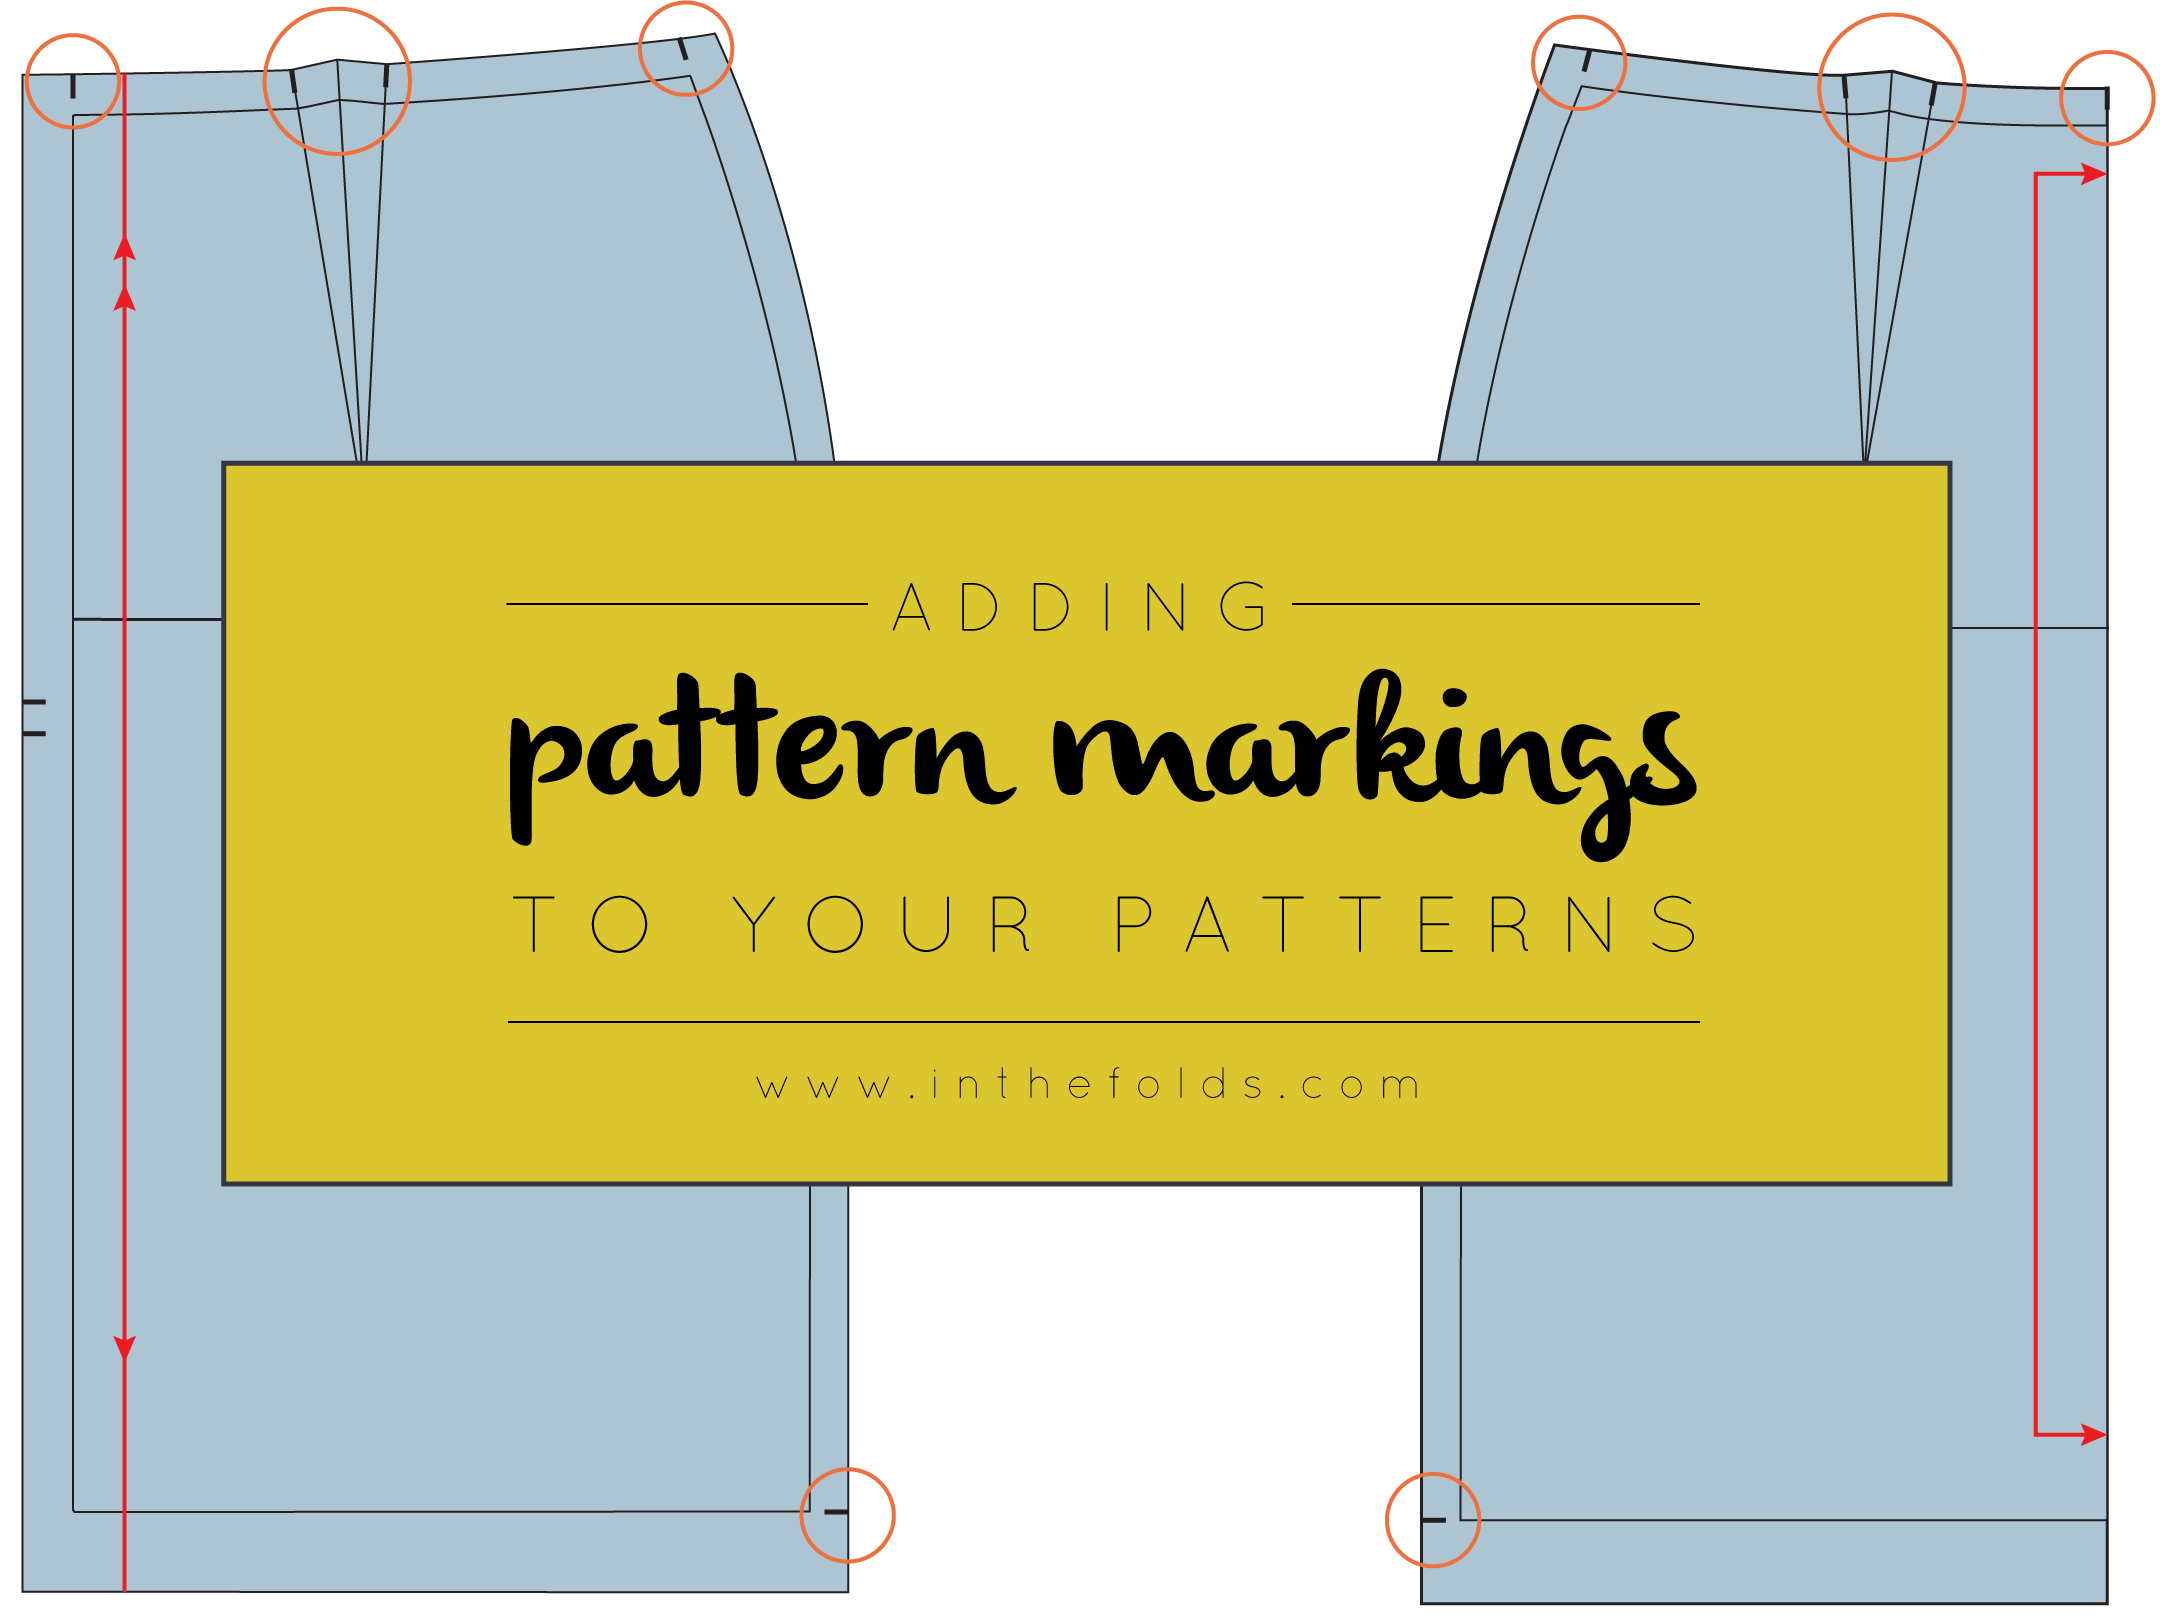
In the last couple of weeks I've been showing you how to draft a skirt block to your own measurements, as part of The Skirt Series. In today's post I am going to show you how to draft a waistband for the skirt. If you have just made the skirt block and need to make a toile to see how it fits, I wouldn't bother making a waistband. You are better off whizzing up a quick toile, checking how it fits, and then once you are happy with it, making the waistband.
Two types of waistbands
Most waistbands on skirts or trousers are based on these two basic waistband shapes:

A straight waistband - which is a long rectangle that generally does not have side seams.
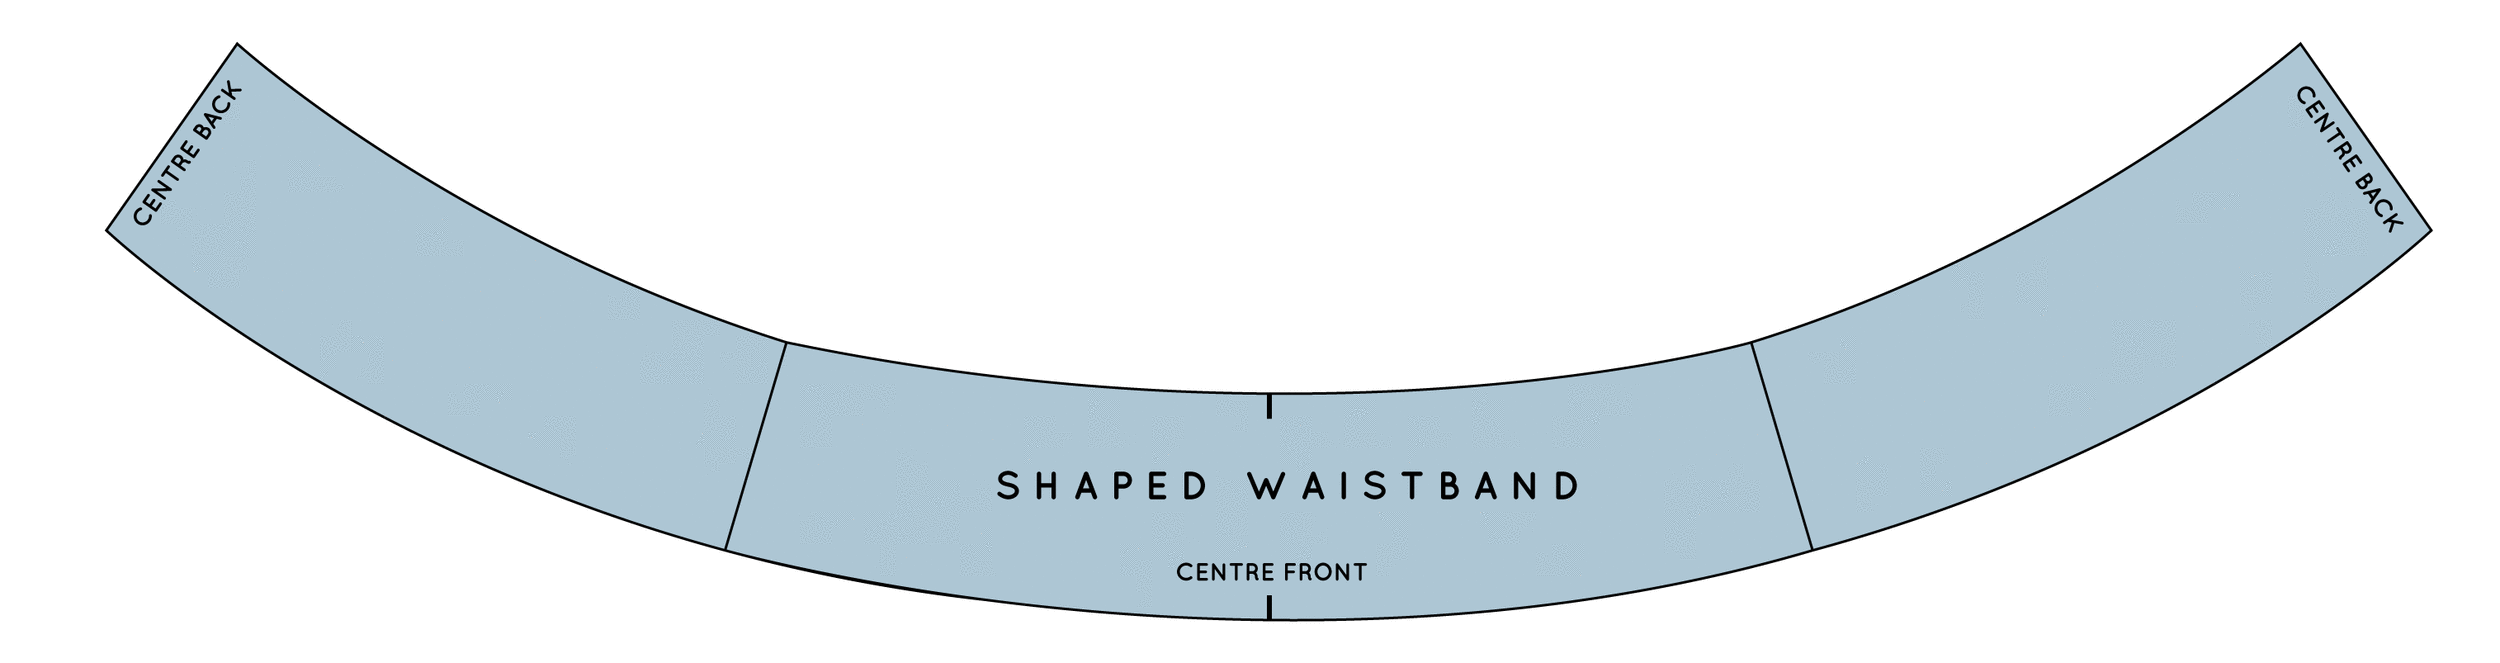
A shaped waistband - which may, or may not, have side seams.
Should I draft a straight waistband or a shaped waistband?
Either option can be drafted for the skirt block, and which is better for you comes down to individual preference and body shape. For me, I am a little too curvaceous in the lower half to feel comfortable in a straight waistband.
In today's post I will show you how to draft a straight waistband, and then next week I will get to shaped waistbands. And then you can work out which one is for you! The good thing about drafting your own waistband, is that you will be able to use it whenever a waistband is called for, and you know that you will get a great fit every time.
Take measurements
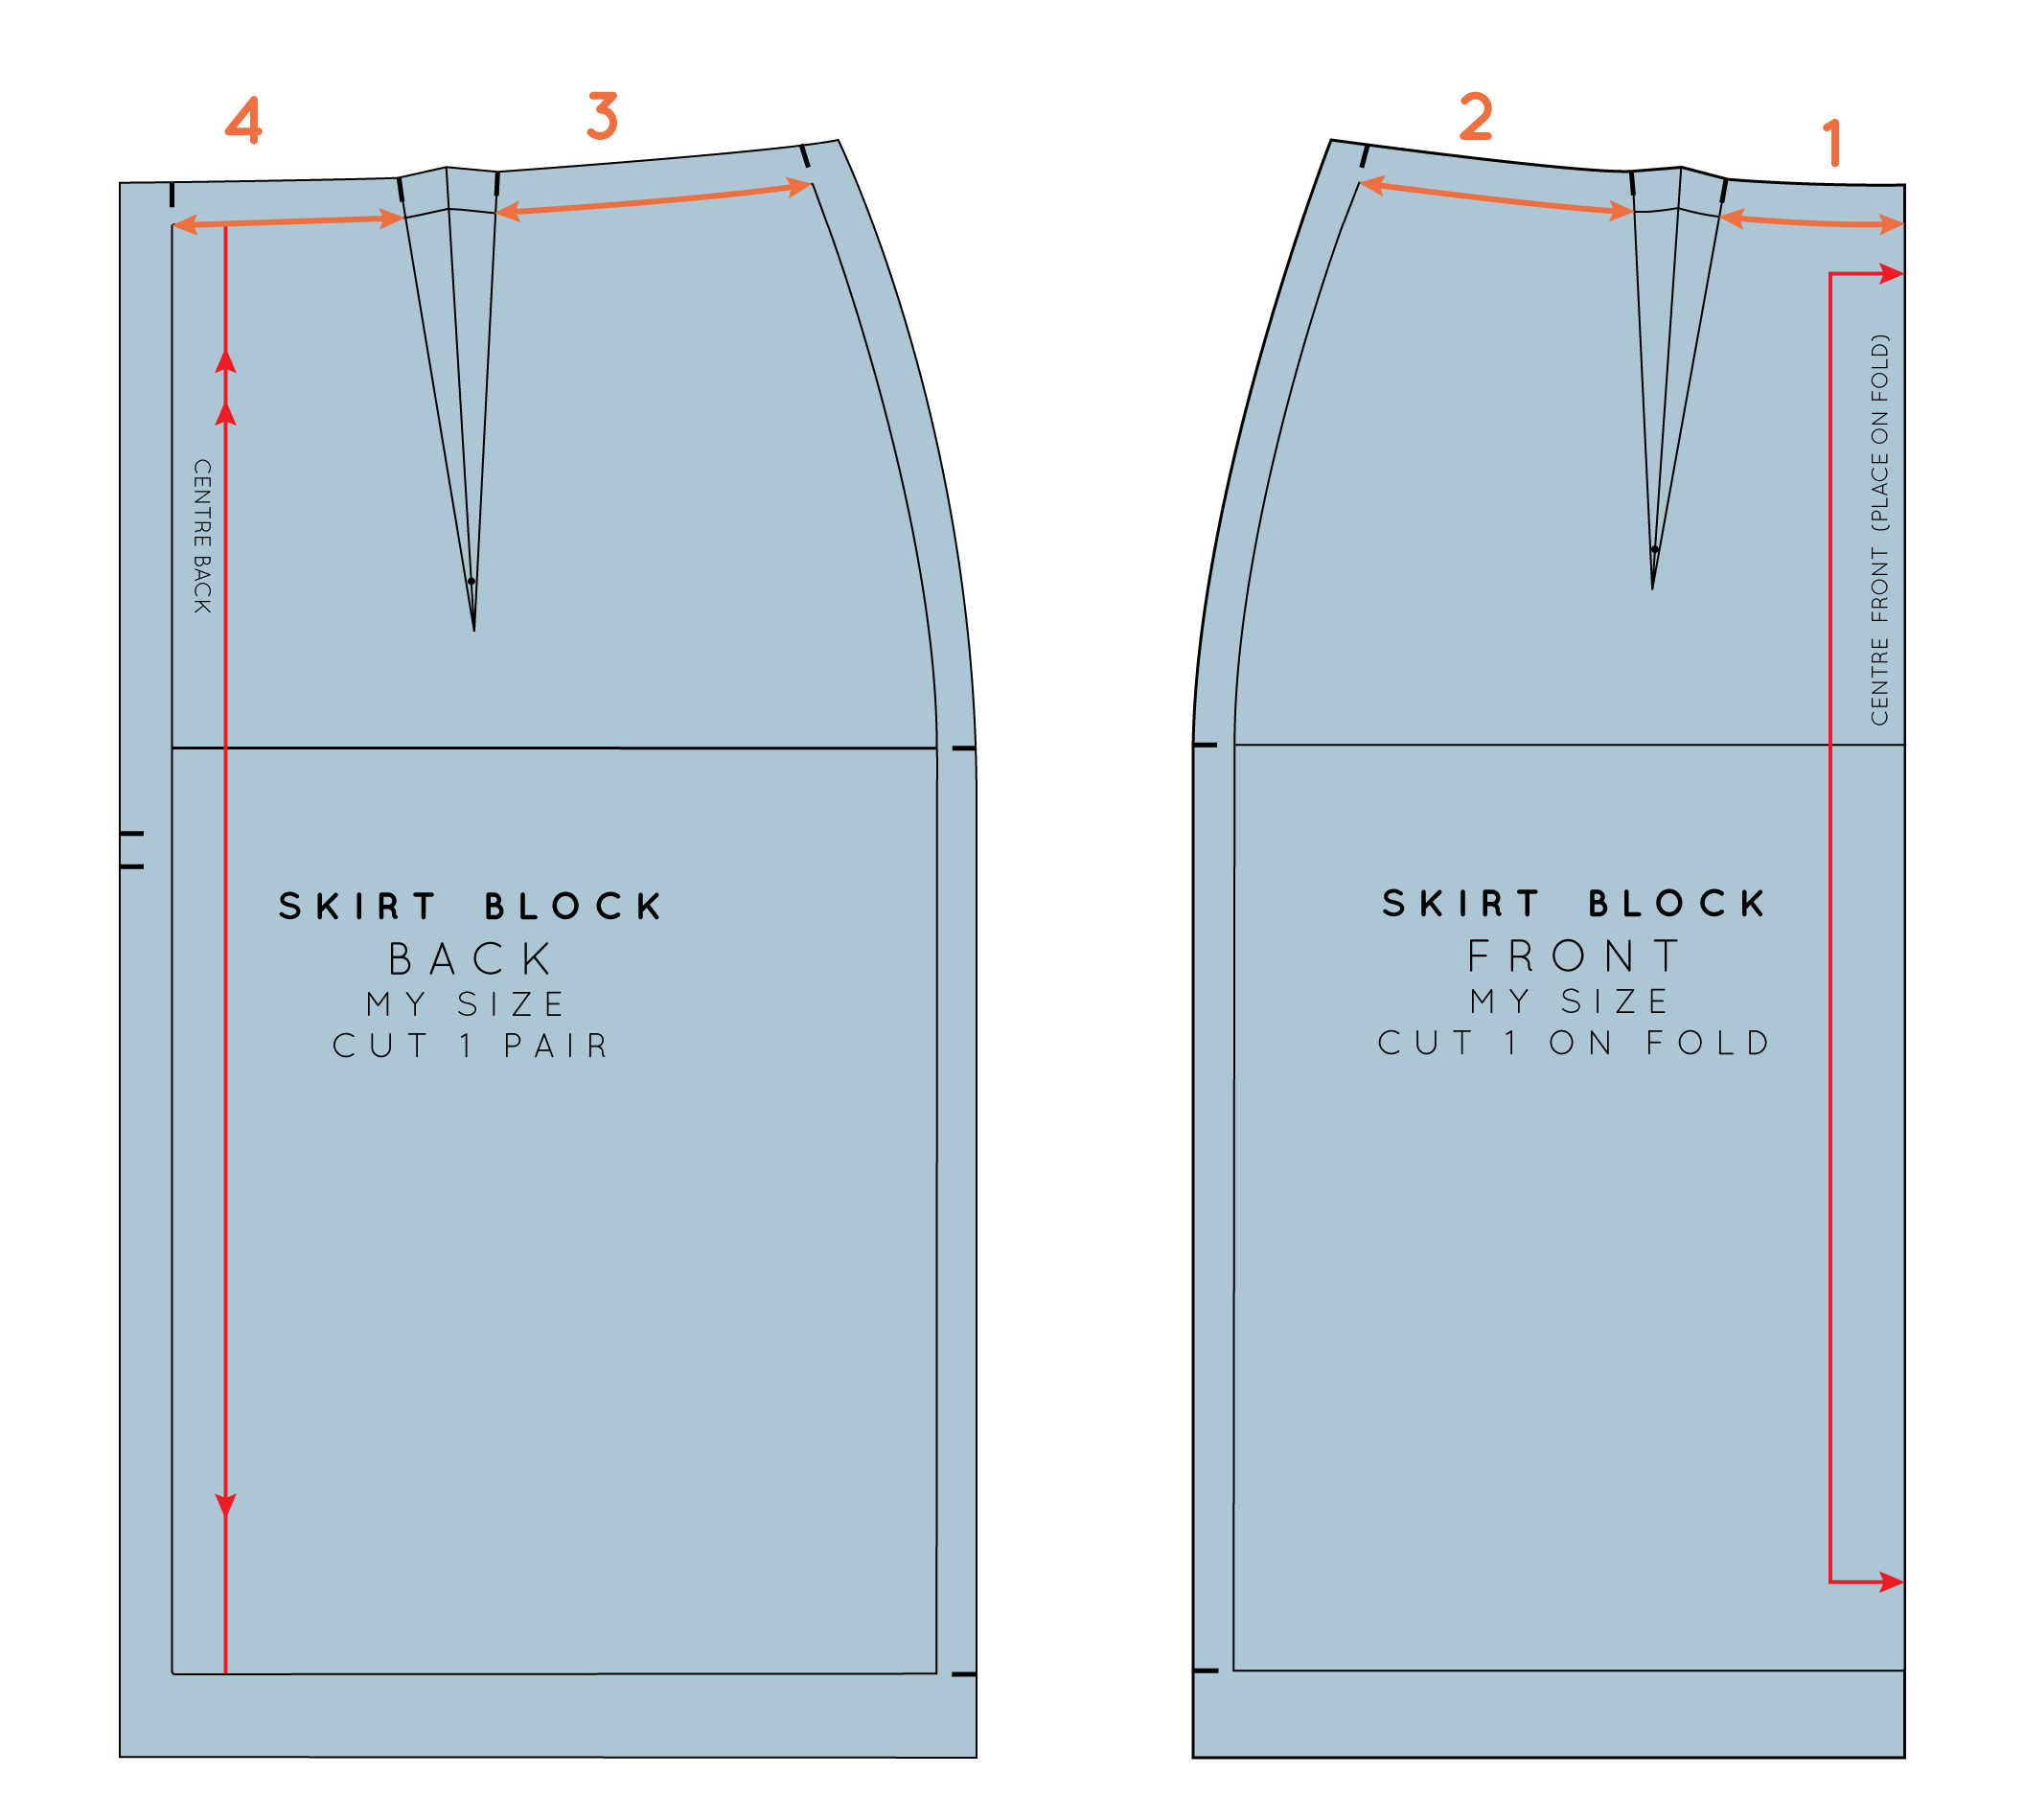
To start, take your skirt block and take note of some measurements. Remember to measure along the stitch line, not the edge of the pattern.
Measuring along the waistline, on front pattern:
1 - Centre front to first dart arm
2 - Second dart arm to side seam
On back pattern:
3 - Side seam to first dart arm
4 - Second dart arm to centre back
Waistband construction

Add the four measurements taken in the previous step together to find the length of the waistband. Remember this measurement gives you half the waistband, as the pattern piece can be cut on the fold. Draw a line as long as this measurement.

Decide how wide you would like your waistband to be - consider a measurement between 2 and 6 centimetres. Draw a perpendicular line from either end of your original line, the height of your waistband.

Complete the rectangle by connecting the end points of the lines drawn in the previous step.
So now you have the basic shape, it's time to get some markings onto your pattern piece.

Going back to your original measurements (from your skirt block), measuring from the right hand side of your waistband, mark in each point of interest with a perpendicular line. You want to mark the location of your front dart, the side seam and back dart. You can also label each end as the centre front (right hand side) and centre back (left hand side).
Add seam allowance

Add seam allowance to the top and bottom edges (I suggest 1 - 1.5cm). You can also add seam allowance to the centre back. I usually add 2cm to the centre back, to allow for the zip. Remember that the seam allowance you use on the waistband pattern, but be the same as the seam allowances you added to the skirt block, as you will be sewing these pieces together.
Add notches

Add notches to the pattern. You will want notches at all points of interest on the bottom edge (side seam, both darts and centre back), while on the top edge I would suggest only notching the centre back and then one other point that is not in line with the darts on the bottom edge. This will help you know which way up the pattern should go when you are sewing. This may not seem necessary as the piece is symmetrical, but if you are using a directional print, it will help make sure you don't end up with an upside down print! When cutting I would also suggest notching the centre front on both edges.
Add pattern details

Add pattern details and the grainline (runs vertically through the pattern), indicating that the centre front needs to be cut on the fold.
Button extension

If you would like your zip to run straight through the waistband like this, then your waistband pattern is ready to go and you can get sewing!
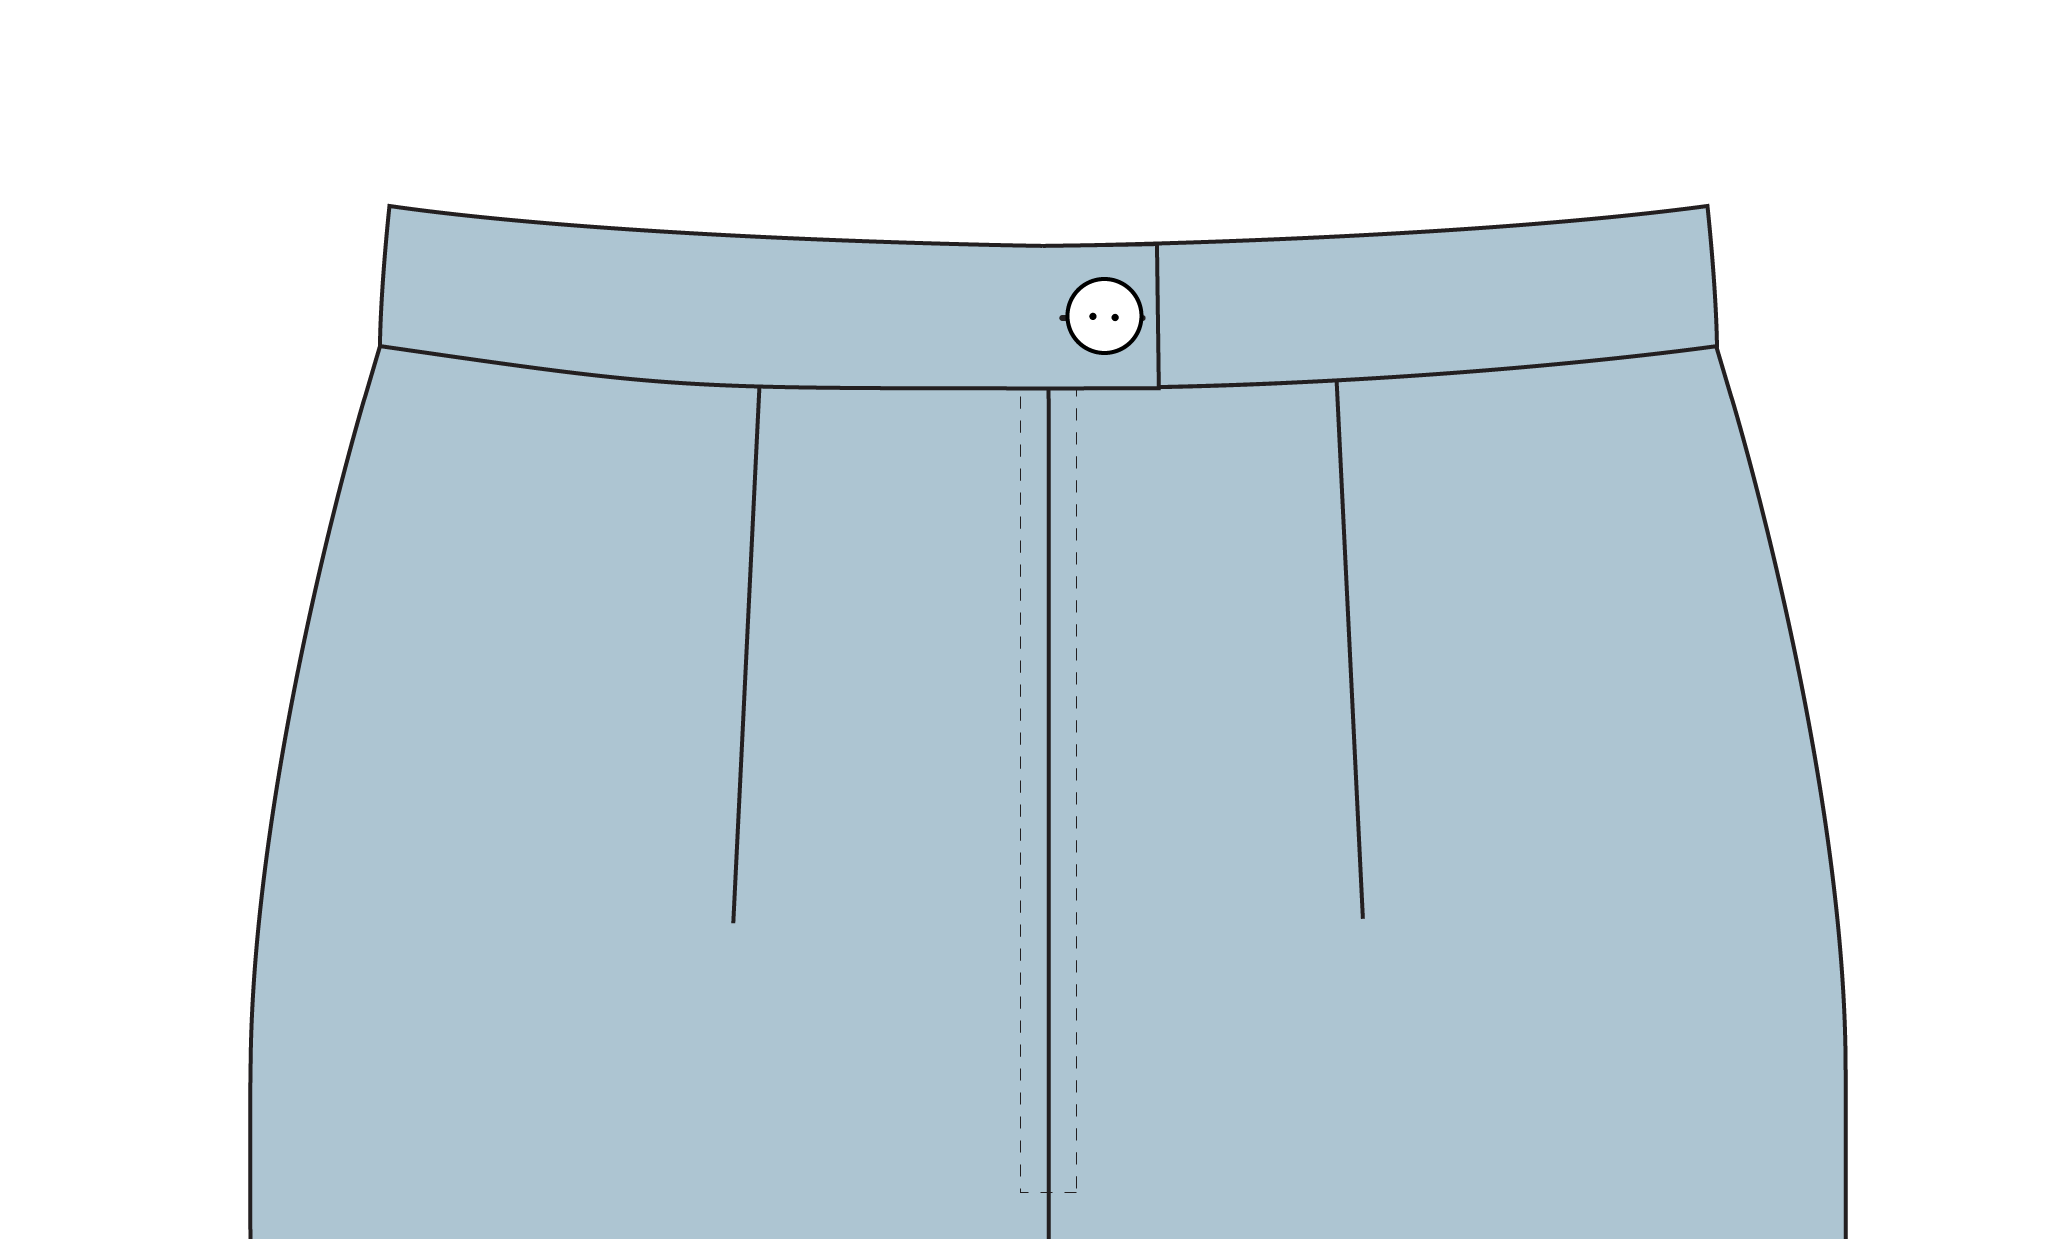
But if you would prefer the zip to stop at the waistline and then have a button to close the waistband, you will need to add a button extension to your pattern piece (which will only take a second).
Adding a button extension

The extension will only be added to one end of the waistband, so you will need to fold the pattern in half (down the centre front) and trace the pattern to create a full pattern piece. Do not add seam allowance to the centre back on the second side. At the centre back you will be wanting to add the button extension. The length of this will depend on the size of your button, though I would say 3-4cm should be fine. Add seam allowance to the extension and now it's done!
What are your thoughts on waistbands? Do you prefer a shaped waistband, or does a straight waistband do the trick?