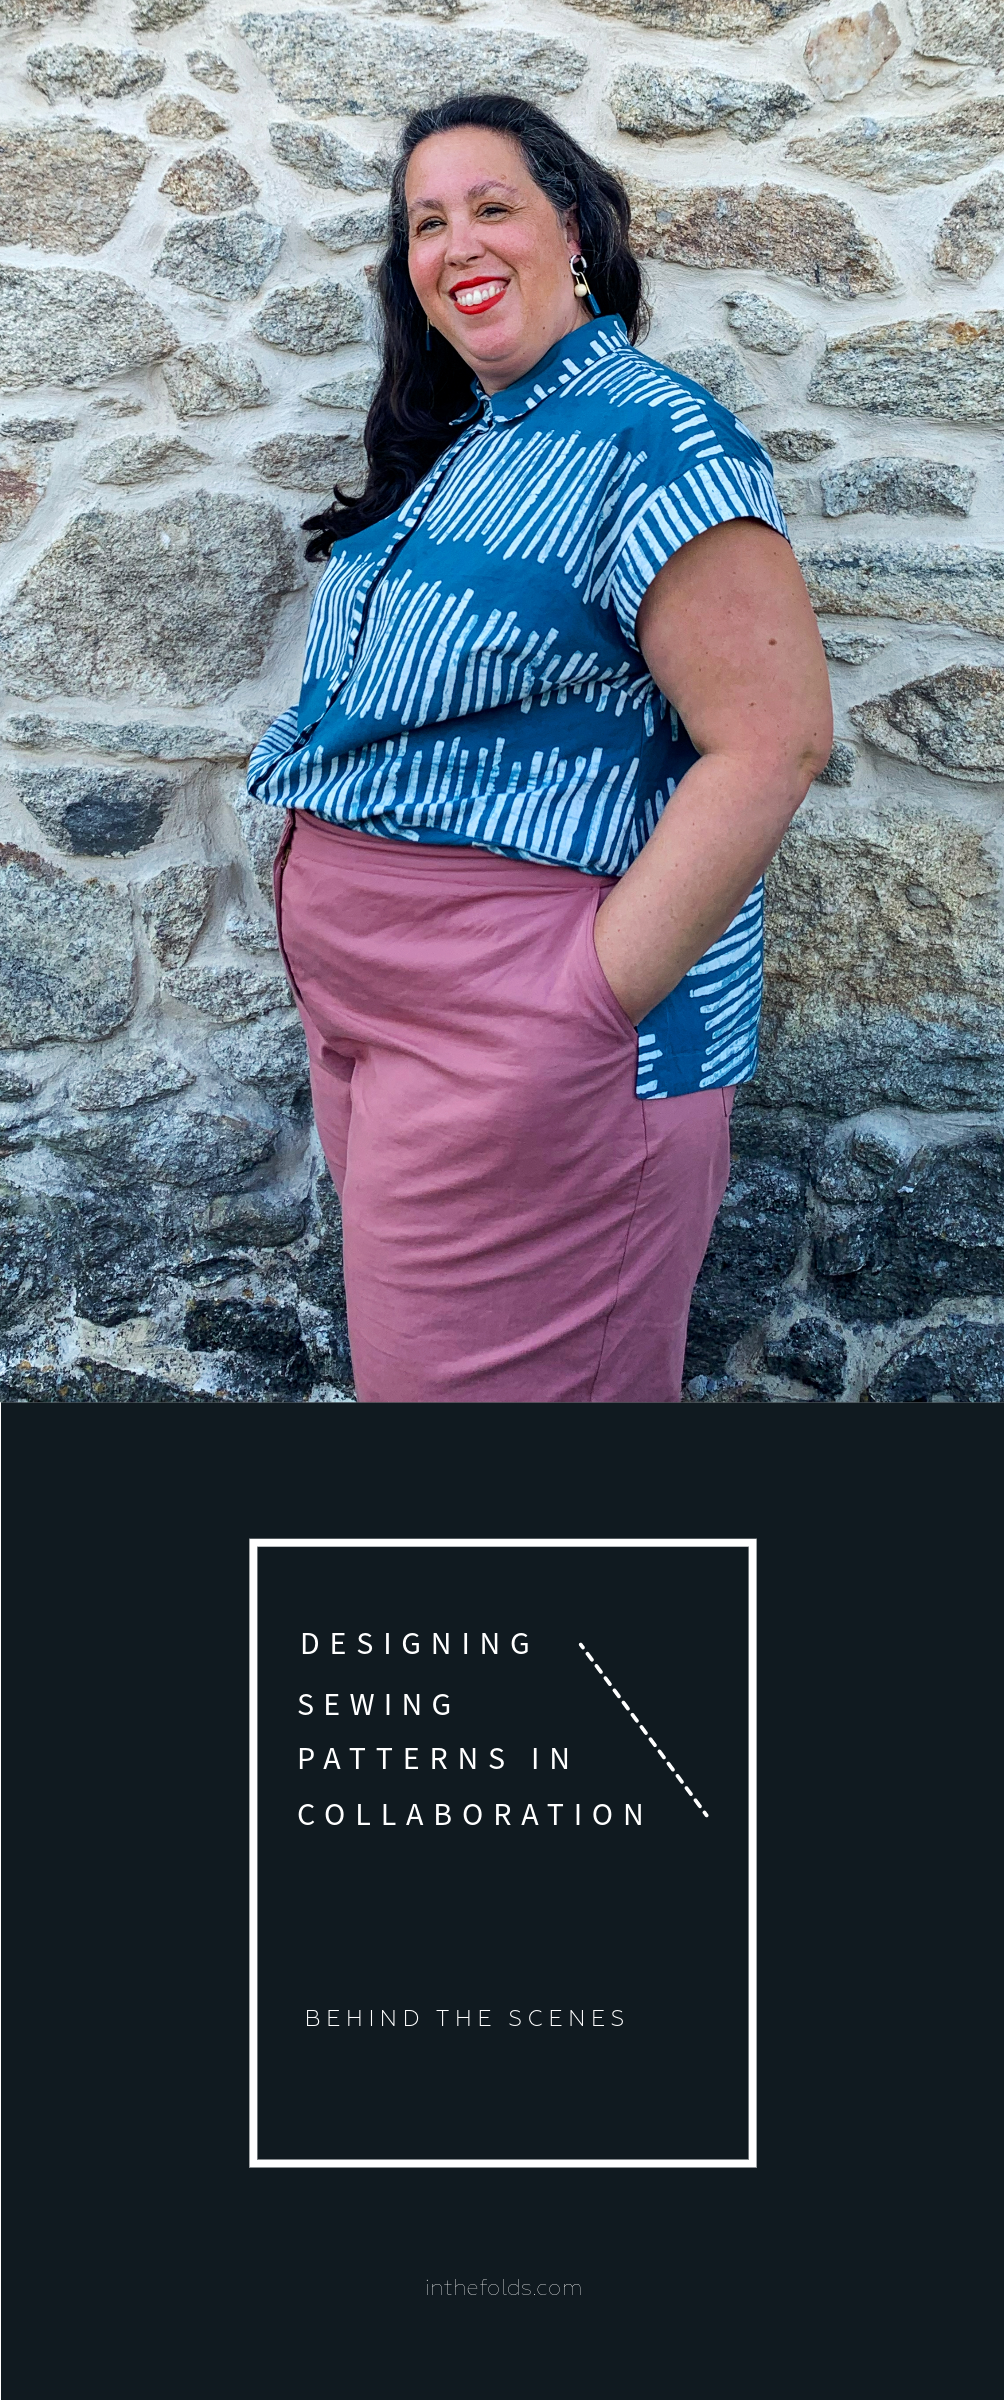
You may have seen that this week we released our latest pattern, the Marden shirt. An In the Folds twist on the classic tailored shirt, Marden has lots of details that make it fun to wear (boxy, stylish comfort) and sew (think panels for fabric play and skill-building techniques like a concealed button placket, collar and stand!), and we can’t wait to see them pop up in social media feeds around the world!
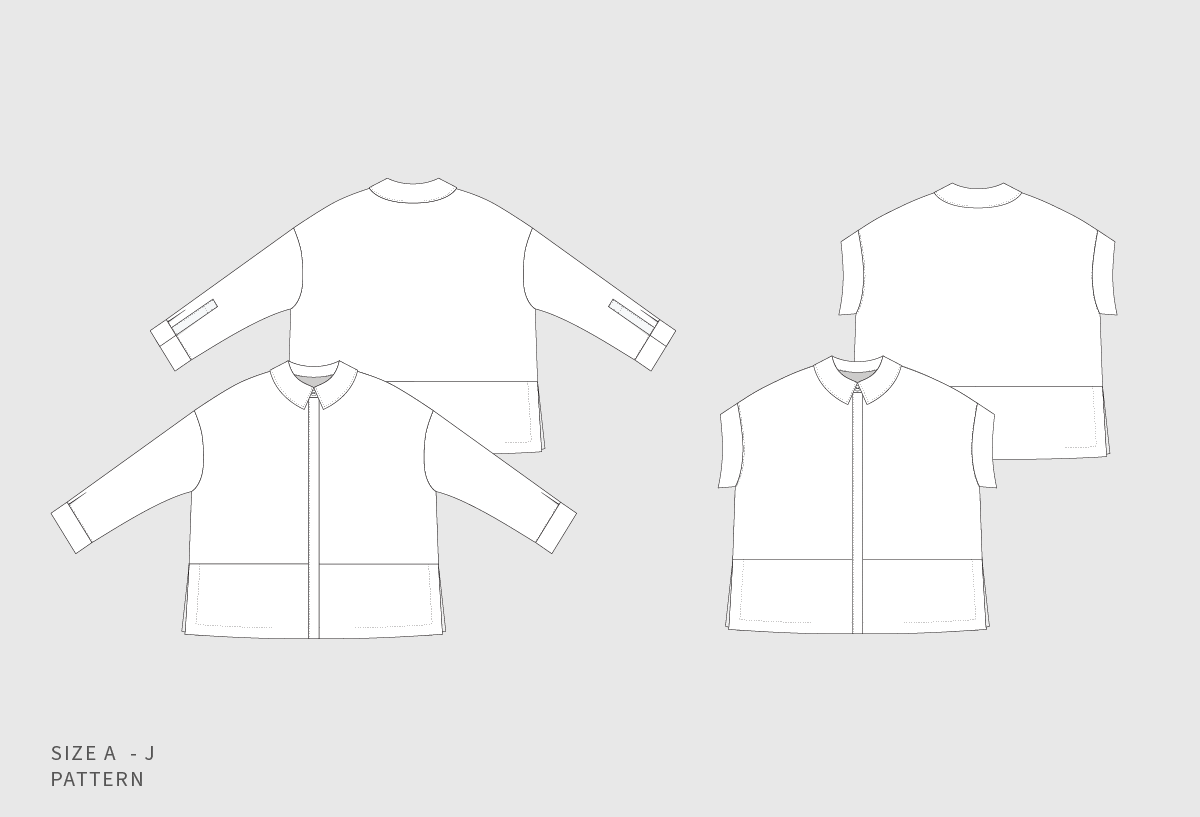
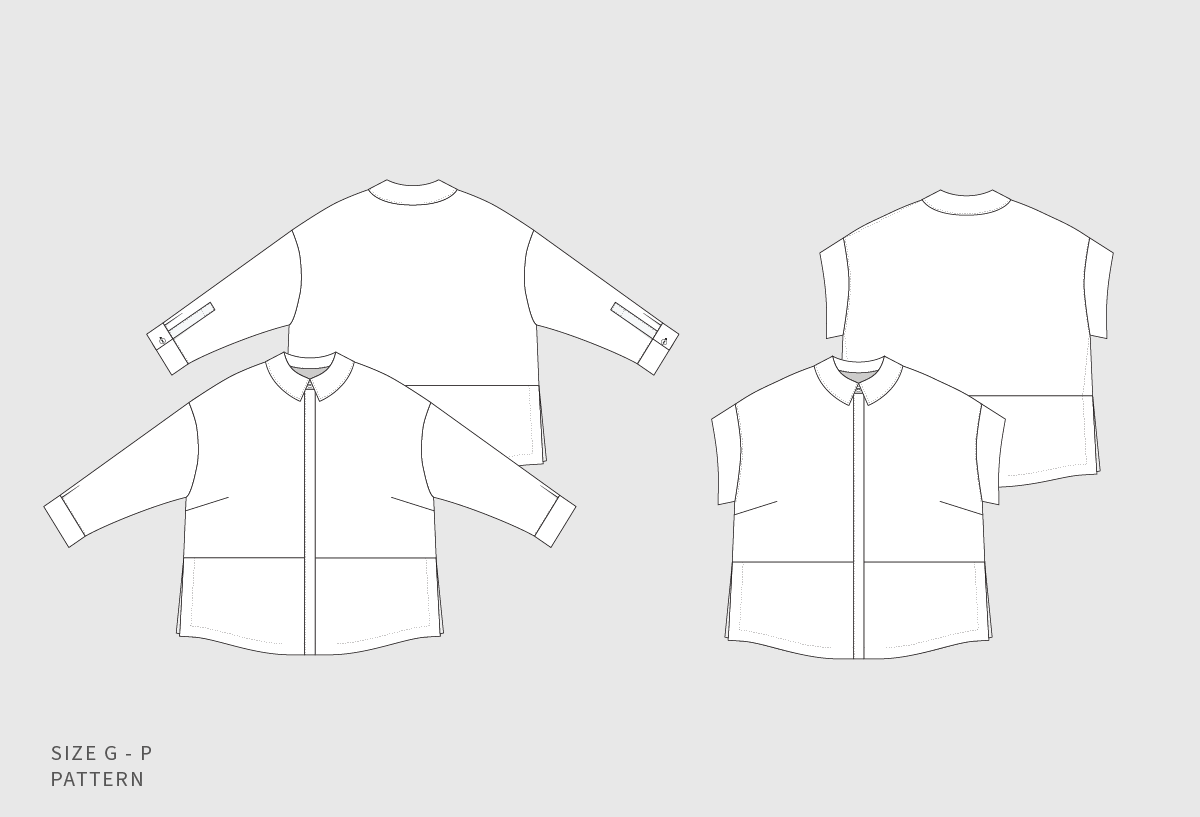
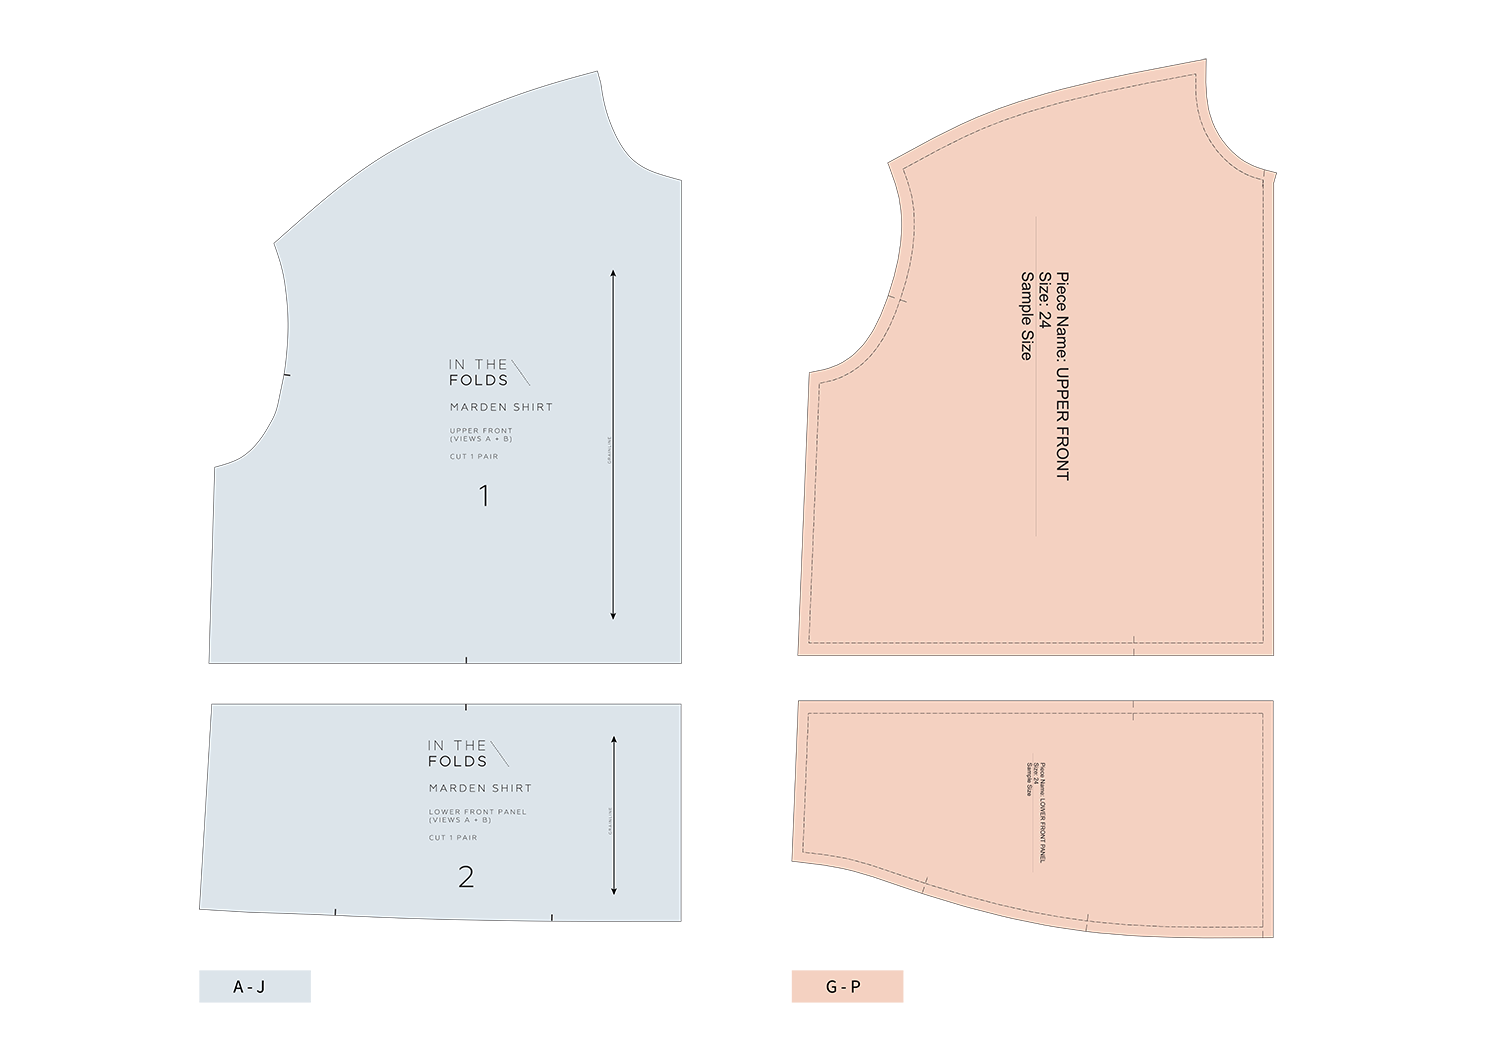
If you’ve got a keen eye for detail (like some of our eagle-eyed Foldies!), you may have noticed some subtle differences between the pattern in the size A-J range in comparison to the G-P range. Specifically, the addition of bust darts and a curved hem line to the G-P size range design. These differences weren’t originally part of the plan for our Marden shirt pattern, and what you see in the design for the A-J size range is pretty close to what our In the Folds team came up with in our initial sketches.
Now, you may be surprised to hear that we work with a pattern maker, when I (Emily) am a pattern maker. However, drafting patterns for the plus size market requires very specific skills, which I do not hold as they weren’t part of my training. It’s very important to me that our extended size range is drafted with the same love, care, attention to detail and accuracy as our original size range, and to be able to do this I could see that we needed to work with someone who specialised in it. (If you’re interested in hearing more about the process of extending our size range, you can read about it here.) As a result, we now have a collaborative drafting process for our extended size range that involves the In the Folds team, a patternmaker and our fit model. And I wouldn’t have it any other way.
It was through many discussions with this highly-skilled team that we came up with the Marden shirt pattern as you know it today, and I am so happy with it! We received fantastic feedback from our sample maker and model, Sara from @fabric_scraps, who made two in the blink of an eye because she loved it so much!
So, in this week’s post I wanted to highlight the collaborative process we have with our patternmaker and fit model and hopefully give you some insight into the decision-making process and how important it is to the quality of the finished pattern. Because without this team approach, Marden simply would not be what it is today.
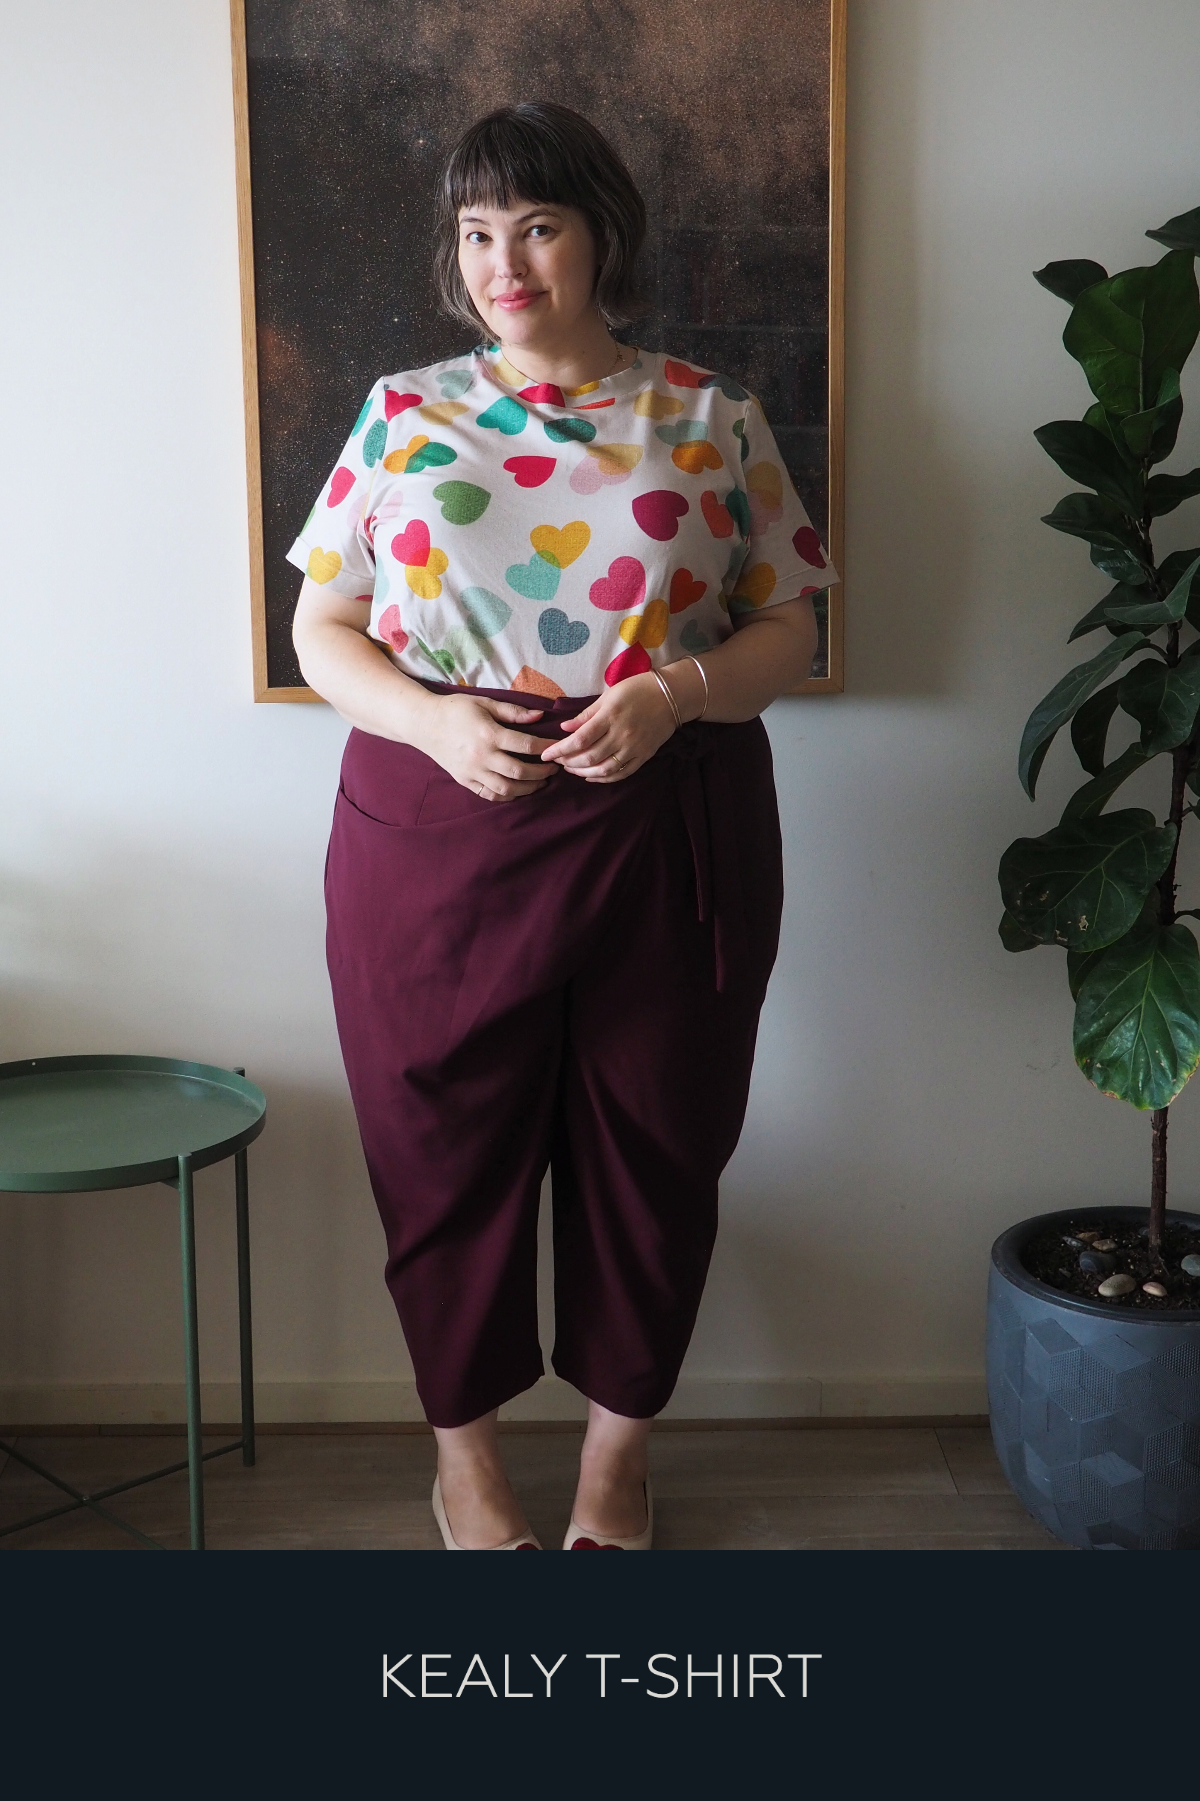
build your sewing skills with a
curated by itf membership
Marden shirt pattern - version 1 pattern
Like the current A-J size pattern, the first iteration of the G-P size pattern didn’t have a bust dart. When adding in the extra width needed to accommodate a size D bust cup size, we found that this impacted the hem line negatively, making it uneven, which was definitely not the look we were wanting. Our patternmaker stepped in at this point to (in her words) ‘cheat the shape to try to make things appear level using a shirt-tail shape’.
The other thing we were on the lookout for in this initial version was to see how much ease to have in the shirt. Because the original pattern has considerable ease in it, our patternmaker gave us the following advice, “When your model tries this on I would definitely compare photos side by side to judge body length, hem band level and shoulder. This style is much more proportion driven rather than a numeric conversion.” With this in mind we sought fit feedback from our plus size fit model.
Marden shirt pattern - version 1 feedback
We weren’t surprised to hear Marden G-P version 1 was much too wide in the body, as this was something we were already on the lookout for. The extra width in the body impacted the length of the shoulder seam (making the shoulder seam far too long). Because of this, the armscye was basically at the model’s elbow, which then resulted in the sleeve causing restriction in movement.

The other issue that was raised by our fit model was that the hemline was riding up in the front and dragging down at the back, and she suggested the addition of bust darts to improve the fit. Our patternmaker agreed that ‘it will continue to fall back without a dart as an anchor point’. This is when it becomes a truly collaborative process - a conversation between me, the designer, the person that makes it happen from a technical standpoint, the pattern maker and the wearer / end user, our fit model.
Side note: We’ve included images of pattern pieces from both size ranges. The pattern pieces from the G-P range are not formatted to their final state in this image as this is not the final pattern. This is what the pattern looks like when we receive it back from the patternmaker, before it’s finalised and gets formatted for printing.
Marden shirt pattern - version 2 pattern
With our patternmaker and fit model feedback at front of mind, we decided to slim our design down (mostly through the chest and shoulders) and add a bust dart. The decision to take some width out of the body would also help with the shoulder length issue. Then, it was back to our fit model to check that the fit had improved and that the pattern still had the same look and feeling as the original pattern.
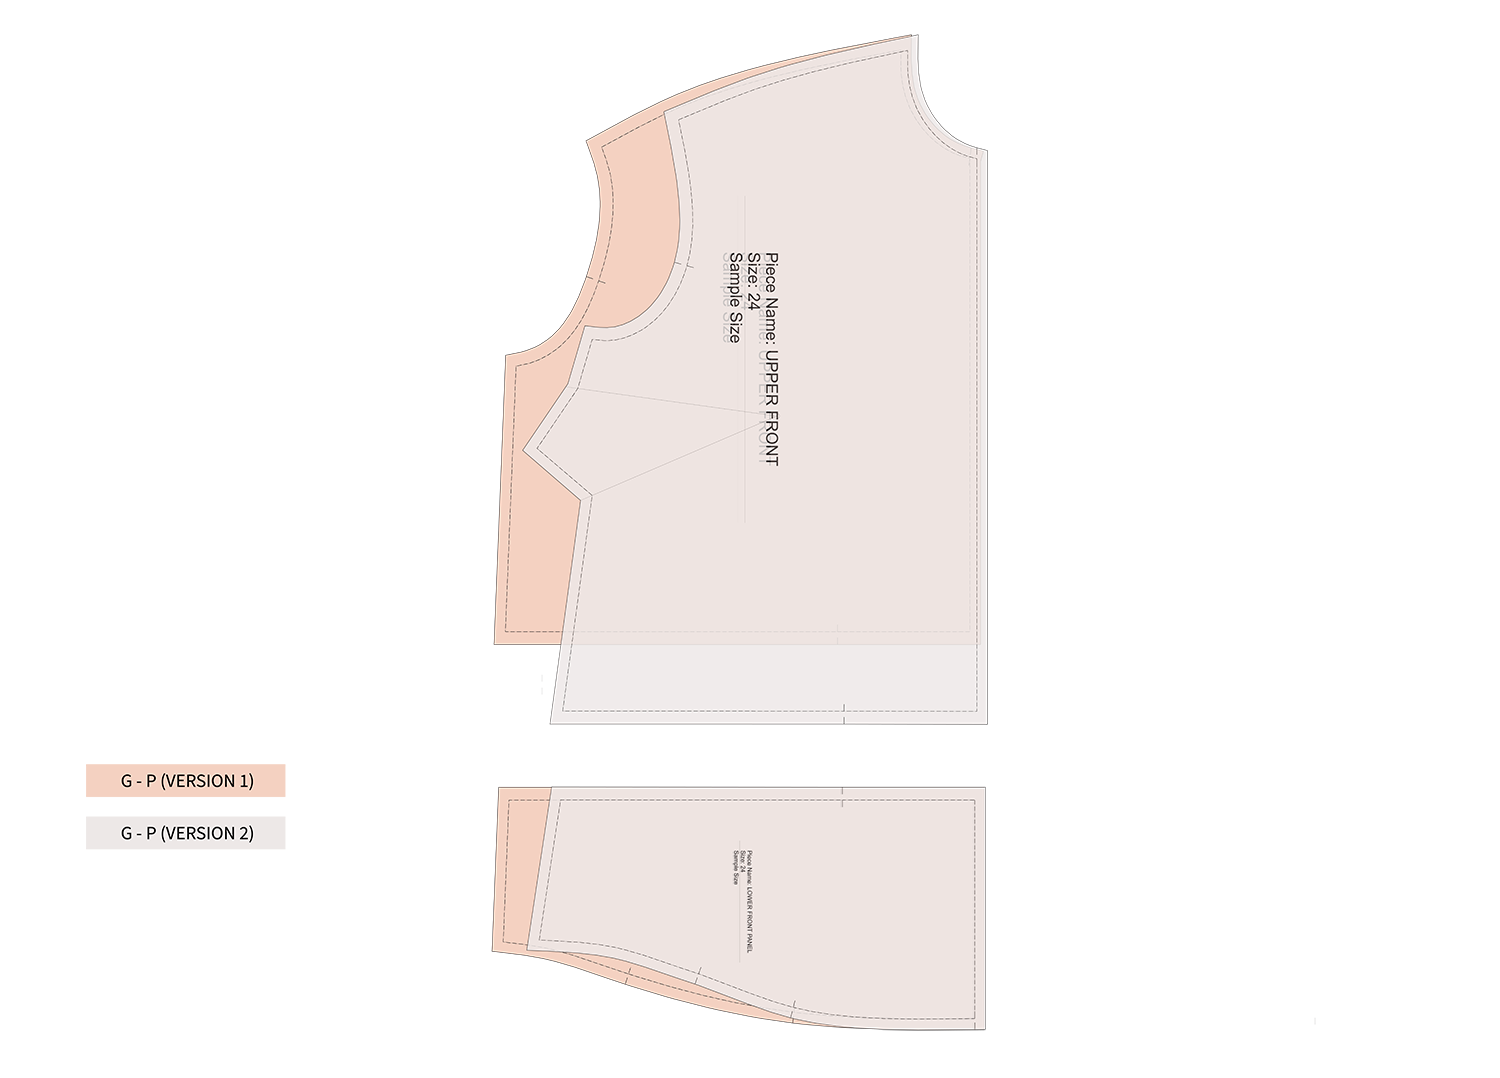
As you can see when comparing the versions, width has been taken out through the bust and chest, which has reduced the shoulder seam length. A bust dart was added and some length to the upper panel to accommodate the bust, but you will see as you read on, we removed this additional length in the final version as it was not required.
Marden shirt pattern - version 2 feedback
With the major overhaul of the shirt, we’d unfortunately gone too far and taken out too much width from the shoulders. This changed the slope of the shoulder so much that the armscye became too small, or as our fit model said, restrictive. The thing is, if you don’t try, you don’t know, so even though it may feel like wasted time (especially when we have a strict deadline - our Curated subscription monthly release), this is actually a really important part of the design process.
Marden shirt pattern - version 3 pattern

The major change for version 3 was to alter the slope of the shoulder seam, which would then change the shape and size of the armscye, solving the restriction in the armhole that our fit model mentioned. Although it doesn’t look like a major difference between the pattern pieces, if you look at the armhole lengths, you can see there is a considerable difference. In comparison, the version 3 armhole is 6cm larger than the version 2 armhole - most of this on the back.
Marden shirt pattern - version 3 feedback
Fit model: “I think we have a winner!”
Phew - what a relief it was to receive that email!
It was at this point that I did a final check between the initial size 10 sample (our sample size for our A-J range) on the body in comparison to the size 24 on our fit model and noticed that the panel line was sitting too low in the extended range, so the patternmaker raised it by 5cm, as I mentioned earlier.
Marden shirt - Size J (from A - J range)

Marden shirt - Size J (from G - P range)

Pattern pieces from the two ranges nested together
The final pattern
As you can see from this process, designing a pattern is very much a collaborative process, and even more so now that we are working with two different pattern blocks. I really appreciate the skills and insight our pattern design collaborators have, because without their input we simply couldn’t create the patterns that we have today.
If you have any questions about this process, we’d love to answer them, so please leave them in the comments section below.
Happy sewing,
Emily
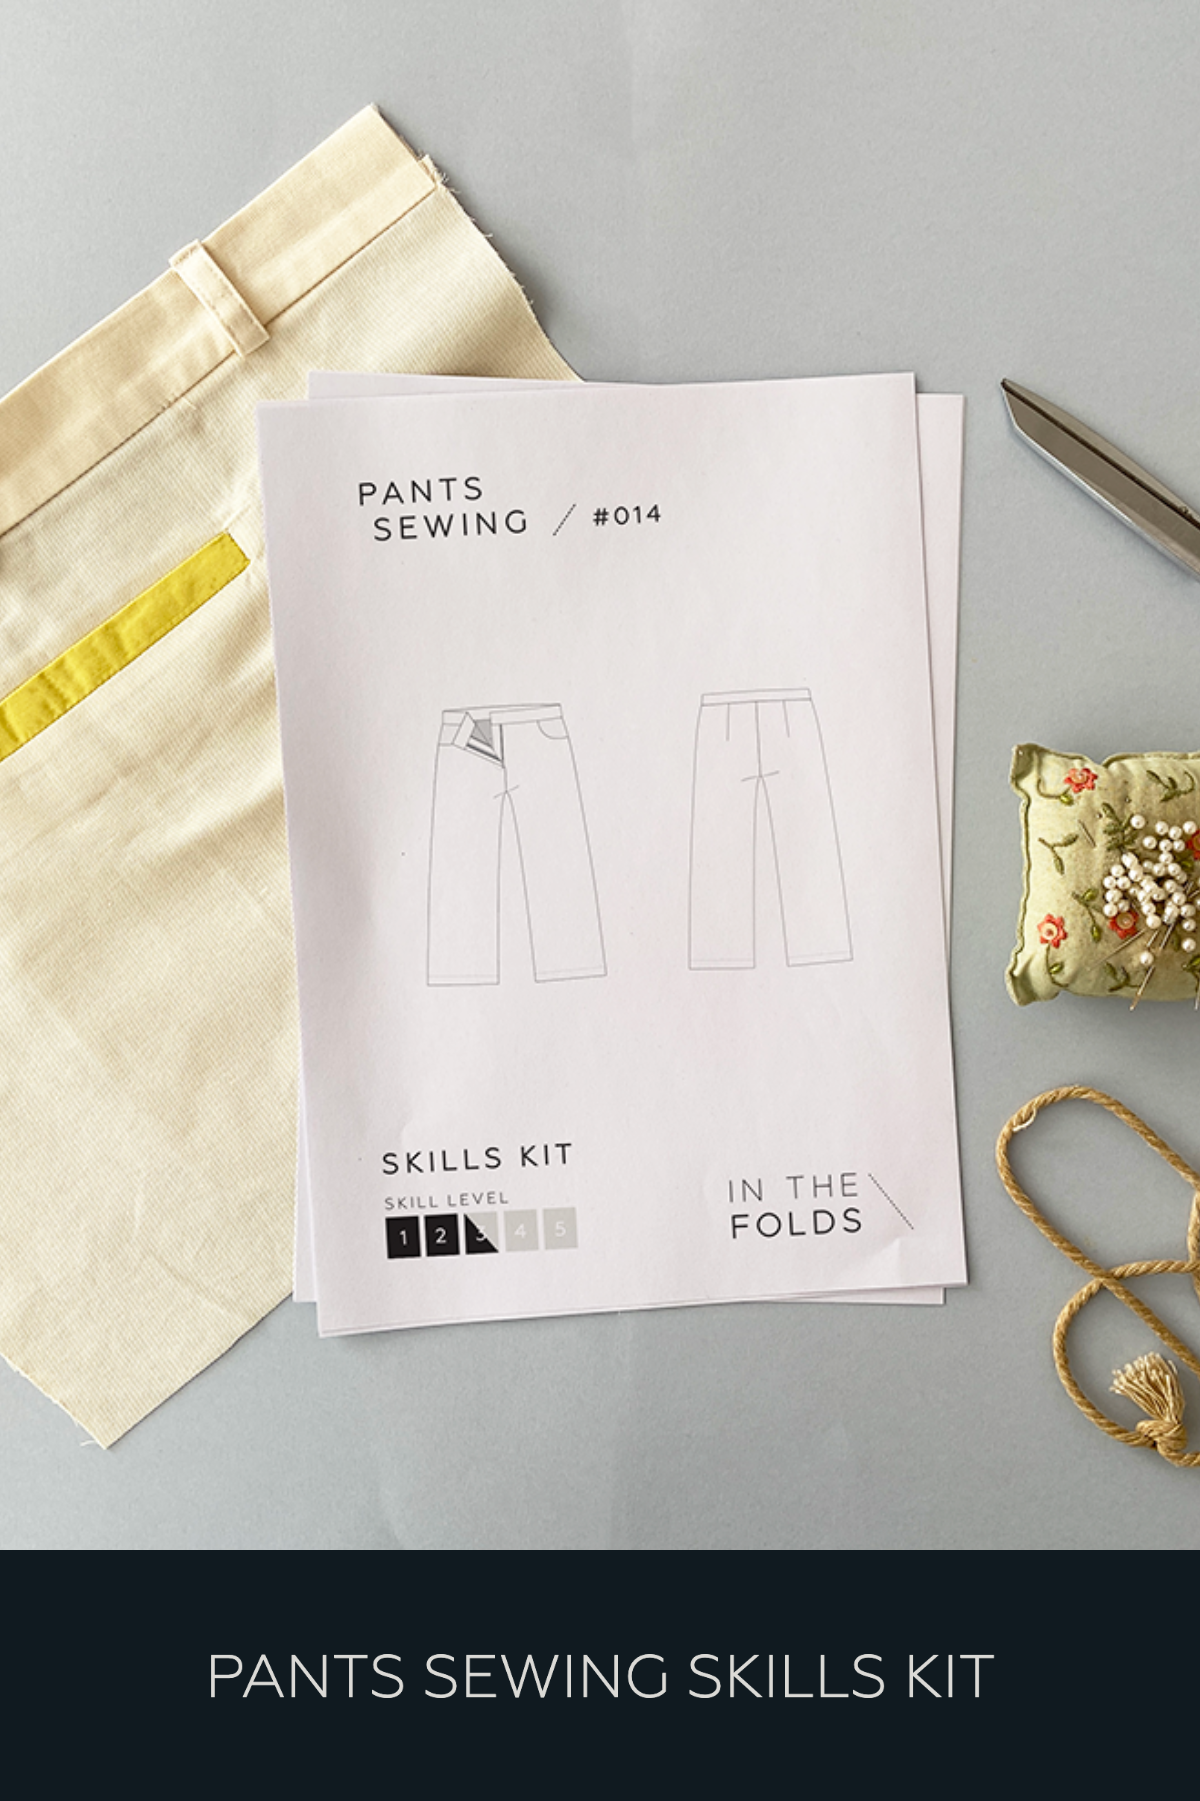
IMPROVE YOUR PRECISION SEWING WITH OUR
pants sewing series
Now available as a standalone three-part project series in our shop!