We don't expect our Curated by ITF members to make every project we release the moment it drops into their inbox. That's just not our jam.
But when they do? Golly, WE LOVE IT!
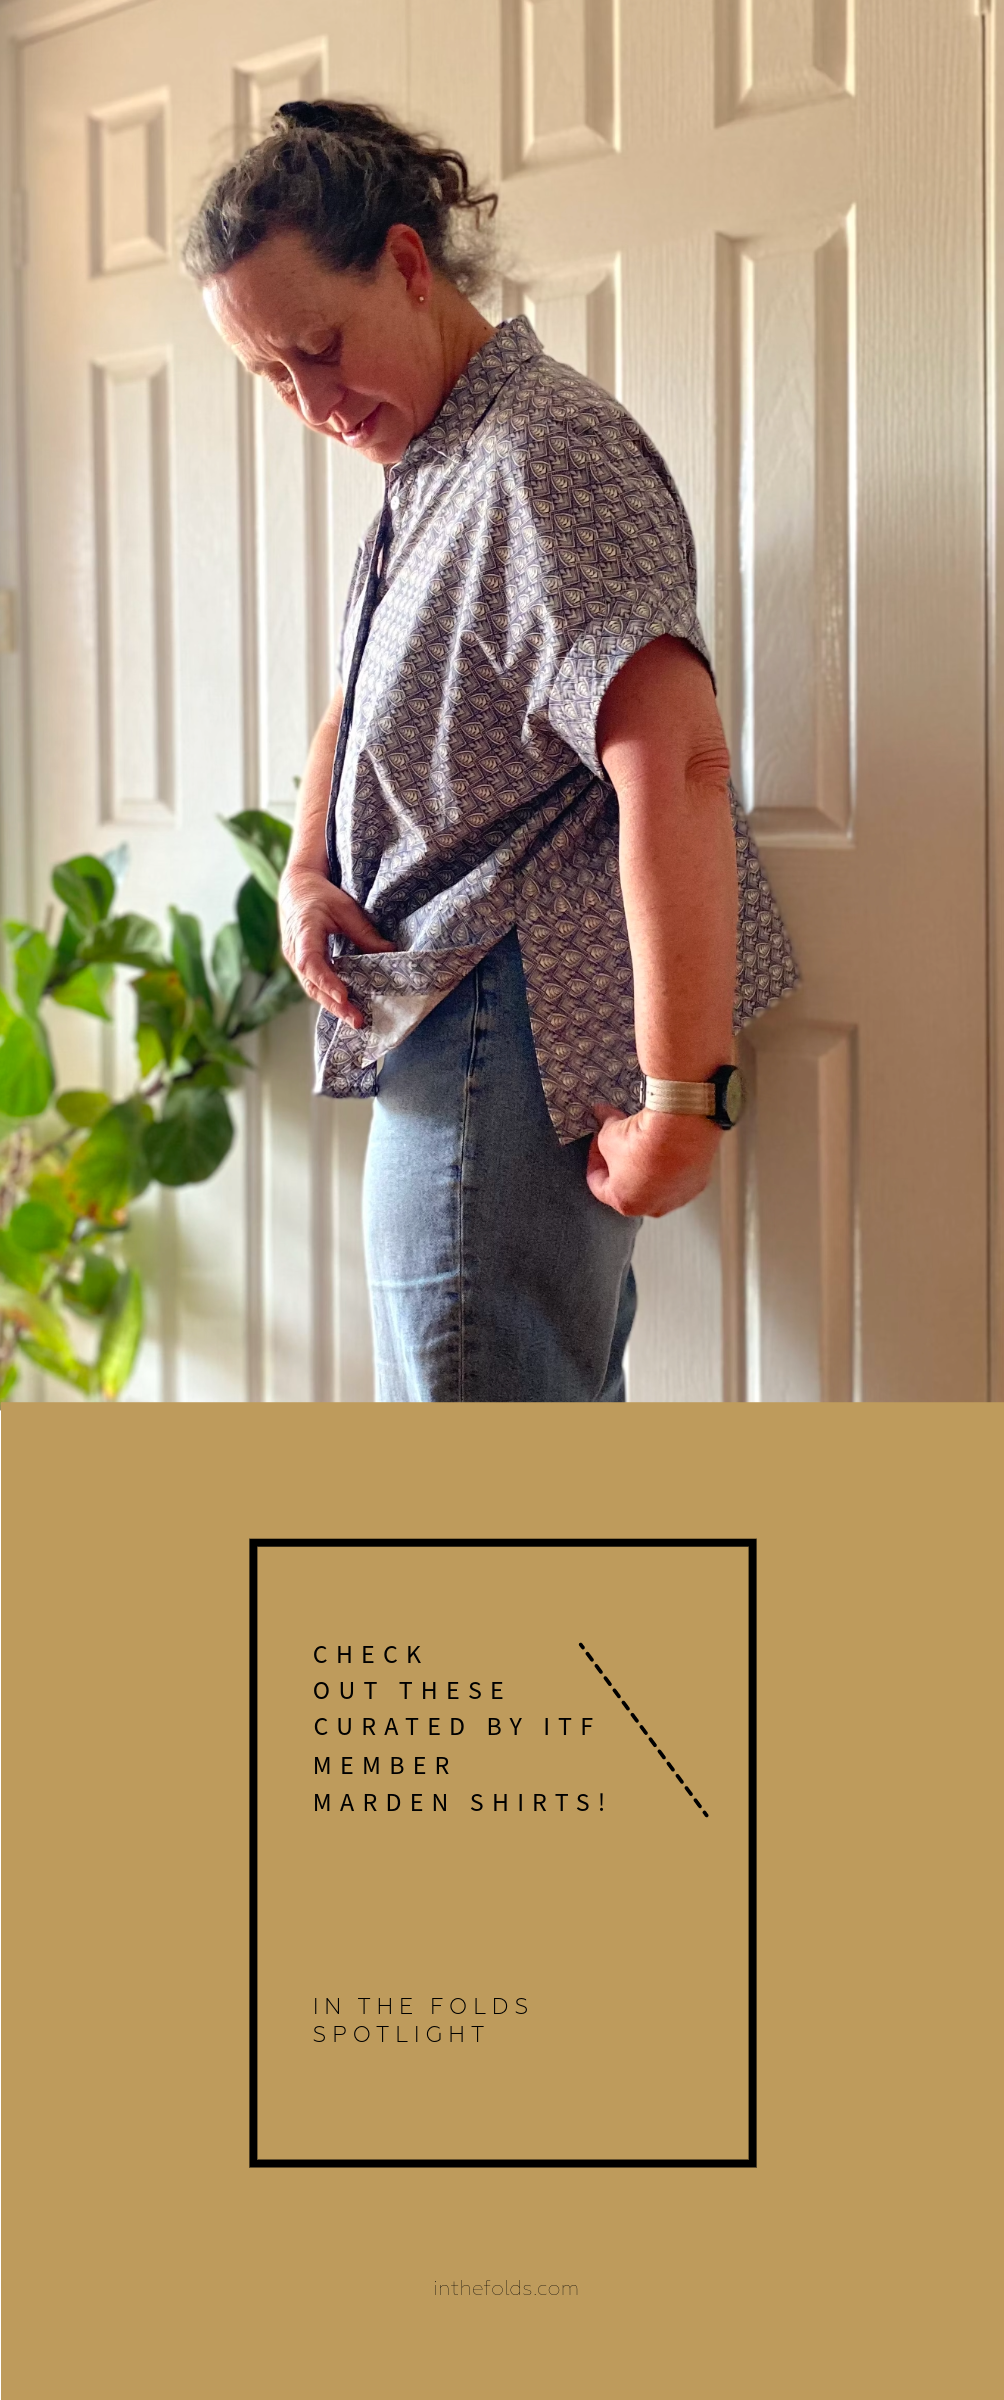
And this month we've been seeing some amazing Marden shirts popping up in our private online community. So, we thought we should share a few with you, in case you need some #sewinginspiration.
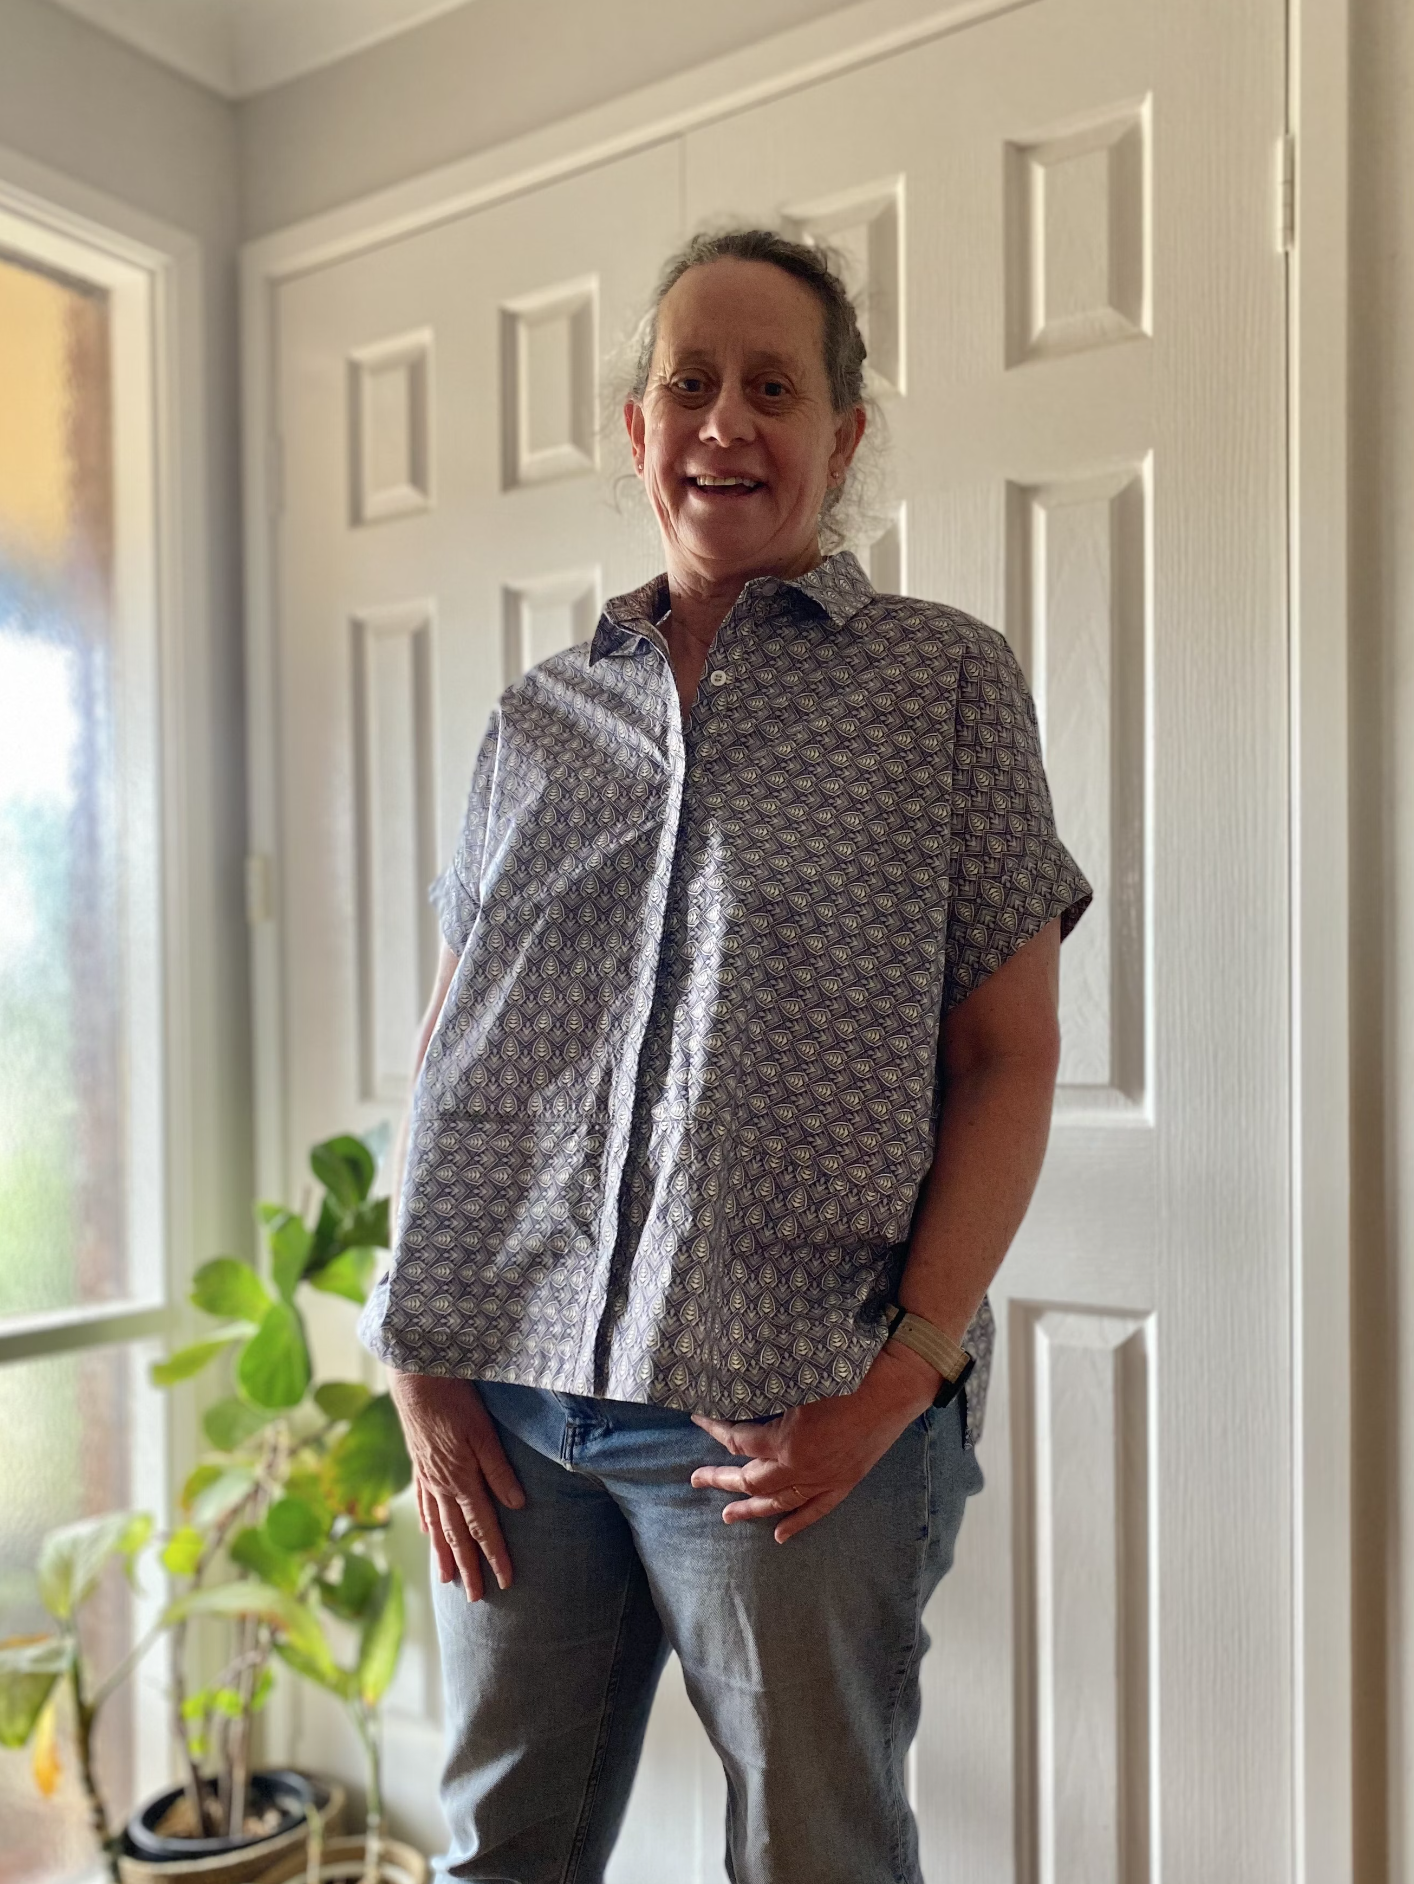

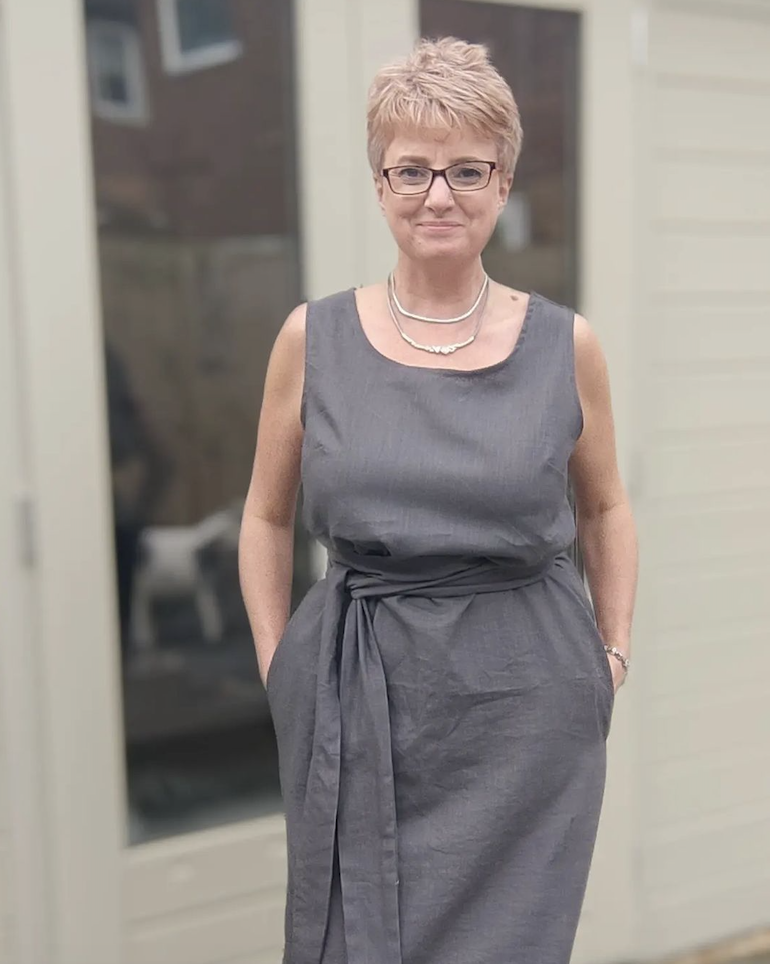
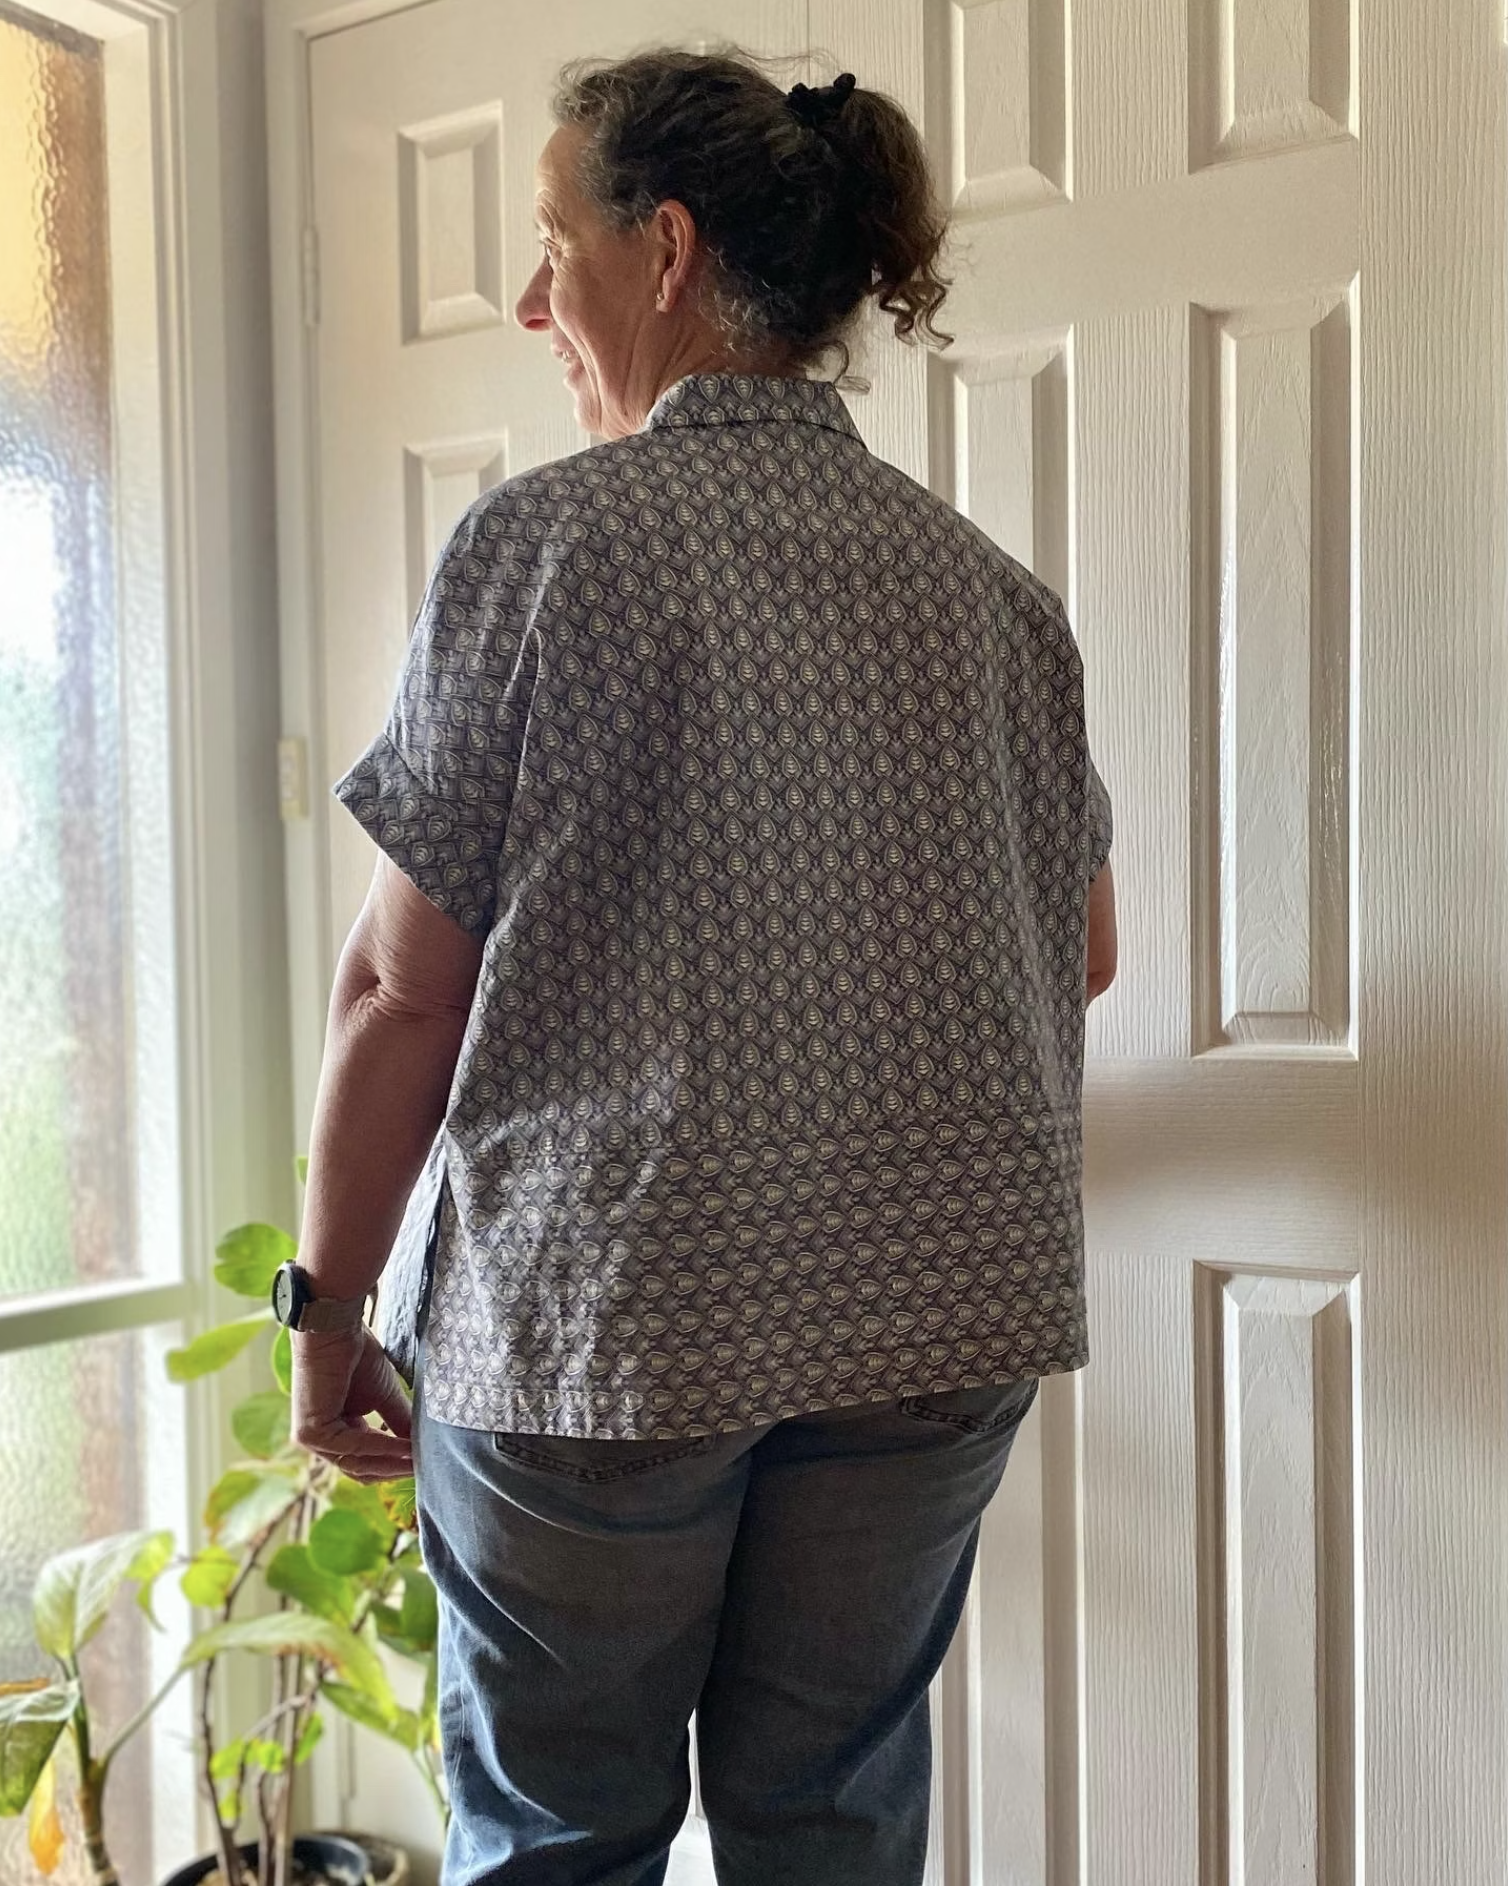
Sue’s Marden shirt - View B
One of our founding Curated by ITF members, we had an inkling that the Marden shirt would be right up her alley… and we were right! Sue made View B with the short, capped sleeves and chose a printed Liberty poplin, which turned out to be perfect for this piece.
What Sue Said about Marden
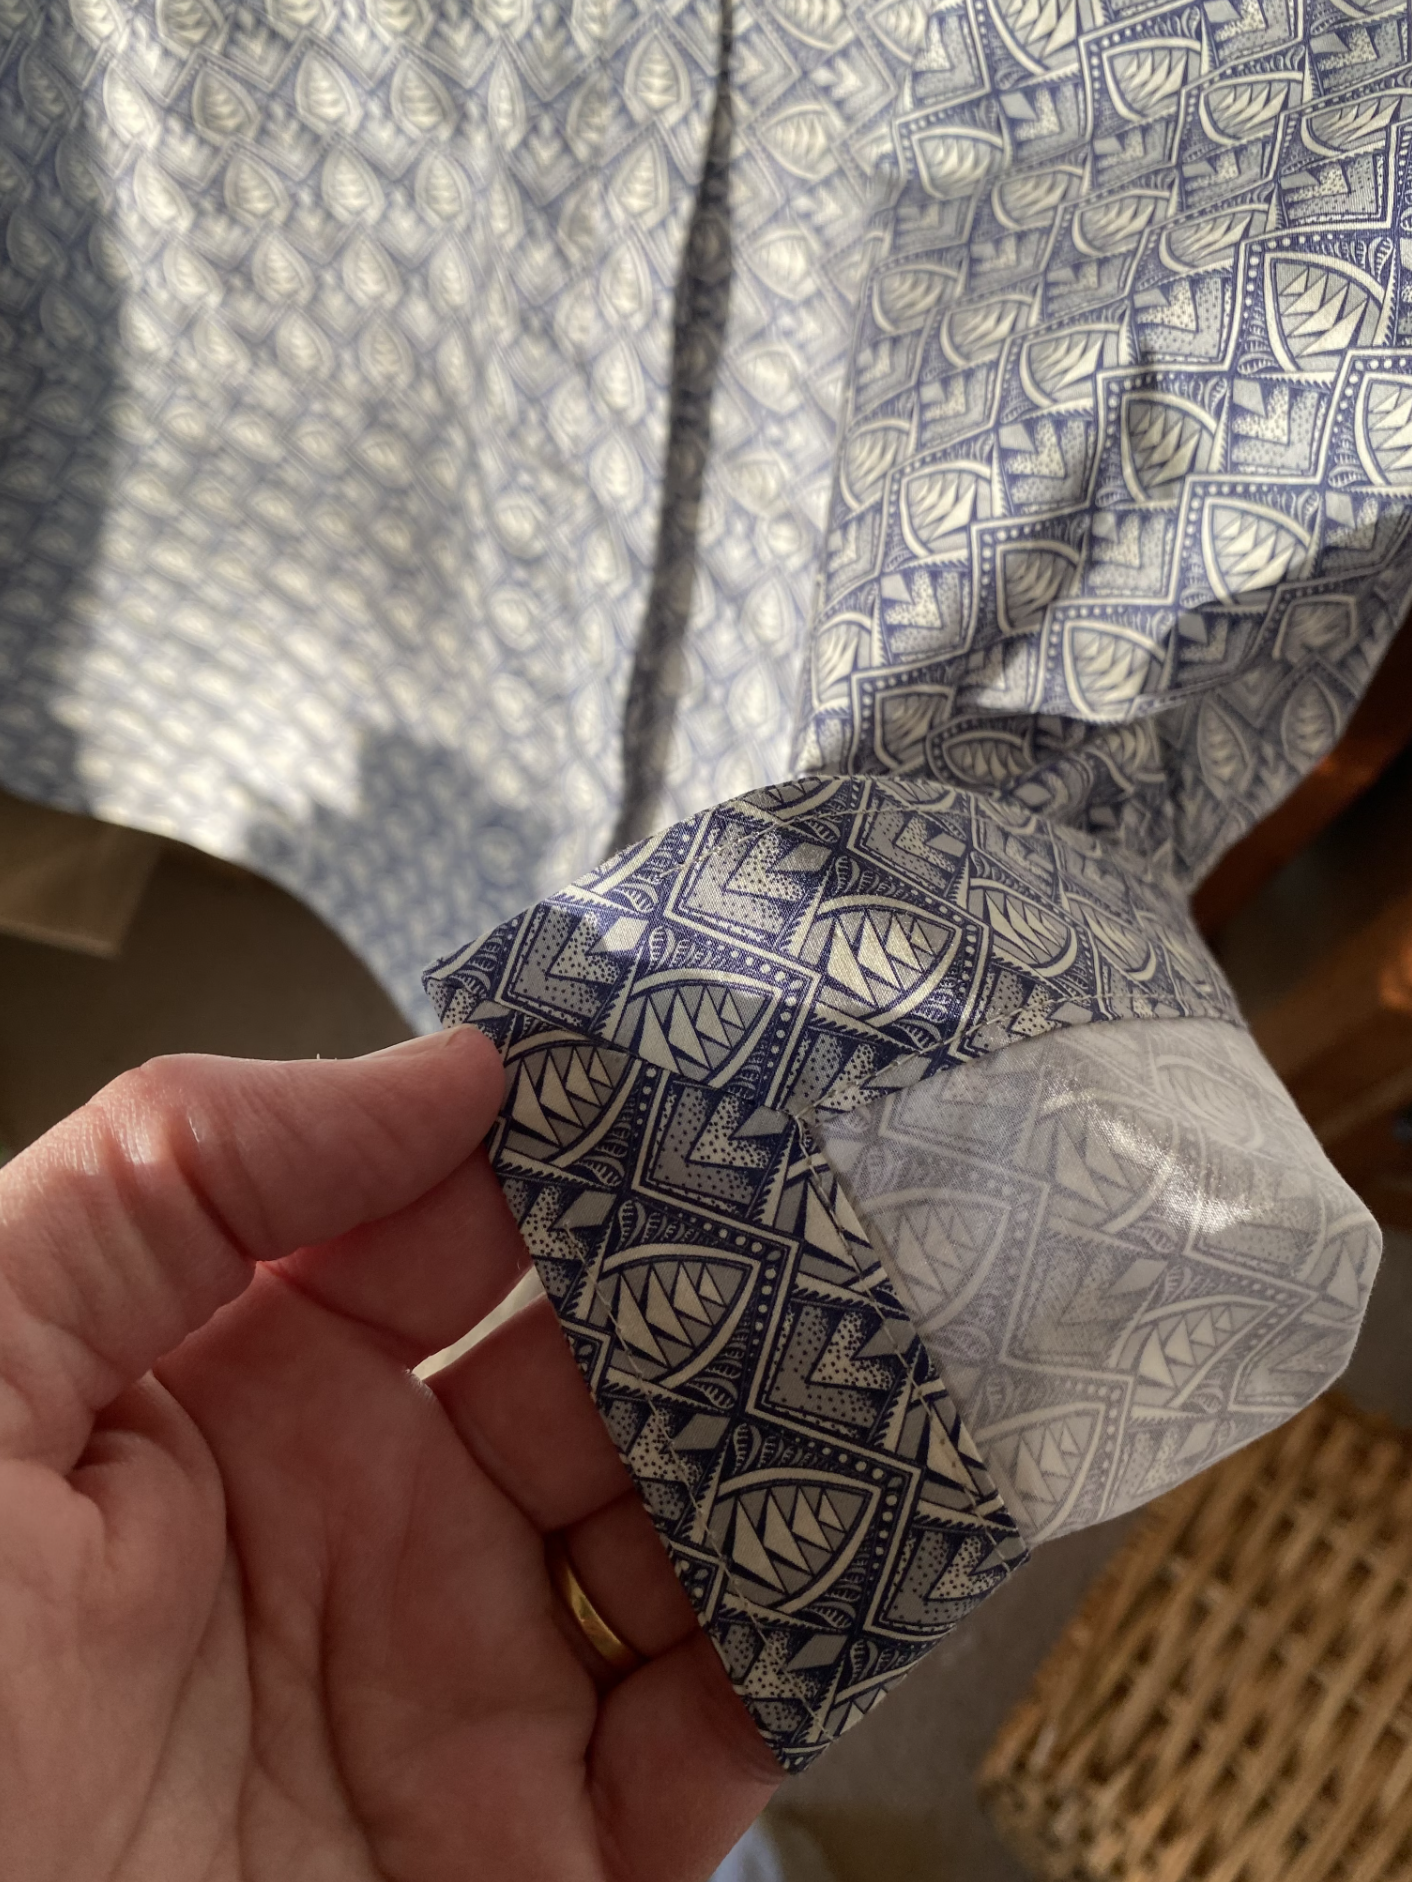
“I took my time sewing this great new pattern from @inthefolds. A little bit of sewing each day meant I could really enjoy all the lovely design features and clear instructions. It comes together beautifully. French seams, mitred splits and concealed button placket - lots to love!
I’m so glad that the ITF team led the way on playing with stripe direction because it gave me the courage to play too.
The splits and placket are a delight. One of my favourite things about the construction was that the hem and buttonholes were done before the finish. It made them seem less of an inconvenience at the end, and more a part of the process.
Do yourself a favour - make a Marden!”
build your sewing skills with a
curated by itf membership

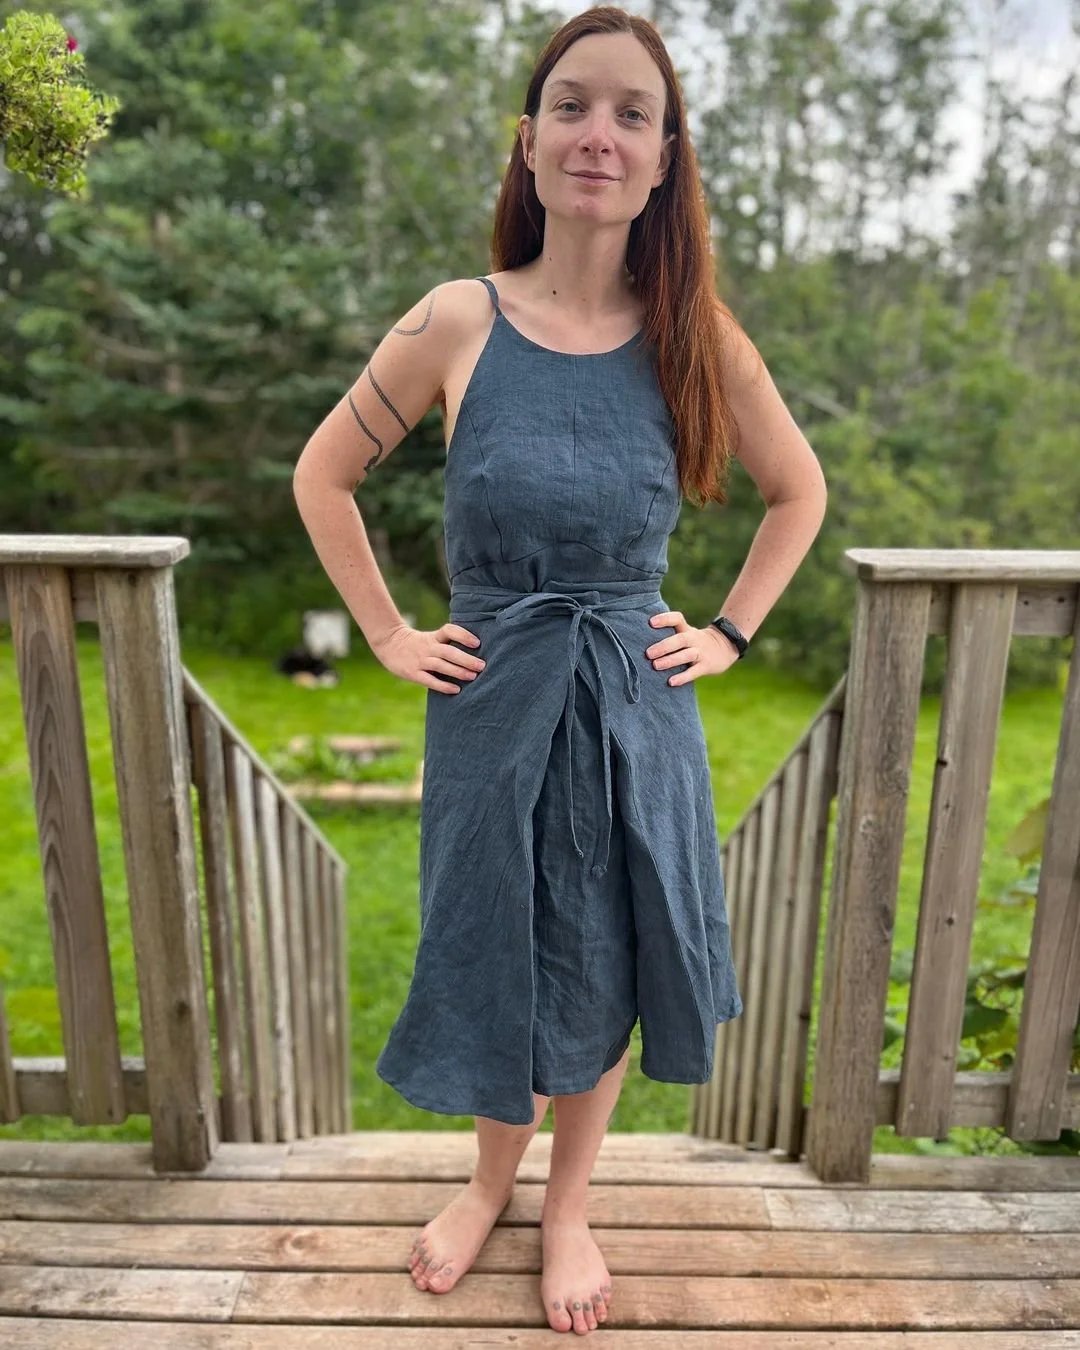
Lynn’s Marden shirt - View A
A committed In the Folds maker (with a collection of 9 Sawtell dresses at last count), we’ve featured Lynn’s creations before (you can read her ITF Spotlight post here). So, we weren’t surprised when she casually posted about her latest ITF make, a Marden shirt (paired beautifully with her Attwood pants).

WHAT LYNN said ABOUT MARDEN
“I played around with stripe placement in this thrifted linen and really enjoy the final shirt.
Cutting it out was slightly mind-bending because of the multiple pieces, but it was a very very fun sew. I loved the mitred corners on the hem facing, and enjoyed piecing the whole thing together - it was also my favourite instructions for a collar that I’ve made thus far! And also the first time doing a concealed placket, for which the video (in the private online community) was really helpful.
I was surprised by the closer fit around the neck as well as the armholes, which serves as a good counterbalance to the oversized fit overall. It’s a very comfortable shirt and fun to style, and I look forward to wearing it all the time! Already have another cut out in a soft polka-dotted cotton lawn and can’t wait to see how it fits, before potentially working on a hack for a shirtdress.”

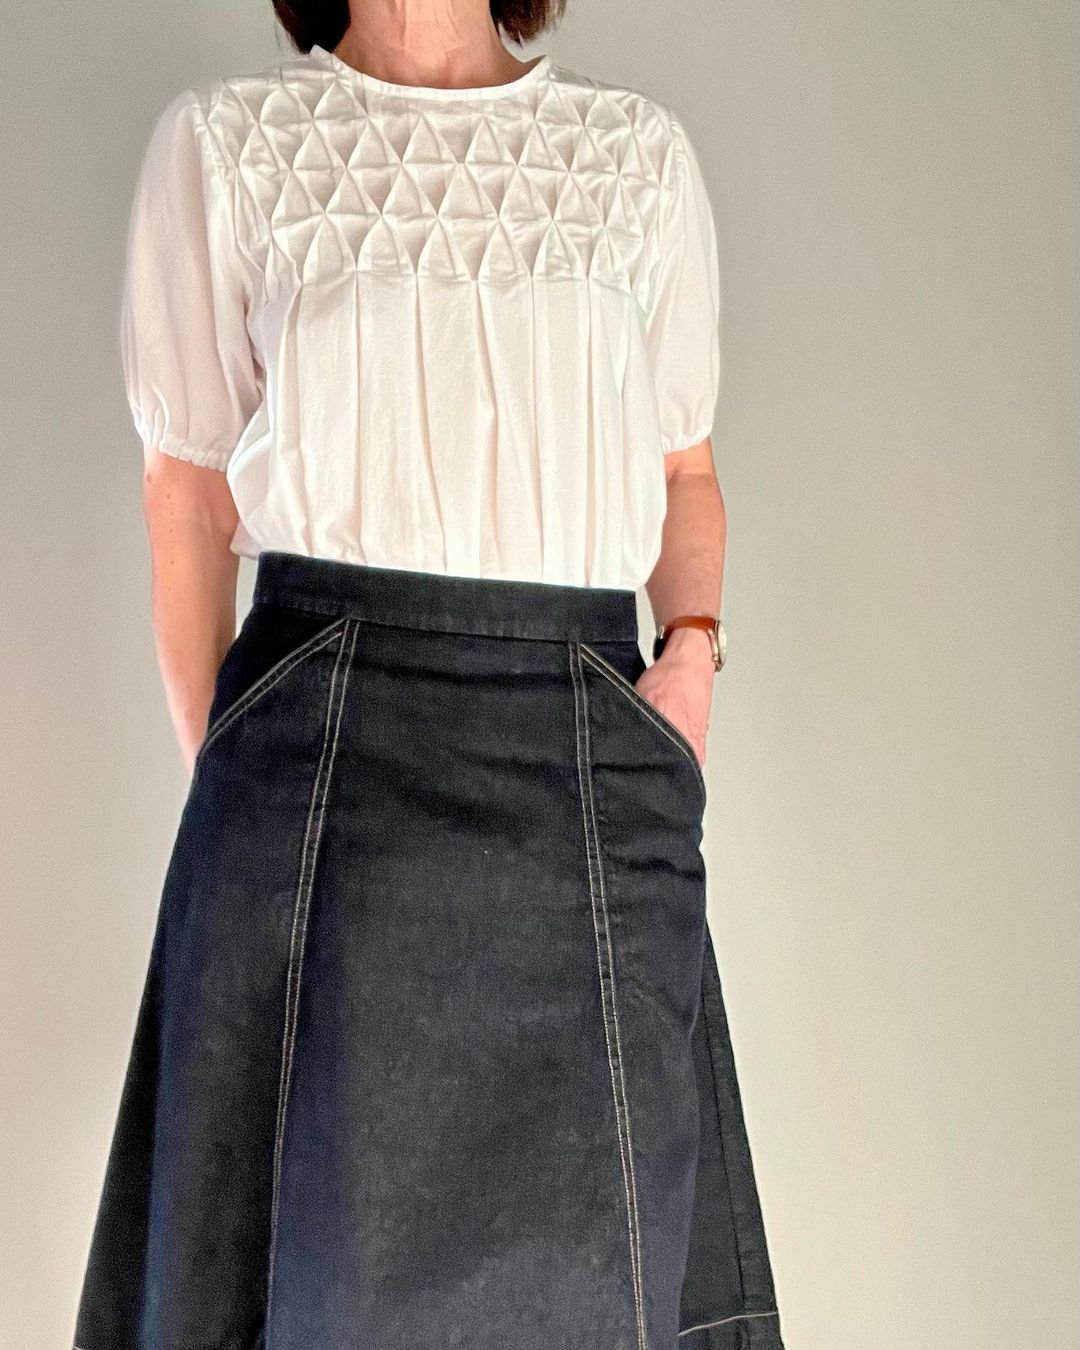
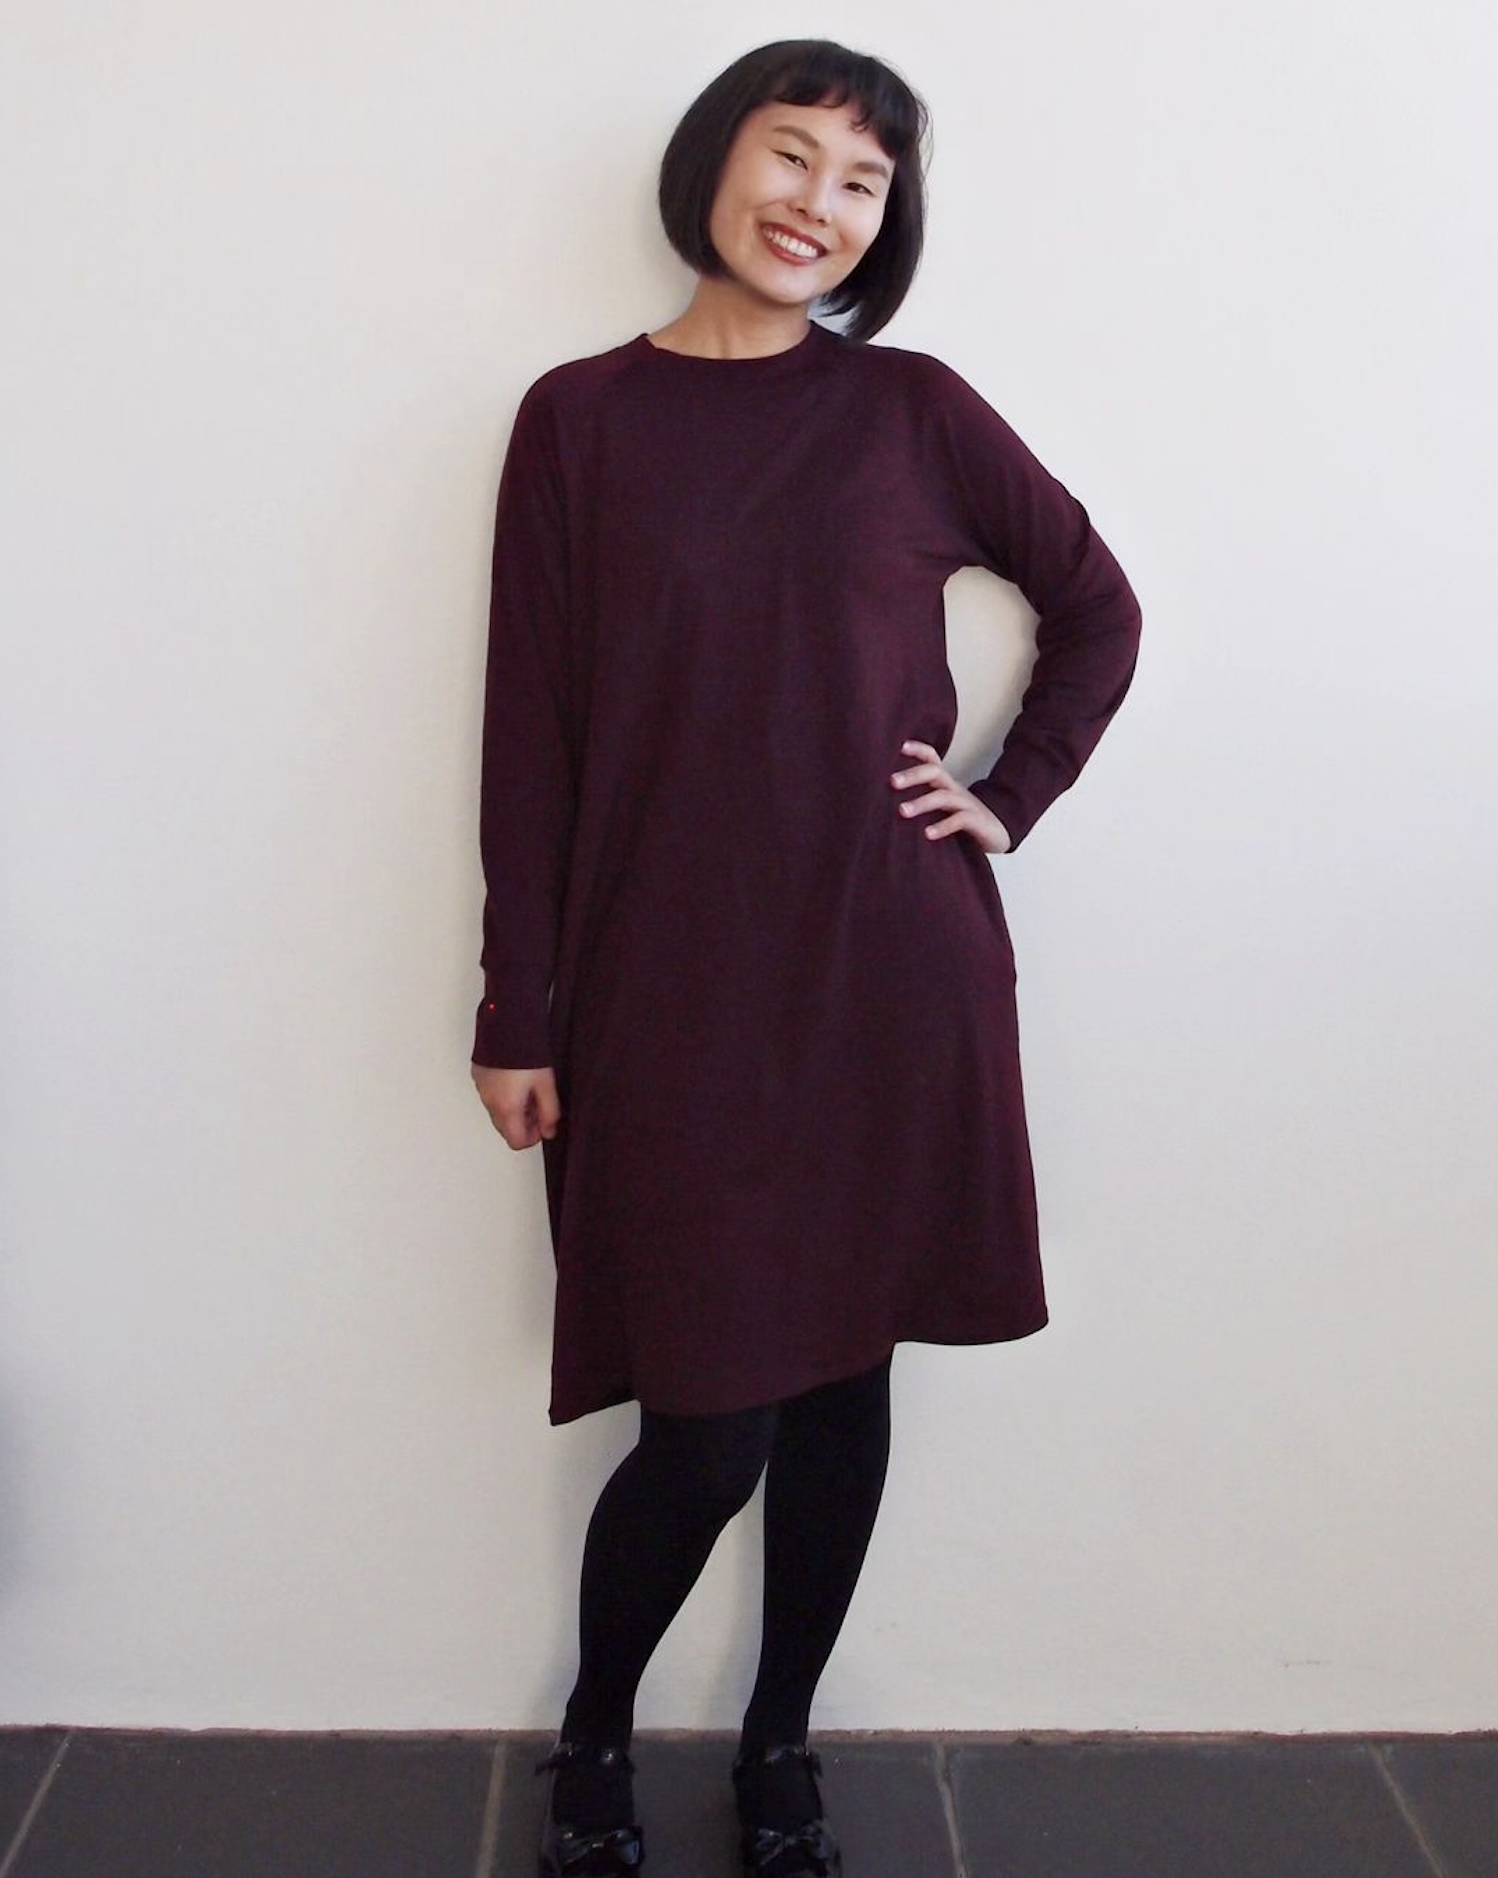
shuay’s marden shirt - view a
Our resident hacker, Shuay is not afraid to give an idea she has a go, and we can usually find her sharing design inspiration she’s come across, along with her ideas for hacking an In the Folds pattern into something completely new. She can also often be found making her Mum clothes (isn’t she the best!?) and this time it was a Marden shirt!
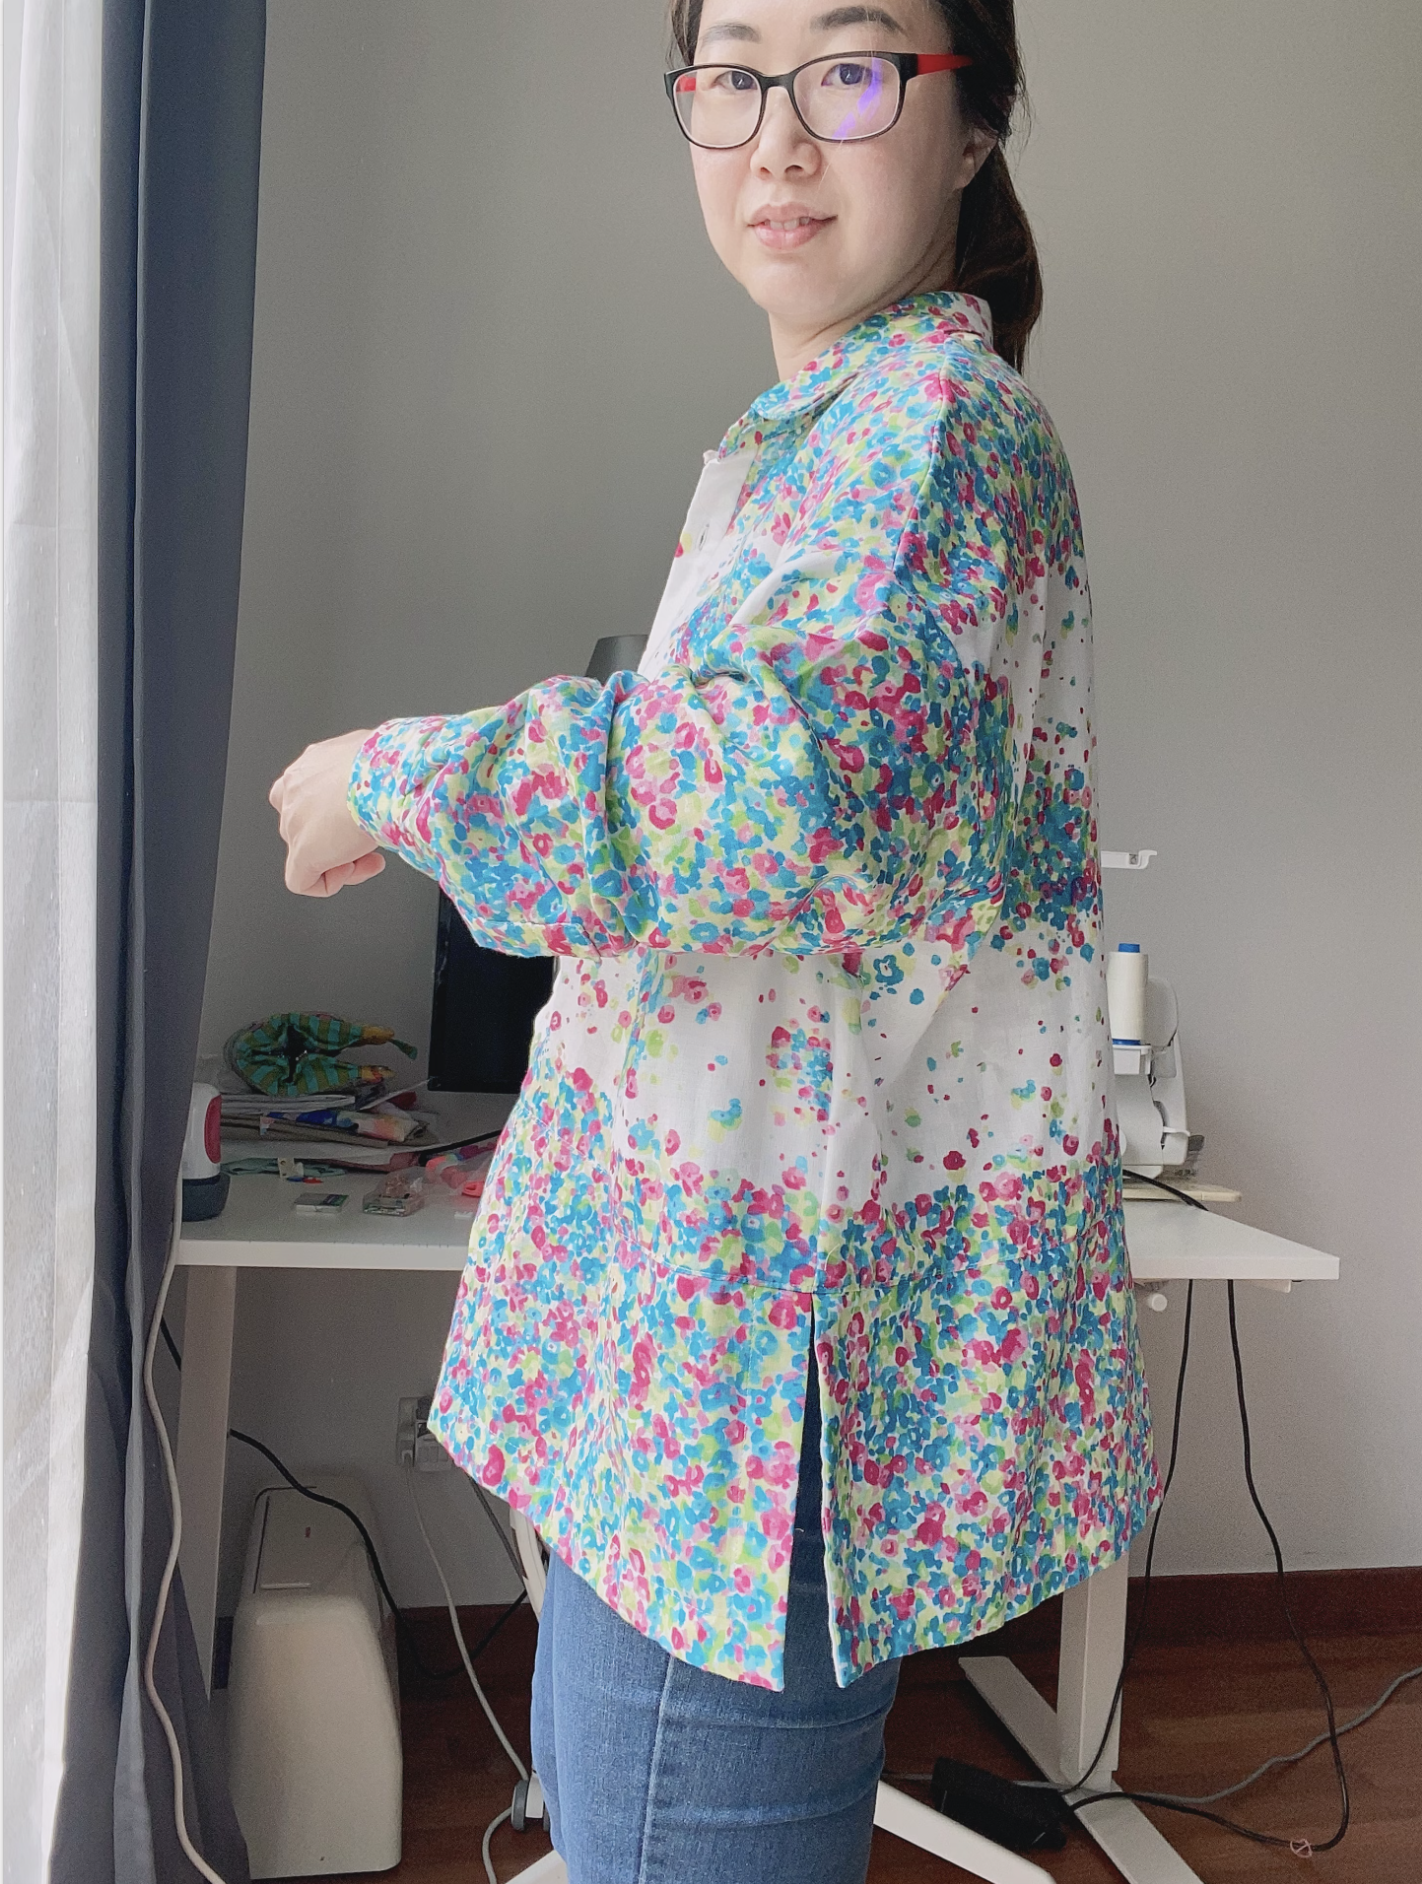

WHAT SHUAY said ABOUT MARDEN
“Mum is delighted to see my message this morning. She likes this style more than the other shirts she owns. She likes the opening on the sides, the roomy bodice and formal collar.
I made this in 2 metres of Nani Iro double gauze. I like the oversized look of the shirt on me. “
I hope these Marden makes give you some inspiration, if you’re lacking in sewjo at the moment. And join us in our Curated by ITF subscription before the end of the month to start your shirt sewing journey!
Happy sewing,
Emily
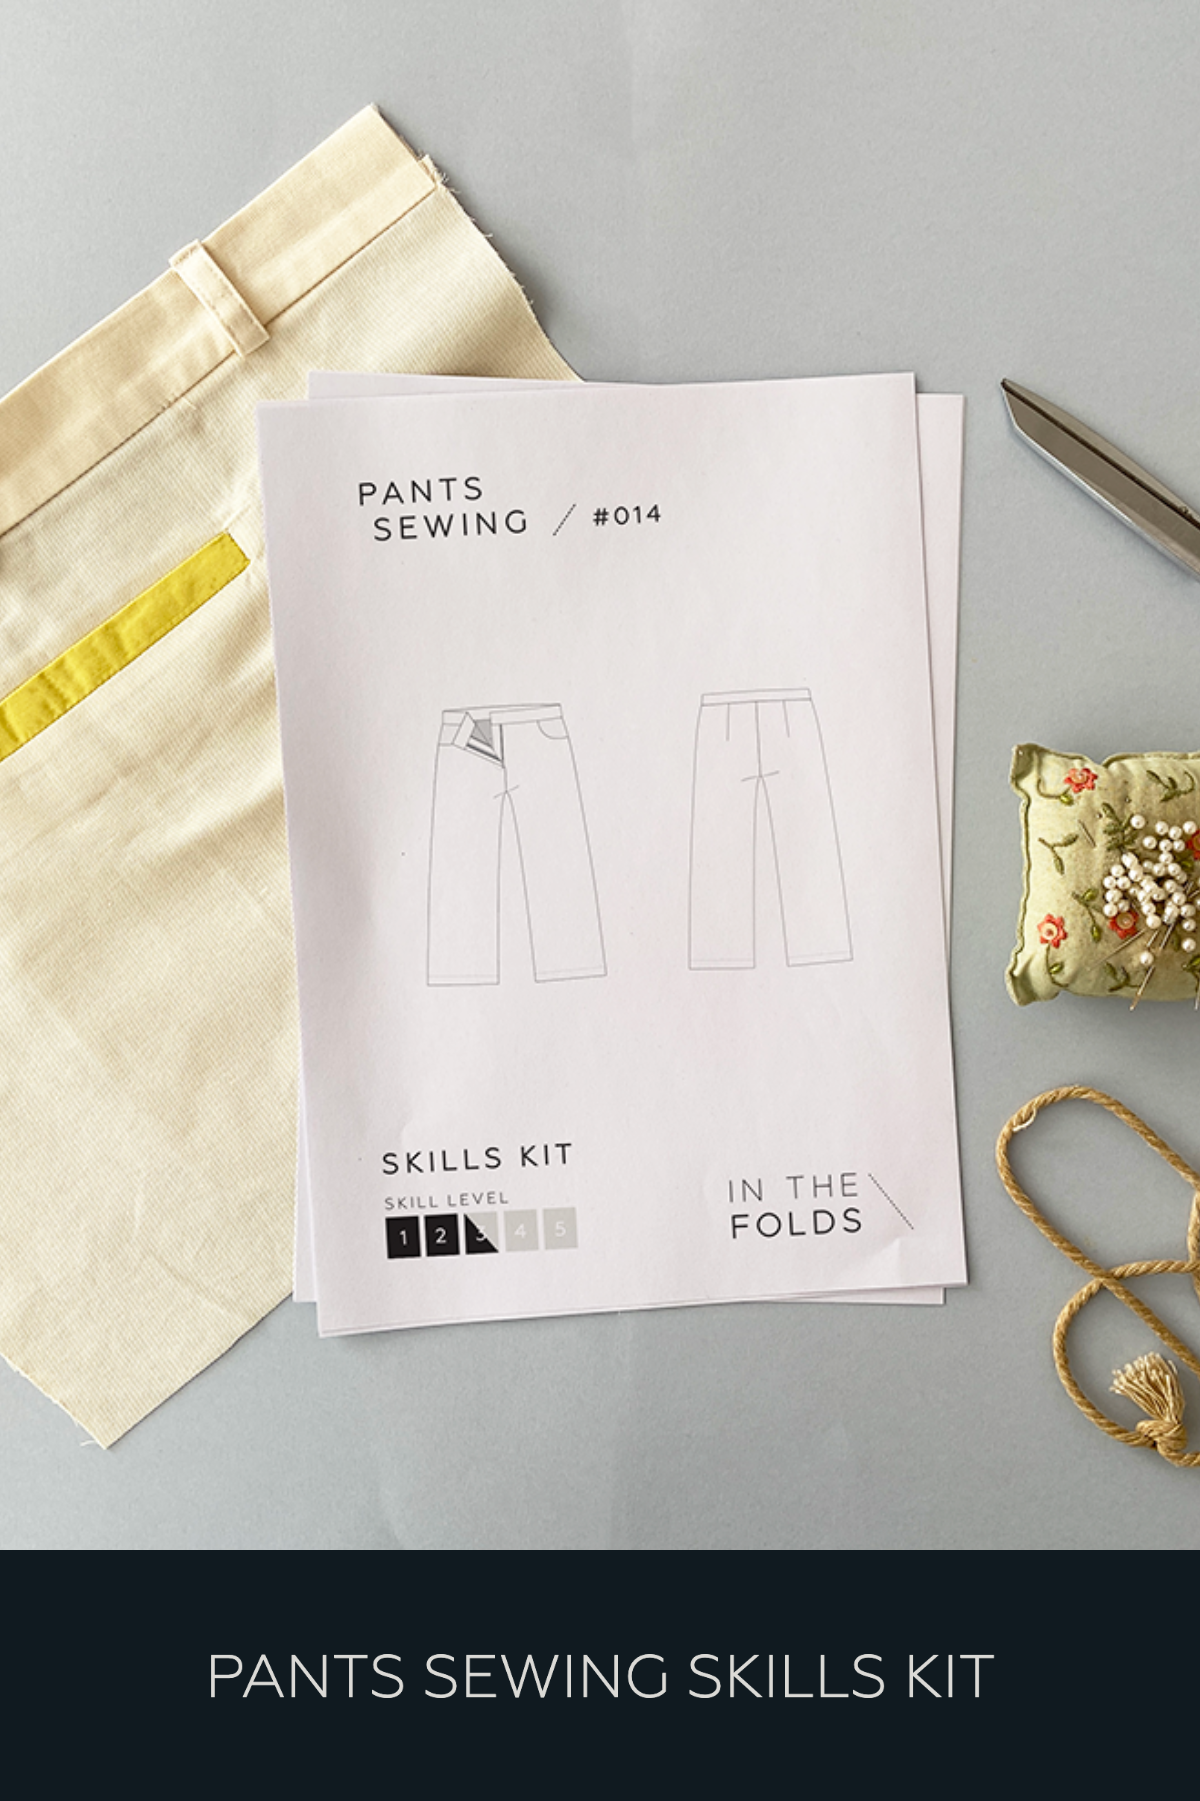
IMPROVE YOUR PRECISION SEWING WITH OUR
pants sewing series
Now available as a standalone three-part project series in our shop!