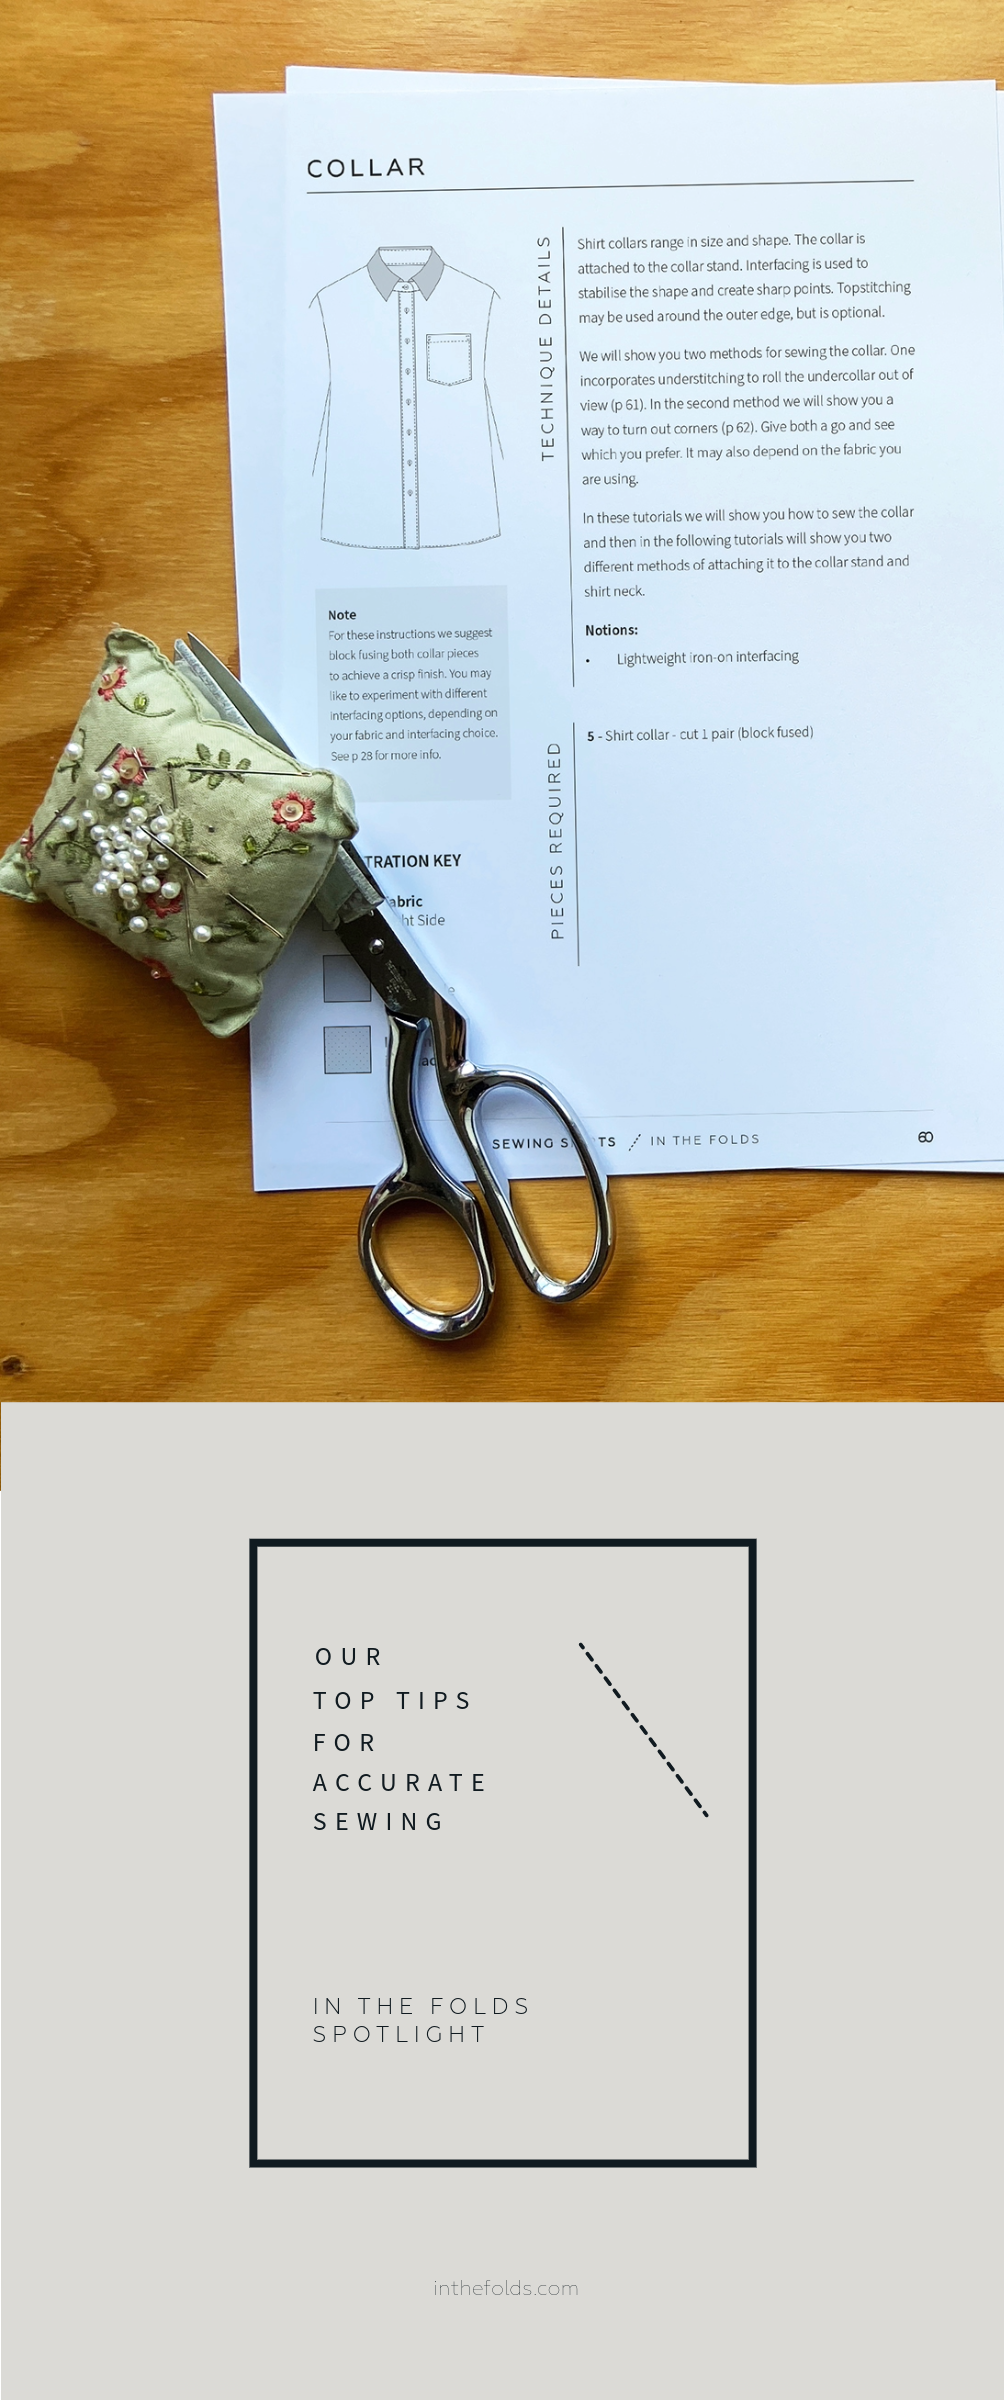
This month in Curated by ITF we’re focusing on learning the skills and techniques required to sew structured shirts with the Sewing Shirts Skills Kit, part one in our latest project series that covers everything you need to know to sew (and hack!) shirts.
One of the main things to keep in mind when sewing shirts is how important it is to sew precisely. Think about the points of the collar, the ‘house’ shape that makes the sleeve placket, the fold of the button placket… There are so many elements to a shirt that must all come together precisely and neatly in order to make a beautifully finished garment. Focusing on accuracy when sewing each individual element of a shirt will go a long way towards sewing a garment that looks like it’s been made by a professional!
If you’re ready to step-up your skills and the look of your me-mades by sewing more accurately, here are the areas you should focus on.
FABRIC
Selecting the right fabric for the garment you’re making is very important - so much so that it can make or break the finished outcome. If you’ve made a few garments by now, you’ve probably experienced the disappointment of finishing a garment and realising that the fabric has let you down.
When choosing fabric there’s a few things to keep in mind: How well does the fabric press? Is it bulky? Does it fray easily? Does it stretch? These factors will make some fabrics more difficult to work with than others, so do yourself a favour and select a fabric suitable for the project. Not sure how to do this? Take a look in your wardrobe or favourite clothing store for inspiration - what types of fabrics are your favourite shirts made from?
In general, cotton is a very stable fabric to work with, plus its breathable and presses well. As a result, it’s the most commonly used fabric for shirt making. We recommend it for these same reasons, and particularly if you are new to sewing shirts, but you may also like to consider shirting, poplin, twill, gabardine, lawn, chambray or flannel.
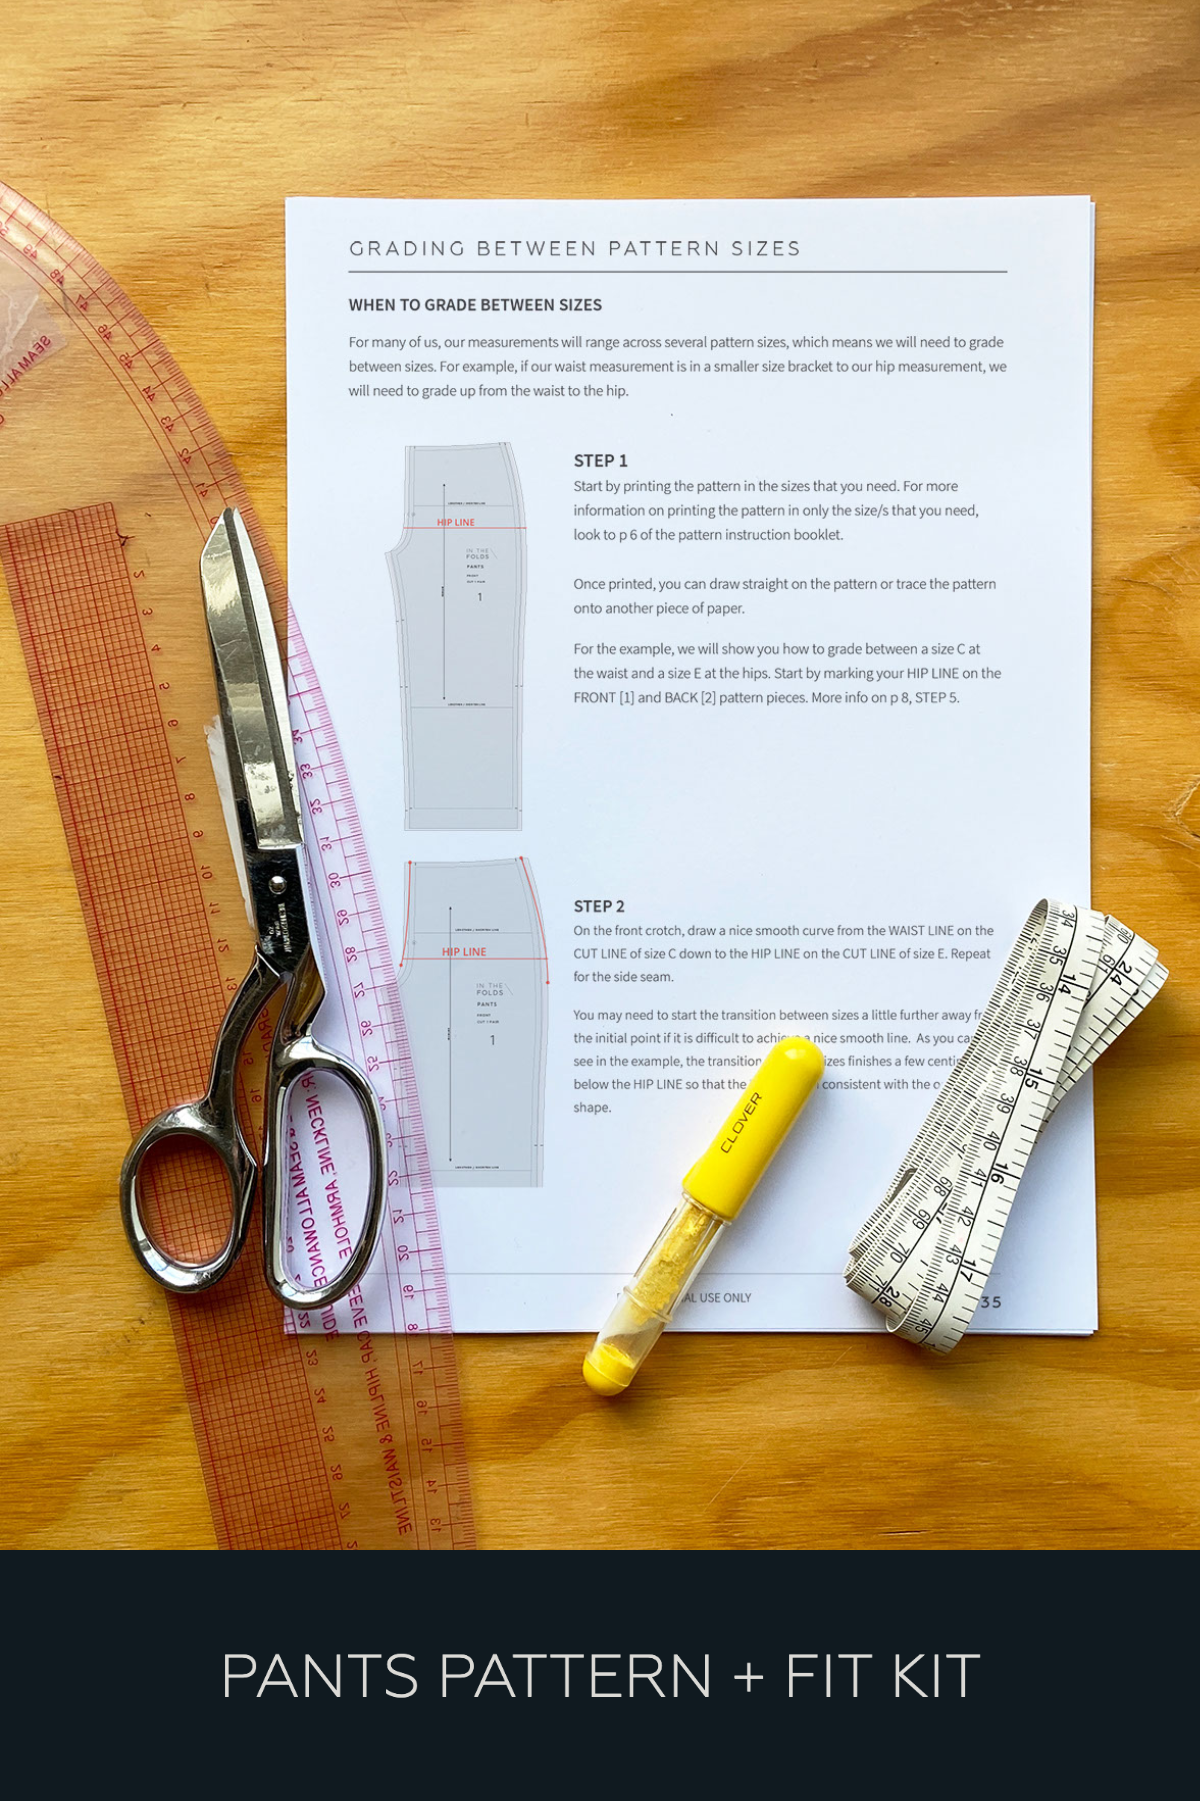
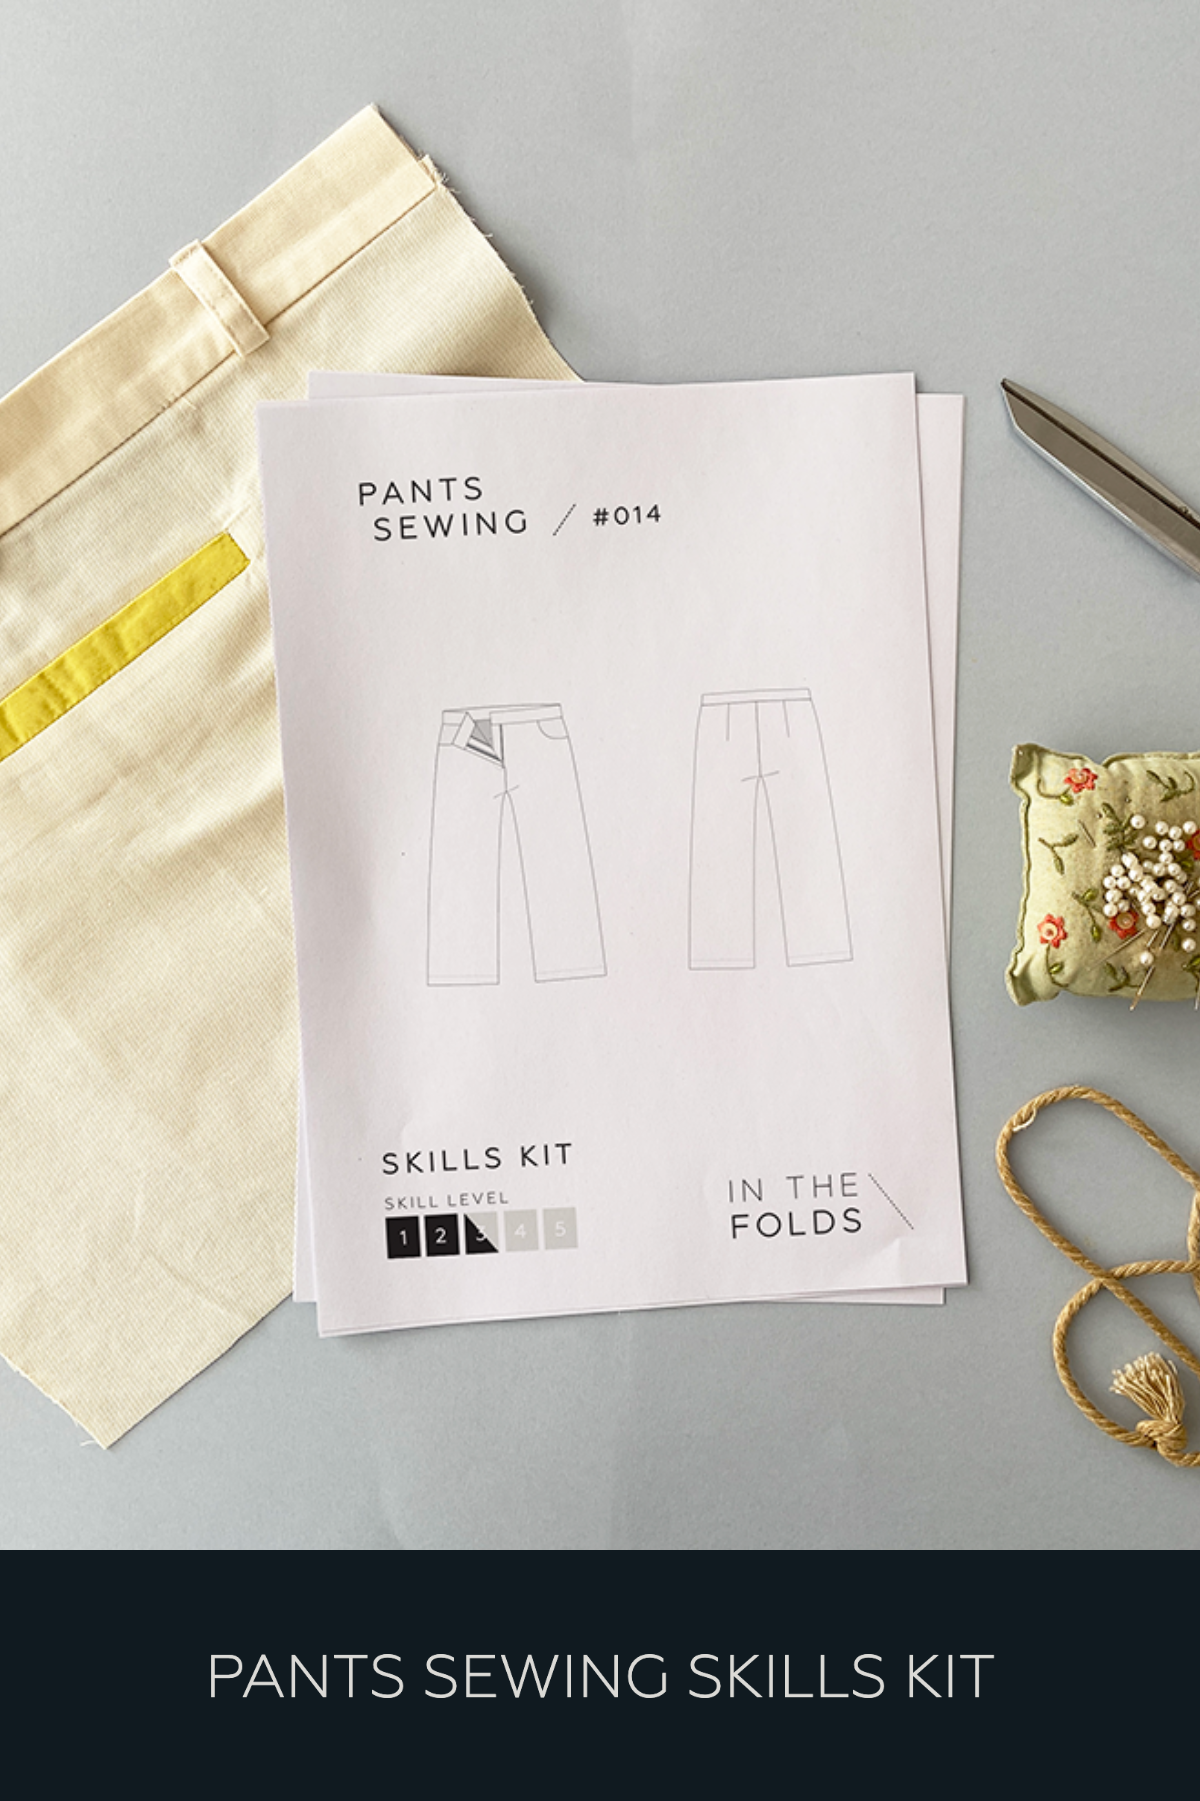
Whatever fabric you choose, sewing samplers (like we’re doing this month with our Sewing Shirts Skills Kit or with our Pants Sewing Skills Kit, part one of our Pants Making Series) gives you the perfect opportunity to test out fabric before cutting out a whole garment. Samplers give you the opportunity to see how the fabric handles when it is cut, pressed and sewn. And the best part? They give you a chance to change your mind!
build your sewing skills with a
curated by itf membership


TOOLS
As with any creative endeavour, there are a multitude of tools you can incorporate into your sewing practice. Apart from a good pair of sharp scissors (which is an absolute must-have) we prefer to keep things simple and make do with the basics, because it can get quite expensive buying all the gadgets.
If you’re interested, a few things you might like to add to your toolbox that may make sewing shirts (and other garments) easier and sometimes more accurate include a sleeve board or sleeve pressing ham (one or the other is enough), buttonhole foot, an expanding sewing gauge for marking buttonholes, buttonhole cutter, corner turner, Fray Check and starch.
Don’t feel like you need to rush out and buy these tools all at once. They are things you can gradually add to your collection over time and, if you’re lucky, may also be found in thrift or second hand stores for a bargain.

CUTTING
Cutting your garment accurately is one of the best ways you can set yourself up for success as it is almost impossible to sew a garment precisely if it has not been cut accurately first. The following tips will improve the outcome of your cutting practise.
Always pre-wash your fabric. Use the settings and method you will use when you wash the finished garment.
Iron your fabric before you start.
Spread it out on a large flat surface. I know this one can be a bit tricky if space is limited, so if this is the case, consider cutting the pattern in sections so that you can get the fabric as flat as possible.
If you’re cutting a fabric that is very delicate or likely to move around in the cutting process, consider cutting between layers of paper.
Use pattern weights to hold pattern pieces in place.
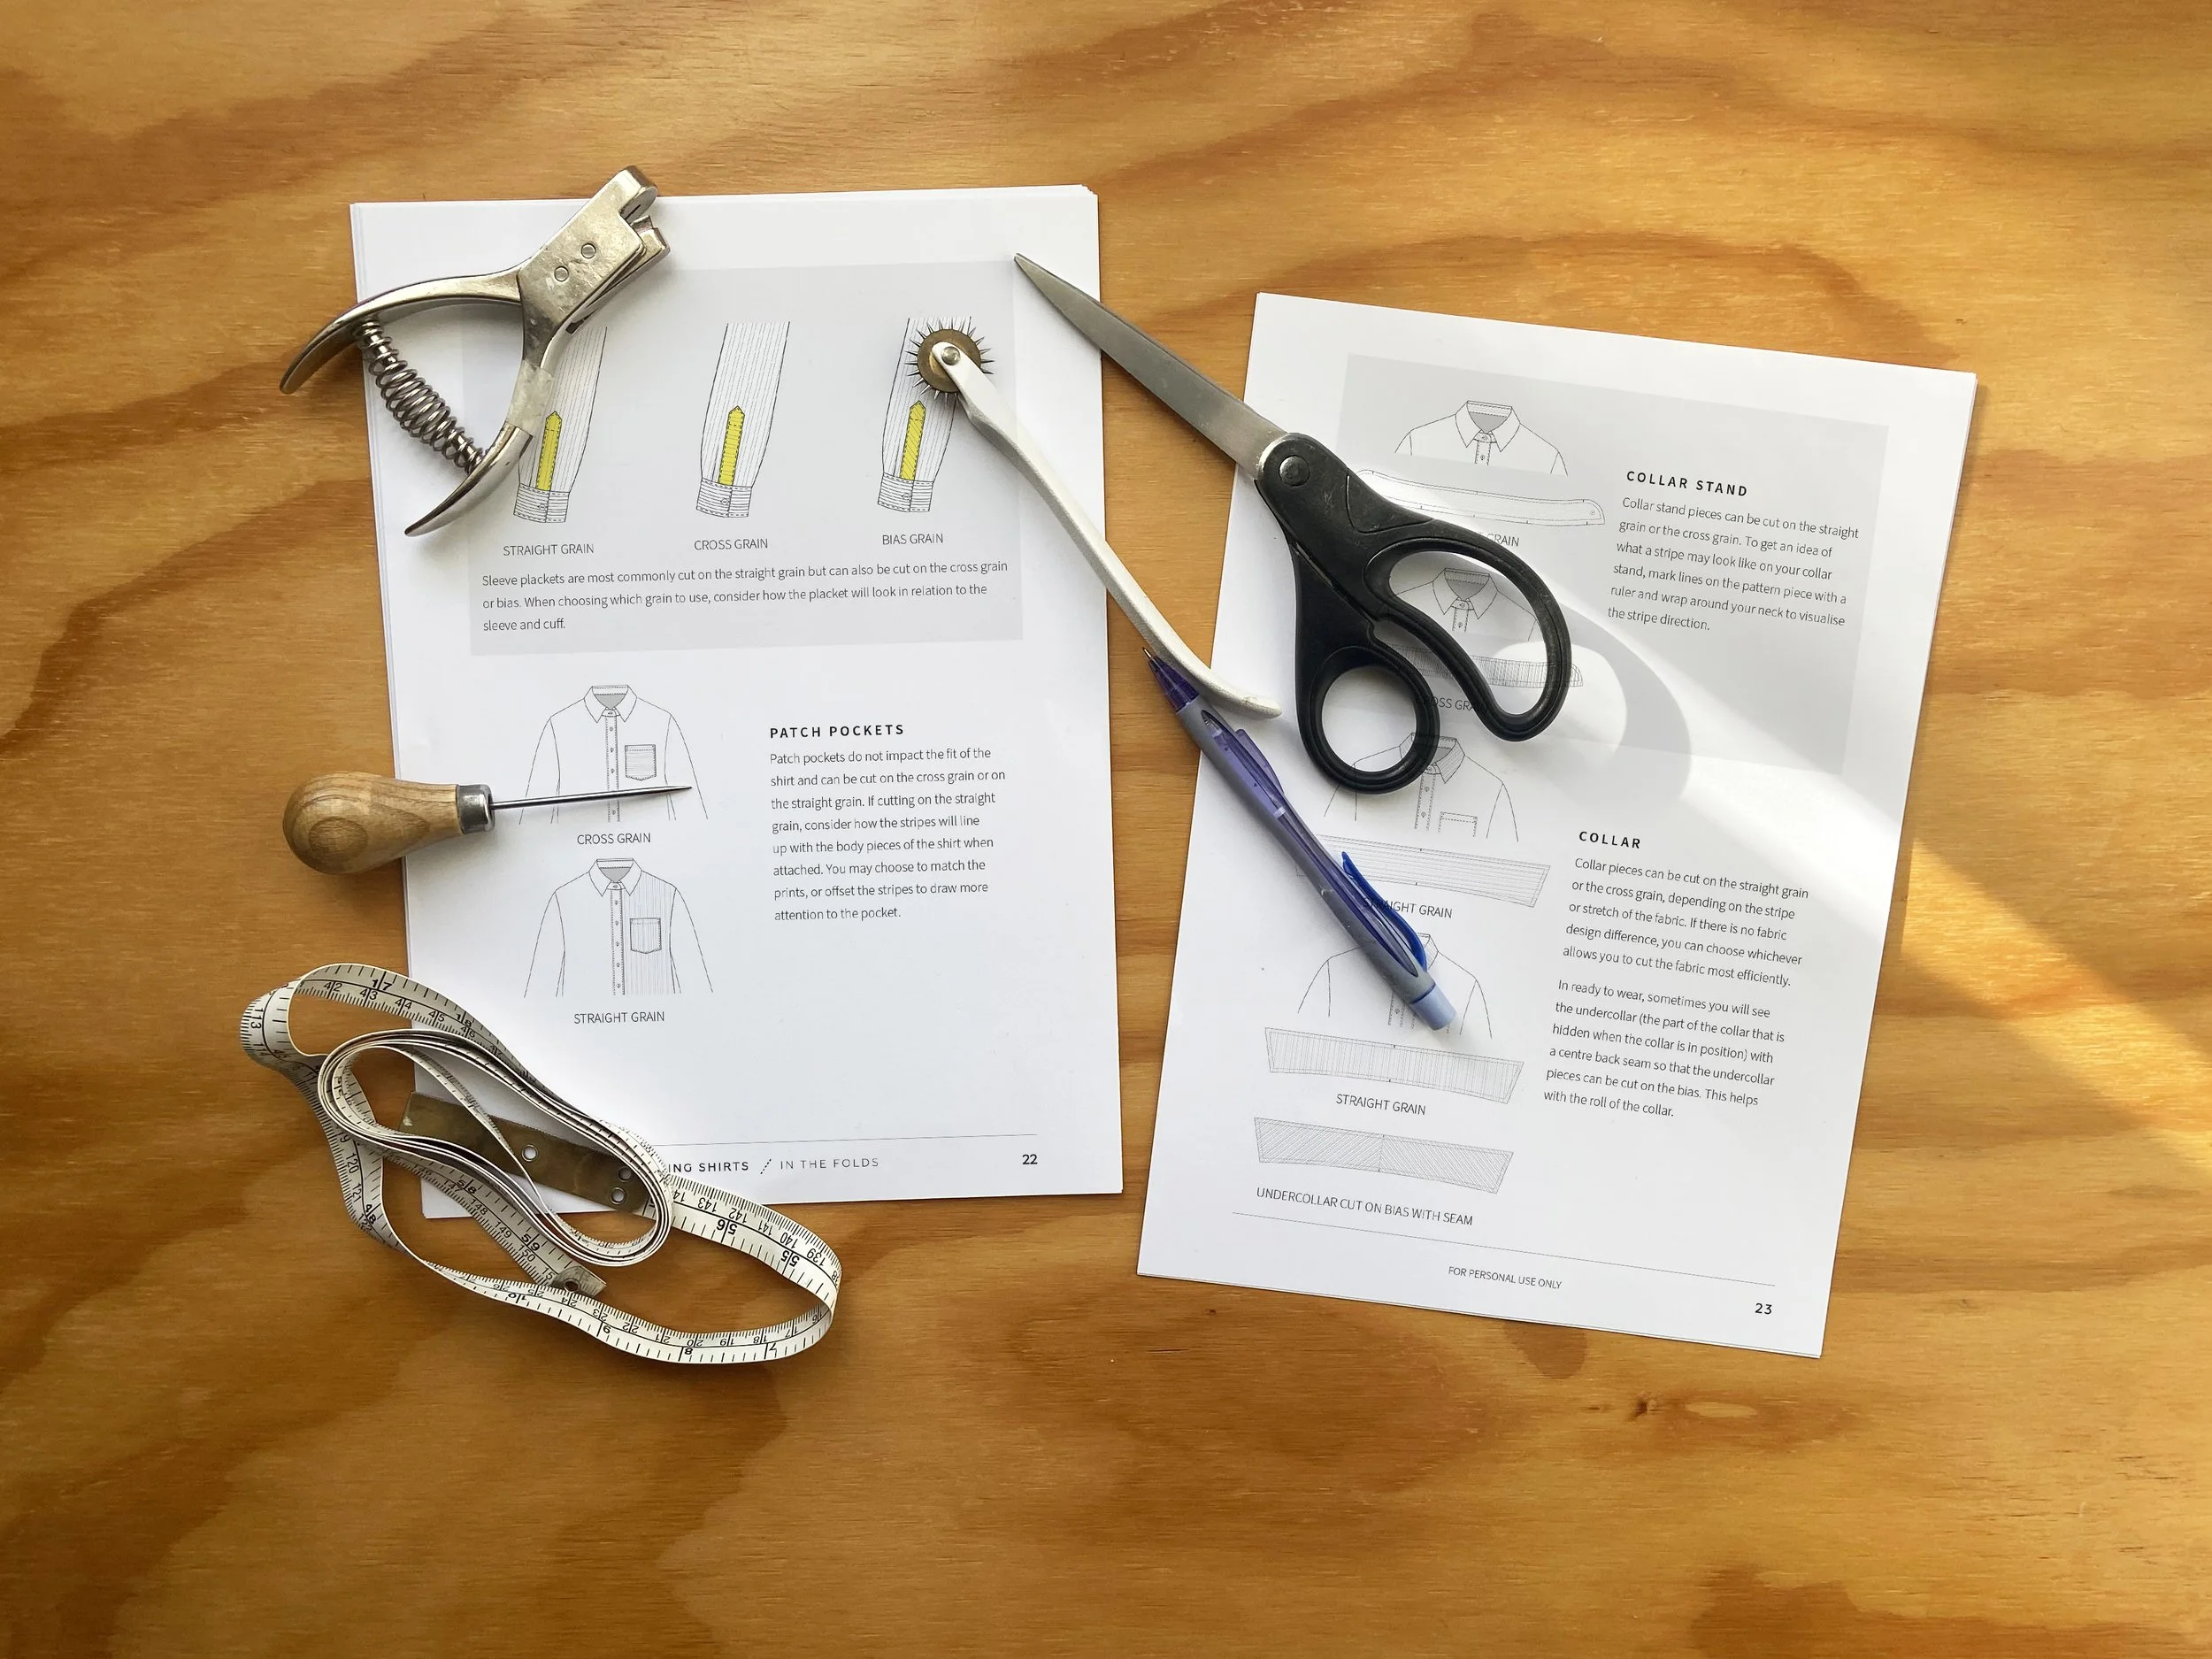
When cutting stripes, it’s even more important to cut the fabric accurately or you won't be able to match the stripes when sewing. To start, you will want to cut the pieces 'flat' rather than on the fold. This means that you need to create a full pattern piece or cut out half and then carefully flip the piece to cut the other side. Cutting flat also helps when working with fabrics that are slippery, stretch easily or are likely to move.
If a pattern is cut on the fold, finger press the fold (or use an iron) so that the edge of the pattern sits exactly where it should.
Use very sharp scissors.
Keep pattern pieces pinned to the fabric until you are ready to use the particular piece to prevent stretching.
Take your time! Remind yourself that cutting can take almost as long as sewing the garment, and doing it right will set you up for success. To make the process more enjoyable, listen to a podcast or put something easy on Netflix to play in the background.
SEWING
If you’ve followed all our recommendations above, you’ve gone a long way towards creating a garment that will have a beautiful finish at the end. But, there’s still a lot you can do to make sure! Here’s what you can do to improve your sewing accuracy.
Change your needle before starting a new project.
Sew some samplers to practise any techniques that are new to you, and to test out how your machine and thread handle a particular fabric.
Never skip the pressing! Your iron is your best friend when it comes to precision sewing.
Have your seam ripper handy. (Don’t worry, we all make mistakes and it’s part of the process.)
Use staystitching to prevent the fabric stretching. The most common areas to staystitch are areas that are curved or cut on the bias such as necklines and armholes in sleeveless garments.
Use the hand wheel to walk your stitches in. This is the best way to land exactly on a specific point. Also use the hand wheel if you need to start a row of stitching at a specific point.
Use pins to ensure your pieces line up accurately before sewing. If you place your pins perpendicular to the seam you are sewing (with the pinhead on the outside) they are easy to remove as you sew.
TAKE BREAKS
My biggest tip is not a handy tool or a special sewing technique. It’s the reminder that it is a good idea to take your time when sewing. Take breaks when you need them. Don’t rush it. Even though everything around us may be trying to tell us the opposite, it’s not a race to the end. We can sew for the sheer enjoyment of the process. It’s ok to just enjoy the process and take the focus off the finished product!
If you’ve made a couple of mistakes or are getting frustrated, set your project aside and take a breather. Have a cup of tea, go for a walk, or even better, put it down until tomorrow. Fresh eyes and a clear brain does the world of good when it comes to sewing accurately.
If you’re really feeling annoyed with your project, chat about it with someone in your sewing community, because it’s always good to remember that you’re not alone when you hit a hurdle. And, if you haven’t got a sewing community, that’s another great reason to join Curated by ITF! We have a fantastic and very encouraging community of Foldies who are just waiting for another person to nerd out and chat about precision sewing with!
Happy sewing,
Emily
IMPROVE YOUR PRECISION SEWING WITH OUR
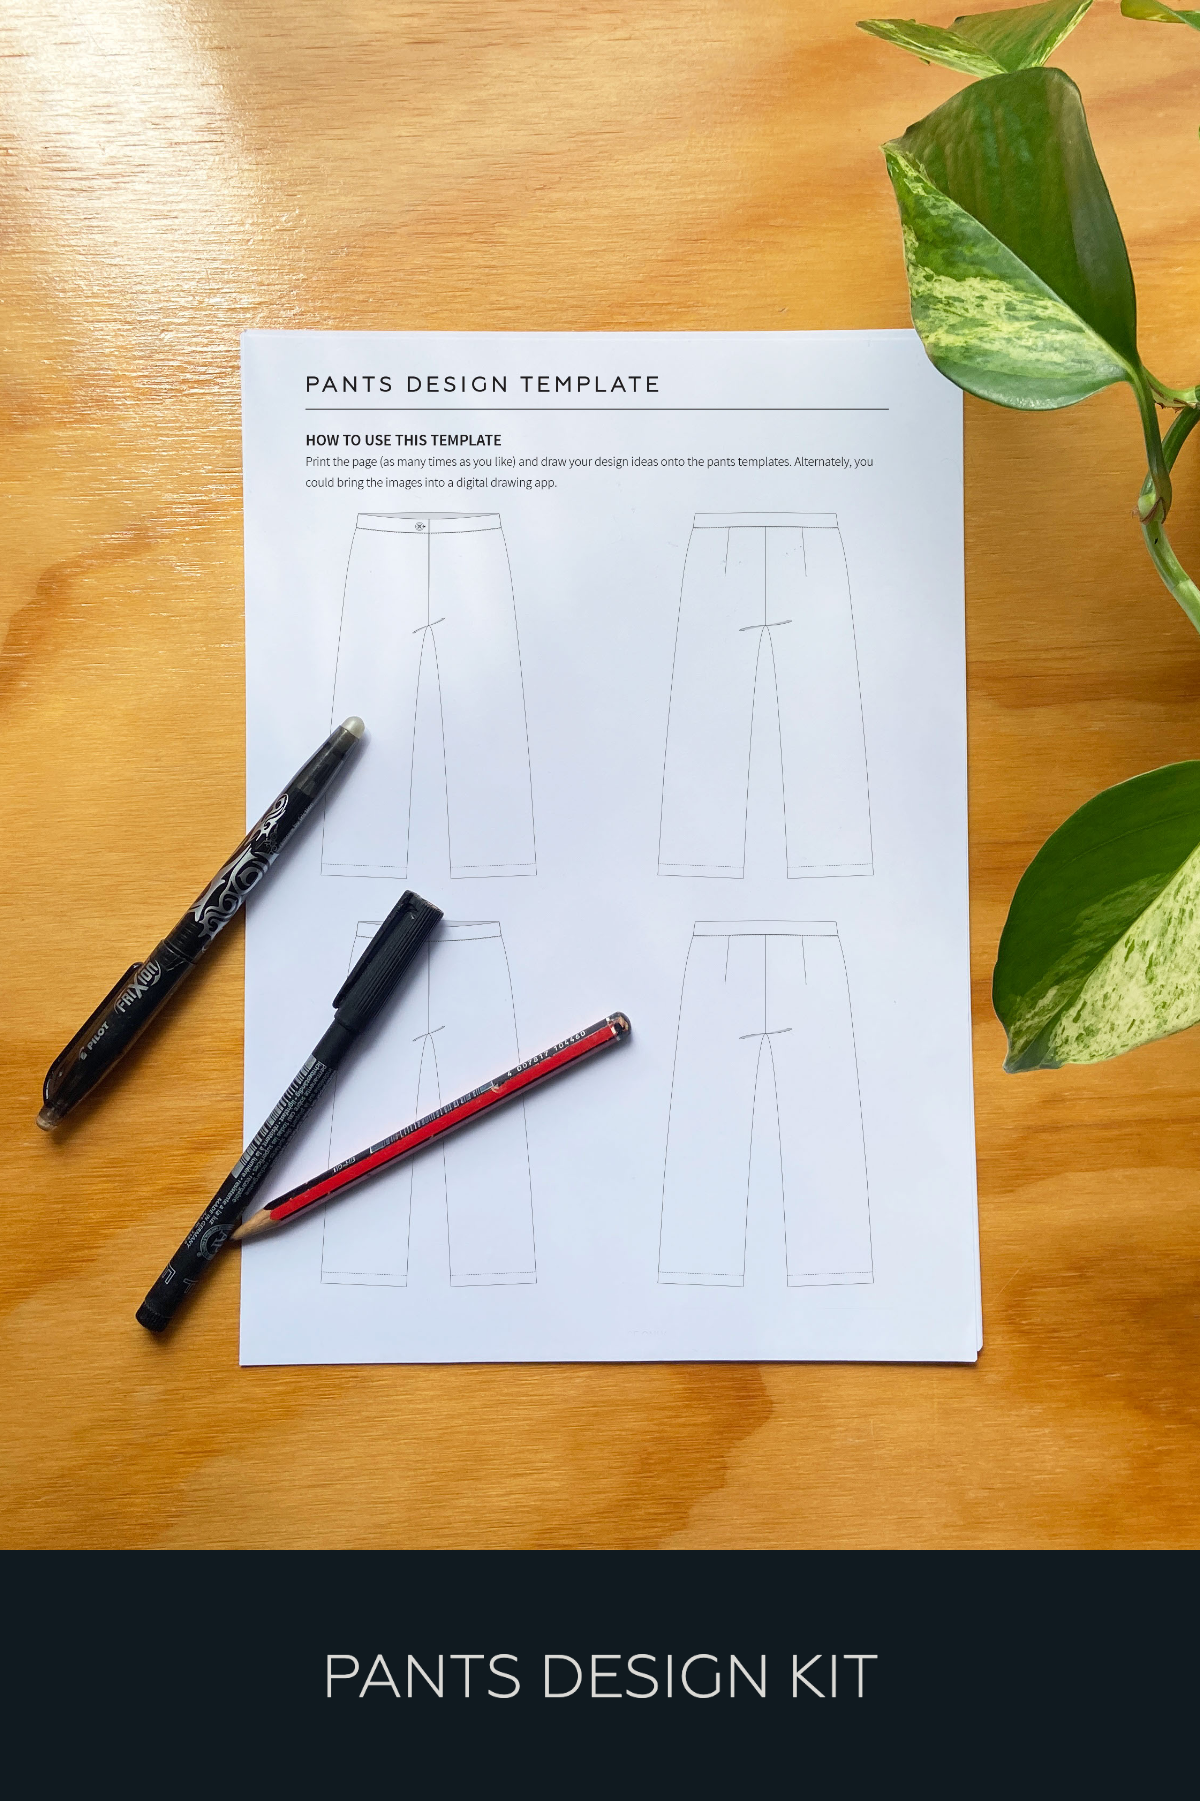
pants sewing series
Now available as a standalone three-part project series in our shop!