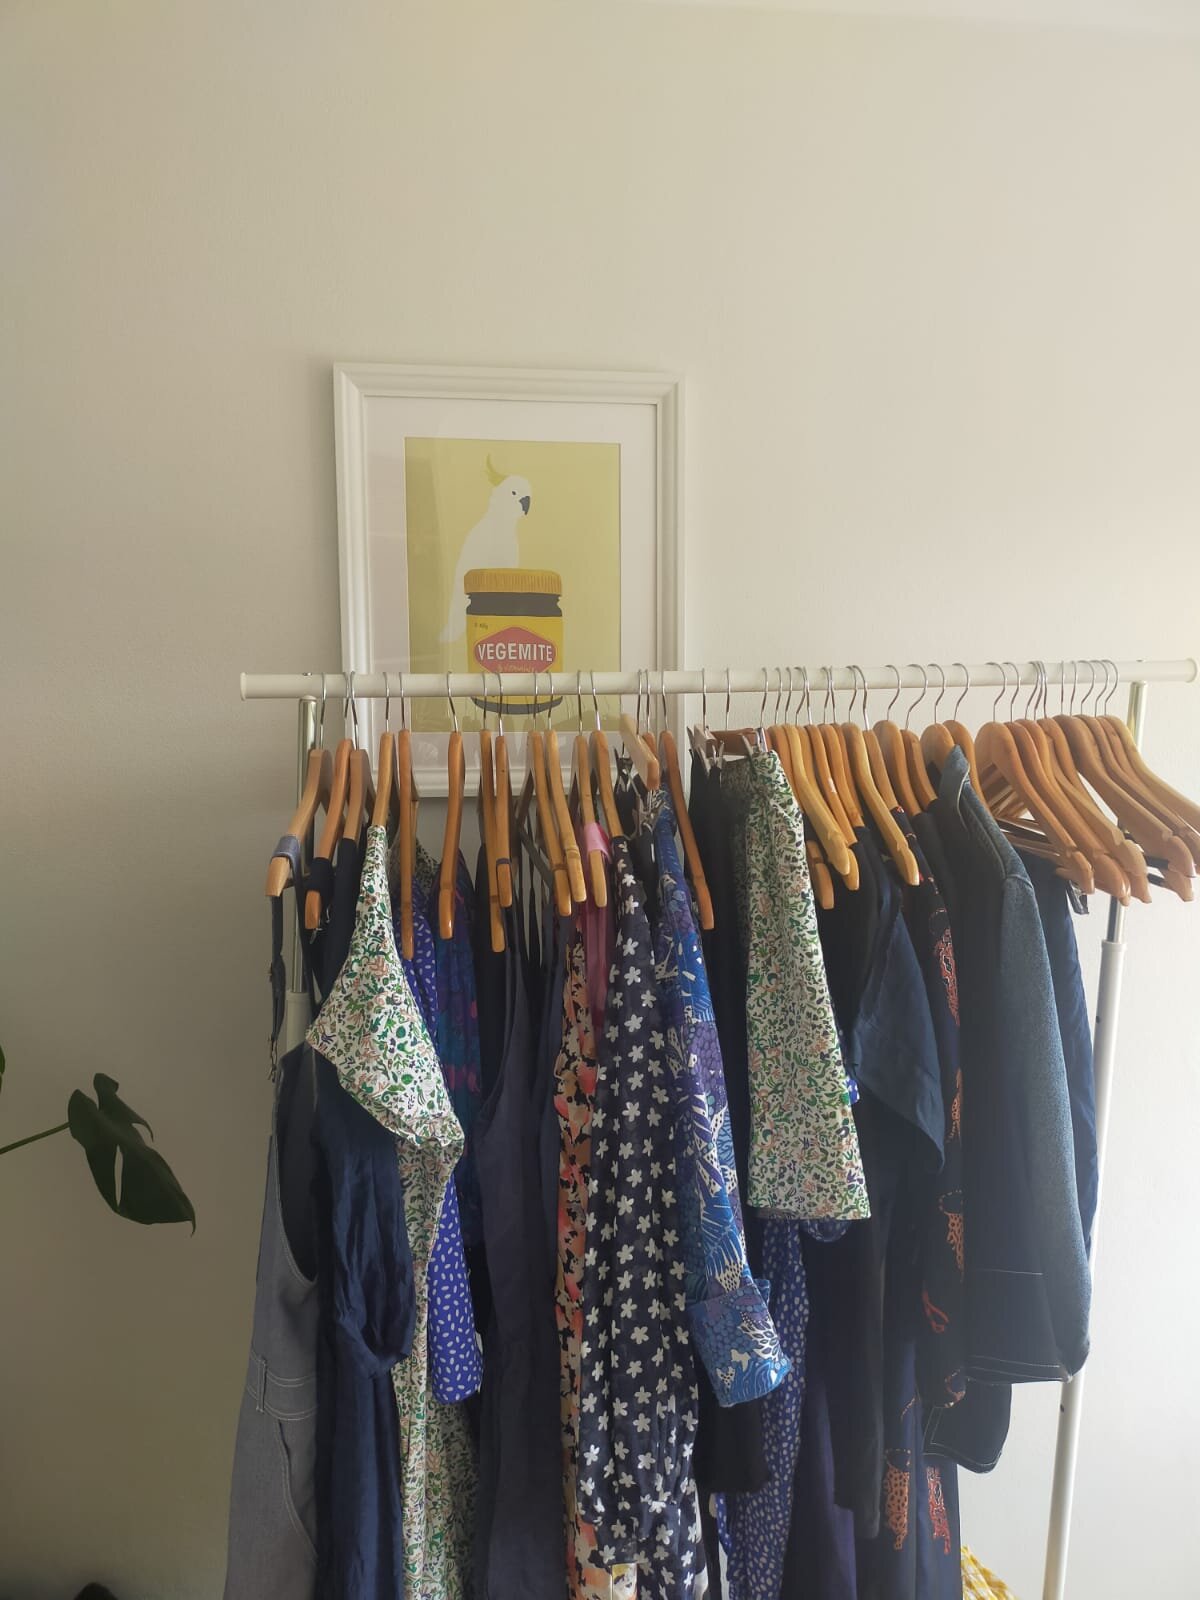
When we’ve dragged ourself out of bed and are standing in front of the wardrobe at the start of the day it’s not uncommon to feel like we have ‘nothing to wear’.
The wardrobe might be bursting at the seams from all the options it holds, but that’s not what we see…
We see questions. (Does this go with that? Do I feel like wearing that today? Does it need to be ironed??)
And decisions. (Ugh, too early.)
So how can we lower the morning hurdle of ‘what do I wear?’ without resorting to moving to a nudist colony?
Uniform dressing. (You might also be familiar with the term ‘capsule wardrobe’.)
What is uniform dressing?
When you think of uniform dressing you might have some very specific images pop into your head.
Like, Steve Jobs and his black turtleneck, jeans and sneakers, for example.
Or Barack Obama and his grey or blue suits…
Even Karl Lagerfeld with his white ponytail, high collared shirts, black sunglasses and signature fingerless gloves.
These are all extreme examples of uniform dressing, and you might be thinking that wearing the same thing, day in day out, is the last thing you want to do!
And we agree! That’s NOT the kind of uniform dressing we’re talking about. We want easy, not boring!(Phew!)

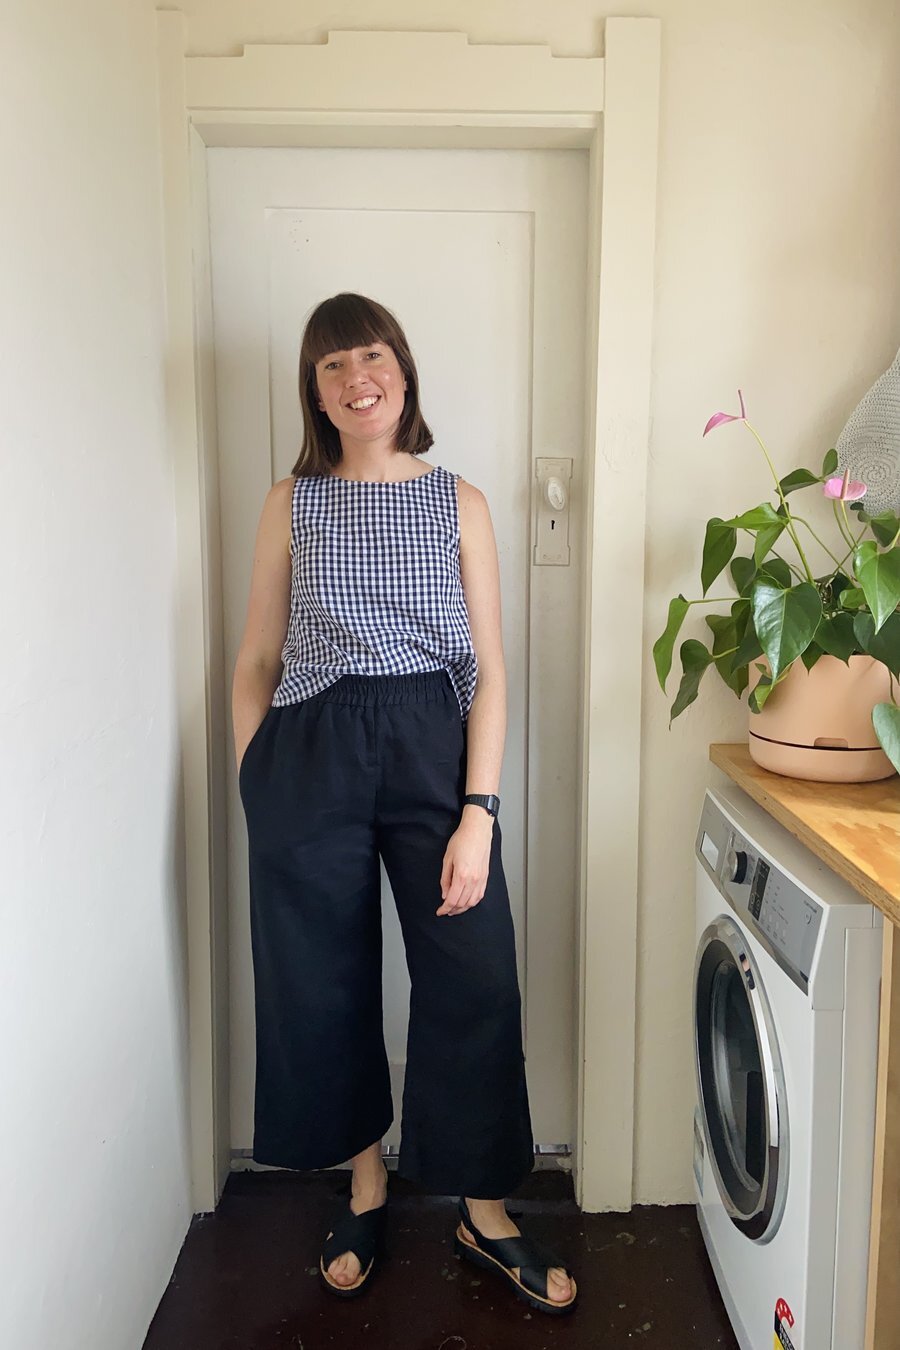
For us, uniform dressing is about having a few key looks or pieces in your wardrobe that you can pull together quickly to make getting dressed easy. It’s a smaller collection of versatile garments that can mix with a range of other pieces to create different looks.
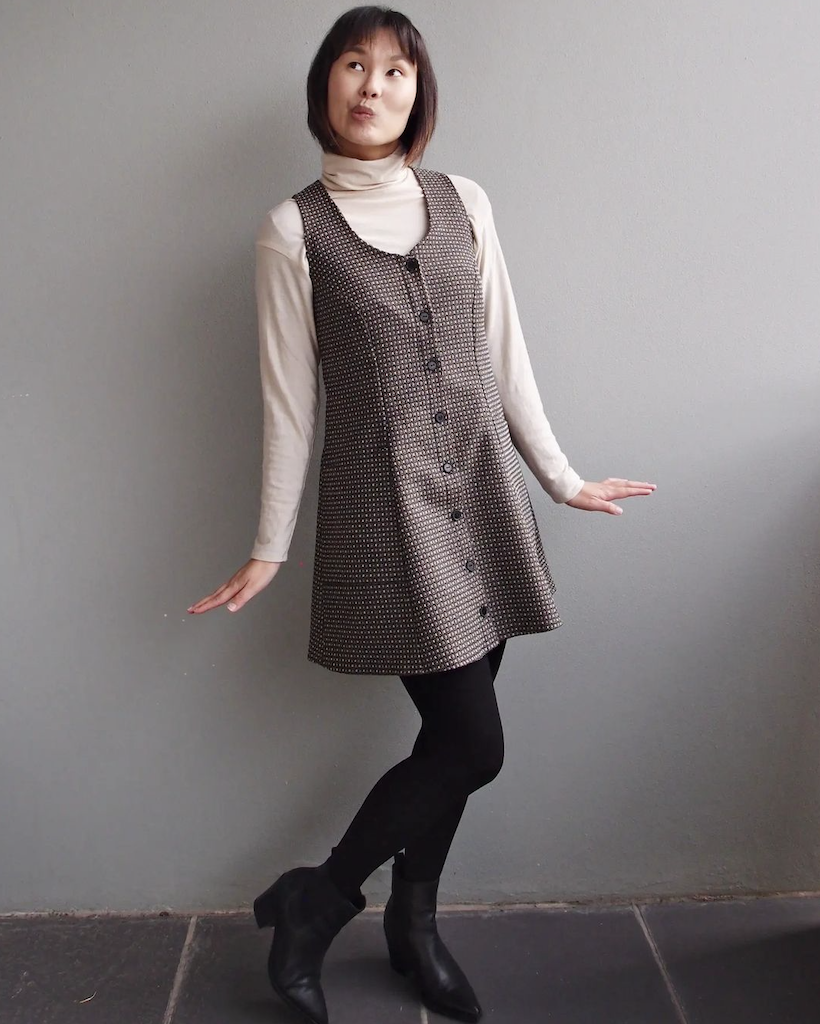
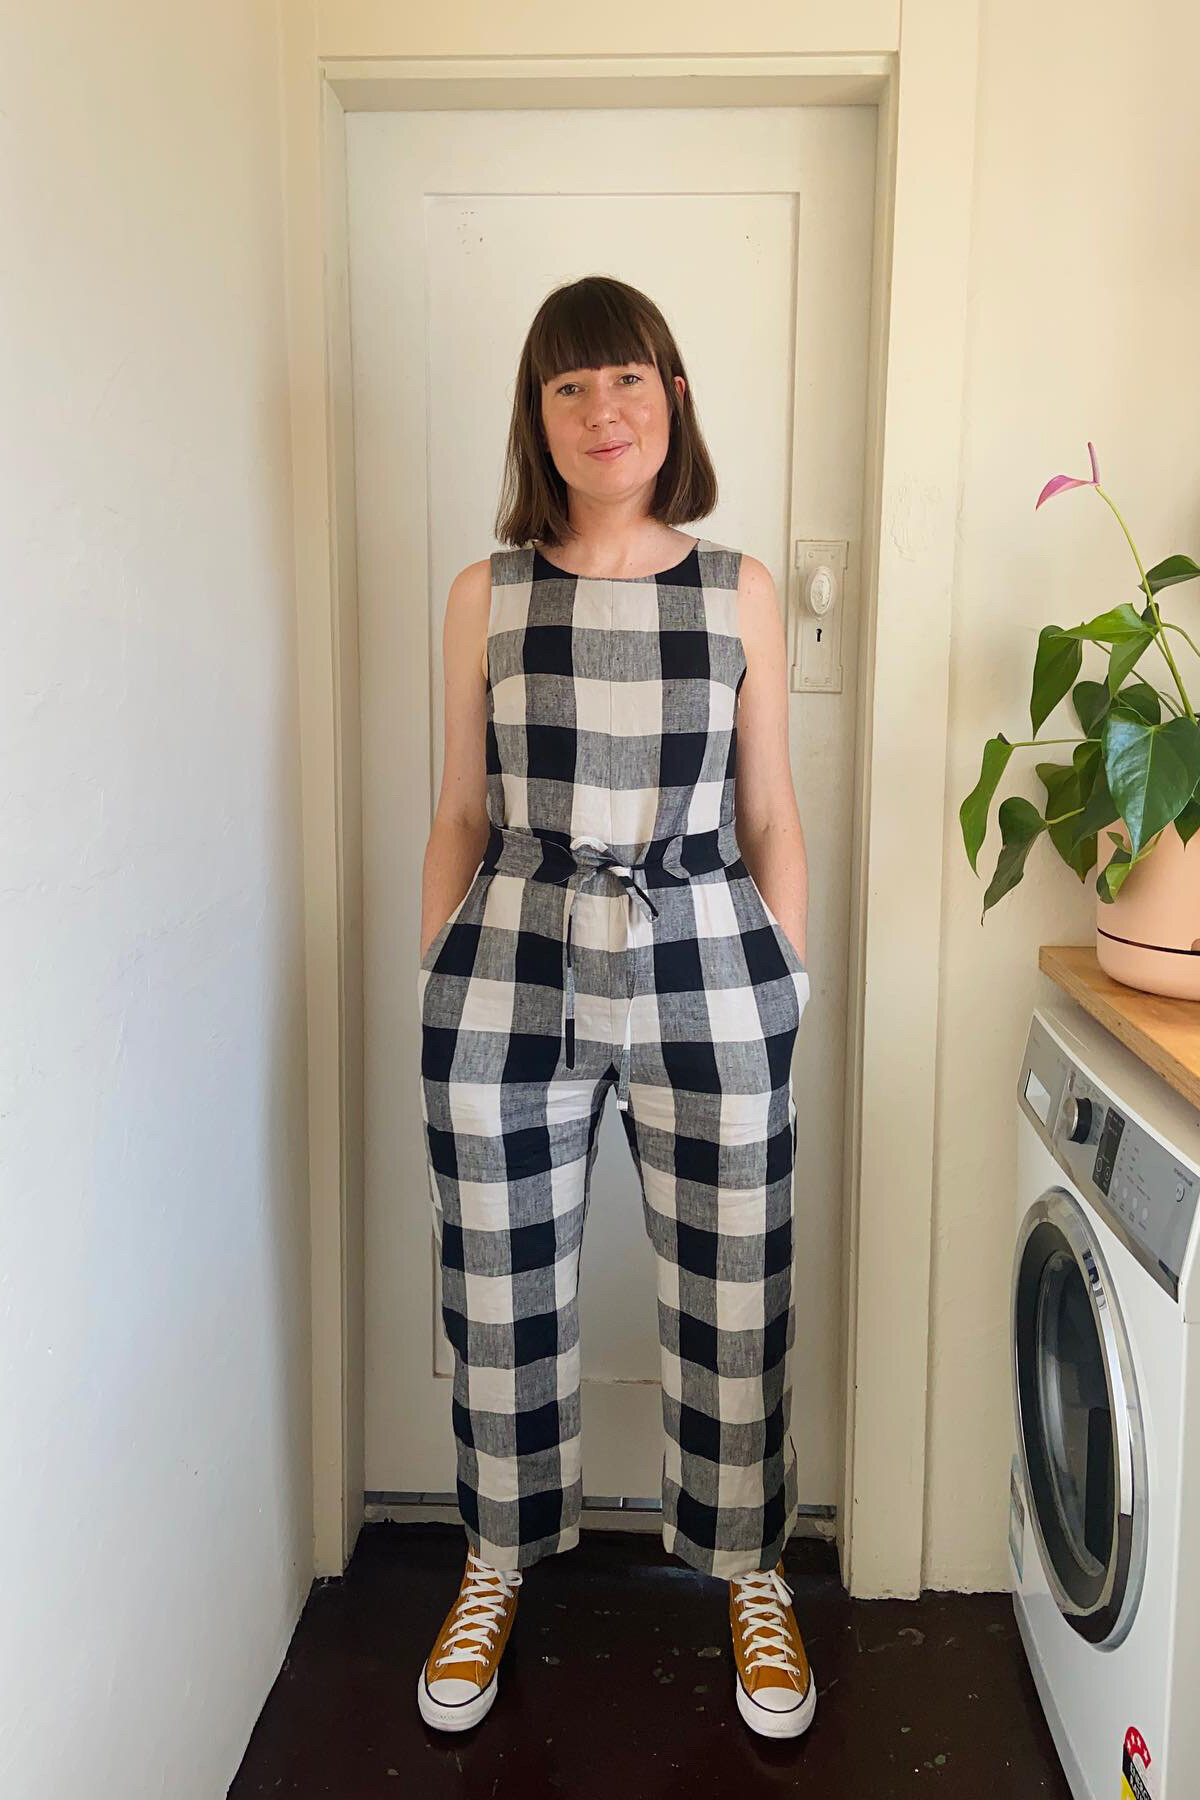
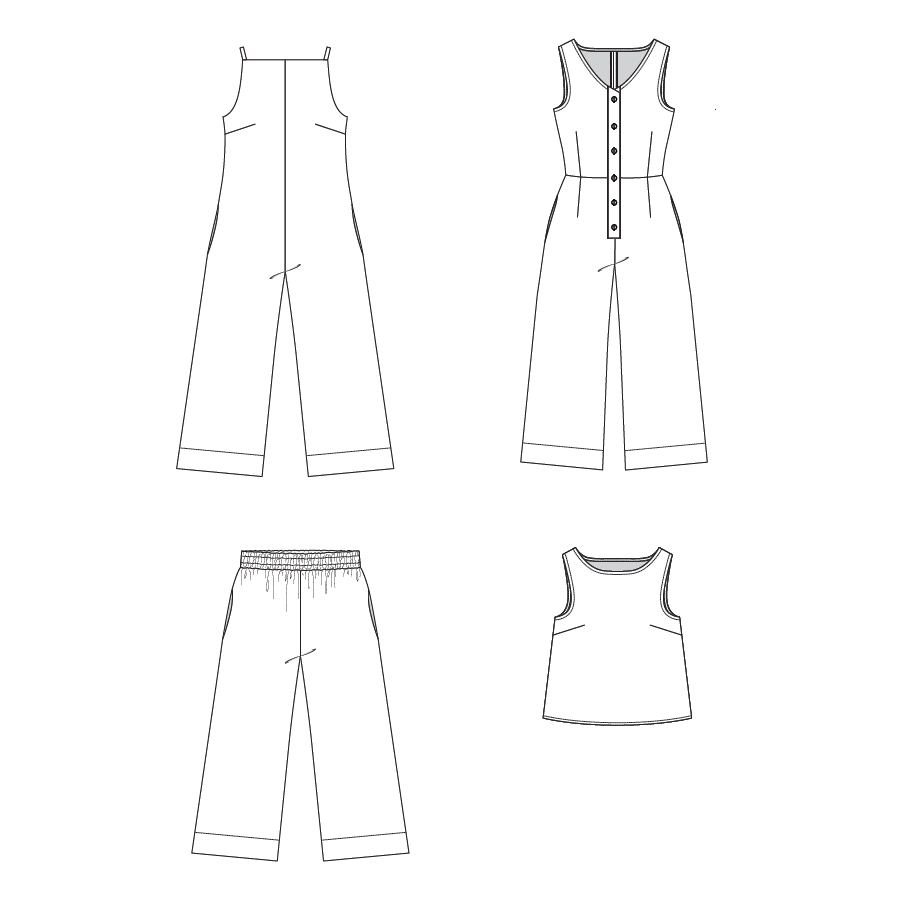
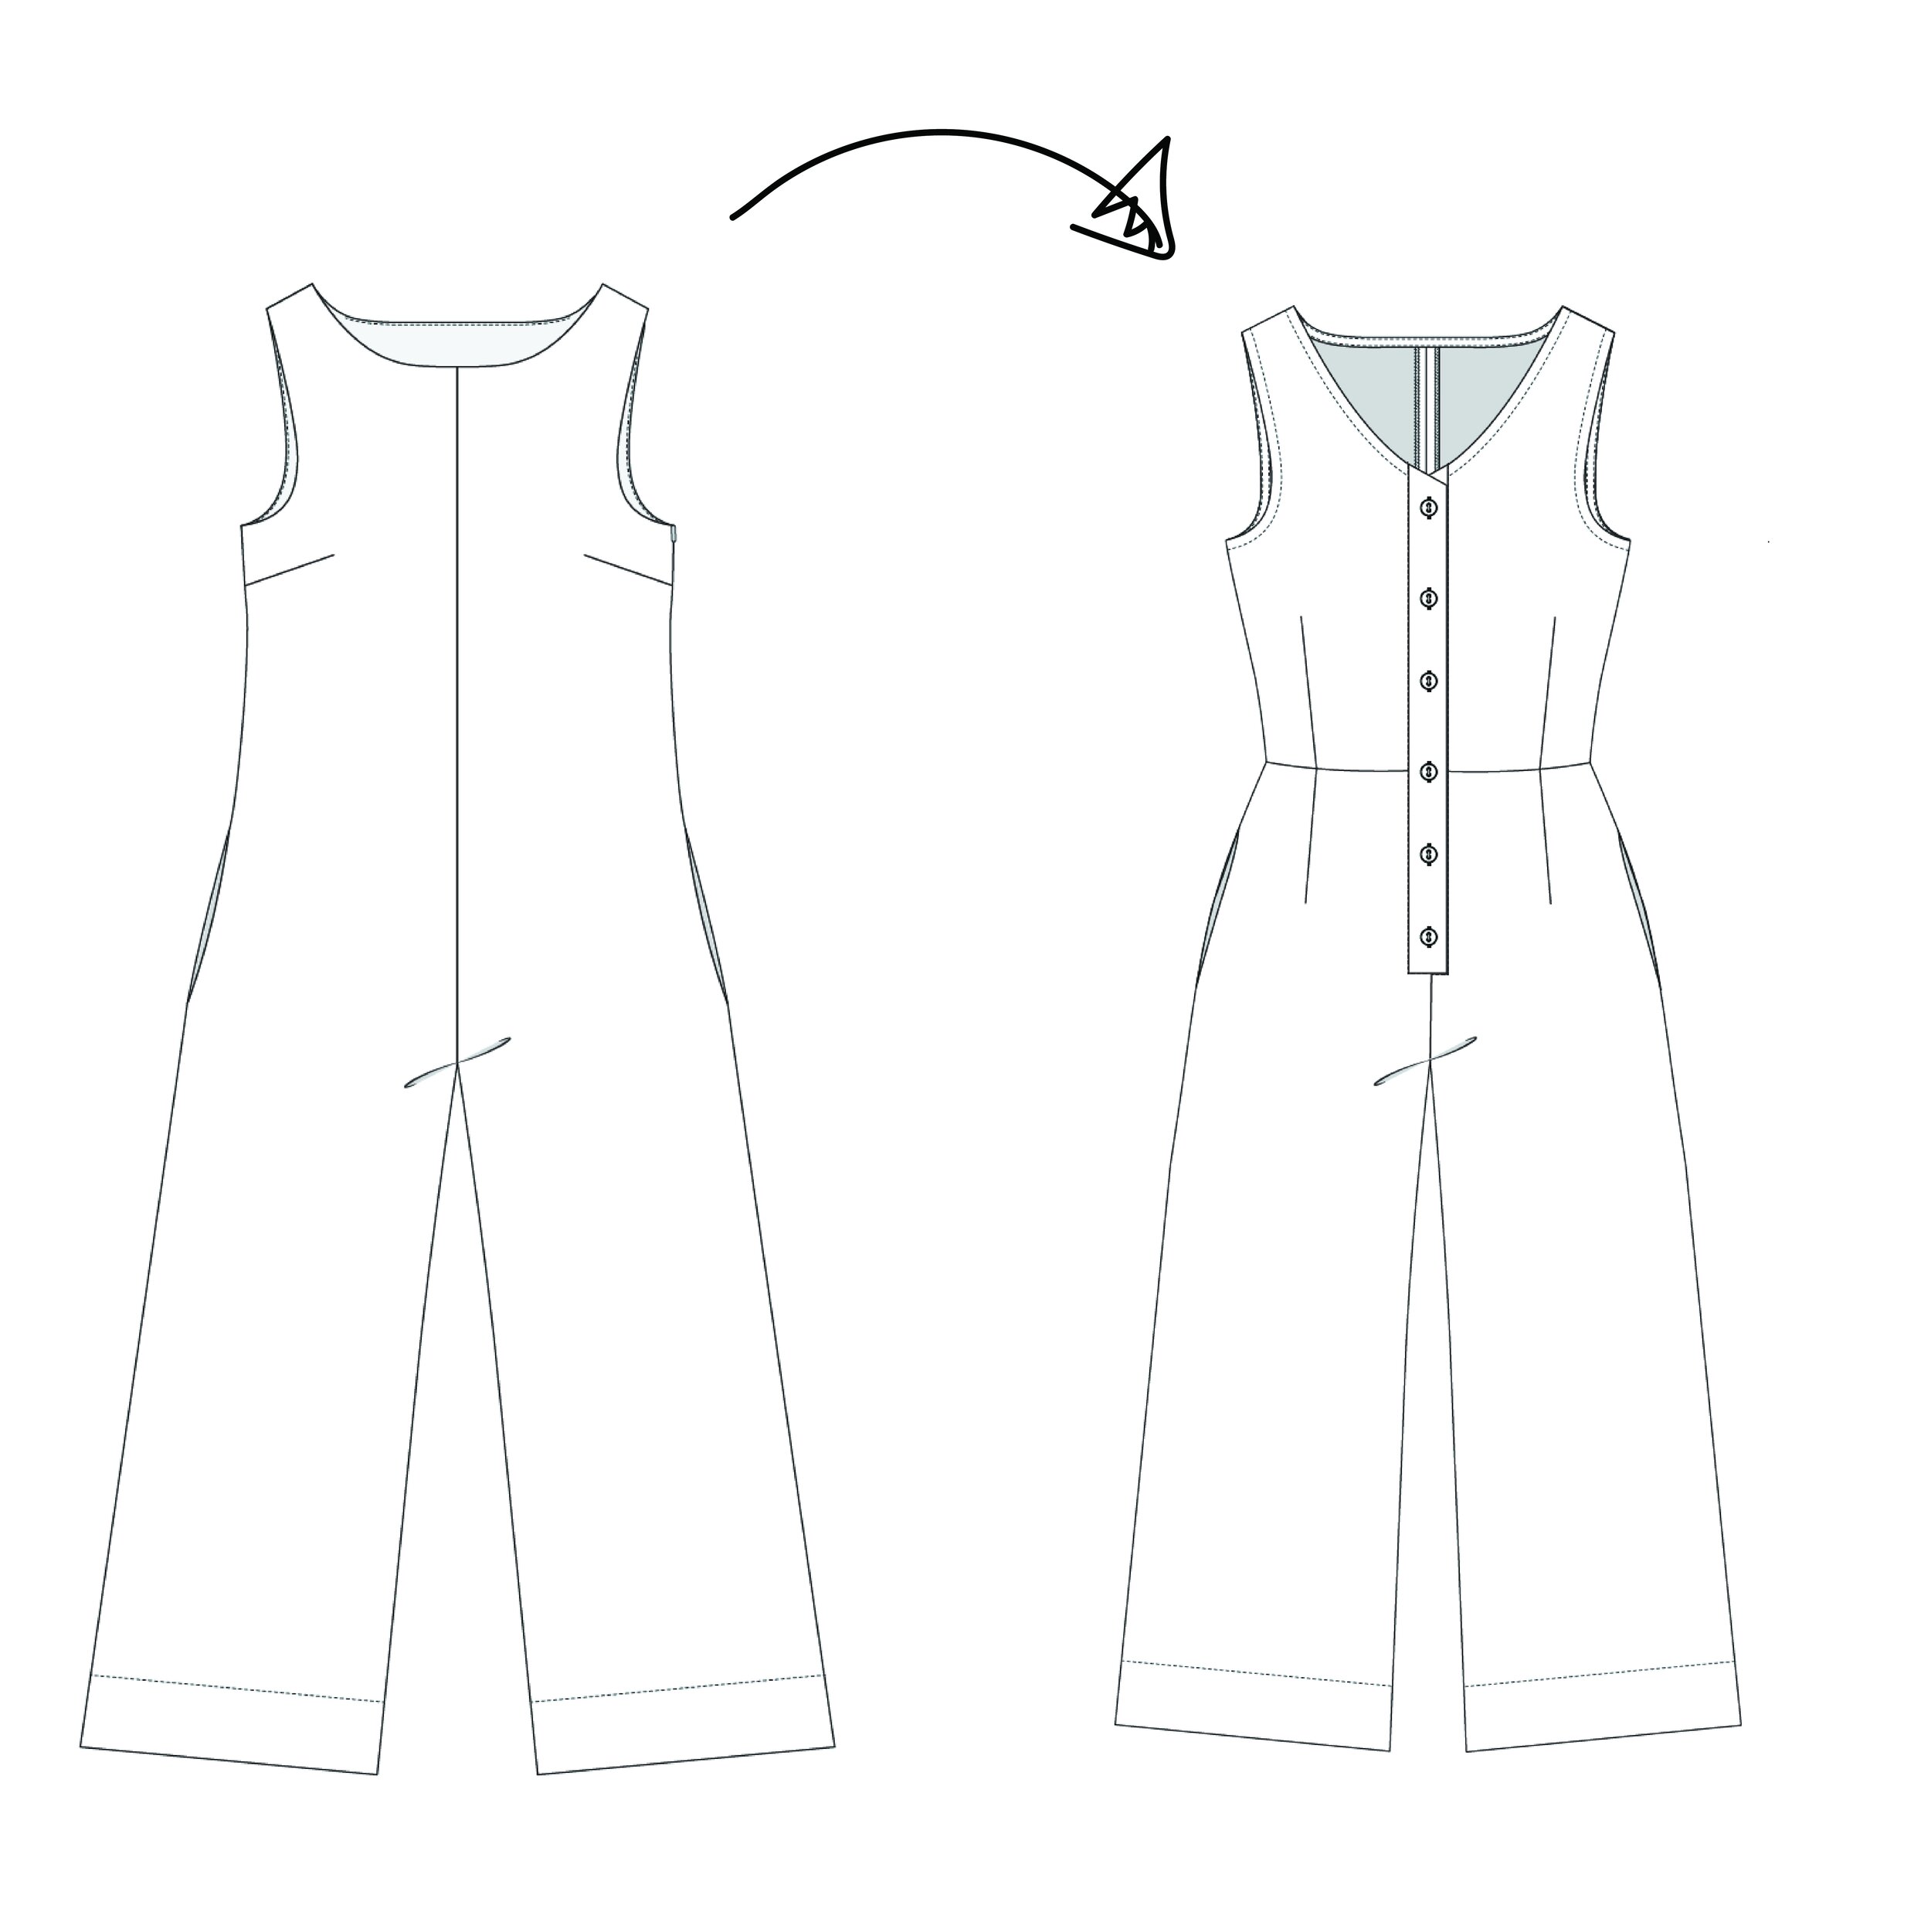
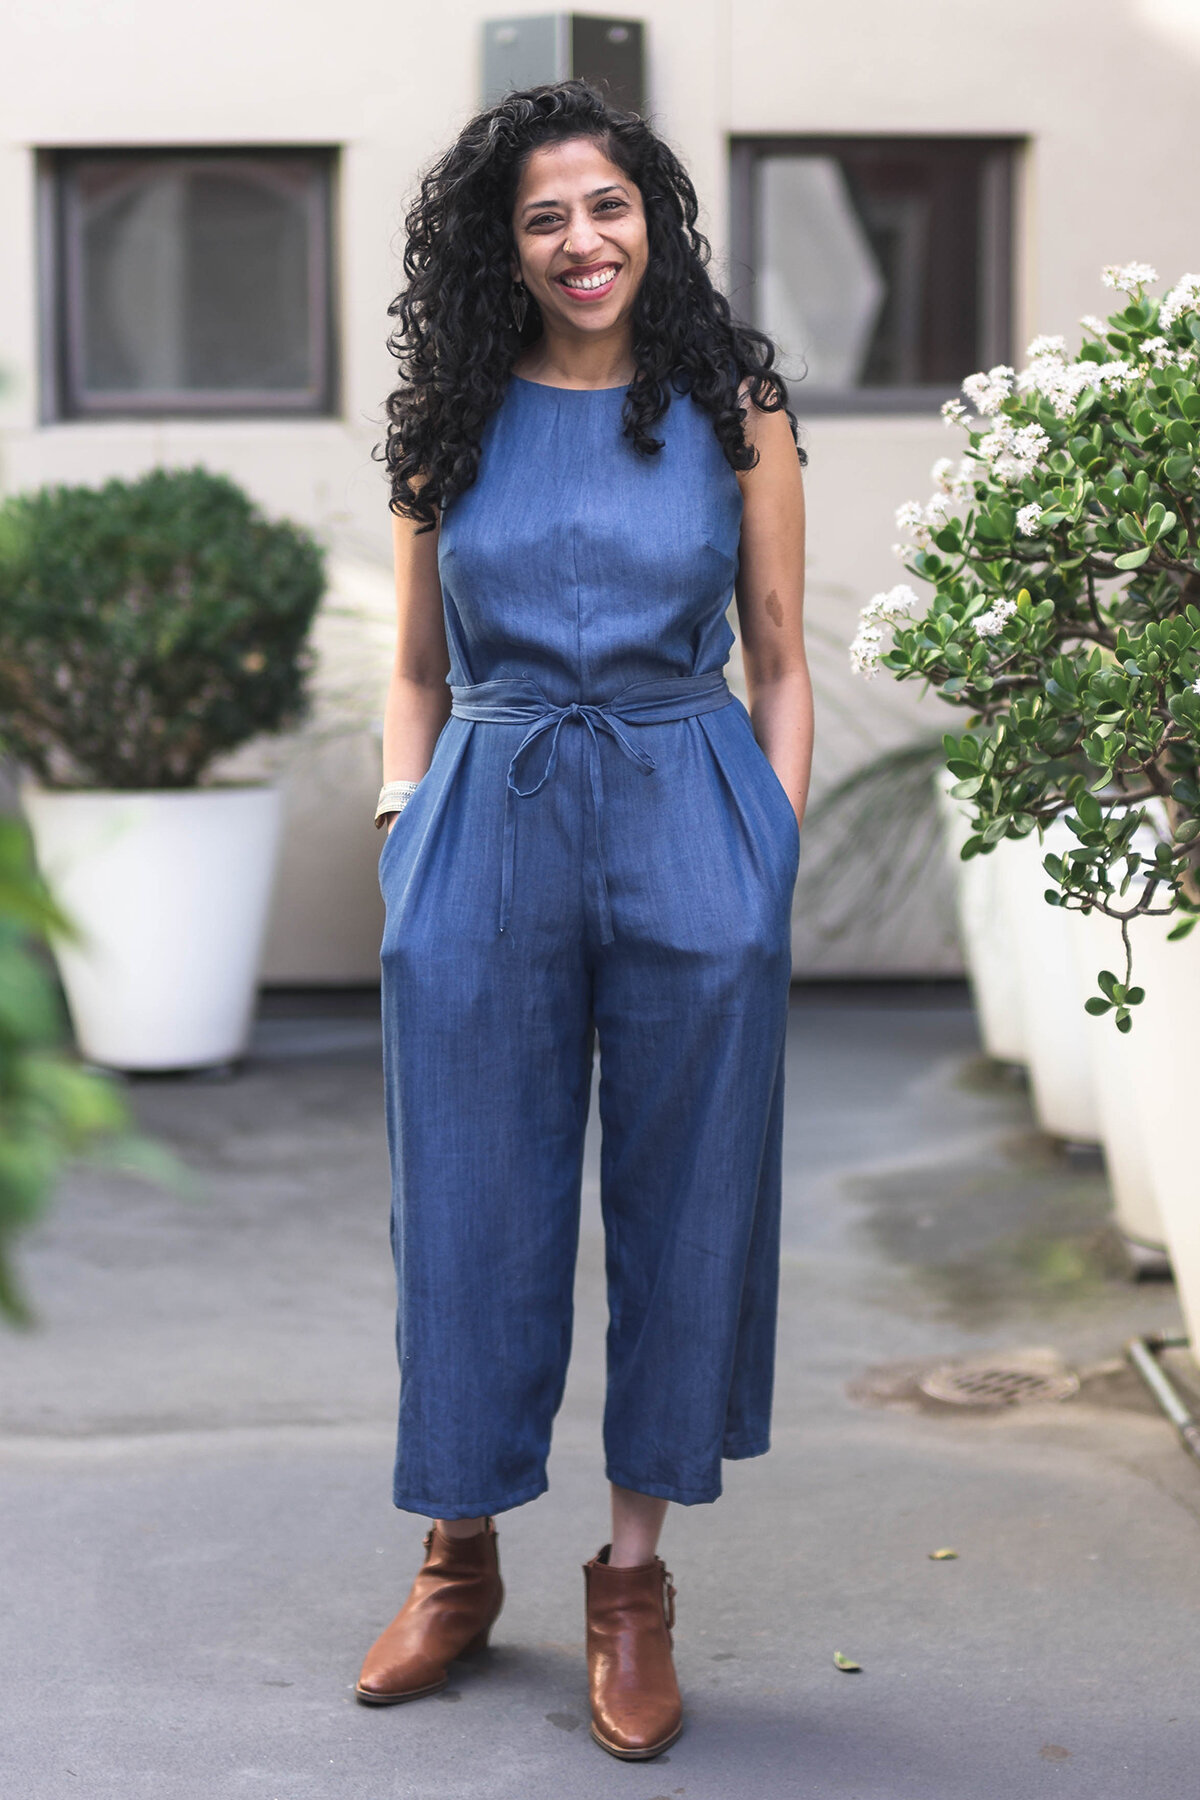
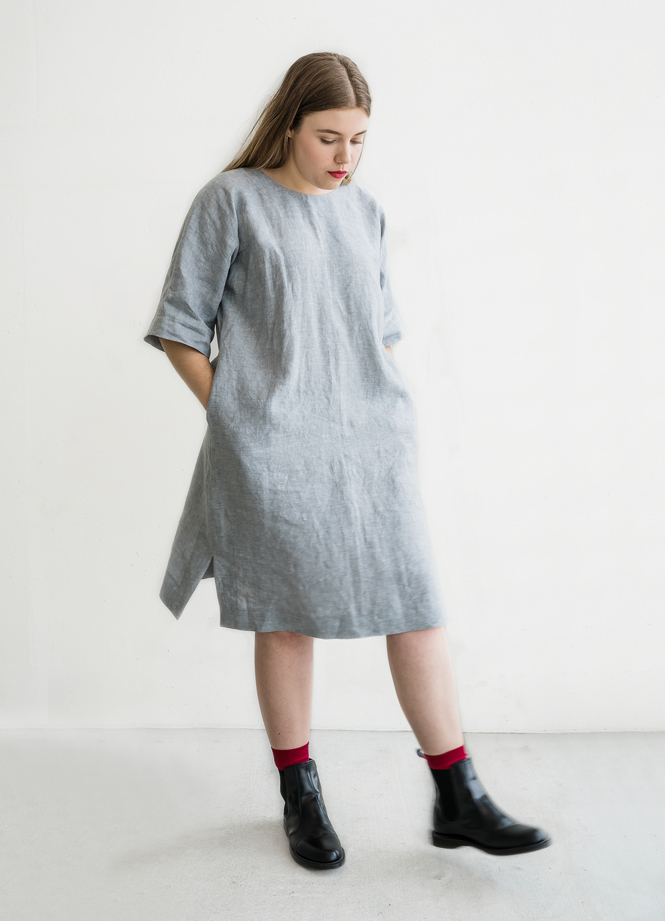
When I first designed the Stow dress (long before I knew it was going to become an In the Folds pattern), I had no idea it was going to become a major part of my studio/work uniform. I just thought it would be fun to make a denim dress that I could layer over tops and t-shirts in my wardrobe. Within no time it became a constant in my wardrobe - through changing weather and changing seasons - and 6 years later it’s still going strong. It even got me through half of my pregnancy last year!

With the release of the Stow dress pattern in our sewing subscription - Curated by ITF, I’ve been thinking back on the original version and how much I’ve worn it. I’ve realised how great it is to have “work-horse” pieces in your wardrobe that you can just grab and throw on. But I’ve also been thinking a lot about what makes these garments work so well and how we can apply this concept to our daily dressing process a little more thoughtfully.
Here’s what I’ve come up with.
What is uniform dressing to you?
How you incorporate uniform dressing into your dressing practice, and what pieces you incorporate is entirely up to you, and dependant on your daily routine and current wardrobe.
Think about the pieces you wear consistently.
What do you feel most comfortable in?
What pieces in your wardrobe go well with a range of items?
It can be easy to fall into the trap of thinking that uniform dressing has to be all neutrals or black fabric from head-to-toe. This really doesn’t need to be the case - you can have uniform pieces that are brightly coloured or prints.
For me, coming up with uniform or signature pieces depends on the seasons.

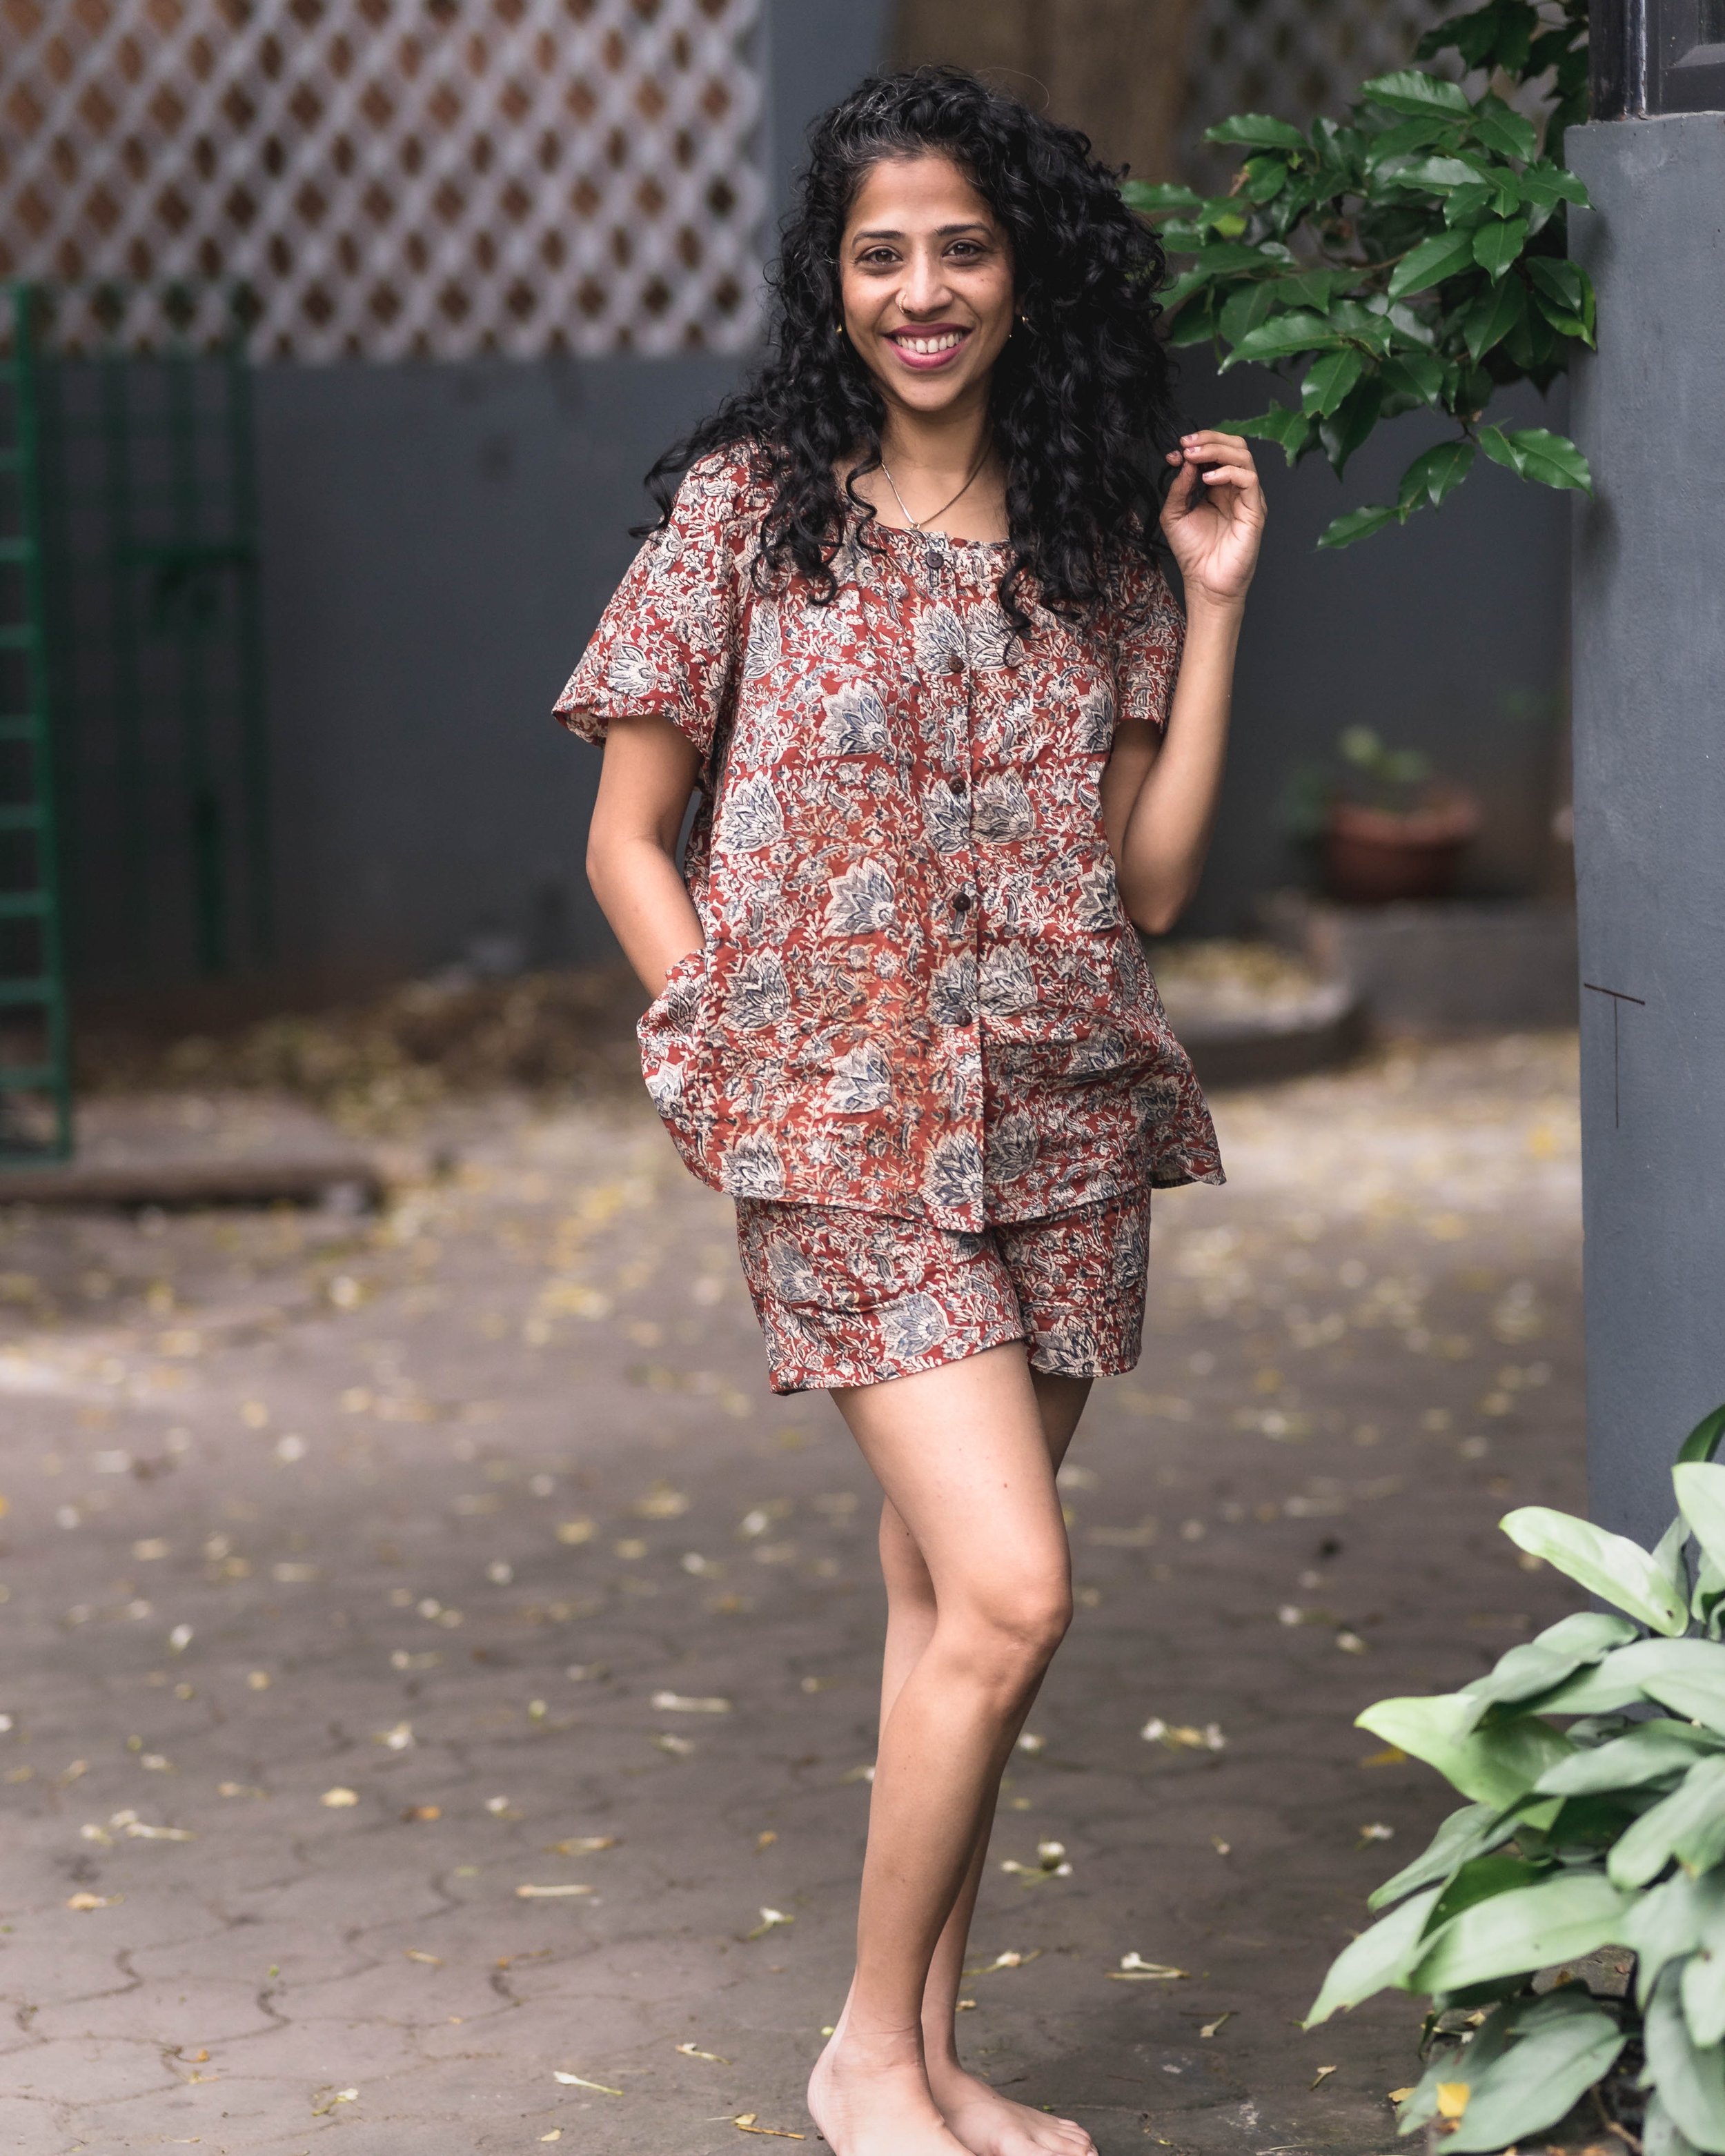
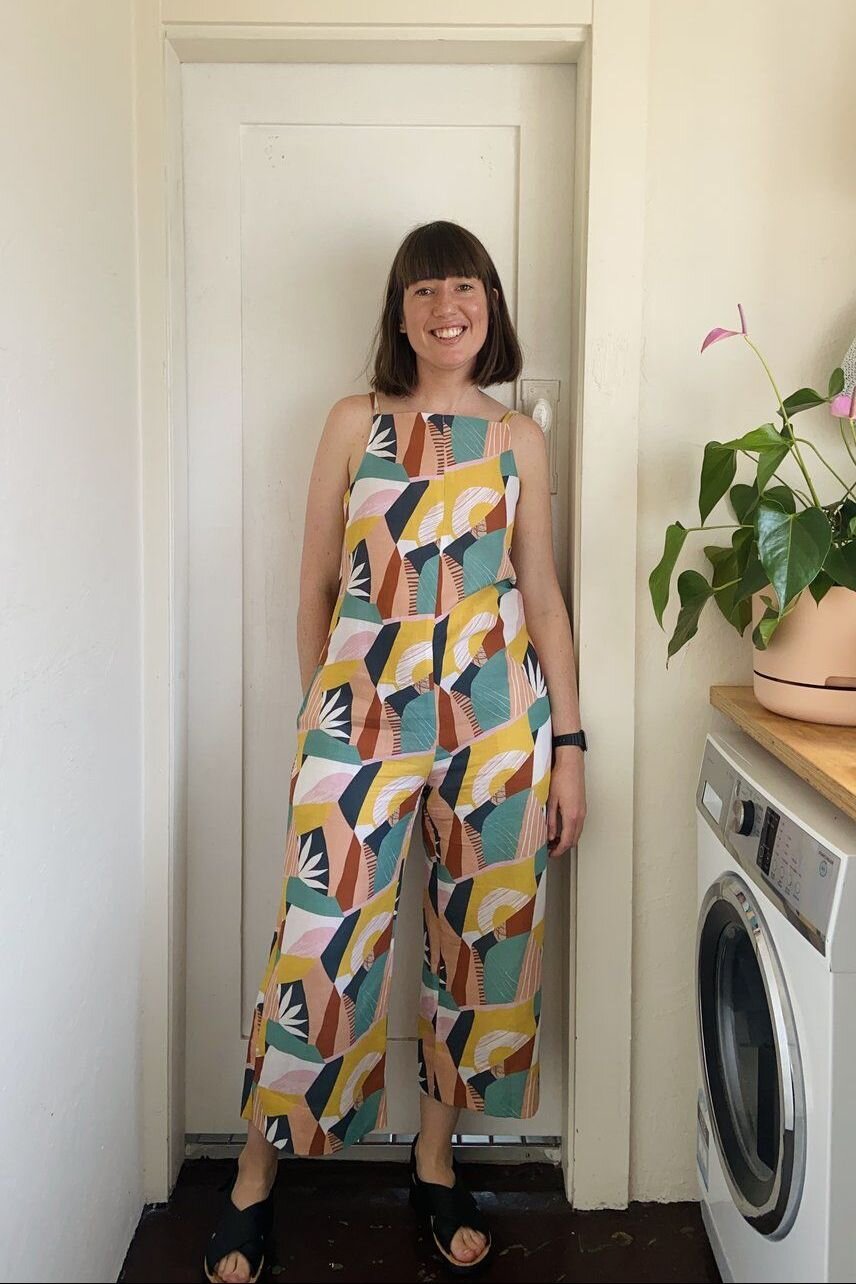
In Spring and Summer, my go-to uniform pieces are heavily printed. I find printed dresses particularly easy and comfortable to throw on in the warmer months. Because dresses are usually worn on their own, I don’t have to think about what to wear them with.
In the cooler months my uniform pieces leans more heavily towards the darker tones and denims. I find it easier to layer tones of a similar colour, along with a few pops of colour here and there for added interest.
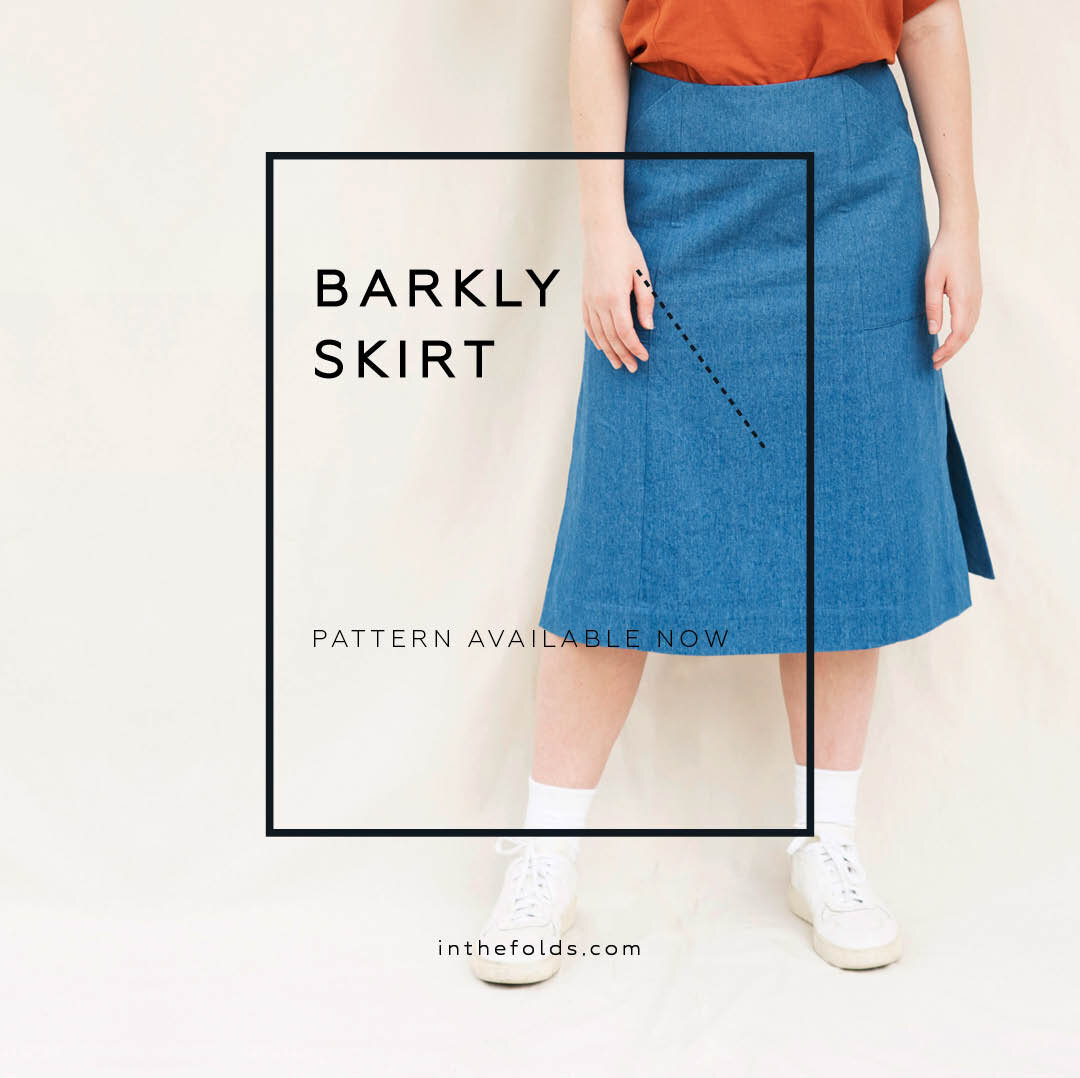
When I spoke to my colleague, Alys, about uniform dressing, she said her go-to is a printed Barkly skirt (check it out here!) that she can easily throw on with a black t-shirt or top. So as you can see, a uniform piece doesn’t necessarily need to be all neutral!
THINK ABOUT the pieces that work for you
Often you won’t know what these uniform pieces are until you sit down and have a think about what gets the most wear in your wardrobe. You might think you like a lot of glitz and glamour, but the reality is that jeans and t-shirts are your go-tos.
When you’ve come up with a list of items you wear consistently, think about why you wear them. Is it because you like the feel of them on your skin? Perhaps it’s because they’re easy to care for? Or maybe they just make you feel good?
Our Slow Sewing Planner includes a wardrobe reflection flow chart, wardrobe diary and wardrobe evaluation that can help you work through this process, and is a resource you can return to each season, year or whenever you feel like you’re in a bit of a wardrobe slump.
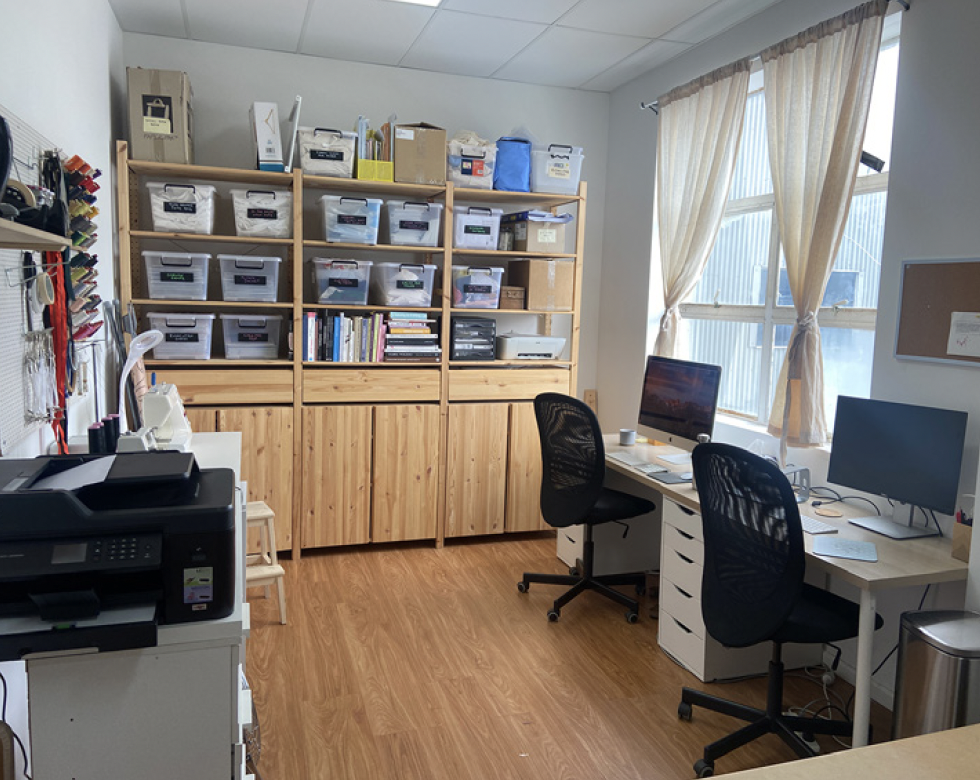
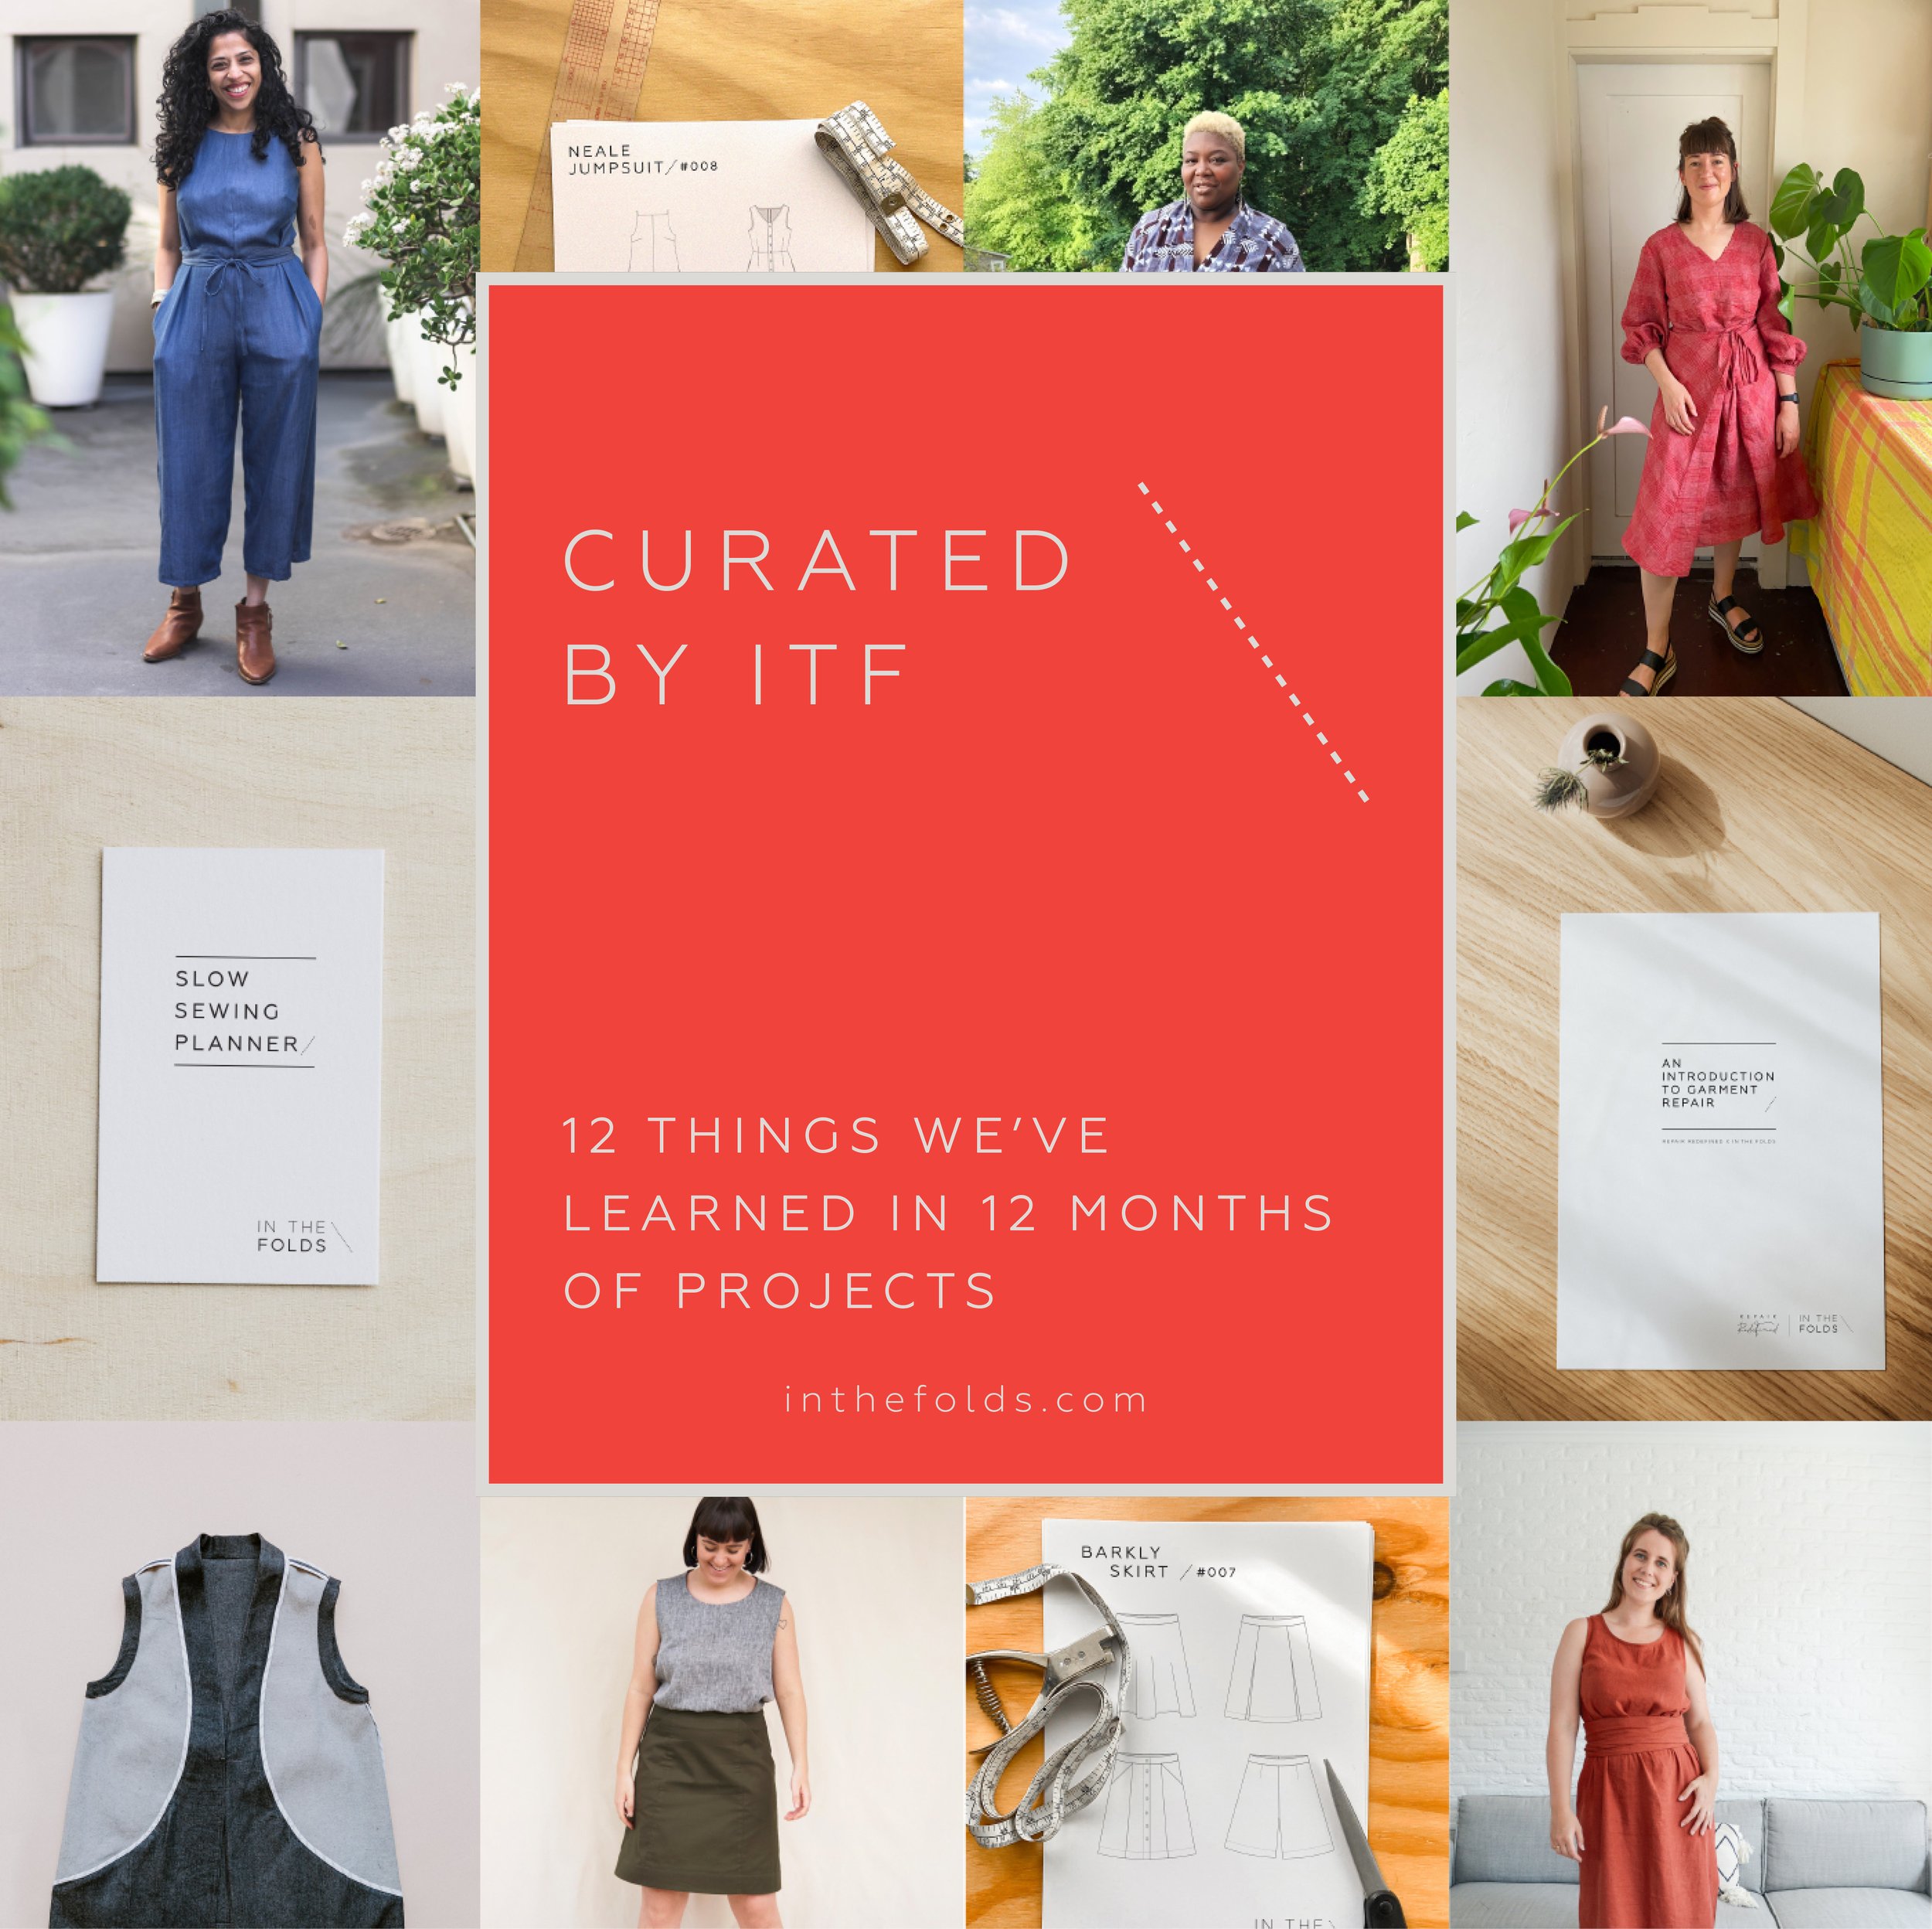
Join Curated by ITF - find your new community!
If you're looking to be supported, motivated and inspired through your sewing journey our Curated by ITF subscription might be just what you're looking for.
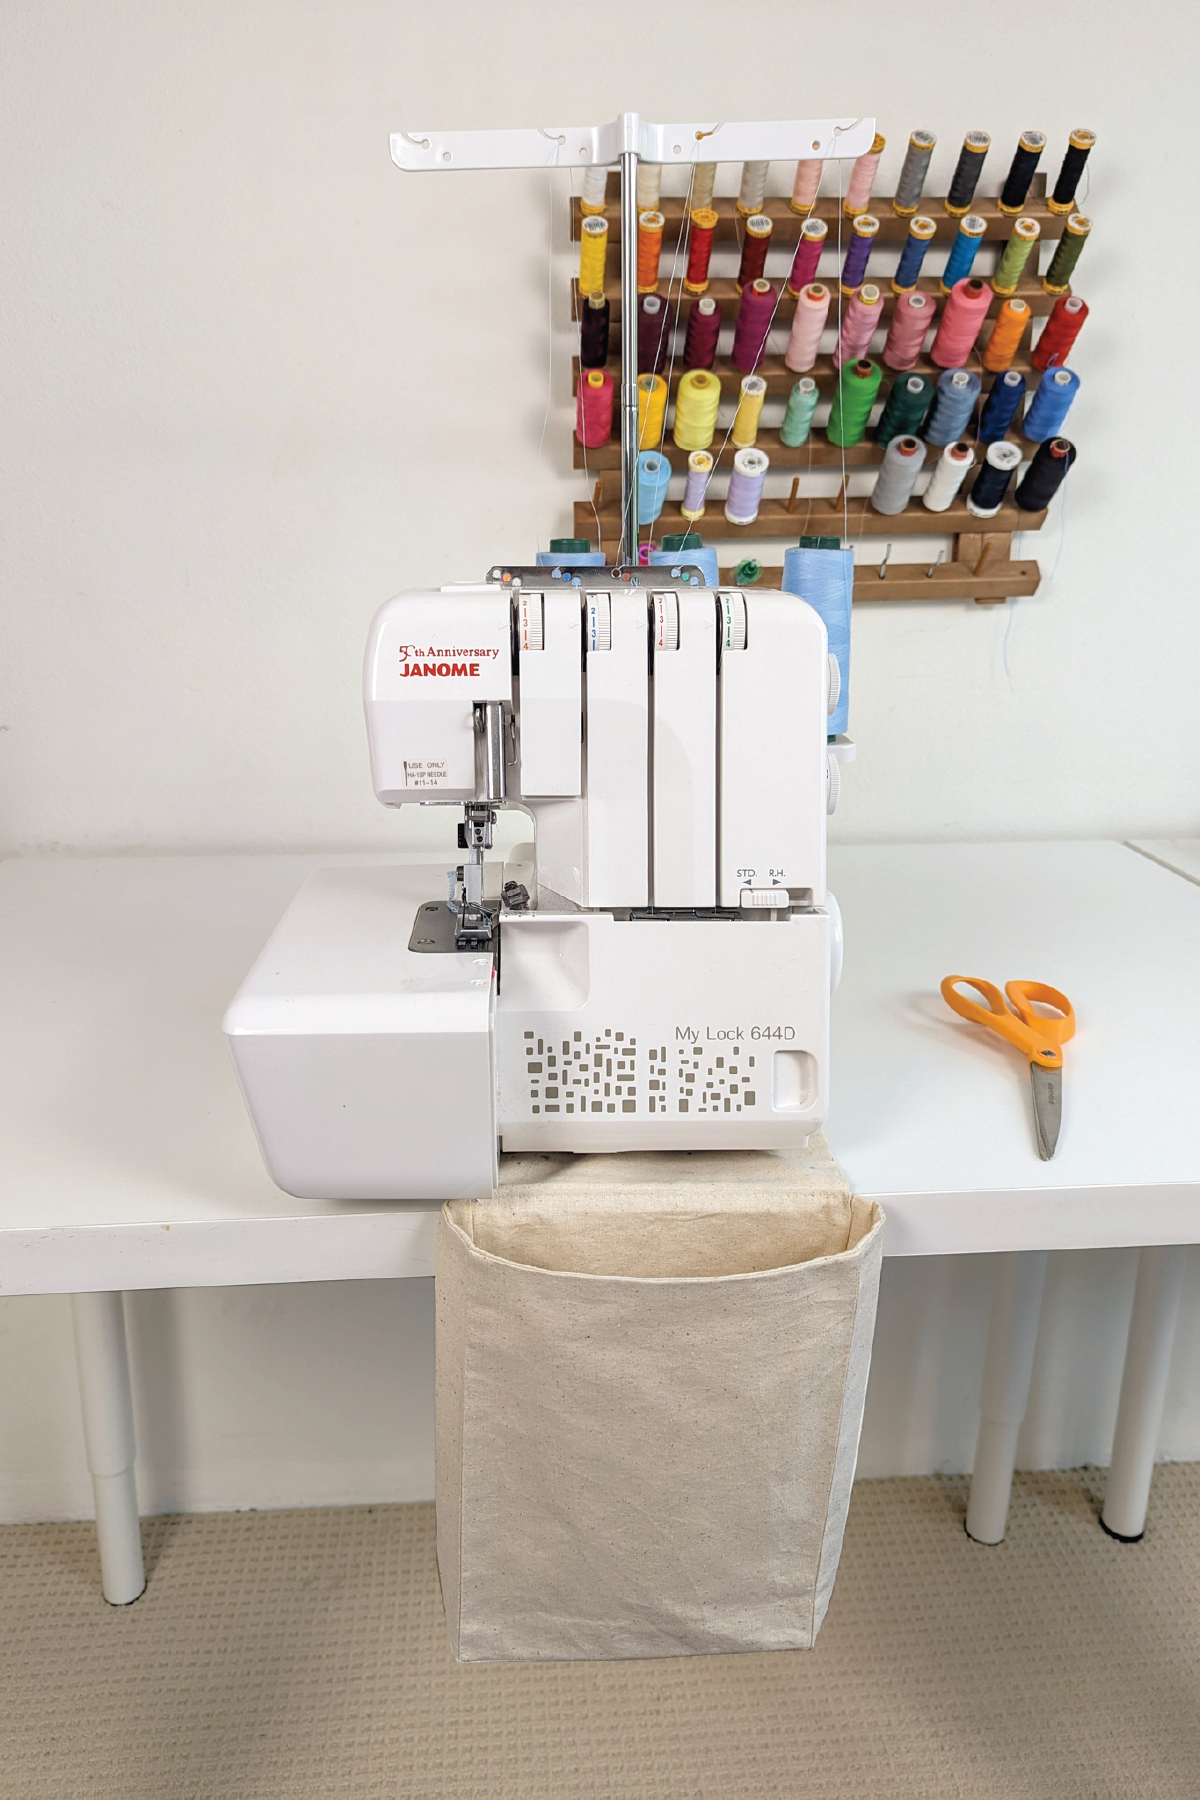
As well as a monthly sewing project, you’ll gain access to our private member platform where you can receive feedback and advice from the ITF team and other experienced makers, participate in sew-alongs and make sewing besties all over the world!
Think about fabric
Fabric plays a big part in the pieces that get a lot of wear.
Durable fabrics can last the test of time and be worn over and over. While delicate fabrics might be pretty to look at and be lovely to wear, they might not become the “work-horse” you imagined because of how they need to be cared for.
For example, I have a lot of Acton dresses in my wardrobe, made from everything from printed cotton to silk crepe de chine. The ones that get the most wear by far are the ones made from cotton because I can just throw them in the washing machine. For me, this is very important when thinking about uniform dressing in the Summer.

But, washing puts additional stress on our garments and is not always necessary. So, when it comes to uniform dressing in the cooler months, it’s good to think about how you can take care of your clothes without the need to wash them all the time.
For example, my original Stow dress is made from a mid-weight denim and I rarely wash it. I designed it to be worn with layers, so I almost always have something under it - a t-shirt, long sleeve top, tights when it’s chilly. This means I can just wash the base layers and the dress itself can be worn numerous times before needing a wash. I spot remove marks and only wash it when necessary. When I do wash it, I turn it inside out and wash in cold water to put as little strain on the garment as possible.
It’s also good to consider what fabrics you like to wear and why. If you prefer natural fibres, think about how you can incorporate these into your uniform pieces. You may think it’s more expensive to use the fibres you prefer, but if you consider the cost per wear of uniform pieces then you’ll see that over time it really pays off.
CHOOSING garment style & SEWING PATTERNS
We think it’s a good idea to steer clear of trends when choosing designs for a uniform wardrobe. The goal with uniform pieces is to have them in heavy rotation for years to come. Instead, focus on the shapes and silhouettes you like to wear season after season. The easiest way to work this out is by assessing your existing wardrobe and thinking about the pieces that you feel comfortable in and wear often.
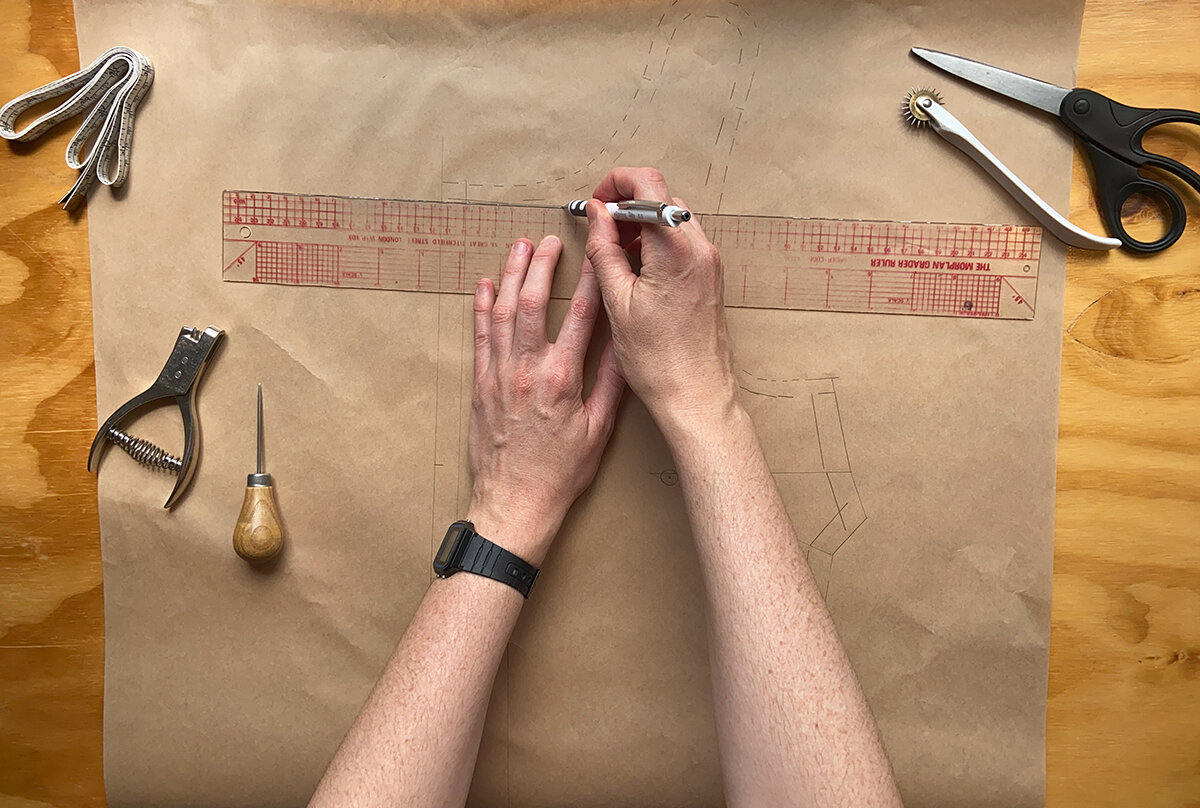
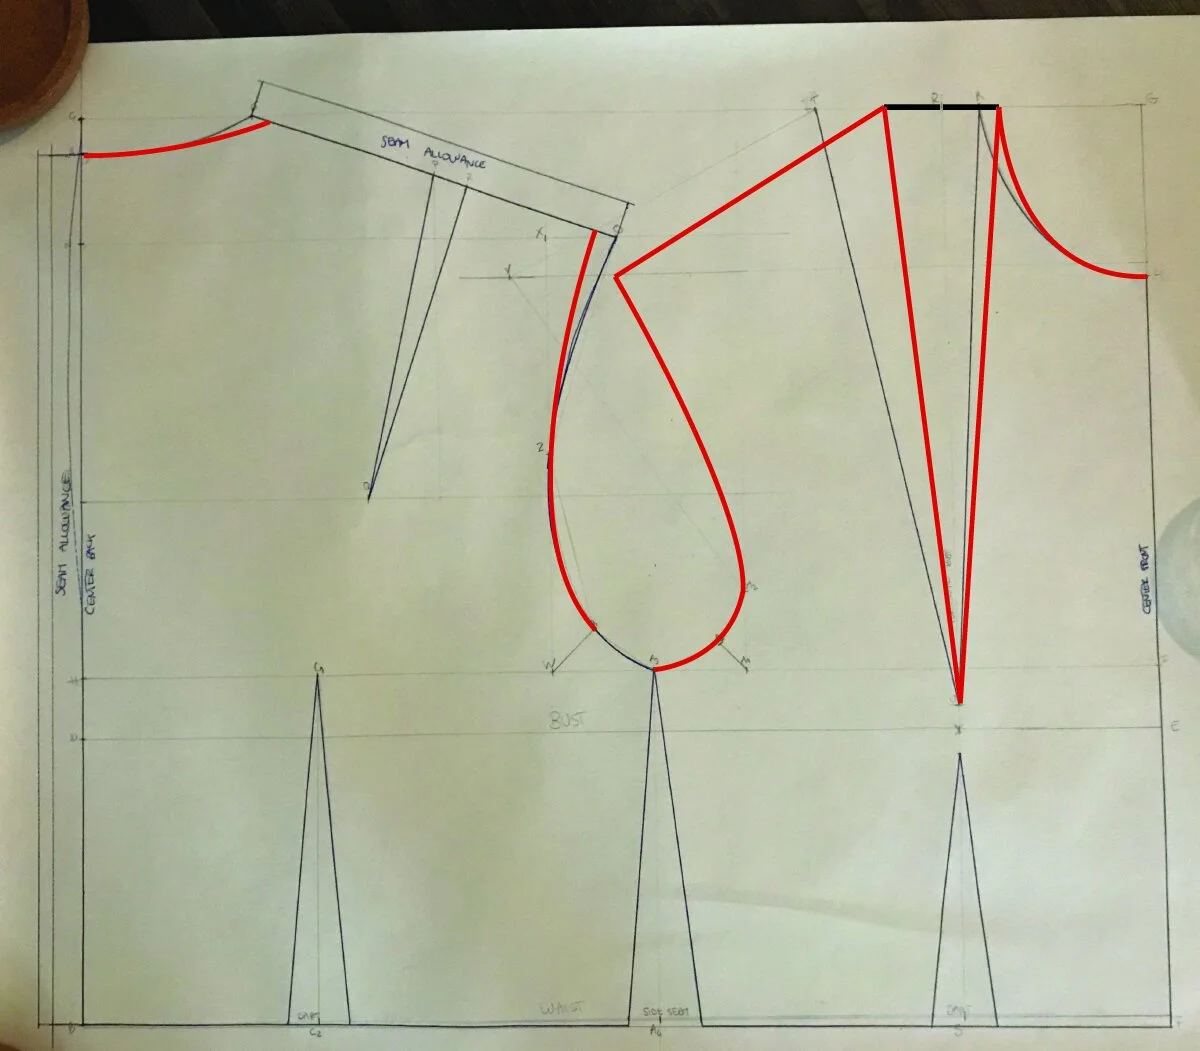
When you’re purchasing a sewing pattern it’s good to remember that you don’t have to use a pattern exactly as it has been drafted. With a few patternmaking skills you can adapt patterns to be exactly what you need. We’ve all had a garment we love but feel that something is missing something (pockets, a sleeve, or a bit of extra length). By hacking your patterns you can add whatever you need!
What do you think about the idea of uniform dressing? Is it something you might adopt, either completely or in part?
At the very least, we hope this has made you feel more confident to start thinking about uniform dressing and what it means to you. If you’d like to dive in deeper into this topic with us, it’s what we’re all talking about this month with our Curated by ITF community!
Happy sewing!
Emily